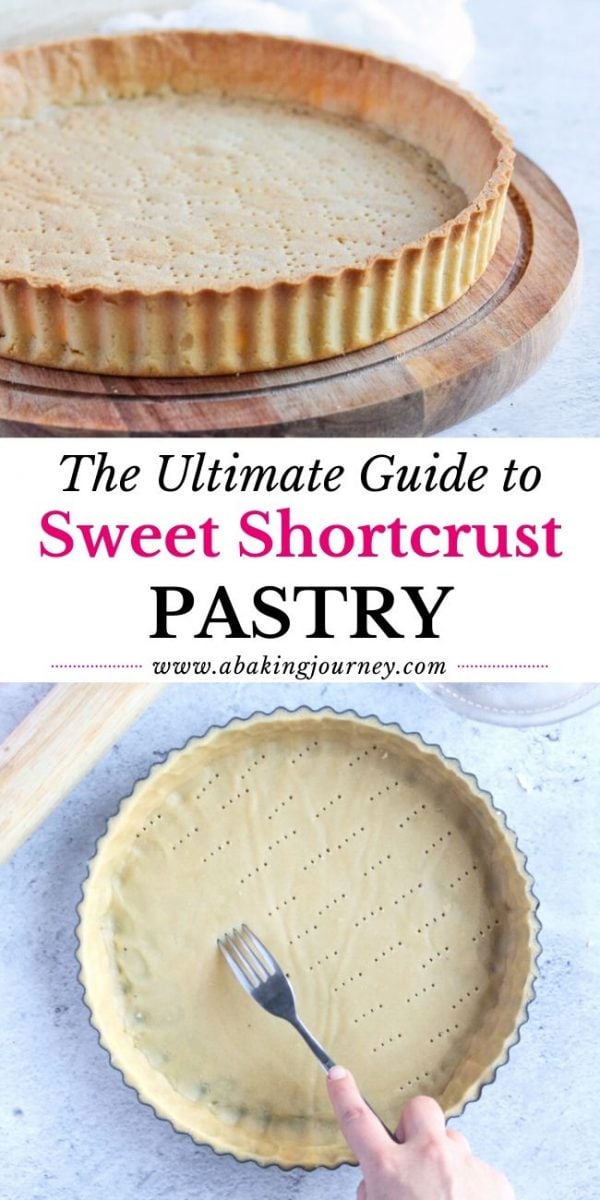
This Pâte Sucrée (French Sweet Shortcrust Pastry) is the perfect pastry for a cream or fruit tart. Made from 6 simple ingredients, this tart dough is deliciously buttery and has a cookie-like crispy texture.
Jump to:
Why we love this recipe
Made from 6 basic ingredients only, this Pâte Sucrée pastry is prepared in the mixer. It can be made in advance (either baked or unbaked) and even be frozen.
This basic French Pastry Crust is super versatile. It can be used with any of your favourite fruity, nutty or creamy fillings like Vanilla Crème Pâtissière, Almond Cream Filling or even a Chocolate Pastry Cream.
What is "Pâte Sucrée"
"Pate Sucree" literally means Sweet Pastry (or Sweet Dough) in French. Pronounced "pah-t suc-ray", this classic French Pastry is usually used to make Fruit Tarts. It has a slightly crispy and tender consistency, almost like a sugar or shortbread cookie.
Because it is denser and less flakey than other pastries like a Pâte Sablée (French Shortcrust Pastry) or this Chocolate Pie Crust, it is the perfect crust to use with cream fillings. It won't absorb much of the fillings moisture and turn soggy.
The butter pastry is lightly sweetened and often made with a little bit of Almond Meal for both taste and texture. As opposed to the blending method used to make most Shortcrust Pastries, this recipe uses a creaming method ("crémage" in French).
Ingredients
Scroll to recipe card belowfor all quantities
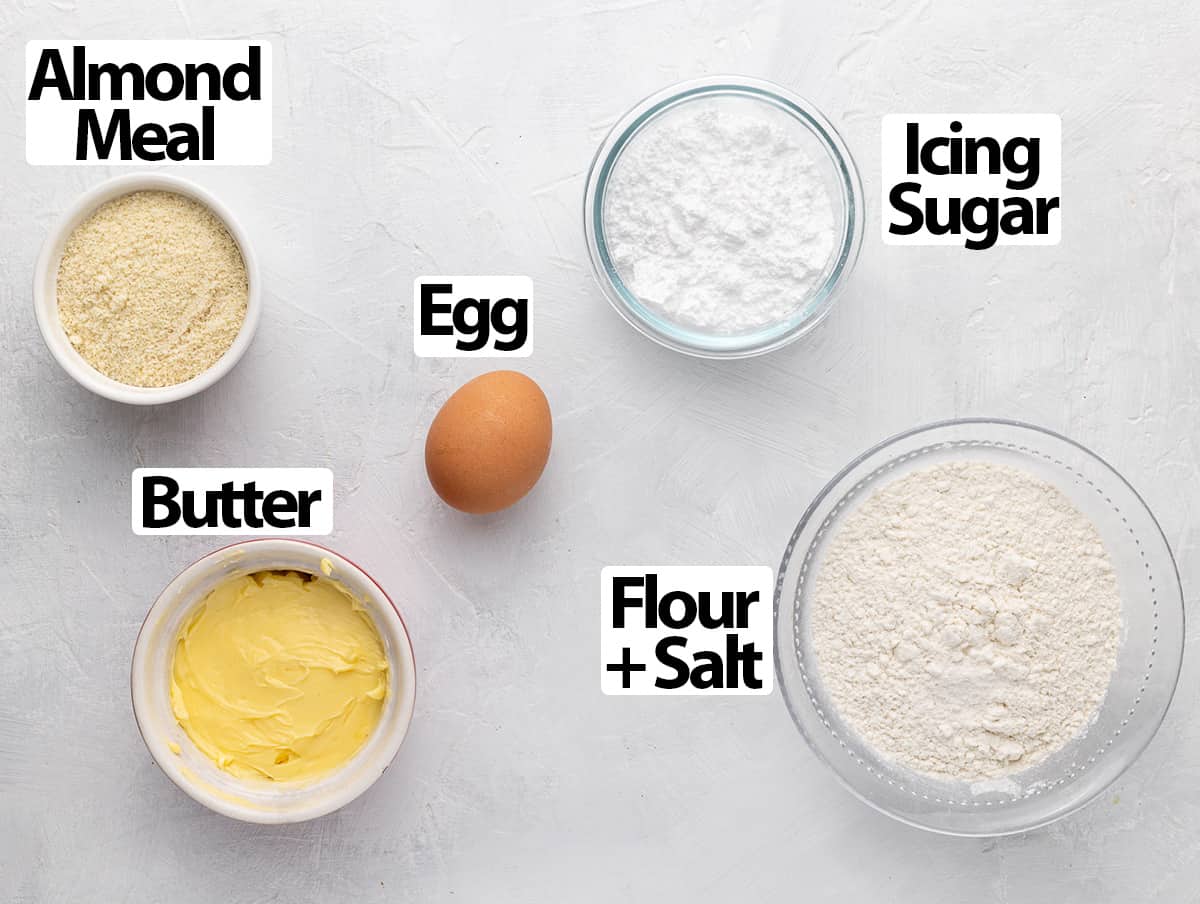
What is Pâte Sucrée made of:
- Unsalted Butter - it needs to be very soft and at room temperature, but not melted.
- Icing Sugar: or Confectioner's Sugar / Powdered Sugar. Make sure it is sifted as icing sugar tends to get lumps.
- Egg: medium to large size. It needs to be at room temperature to easily emulsify with the butter
- Almond Meal: used to adds lots of flavour to the pastry. It also reduces the amount of gluten in the pastry, meaning there is less risk of it shrinking in the oven. To make this pastry nut-free, simply substitute the almond meal with more flour.
- Flour: Plain / All-Purpose Flour, sifted. This recipe will work with Pastry Flour too.
- Salt: just a pinch of fine table salt to boost the flavours.
Optional Addition & Variation
This basic pastry recipe can be flavoured with lots of other ingredients, such as Vanilla Extract or Almond Extract or some Orange / Lemon Zest. You can also substitute a little bit of the Flour with some unsweetened Cocoa Powder to make a chocolate sweet pastry!
The classic recipe uses almond meal but you could actually use any ground nuts instead, like the pistachios used for my Pistachio Tart recipe.
How to make Pâte Sucrée
Making the Pastry Dough
Before starting the recipe, make sure the Butter is very soft. Either take it out of the fridge 30 minutes to 1 hour before making the pastry and cut the butter into small cubes to fasten the process.
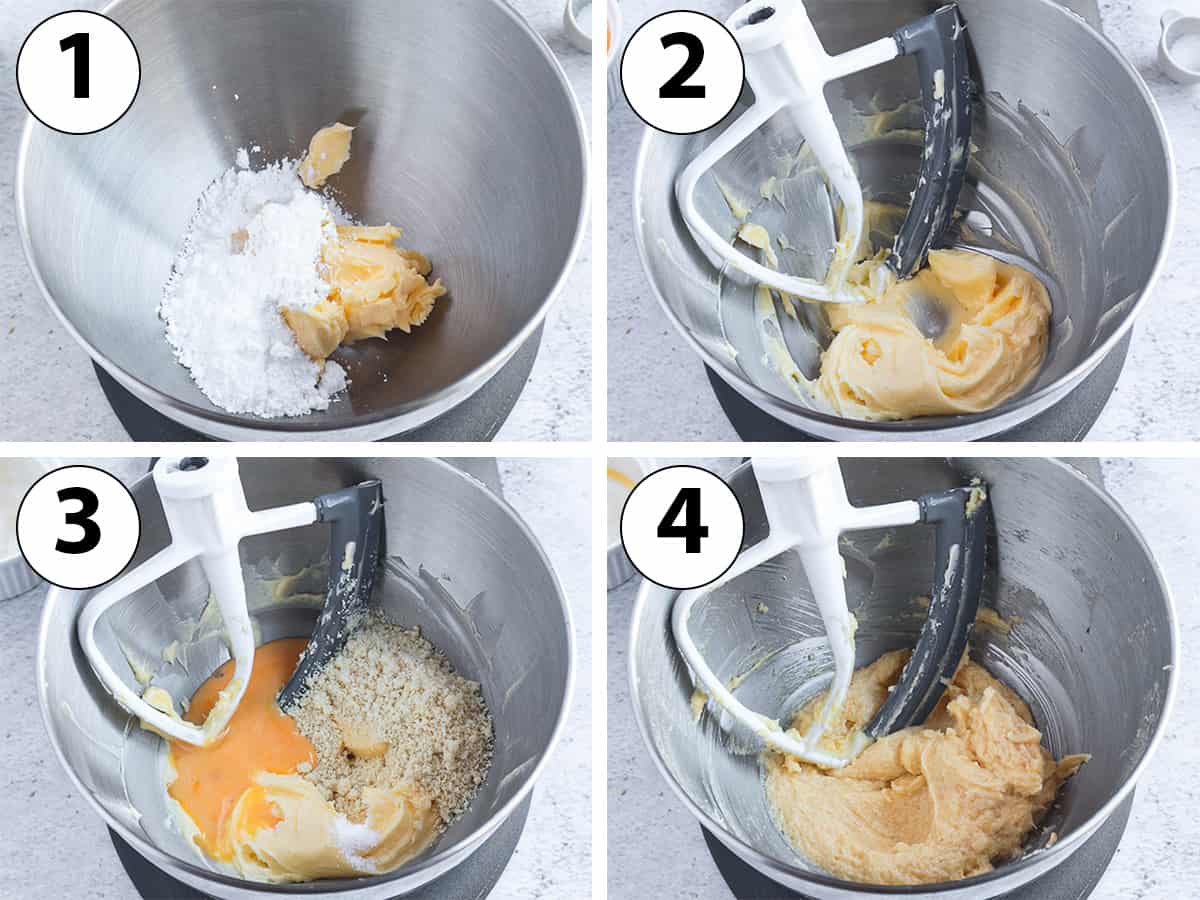
- Photo 1 & 2: Place the soft Butter and Icing / Powdered Sugar in the bowl of your stand mixer fitted with the paddle attachment. Cream it together on medium speed for a couple of minutes or until creamy and smooth.
We are not trying to beat a lot of air into into the mixture so no need to mix for too long. Stop as soon as smooth.
- Photo 3: Add the Egg (I like to whisk it separatly first so that it incorporate more easily into the mixture) and the Almond Meal.
- Photo 4: Slowly mix it in until a paste comes together. Use a rubber spatula to scrap down the sides of the bowl if needed.
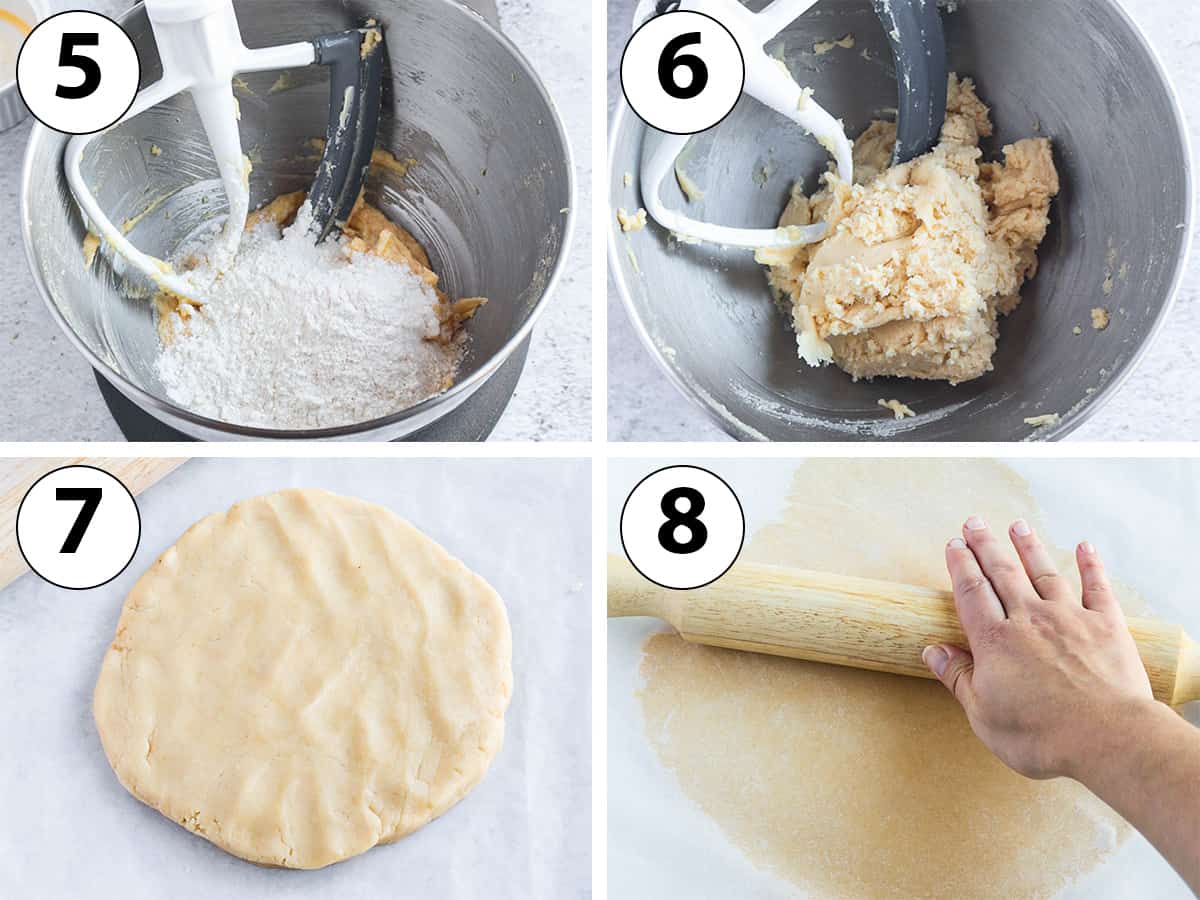
- Photo 5: Add the Flour and Salt, preferably sifted.
- Photo 6: Slowly mix until a rough dough comes together. Make sure to stop the mixer as soon as it comes together to avoid overworking the pastry.
- Photo 7: Transfer the pastry dough over a large sheet of baking paper. Bring it together in a ball using your hands, then slightly press on it to create a disk.
Traditionally, a method called "Fraisage" (or frasage) is used next. With the palm of your hand, gently press the dough out then pick it back and place back over the centre of the pastry. This process is used to insure all the ingredients are evenly mixed and you get the perfect texture.
- Photo 8: Place a second sheet of baking paper over it then roll the dough into a large circle using a rolling pin. Roll to an approximate thickness of 4 mm (1/8 inch).
Using a rolling pin with thickness rings is the easiest way to insure an even thickness of the pastry.
The pastry will be very soft and easy to roll, but try not to roll it too thin or it will be hard to line the pan and the pastry will tend to crack once baked.
- Optional: Place the tart pan you will use over the rolled pastry to check that it is rolled large enough.
- Place the rolled pastry over a flat tray and put in the fridge to chill and rest for at least 1 hour, or up to 24 hours.
Lining the Tart Pan
Would you like to save this recipe?
Take the pastry out of the fridge and leave to come back to room temperature for about 5 minutes. Peel off the top sheet of parchment paper, then place it back on. Flip the pastry over and remove the second sheet of baking paper. This is to make sure it does not stick to the paper when you try to lift it.
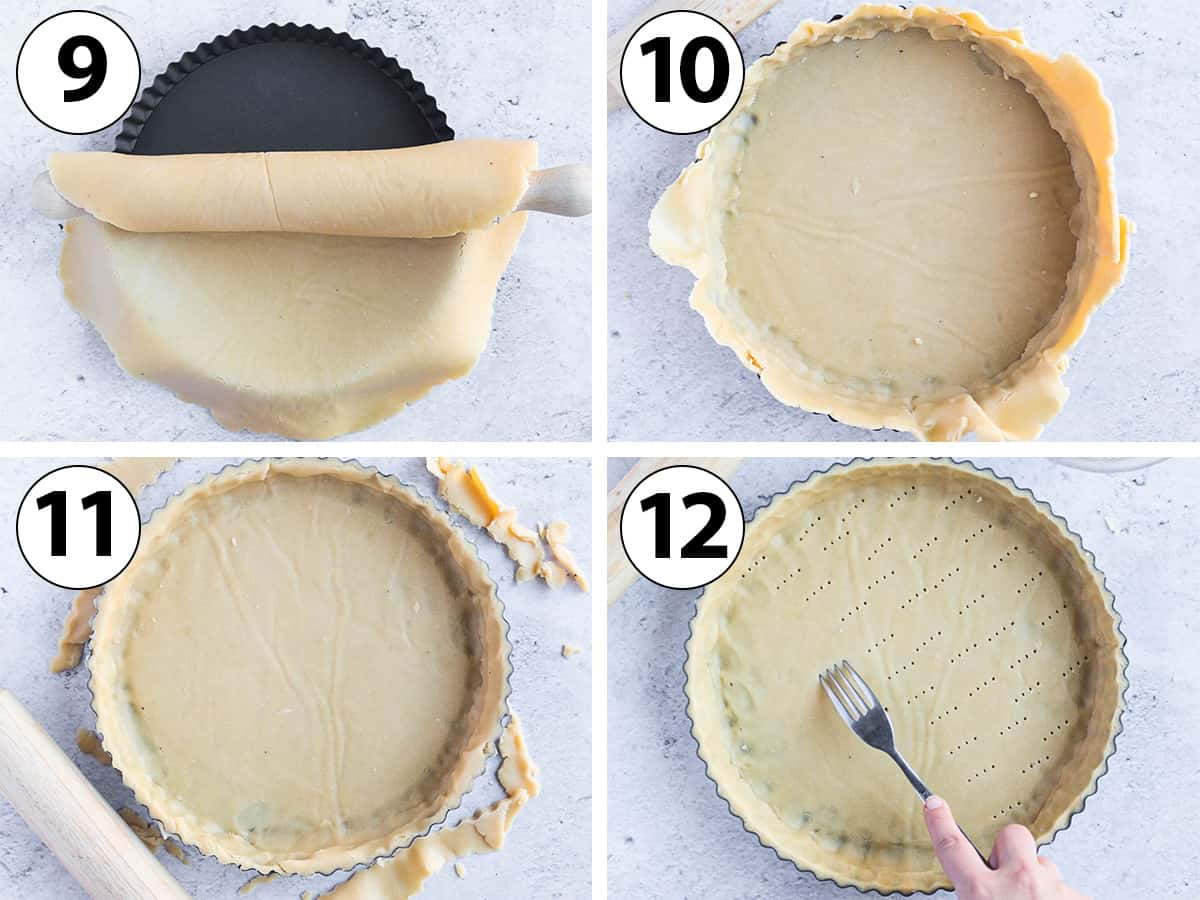
- Photo 9: Gently transfer the rolled Pate Sucree over your tart pan. I am using a 24 cm / 9,5 inch tart pan here.
If the pastry seems to be cracking, it might be too cold (or slightly too warm) still.
- Photo 10: Gently press the edges down to fit in the pan. Use your fingers to slide the pastry down the edges towards the corners, instead of pushing the base towards the edges.
You want that corner to make a perfect 90' angle. Make sure the Pastry is pressed tightly against all pan edges to avoid shrinking in the oven - there should no be any air pockets between the pan and the pastry.
Don't worry if the pastry cracks, it is very forgiving and can be patched up with your fingers.
Note: this pastry is much softer than a traditional shortcrust pastry because we are using soft butter instead of cold butter. The dough will get soft very quickly, which might make it hard to move around. Put in back in the fridge for a few minutes if required.
- Photo 11: Remove any excess dough by rolling the rolling pin over the edges of the tart pan or by using a small paring knife. Place back in the fridge for at least 1 hour, or up to 24 hours. If chilling for more than 1 hour, cover with plastic wrap so that the pastry doesn't dry out.
If needed, use the excess dough to patch up any cracks, holes or irregularities if needed.
- Photo 12: Dock the pastry (prick the bottom of the pastry with a fork) and preheat your oven on 160 degree Celsius / 325 degree Fahrenheit. Place the sweet pastry dough in the freezer in the meantime.
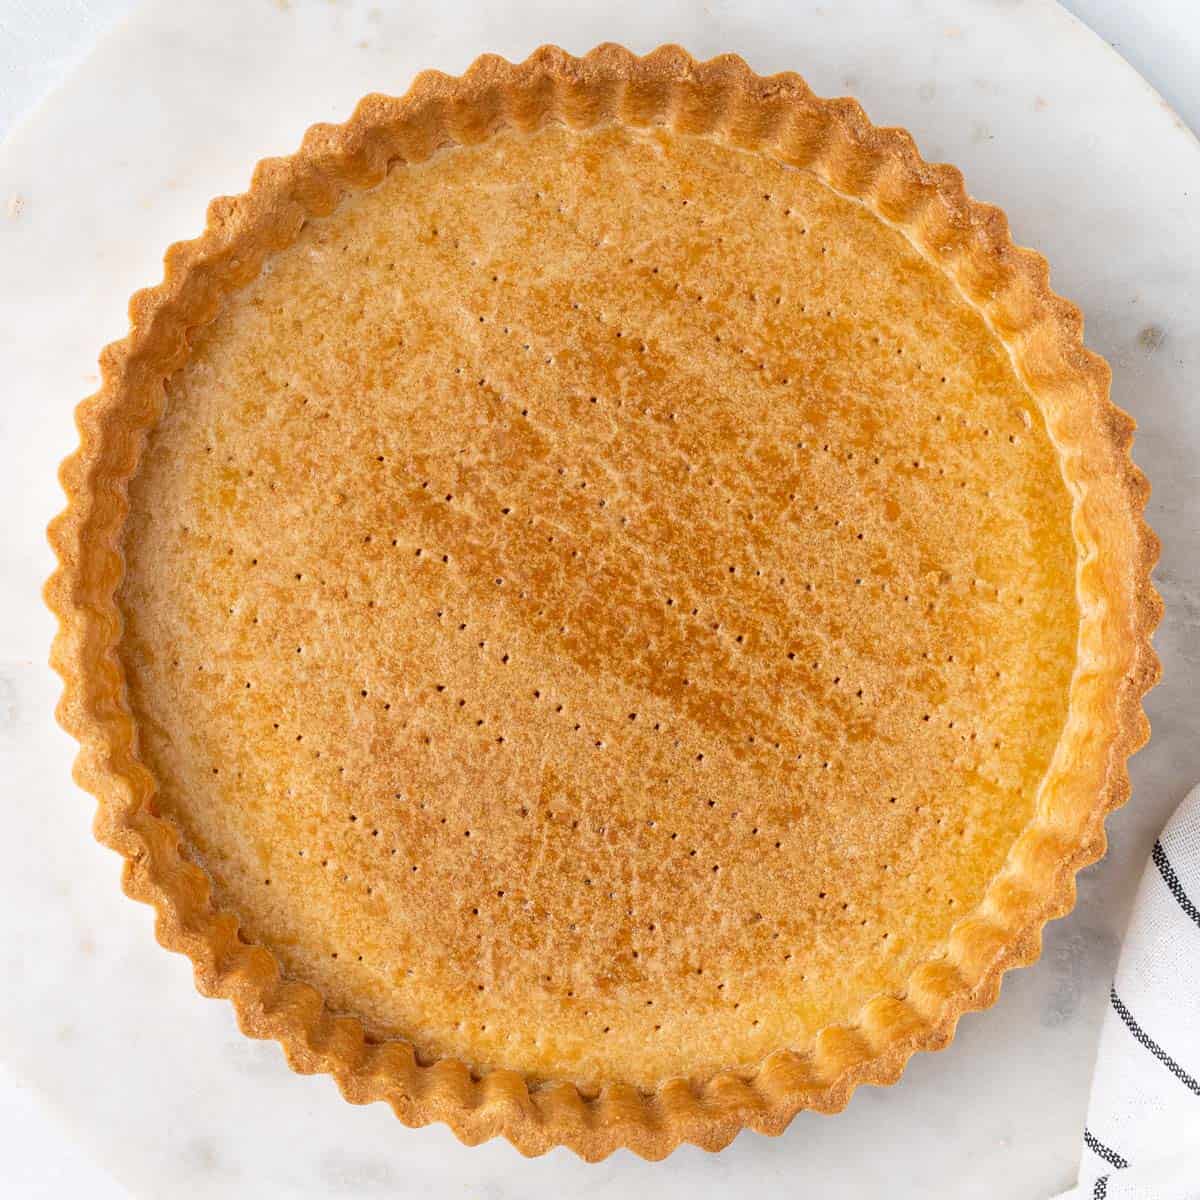
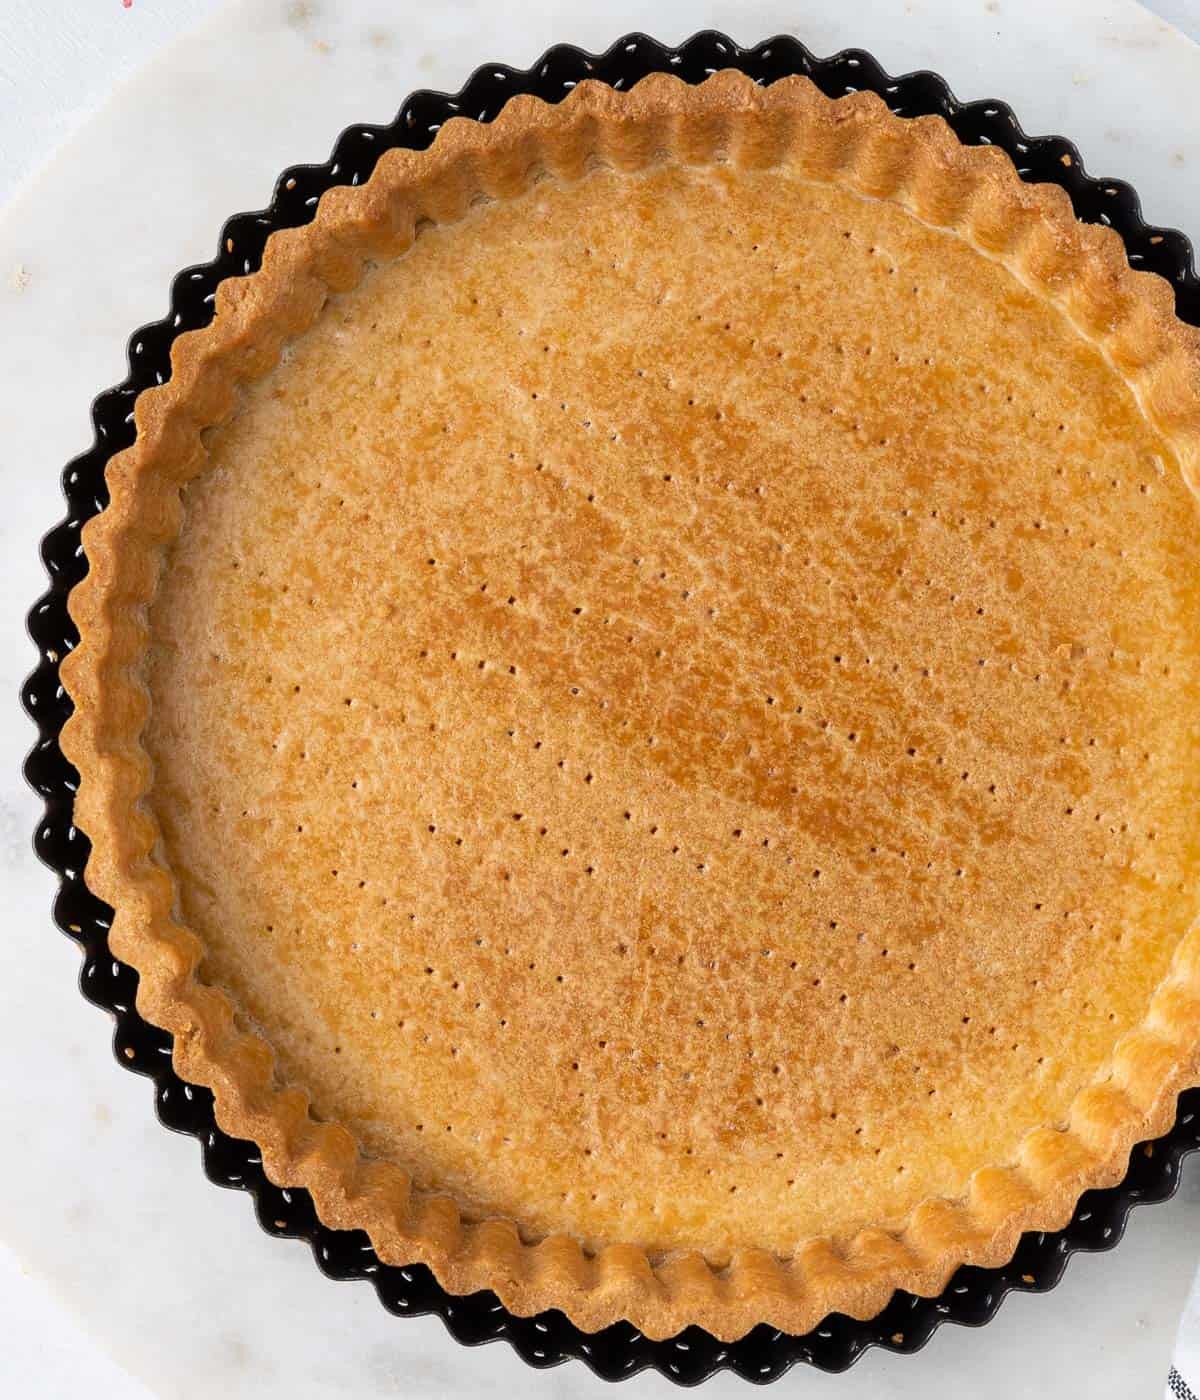
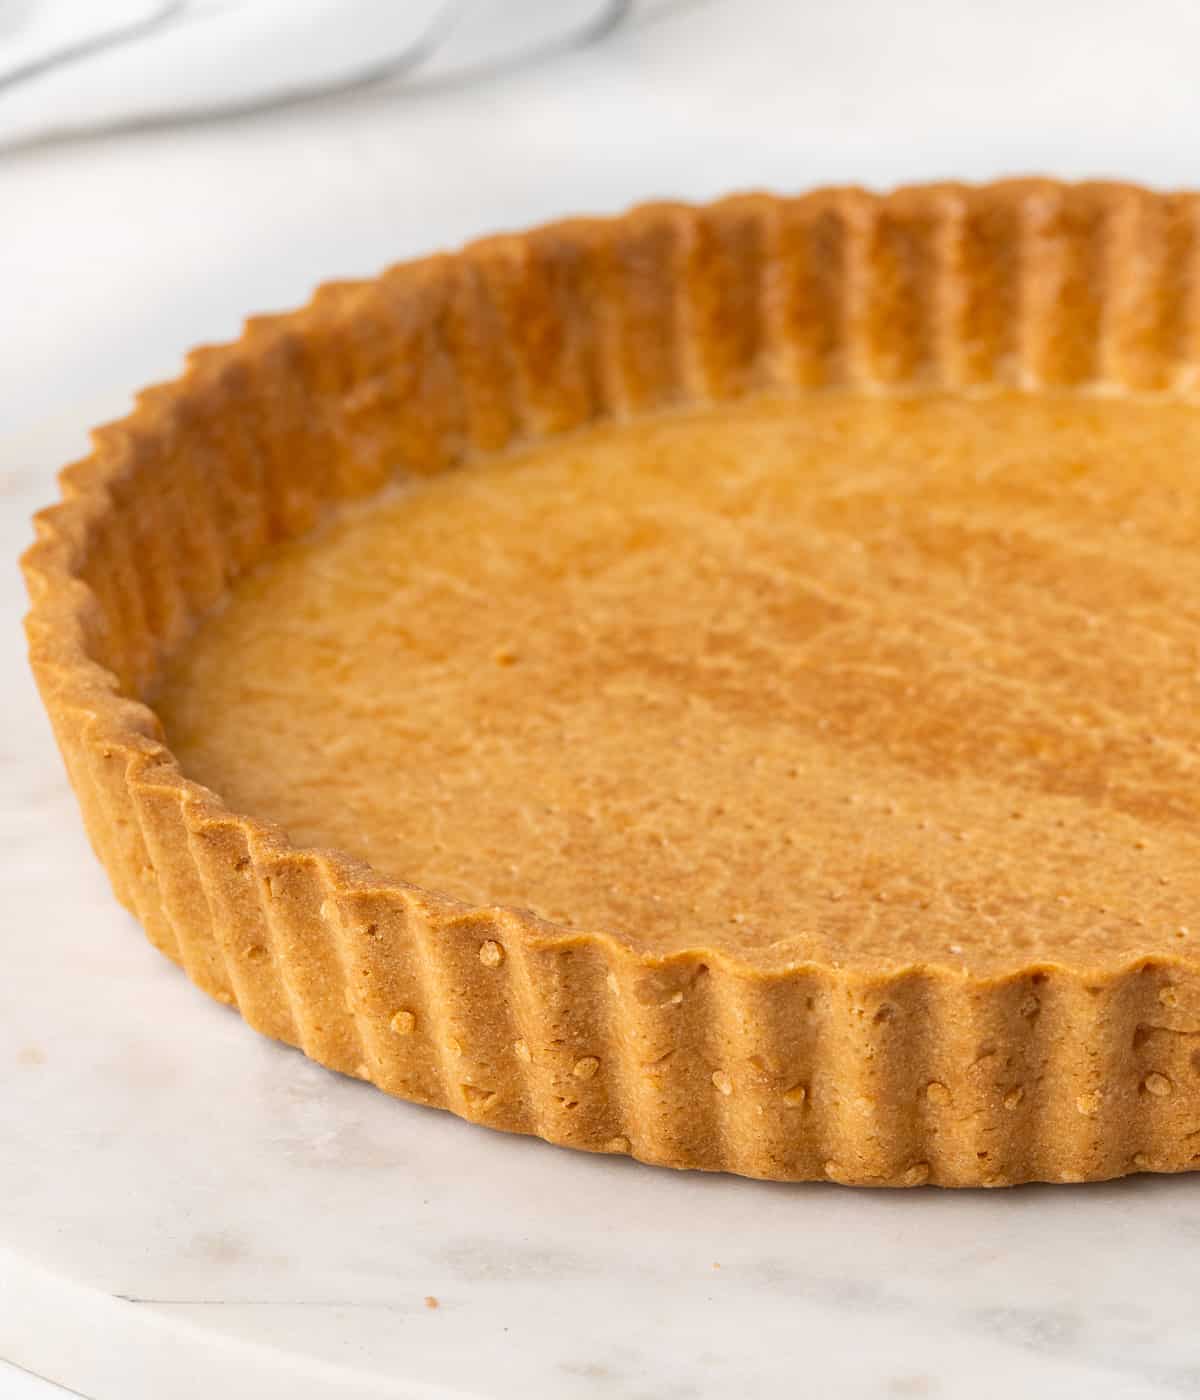
- To par-bake (see FAQs section below), bake in the oven for 15 to 20 minutes or until the bottom of the crust feels dry to the touch. To fully blind-bake, bake for 40 to 45 minutes or until lightly golden.
I am not using any pie weights, beans or rice here. If properly chilled and rested, the tart shouldn't have any issues in the oven.
- Place on a wire rack to cool down before using with your choice of filling.
Tips & Troubleshooting
The Pastry is too sticky
If very sticky and hard to roll, you might need to add a little bit more flour. This could be because of the size of the egg you use, the type of butter or the brand of flour you used.
The Pastry is breaking when I roll it
If it was properly mixed and you've done the "fraisage" step but the pastry still seems a bit dry, it might need a little bit more moisture. Add a few drops of very cold water and mix until you get the right consistency.
It is cracking when I line the tart pan
the dough might be a little bit too cold - or a little bit too warm. I recommend taking it out of the fridge about 5 minutes before lining the tart pan so it has the right temperature. If it becomes too soft to handle, place it back in the fridge for a few minutes.
This tart dough is very forgiving though and any cracks can be fixed with your fingers.
The crust shrunk or collapsed in the oven
If the Pate Sucree was properly chilled and rested, it shouldn't move much in the oven. Make sure to chill the pastry for at least one hour after handling it both times (after rolling it and lining the tart pan).
This could also happen if your oven is too hot (making the butter melt too fast), or if the pastry was not packed tightly enough against the tart pan. You should not have any air pockets between the pan and the pastry.
Recipe FAQs
The main differences are the the ingredients, the texture and the method used to make the pastry. A Pâte Sucrée uses whole eggs, no water and confectioners sugar. Pâte Sablée (often called and/or mistaken with "Pâte Brisée) is made with water, sometimes egg yolks and very little to no sugar.
A Pâte Sablée has a crumbly and flaky texture (the word "sablé" means 'sandy' in French). A Pâte Sucrée is crispy, more dense and richer in taste thanks to the whole egg and sugar.
Lastly, a Pâte Sucrée is traditionally made using the creaming method while a Pâte Sablée is made using a technique called "sablage" where the cold butter and flour are first mixed to create small crumbs before the adding of the wet ingredients. Read more about the different types of Pastries and how to use them here.
Technically, yes, although you will need to use another method than the 'creaming' one. To make sweet pastry in the food processor, cut the cold butter and all dry ingredients together until you get crumbs. Add the Egg and pulse until the dough comes together.
If you want a perfect looking pastry case that hasn't moved at all in the oven, the answer is: YES. There are two reasons why a pastry shrinks or collapses in the oven: gluten development in the pastry and soft butter that melts too quickly in the oven.
Letting the pastry rest for at least one hour after rolling it allows for the gluten to completely relax. You should notice that the dough does not pull at all after resting and is not elastic.
Chilling the dough in the freezer just before baking it also allows for the butter to firm up again and not melt too quickly in the oven.
The way you bake the Sweet Tart Dough will depend on its filling. With a filling that needs to bake (like an Almond Cream Filling for example), you will only need to par-bake (partially bake) the crust. It will finish baking with the filling.
For fillings such as Pastry Cream, Diplomat Cream or Chocolate Ganache that are already fully cooked, you will need to fully blind bake the tart crust first before filling it.
How to use this Pastry
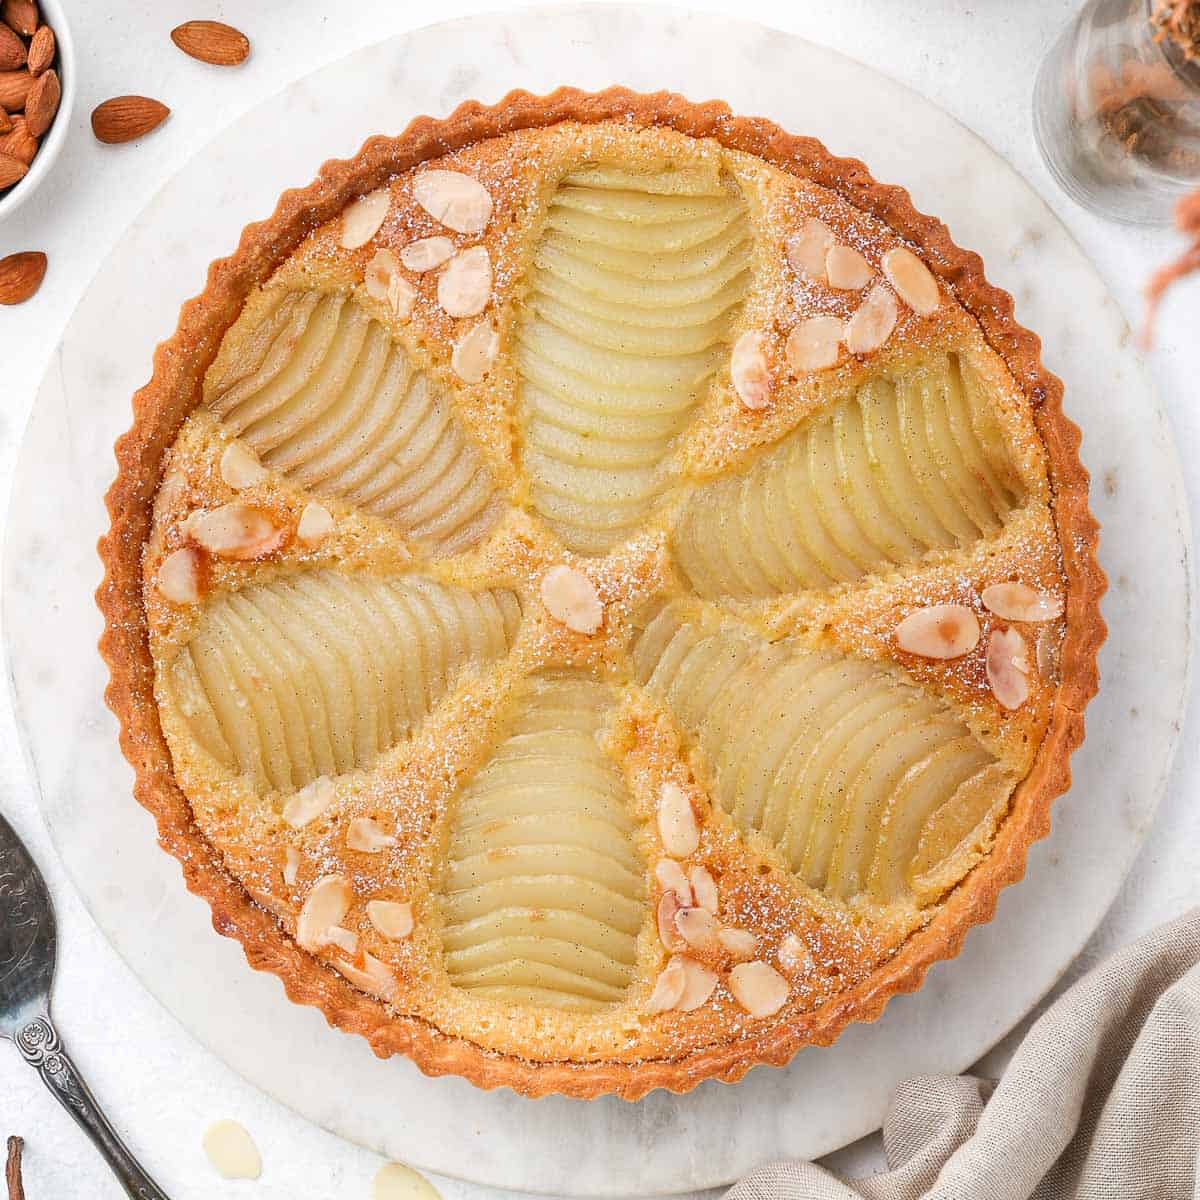
This pastry is perfect to use with a cream, custard and/or fruit filling - either fresh or cooked. For example, you can use this Sweet Shortcrust Pastry to make:
- French Apple Tart
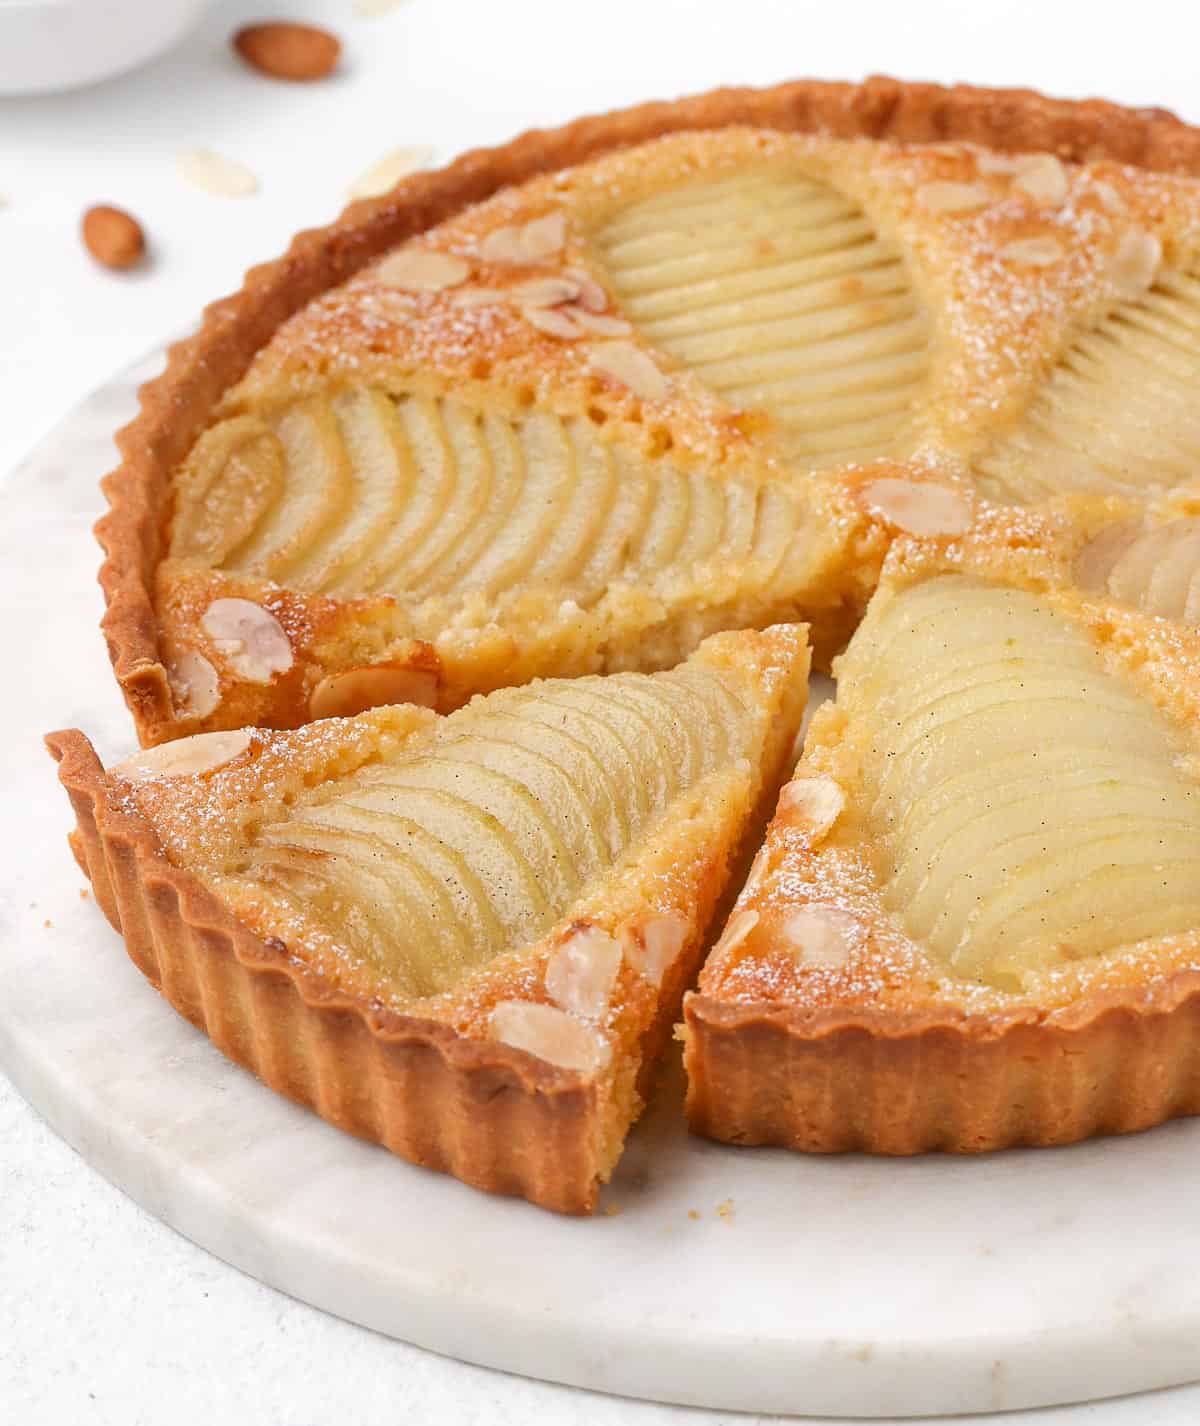
- Pear Frangipane Tart
- Strawberry Custard Tart
- Rhubarb and Custard Tart
- French Orange Tart
- Parisian Flan
- Lemon Curd Tart
- Apricot Frangipane Tart
- Passion Fruit Tart
You can also use this pastry to make Mini Tart Shells for Mini Tarts, such as Pear Frangipane Tartlets, Mini Fruit Tarts or Strawberry Custard Tartlets.
Storing & Freezing
This tart crust can be stored either un-baked or baked. It can be kept un-baked in the fridge for 24 hours either rolled between the two sheets of baking paper or lined inside the tart pan and covered with wrap.
Once baked, you can keep it at room temperature without any fillings for a day. Simply make sure to let it cool down completely and wrap it / cover it properly and store in a cool shady spot.
The Pâte Sucrée can be frozen for up to 3 months. Although you could freeze it after baking it, I recommend freezing it raw for a fresher taste and texture.
If you can, line the pastry in the tart pan before freezing it so it is pre-shaped. When ready to bake, place in the preheated oven straight from the freezer and simply add an additional 5 minutes of baking.
Made this recipe?
Let us know if you liked it by leaving a comment below, and tag us on Instagram @a.baking.journey with a photo of your creation!
Recipe
Pâte Sucrée (Sweet Shortcrust Pastry)
Ingredients
- 100 gr ( 6 1/2 tablespoons) Unsalted Butter, soft, at room temperature
- 50 gr (1/2 cup) Icing Sugar, or Powdered / Confectioner's Sugar
- 1 Egg, medium to large, at room temperature
- 40 gr (1/3 cup + 1 tablespoon) Almond Meal
- 200 gr (1 1/3 cup) Plain / All-Purpose Flour
- 1 pinch Fine Table Salt
Instructions
- Place the very soft butter in the bowl of your mixer with the Icing Sugar. Cream with the paddle attachment until smooth; about 2 minutes on medium speed.
- Add in the whisked Egg and Almond Meal. Mix on low speed until combined.
- Slowly mix in the Flour and Salt, stopping as soon as a rough dough comes together (see note 1).
- Transfer the pastry dough over a large sheet of baking paper and assemble it into a ball. Gently flatten the ball into a disk using your hands and do the "fraisage" (see note 2).
- Cover with a second sheet of baking paper and roll to a thickness of about 4mm (1/8 inch) with a rolling pin (see note 3). Place in the fridge to chill for at least 1 hour, or up to 24 hours.
- Take the pastry out of the fridge and leave it to come back to room temperature for about 5 minutes.
- Remove the baking paper sheets (see note 4) and transfer the pastry over the tart pan.
- Gently slide the pastry along the edges of the pan until it touches the bottom. Press it tightly against the bottom and edges of the pan (but without breaking it) to remove any air pockets. There should be no gaps between the pastry and the pan.
- Remove any excess dough using the rolling pin and/or a small paring knife (see note 5). Use any excess pastry to patch up holes, cracks or irregularities if needed.
- Place in the fridge to chill and rest for at least 1 hour, or up to 24 hours.
- Dock the pastry (poke the bottom with a fork). Preheat your oven on 160'C/325'F and place the pastry in the freezer in the meantime.
- To par-bake: bake for 15 to 20 minutes or until the bottom feels dry to the touch. Add the filling and finish baking.To fully blind-bake: bake for 40 to 45 minutes, or until lightly golden. Leave to cool down completely before adding your choice of filling.
Video
Would you like to save this recipe?
Notes
- Do not overmix the dough here - you can stop as soon as you do not see large lumps or un-incorporated flour
- Fraisage: with the palm of your hand, gently press the dough out then pick it back and place back over the centre of the pastry. This process is used to insure all the ingredients are evenly mixed and you get the perfect texture.
- The best way to roll the pastry is to always roll in the same direction. Simply turn the pastry 90' after each roll until you get a large circle. The pastry will be very soft - so easy to roll - but try not too roll it too thin. To check if it is rolled large enough, place the tart pan over and assess.
- To make sure the pastry can be easily moved away from the baking paper sheets: remove the top sheet of baking paper, place it back over the pastry, flip the pastry over and remove the second sheet.
- Roll the rolling pin over the top of the pan to cut off any excess pastry. You can also use a small pairing knife run parallel to your work surface to cut off the extra pastry.