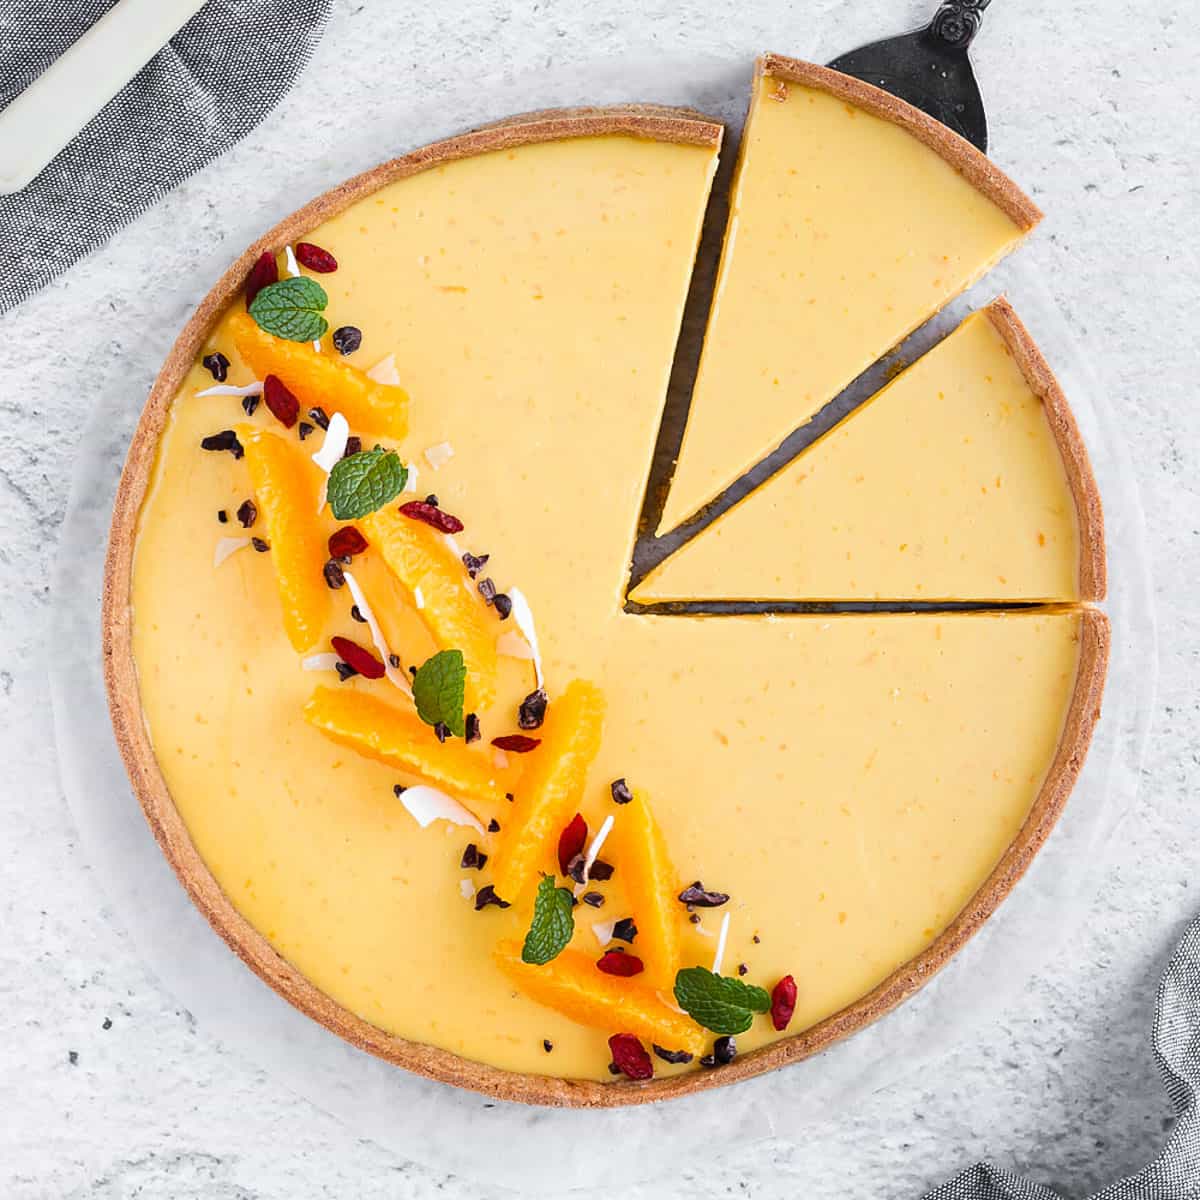
This French Orange Tart Recipe makes a deliciously fresh Winter dessert. It combines a Sweet Shortcrust Pastry (Pâte Sucrée) and a simple Orange Cream Filling (Orange Crémeux). A perfect dessert for a dinner party or for the Holidays!
Jump to:
Why we love this recipe
Move over, classic lemon tart - you have been replaced! This Fresh Orange Tart is just as delicious and makes a great original dessert the whole family will love.
Don't be scared off by the fancy French words or modern look; this citrus tart requires less work than you might think. Just like its Mini Orange Tartlets version, it only combines two elements: a tart crust and a creamy orange filling.
Top it with fresh orange segments or slices, some whipped cream or even an orange marmalade - this recipe can easily be made your own!
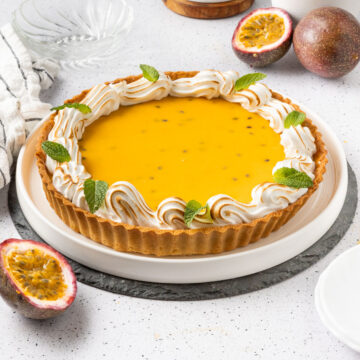
Love this recipe but want to try something a bit different? Check out my Passion Fruit Tart!
Sweet Shortcrust Pastry (Pâte Sucrée)
This first of the two elements of this recipe is the Pastry. For this recipe, I used my classic French Pâte Sucrée - aka Sweet Shortcrust Pastry.
As opposed to a Flaky Pastry, this one is more crispy, almost shortbread-y. It is the perfect tart shell for a cream filling because it won't become soggy and stay crunchy for a while.
It is usually the type of crust chosen to make Fruit Tarts, just like for my Pear Frangipane Tart, Strawberry Custard Tartlets or Rhubarb Tart for example.
Ingredients
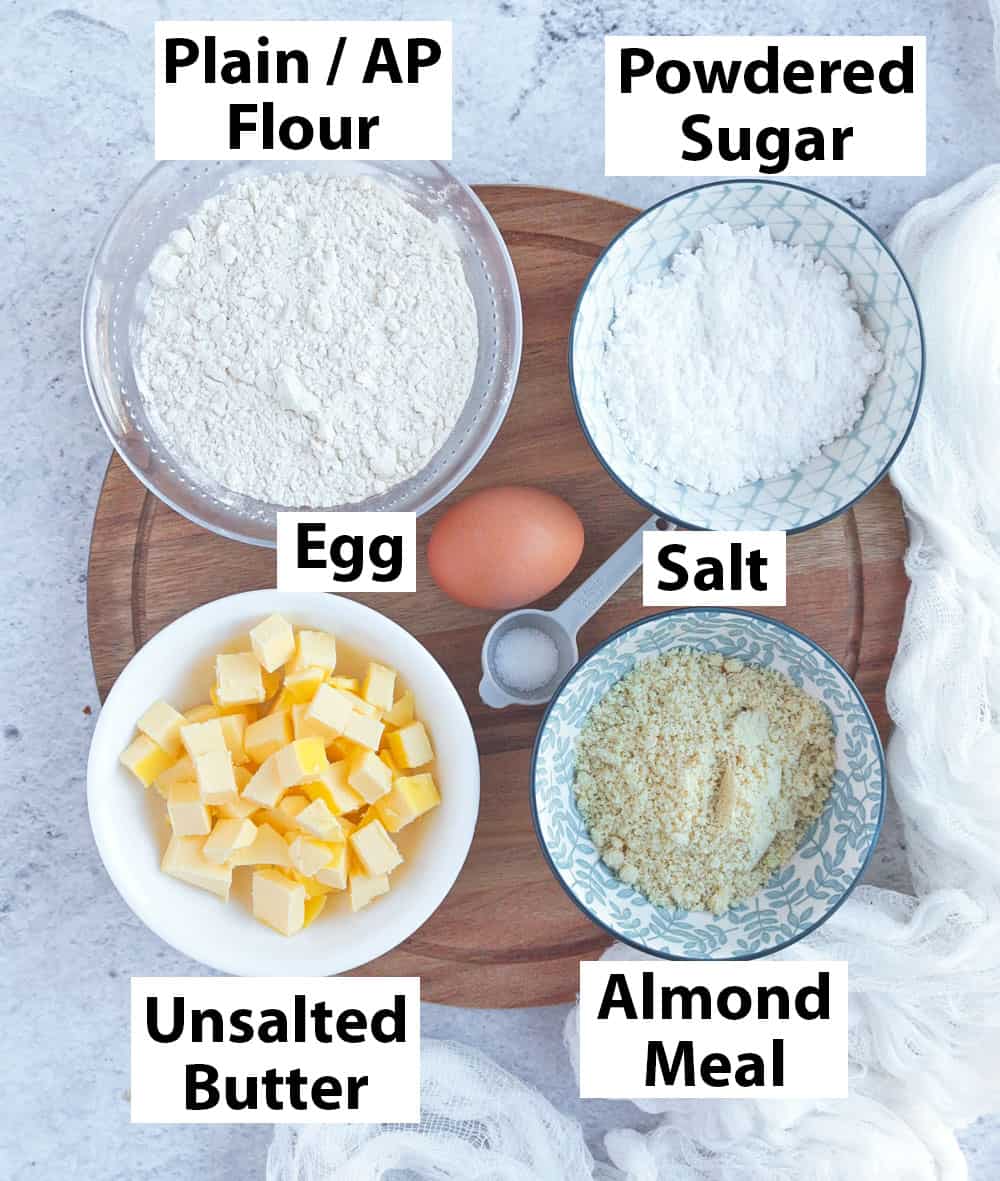
- Butter: unsalted and soft
- Powdered Sugar: sifted. It will work with Icing Sugar too.
- Eggs: at room temperature
- Almond Meal: a great simple way to add flavour to the pastry, but will help the pastry to not move when baked as it reduced the amount of gluten in the dough.
- Flour: Plain / All-Purpose - sifted
- Salt: just a pinch to balance the flavours.
- Orange Zest - optional
This pastry is fully made with a stand mixer - although it could easily be made by hands too. To find all the information, step-by-step photos, tips and tricks, head to my Sweet Shortcrust Pastry Recipe.
One of the great this about this tart crust is that it can be made up to 24 hours in advance and kept in the fridge until ready to bake! It will then need to be fully blind-baked before adding the orange filling.
I used a 25 cm / 10 inch Round Pastry Ring for this recipe, but you can also use a classic Tart Pan instead if preferred. I highly recommend using a tart pan with removable bottom.
Note that if preferred, you can absolutely use a store-bought and/or frozen pastry. I then recommend using a Shortcrust Pastry and not a Puff Pastry for this recipe.
Orange Cream Filling
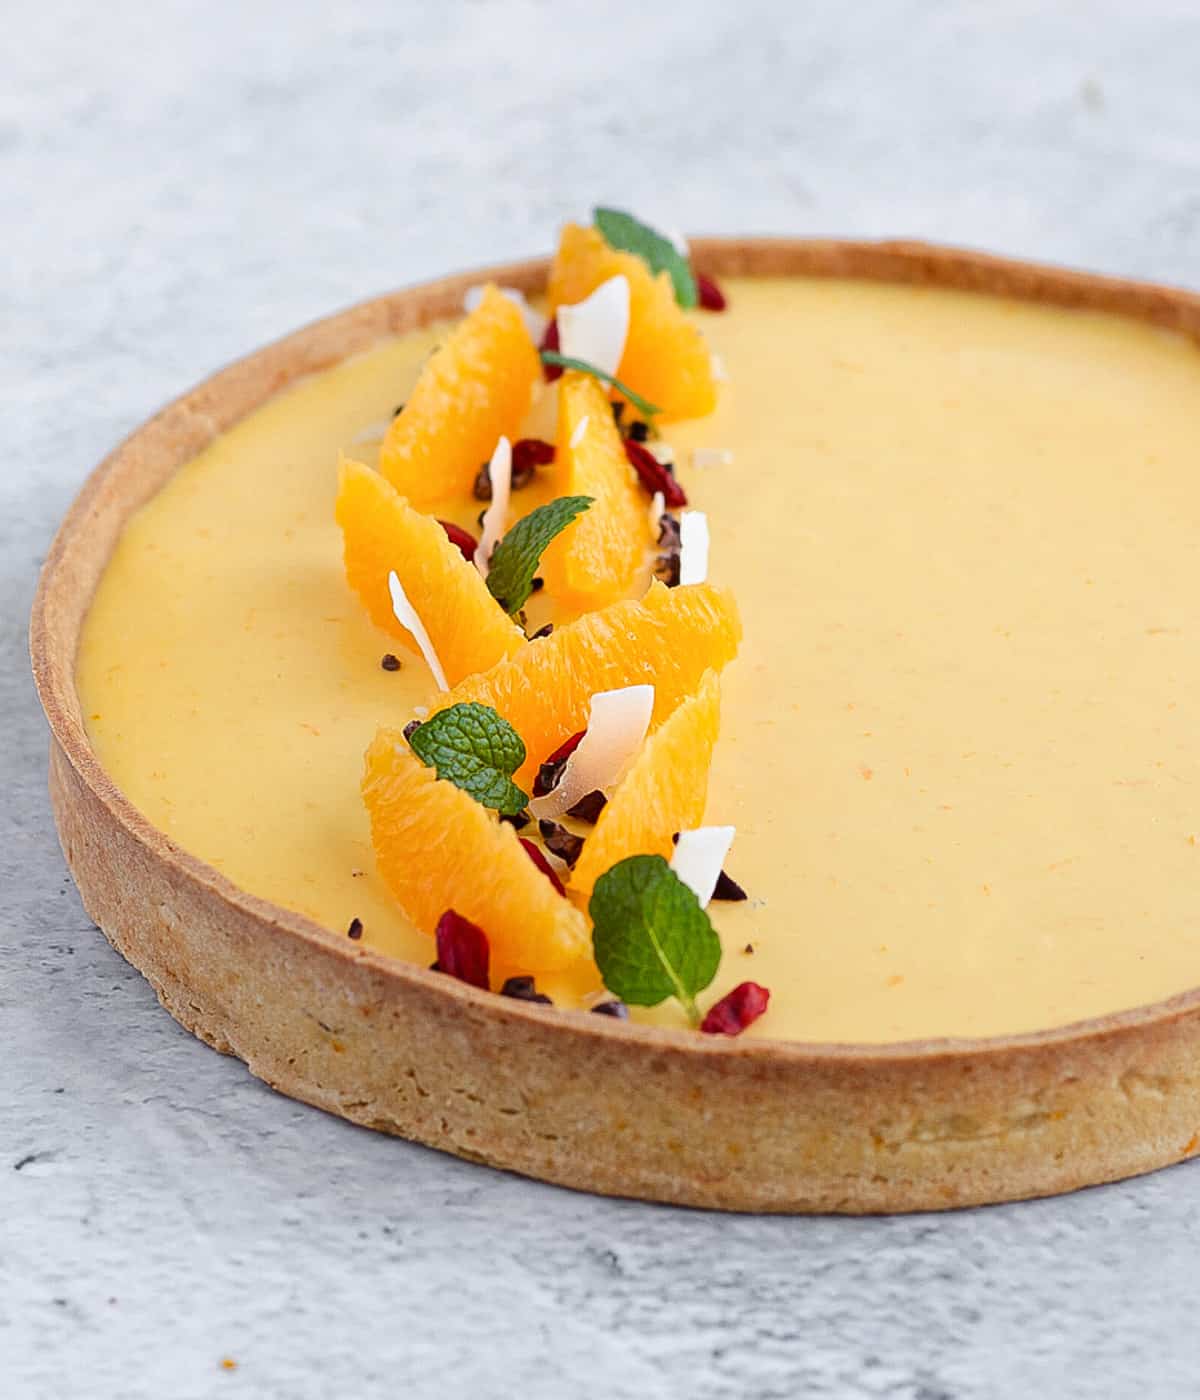
The second element of the recipe is the Orange Filling. Called a Crémeux in French (which literally means "creamy"), it is a preparation that is a hybrid between a fruity Pastry Cream and an orange Curd filling.
It is basically a Crème Anglaise where the milk is replaced with orange juice for flavour, then enriched with butter and set with gelatine. For this recipe, I offer the option of using cornstarch to thicken the cream if you want to avoid using gelatine.
Ingredients
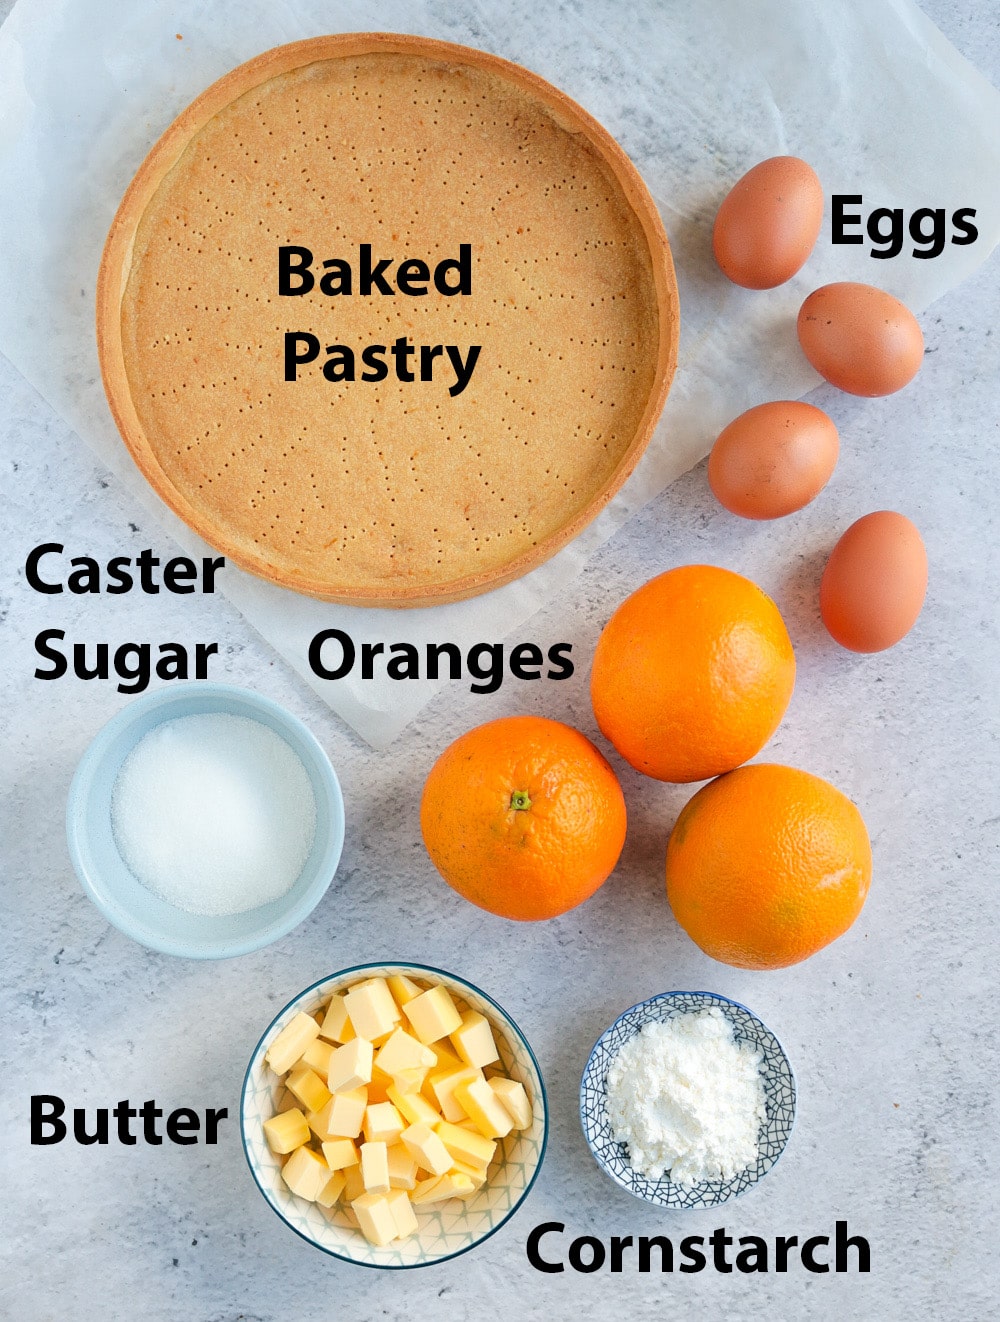
To make this filling, you will need (scroll down to the recipe card for all quantities):
- Eggs: at room temperature
- Caster Sugar: or fine white sugar
- Cornstarch: or corn flour. You can use another type of starch like tapioca, but I always find the get the best results with cornstarch.
- Oranges: fresh oranges that are juiced and zested.
- Butter: unsalted, soft and at room temperature
- Optional: Gelatine
The cornstarch can be replaced by plain flour, but I personally always find the the cornstarch gives the cream a much lighter texture.
How to make the creamy Orange Filling
The process of making the Cream is basically the same as making a Pastry Cream or a Custard, with a few minor changes.
- First, Zest and Juice the Oranges. Set aside the Zest (they will be added to the cream at the end) and place the Juice in a small pot. Depending on whether you want some Orange Pulp in the cream or not, you can pour it through a thin mesh sieve to remove any fruit bits.
- Place the Orange Juice on the stove and heat up on low heat until you get a simmer.
- While the orange juice is heating up, whisk together the Eggs, Sugar and Cornstarch in a separate bowl. Whisk until all smooth and no lumps remain.
- Once the Orange Juice is hot, slowly pour it over the Eggs/Sugar/Cornstarch while whisking. Whisk for a few seconds until smooth. This is to temper all the ingredients and make sure you do not get lumps in the cream.
- Pour all the liquid back into the Pot and place it back on the stove on a low to medium heat. Keep whisking until the liquid starts to thicken. Stop when you reach a boil to make sure the eggs are fully cooked.
Remove the cream for the stove as soon as you get the desired consistency to avoid burning it or creating lumps. I highly recommend transferring the cream into a clean bowl - or measuring jug like I did - to stop the cooking.
See the Tips below to rectify the cream texture if needed.

If adding the Gelatine, you will want to do it at this point - once the cream is fully cooked and still hot. Simply whisk in the Gelatine Powder that has been re-hydrated with a little bit of cold water until fully dissolved and set aside.
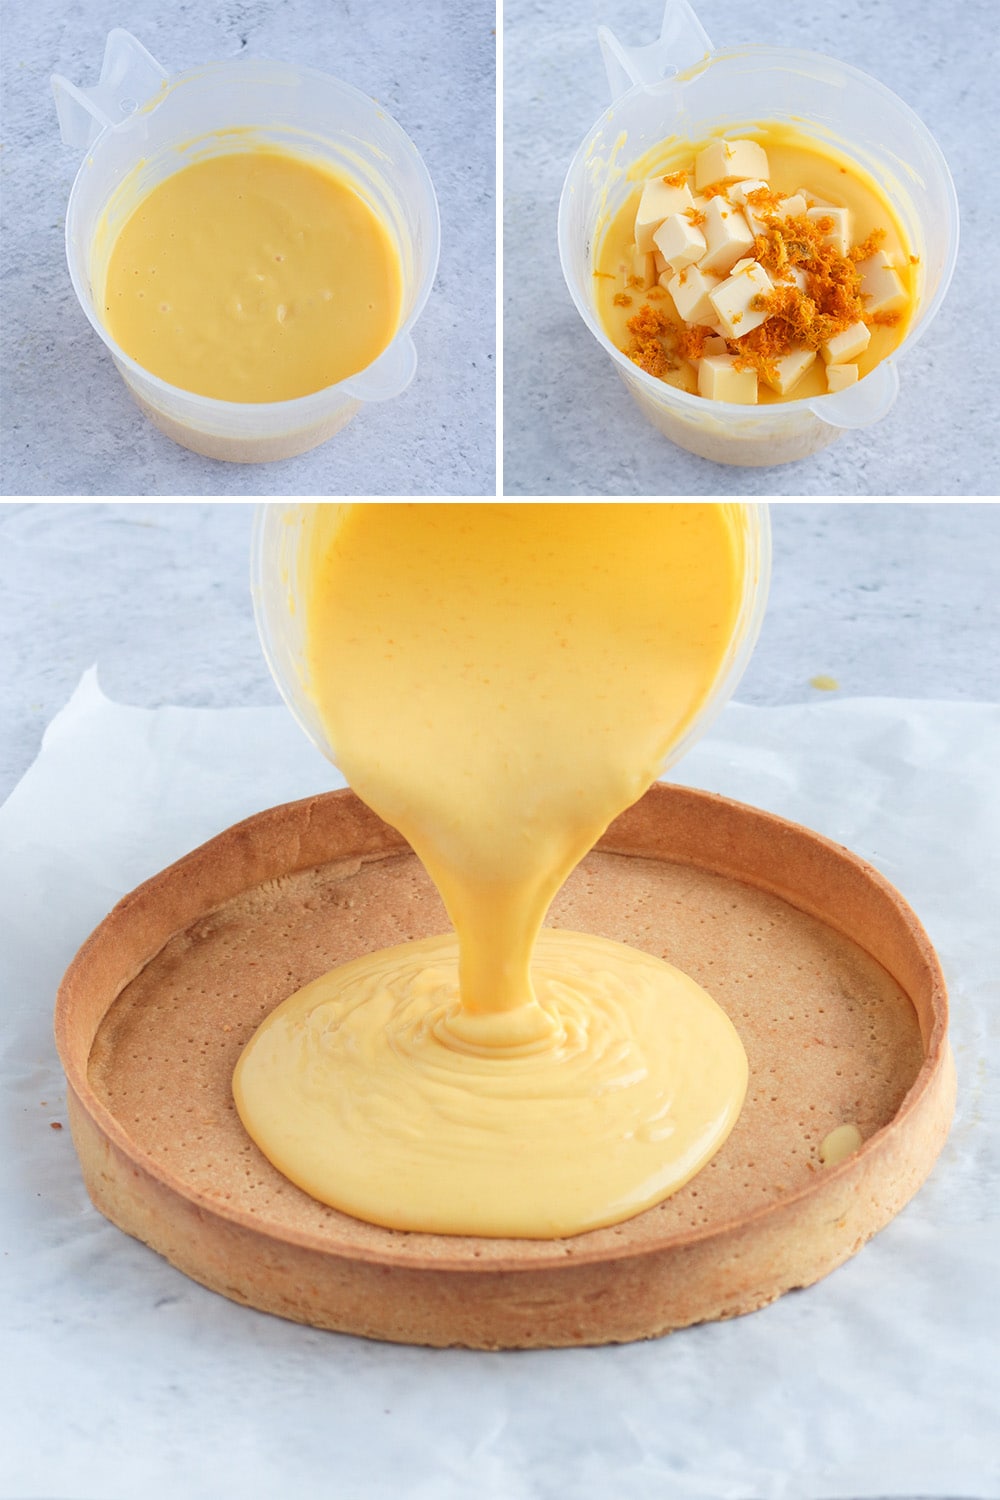
- Once the cream is cooked and has been transferred into a clean jug, it is really important to let it cool back down before adding the soft Butter. The ideal temperature is around 40'C / 105'F. If you add the butter while the cream is too hot, chances are it will melt straight away and split from the cream.
- When the cream has cooled down (but still warm), add the soft Butter (make sure it is at room temperature) and Orange Zest (*). You can mix it in with a Whisk, but the best way to create a smooth emulsion is by using an Immersion Blender. Simply blend it all together for a few seconds or until smooth.
- As soon as the Orange Cream is ready, pour it over the fully blind-baked pastry crust. If needed, use a small offset spatula to spread it out and smooth out the top. The cream will seem rather liquid but do not worry - it will set in the fridge.
- Place the tart in the fridge to set for at least 2 to 3 hours - or up to 24 hours before serving. The time the cream takes to set will also depend on whether or not you used gelatine.
(*) The reason we add the zest now and not earlier is just to keep its bright orange colour. If you add it with the juice, the zest will turn darker when cooked.
Tips to make this recipe
- Make sure the pastry is fully baked and completely cool before adding the orange cream
- Taste your oranges before making the cream. You might want to adjust the quantity of sugar if your oranges are very tangy.
- Pick Oranges that are usually used for juicing to get a better orange juice yield. Navel or Valencia Oranges for example.
- If the cream seems to be very thick or lumpy after cooking it on the stove, you can use an immersion blender to smooth it out before adding the butter. But do not over-mix it or it will become very thin and runny. Only a few seconds will be needed to smooth out any lumps.
- If the cream seems to be too liquid and does not thicken, you can add a little bit more Cornstarch - but only add a little bit at the time (about half a tablespoon at the time). Make sure to mix the cornstarch with a little bit of water (or orange juice) before adding it to the hot cream or it will create lumps.
- If adding Gelatine, add it to the cream once it is fully cooked but away from the stove. Ideally, transfer the cream to a clean jar before whisking in the re-hydrated gelatine.
- Make sure the cream has had time to cool down before adding the butter, or it will melt straight away and possibly split from the cream. Ideally, the cream should be around 40'C / 105'F when you add the butter.
- Add the orange zests at the end with the butter so that they keep their bright orange colour. If added at the start, the zest will brown when cooked on the stove.
- To get a perfect emulsion, mix the butter and cream with an immersion blender. It will only need a few seconds to get mixed in so do not mix for too long or it will become runny. Alternatively, you can simply whisk it all in.
- Leave the tart to cool down completely in the fridge and be fully set before adding any garnishes or decoration. The cream will be very soft at the start and any garnishes might sink if added to early - or discolour the cream.
Recipe FAQs
It really depends on the texture of the cream you are after. If you want a creamier, more curd-like texture - or want to make the tart vegetarian - you can absolutely skip the gelatine.
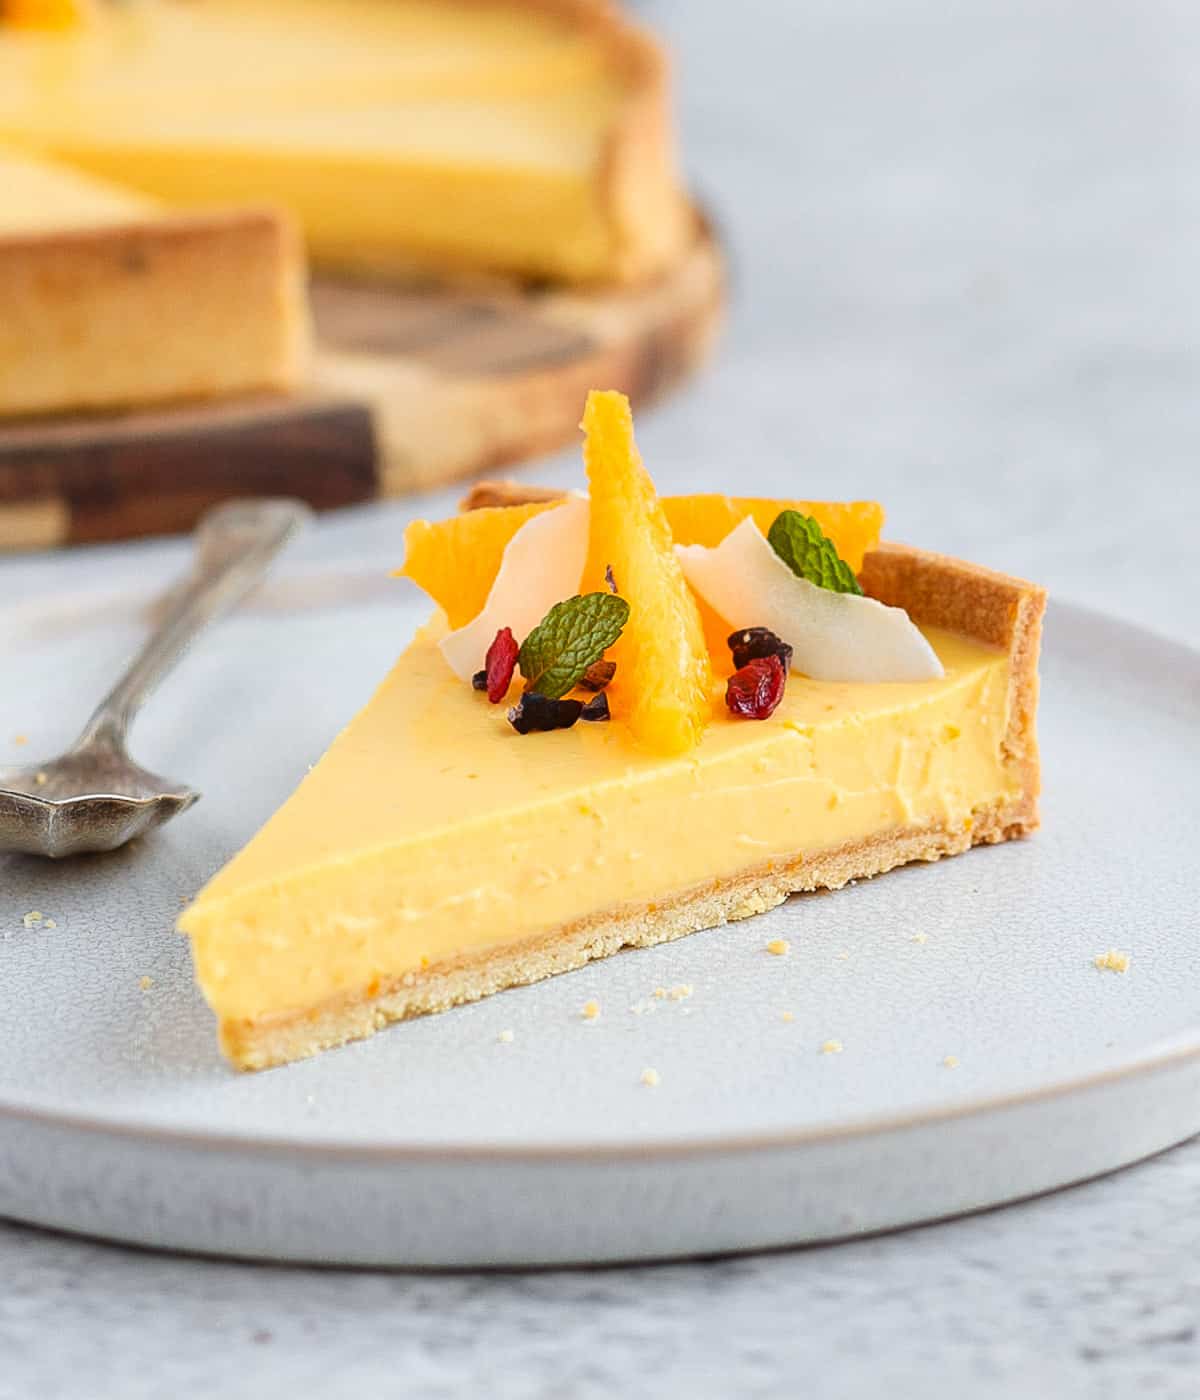
I personally like a filling that is slightly more set when I slice the tart, so I add a little bit of gelatine to it - about 1 teaspoon. It isn't much, so you will still keep a very creamy texture, but it is enough to have a more set texture.
As always, it is completely up to you!
This orange tart needs to be kept in the fridge, and will last for up to 3 days. Make sure to cover the tart with wrap or foil so that the cream does not absorb any smell or taste from the fridge.
This tart is not made to be frozen.
The Pastry itself can be prepared ahead and kept in the fridge unbaked for up to 24 hours before baking it. It can also be blind-baked in advance and kept at room temperature for up to 24 hours before filling it with the cream.
The orange cream needs to be poured into the baked crust straight away or it will start to set. But once assembled, the finished tart can be kept in the fridge for up to 24 hours before serving it.
Garnishes Ideas
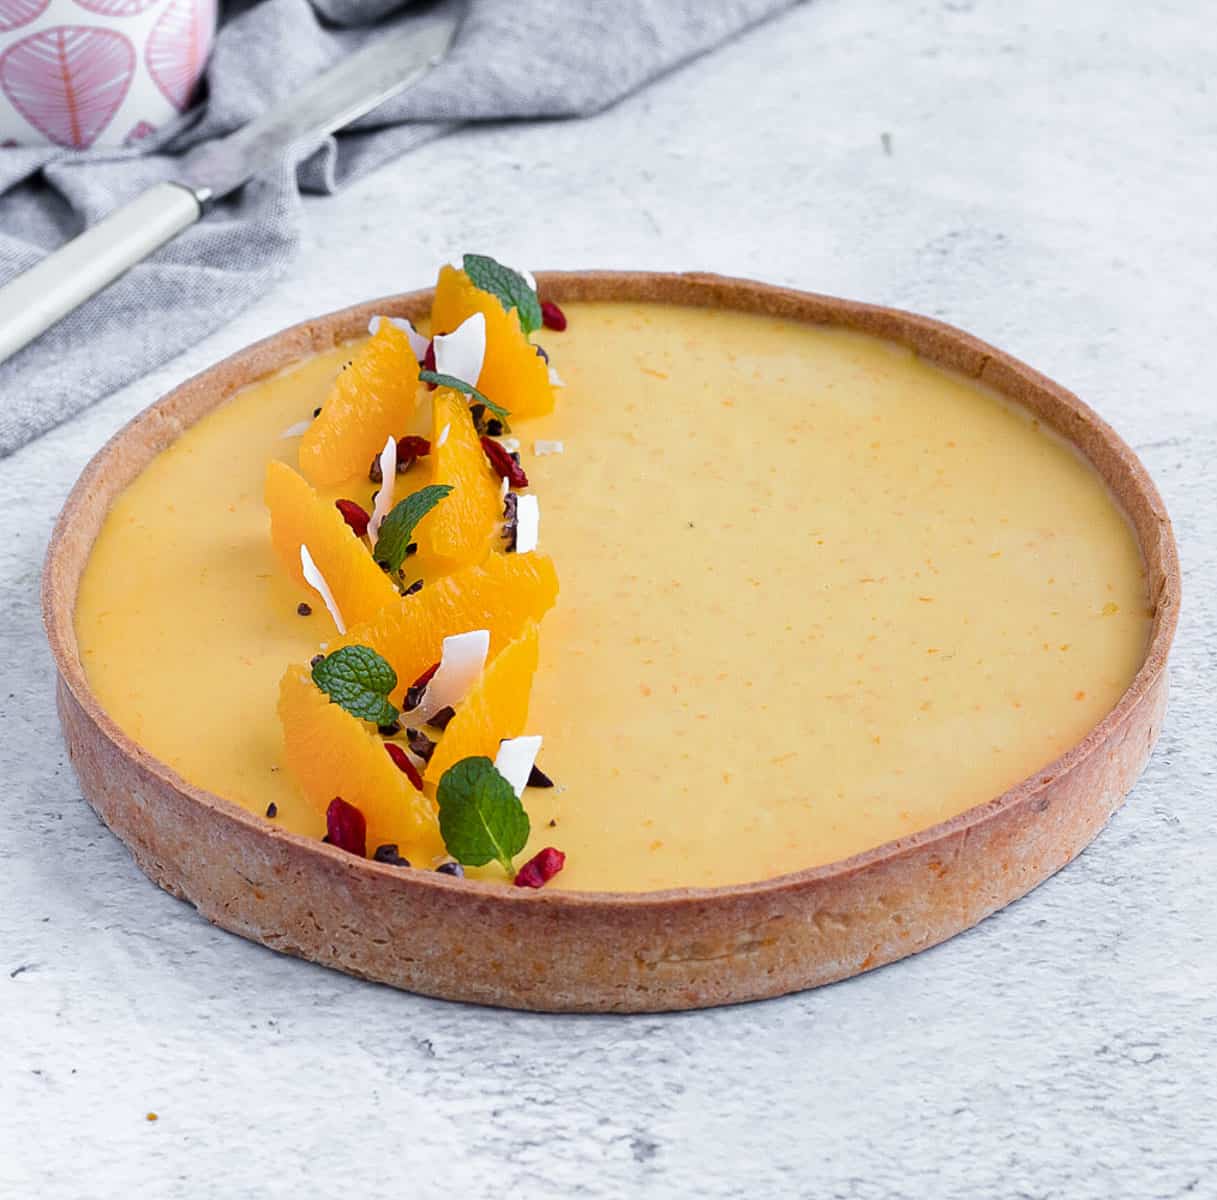
To finish this Orange Cream Tart, I used some Fresh Orange Segments, Coconut Flakes, Cacao Nibs, Fresh Mint Leaves and some Goji Berries. As you can tell, I wanted to finish the dessert with a burst of colour!
For something a little bit more simple, you can also just use Orange Segments or fresh Orange Slices. Or top the tart with some Whipped Cream or Meringue - optionally made with the addition of some orange zest!
Note that I recommend adding the garnishes just before serving or once the cream is fully set. If using Orange Segments like me, place them on a paper towel first to absorb any juices before placing them over the tart.
More Orange Recipes
I am so excited to share that my debut cookbook
"Bite-Sized French Pastries for the Beginner Baker"
was released in December 2023!
Recipe

French Orange Tart
Ingredients
Sweet Shortcrust Pastry
- 100 gr (6 1/2 tbsp) Unsalted Butter - very soft
- 40 gr (1/3 cup) Powdered Sugar - or Confectionner's Sugar
- 1 Egg
- 40 gr (1/3 cup + 1 tsp) Almond Meal
- 200 gr (1 1/3 cup) Plain / All-Purpose Flour
- 1 pinch Salt
- 1 Orange, zested - optional
Orange Cream
- 3 Large Oranges - Juice and Zest - or the equivalent of 300 ml - 1 1/4 cup of Juice
- 4 Eggs
- 60 gr (1/4 cup) Caster Sugar - or fine white sugar
- 25 gr (3 1/2 tbsp) Cornstarch
- 115 gr (1/2 cup) Unsalted Butter - soft
- 1 tsp Gelatine Powder - optional
Disclaimer
I highly recommend using the measurements in grams & ml (instead of cups & spoons) for more accuracy and better results.
Instructions
Sweet Shortcrust Pastry
- Place the very soft Butter in the bowl of your mixer with the Powdered Sugar and mix together with the leaf/paddle attachment until smooth and creamy.
- On low speed, stir in the Egg then the Almond Meal and Orange Zest (optional). Scrap the edges of the bowl with a spatula if needed.
- Add the Plain Flour and Salt and mix it in on low speed until the dough comes together.
- Bring the pastry together into a ball then thinly roll between two sheets of baking paper (1). Place over a flat tray and put in the fridge to rest for at least an hour.
- Once the pastry has chilled, line your Pastry Ring or Tart Pan and dock the pastry (2). If baking straight away, place it in the freezer for at least 30 minutes then bake for 25 to 30 minutes in an oven pre-heated on 160'C / 325'F. Otherwise, keep in the fridge until ready to bake (3).
- Leave to cool down completely before adding the cream filling.
Orange Cream
- Zest and Juice the Oranges. Set aside the Zest, and place the Juice in a Small Pot (4). Heat up the juice on the stove on low heat until it simmers.
- While the juice is heating up, whisk together the Eggs, Sugar and Cornstarch in a separate heat-proof bowl until smooth.
- Once the Juice starts to simmer, slowly pour it over the Eggs/Sugar/Cornstarch while whisking. Mix well until combined and smooth, then pour it all back into the Pot.
- Place the pot back on the stove on low heat and keep whisking until the liquid starts to thicken (5). Remove from the stove and transfer into a clean Jug or bowl.
- Optional: re-hydrate the gelatine powder with a little bit of cold water and whisk it into the cream until fully dissolved.
- Leave the cream to cool down (6) then add the soft Butter and Orange Zest. Quickly mix it in with an immersion blender (or with a whisk) until fully combined (7).
- Pour the Orange Cream over the fully baked Tart Crust and smooth it out with a small offset spatula if needed. Place in the fridge to set for at least 2 to 3 hours, or up to 24 hours before serving.
- Optional: cut out small segments of fresh orange to garnish the tart before serving.
Tried this recipe? Make sure to leave a comment and star rating below!
Notes
- I rolled the pastry to be about 4mm / 0.15 inch.
- To "dock" pastry means pricking it to avoid the formation of air bubbles. Simply use a fork and prick the whole bottom of the pastry, making sure the small holes go all the way through the pastry.
- I kept my lined tart ring in the fridge overnight, then placed it in the freezer while my over was pre-heating the next morning. The pastry needs to be very cold to avoid moving or shrinking in the oven.
- Pour through a thin mesh sieve to remove any pulp if preferred.
- It could take a few minutes on low heat. Make sure the heat is not too high or it might cook the eggs and curd. To make sure the eggs are fully cooked, whisk until you get a boil.
- Ideally, it should be around 40'C / 105'F before you add the Butter. If the cream is too warm, the butter will melt straight away and potentially split from the cream.
- It will only need a few seconds with an immersion blender - make sure not to over-mix it or it will turn liquid again. You can use a whisk if you do not have an immersion blender, but will need to stir it well to create an emulsion.
Nutrition
Made this recipe?
Let us know if you liked it by leaving a comment below, and tag us on Instagram @a.baking.journey with a photo of your creation!


