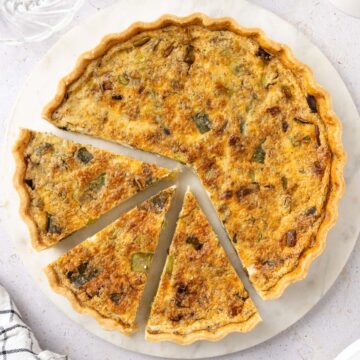
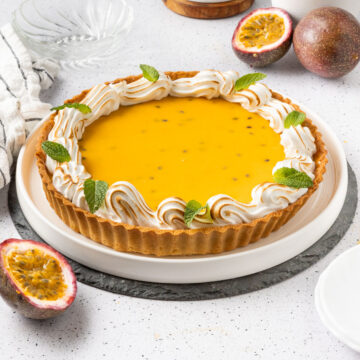
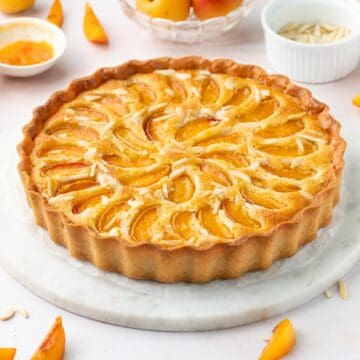
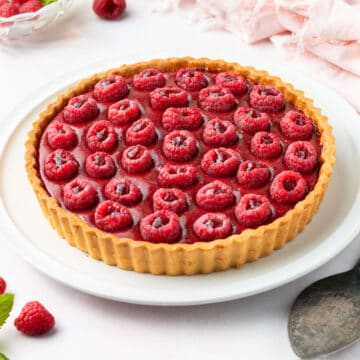
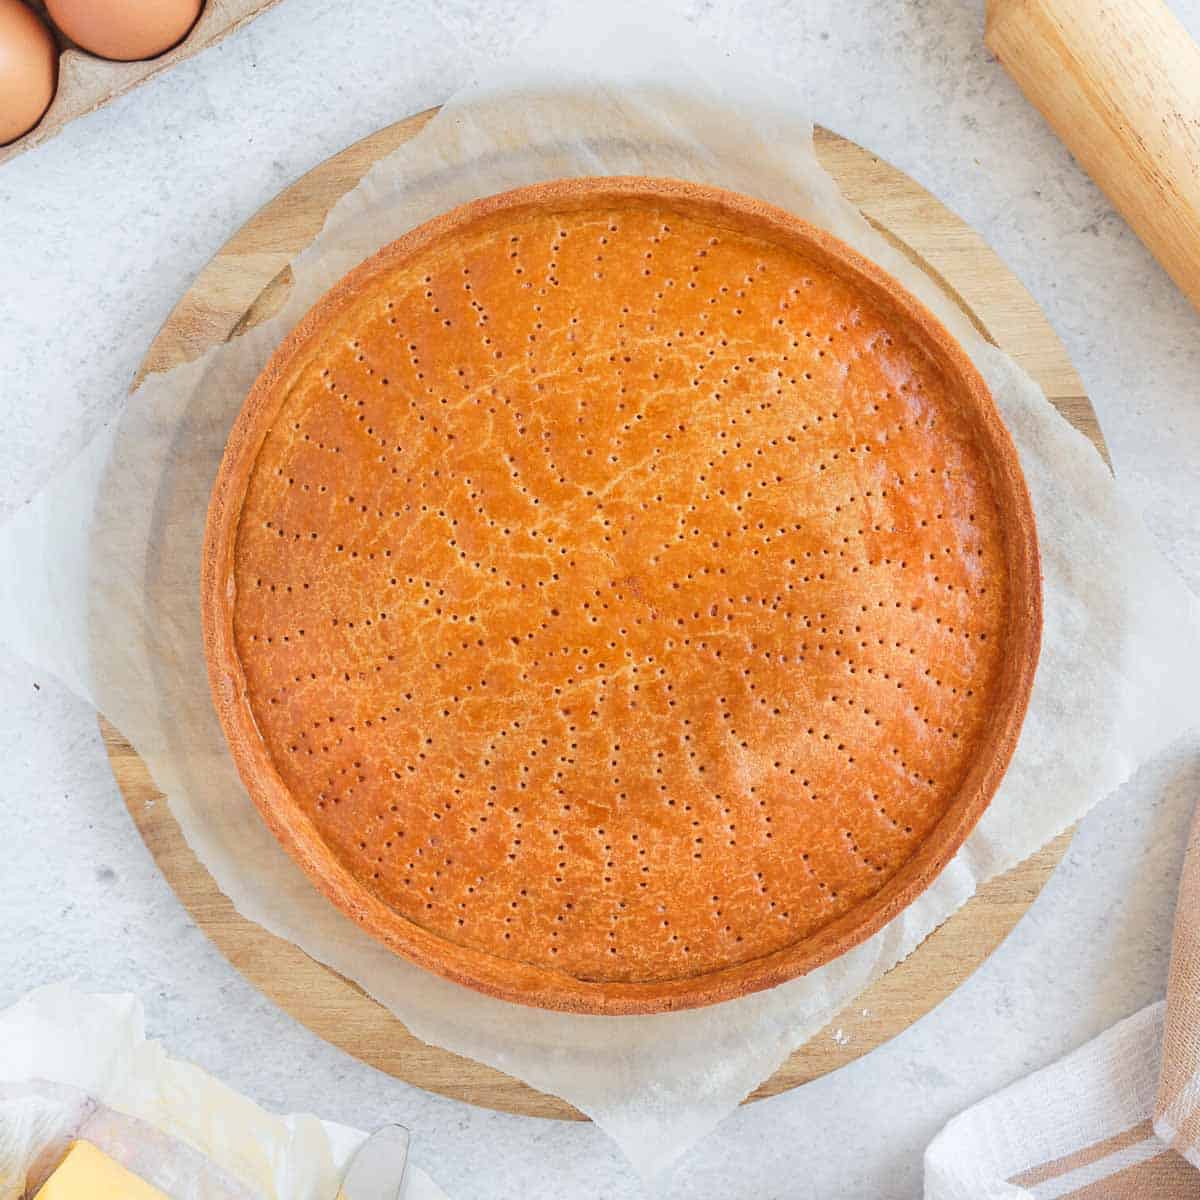
This classic French Pastry dough called "Pâte Sablée" is the perfect Tart Crust to use with a fruit or chocolate filling. Made with 5 ingredients only, this all-butter French Shortcrust Pastry can be prepared by hands or in the food processor.
Jump to:
Why we love this recipe
A good Tart always starts there: a delicious crust! This classic French Shortcrust Pastry Dough called Pâte Sablée is not only super versatile, it is also very easy to make with 5 ingredients only.
With the option to prepare it by hands or in the food processor and to keep it in the fridge or freezer for days, this pastry is always a great option when it comes to making Tarts from scratch. Use this pastry to make a delicious seasonal tart, add Cocoa to it to make a Chocolate Pastry Dough or to make Mini Tartlet Shells like for these Lemon Curd Tartlets!
What is Pâte Sablée
Pâte Sablée (pronounced "Paht Sa-Blay') means "Sandy Dough" in French. That name refers both to the pastry's texture that is lightly crumbly like sand, as well as the technique use to make it called "Sablage".
The "Sablage" technique (as opposed to the "crémage" or creaming method used for a Pâte Sucrée) is done by cutting cold butter into a dry ingredient like flour. This creates small crumbs that resembles sand. A liquid - usually Cold Water like for my Savoury Shortcrust Pastry or an Egg - is then added to bring the pastry dough together.
It has a slightly sweet flavour with a thick, very slightly flaky and crumbly texture, thanks to the large ratio of butter it contains.
Ingredients
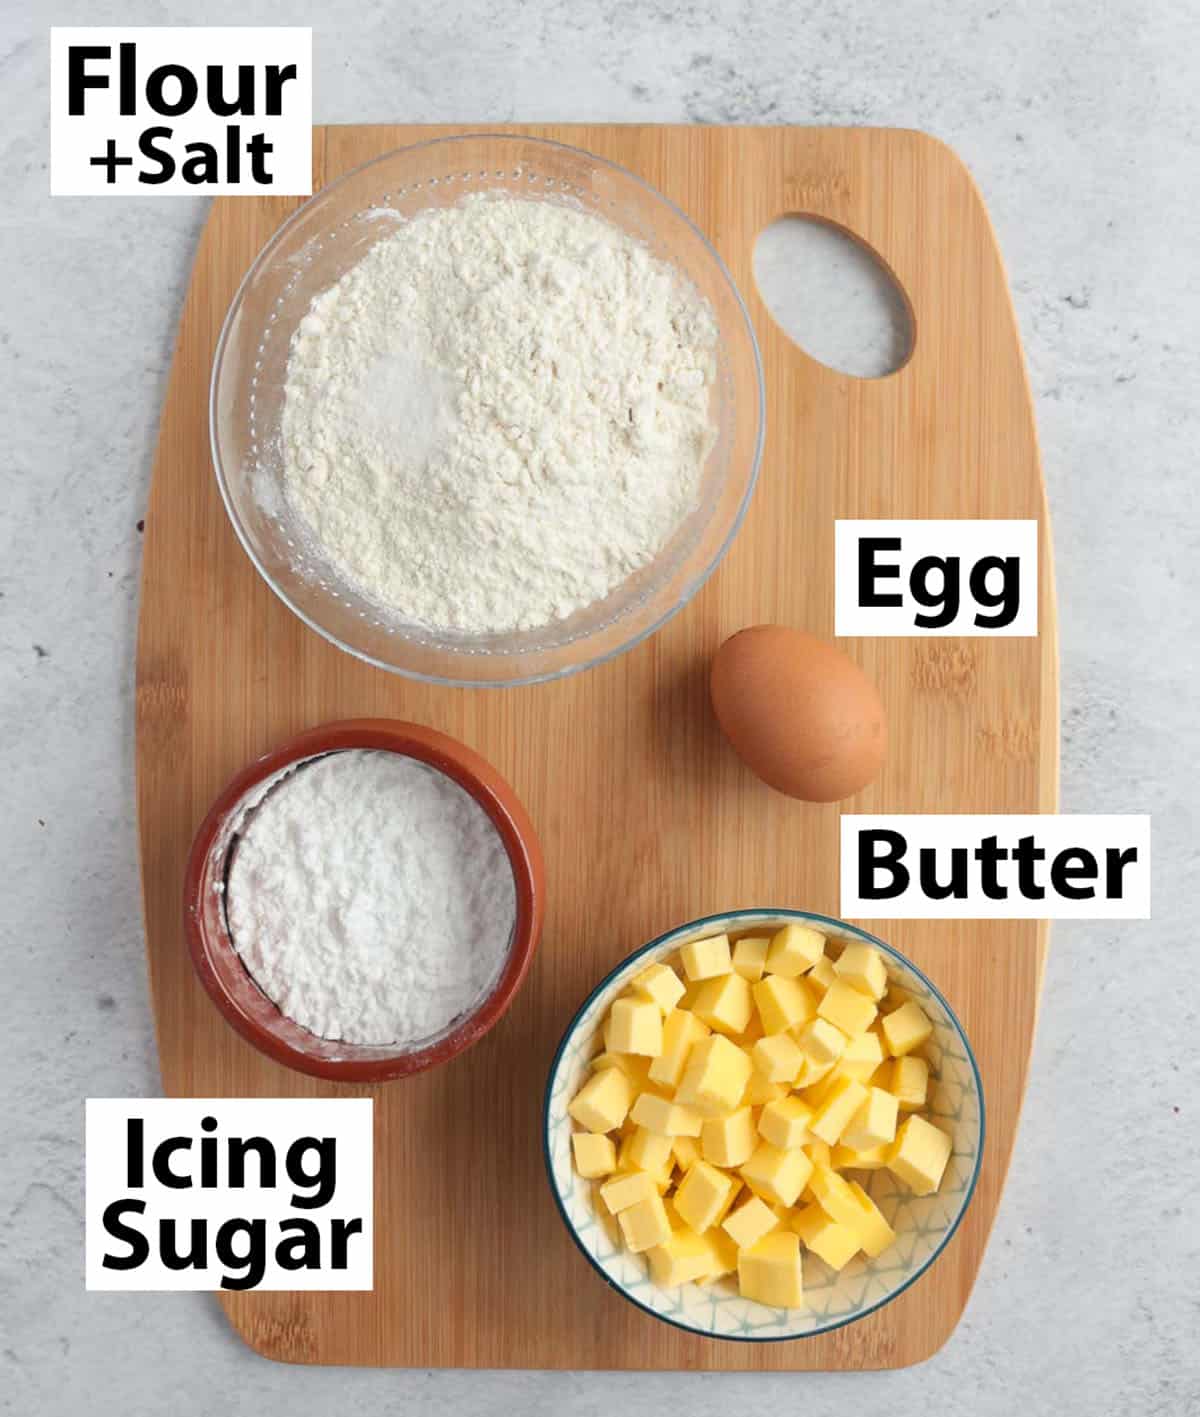
Scroll down to recipe card below for all quantities
This Pastry Crust is made out of 5 very basic ingredients:
- Flour: Plain / All-Purpose Flour, sifted. You can also use Pastry Flour here. Add a little bit of Salt to it to balance the flavours.
- Sugar: Icing Sugar / Powdered Sugar will create a smooth texture. Make sure to sift it before using as icing sugar tends to get lumpy when stored.
- Butter: Unsalted Butter, very cold and cut into small cubes. The temperature is really important to get the "shortcrust" texture.
- Egg: medium to large size egg. I recommend whisking it in a small bowl separately before adding it to the dough, as it will incorporate more easily.
Optional Additions & Flavour Variation
There are many ingredients that can be used to flavour the pastry. For example, add some Orange or Lemon Zest, Vanilla Powder, Freeze-Dried Berries for colour or even some Cacao Powder like I did for my Chocolate Pate Sablee.
How to make Pâte Sablée step by step
There are two ways to make this dough: by hands or with a food processor. I personally always do it in the food processor as I find it quicker, cleaner and get a better "sanding" result. That being said, it can absolutely be done by hands (a Pastry Blender will help) as well!
A third option would be a creaming method, which requires to cream the butter and sugar first before adding the rest of the ingredients.
Making the Pastry With a Food Processor
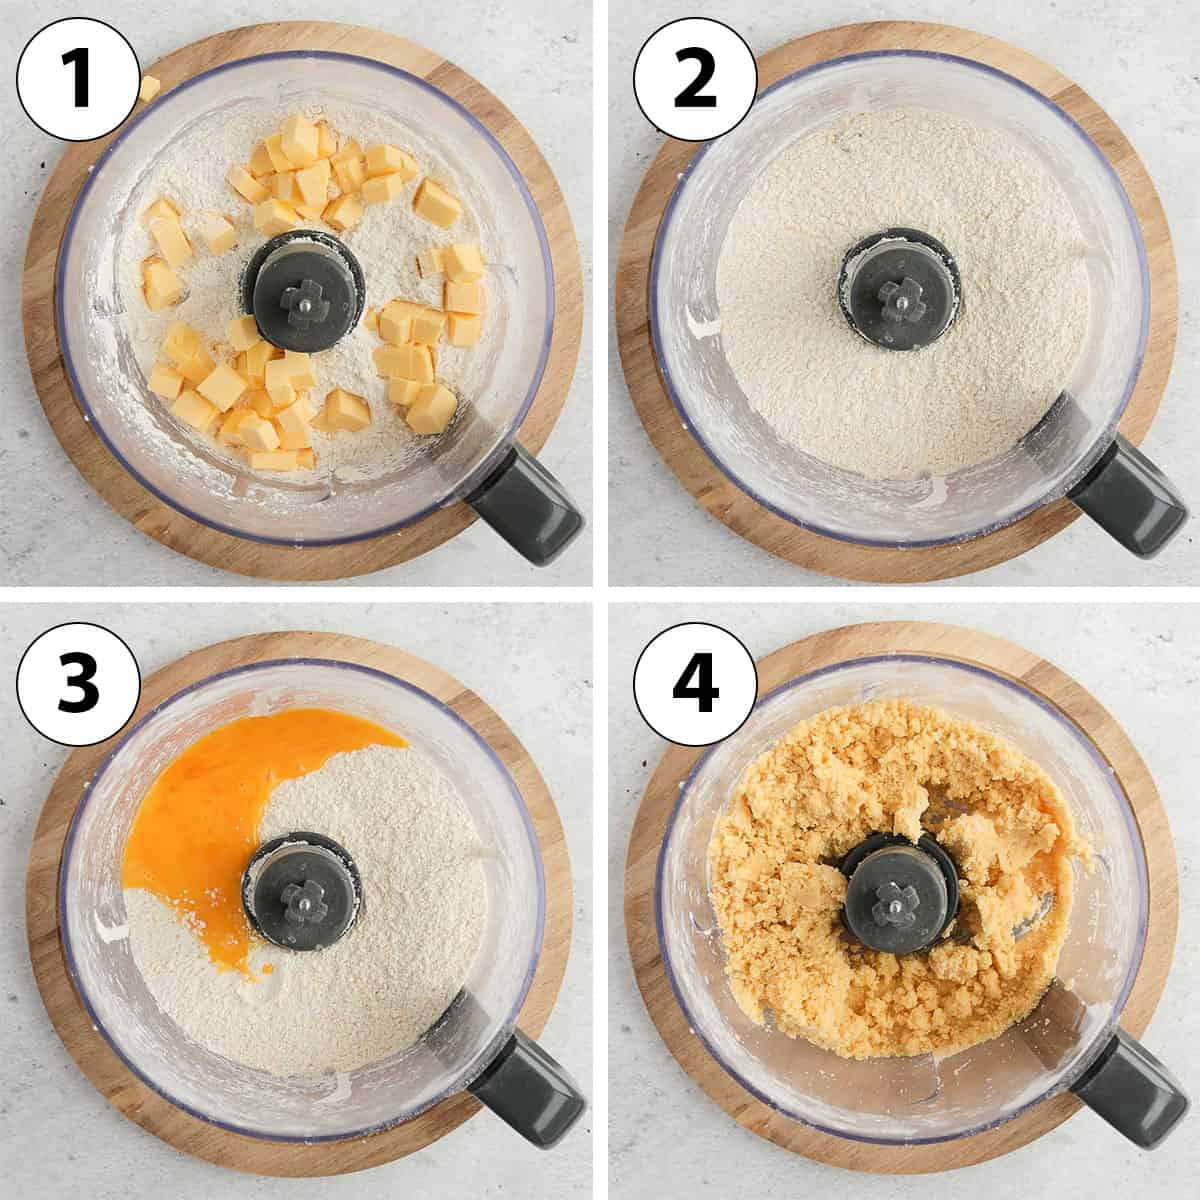
- Photo 1: Place the Flour, Icing Sugar and Salt in the bowl of your Food Processor. Pulse to combine, then add the cold Butter cut into small cubes.
- Photo 2: Pulse to blend until you get very thin crumbs. You shouldn't see any large lumps of butter anymore.
- Photo 3: Add the Egg, preferably pre-whisked in a separate bowl (it will incorporate more easily if the yolk and whites are already mixed).
- Photo 4: Blend again until the dough starts to form. You should see large lumps and crumbs in the mixture. If you press the lumps in your hands, they should stick together. Try not to overmix the dough at this point.
- Remove from the food processor and bring the dough together into a smooth, slightly soft ball.
Making the Pastry By Hands
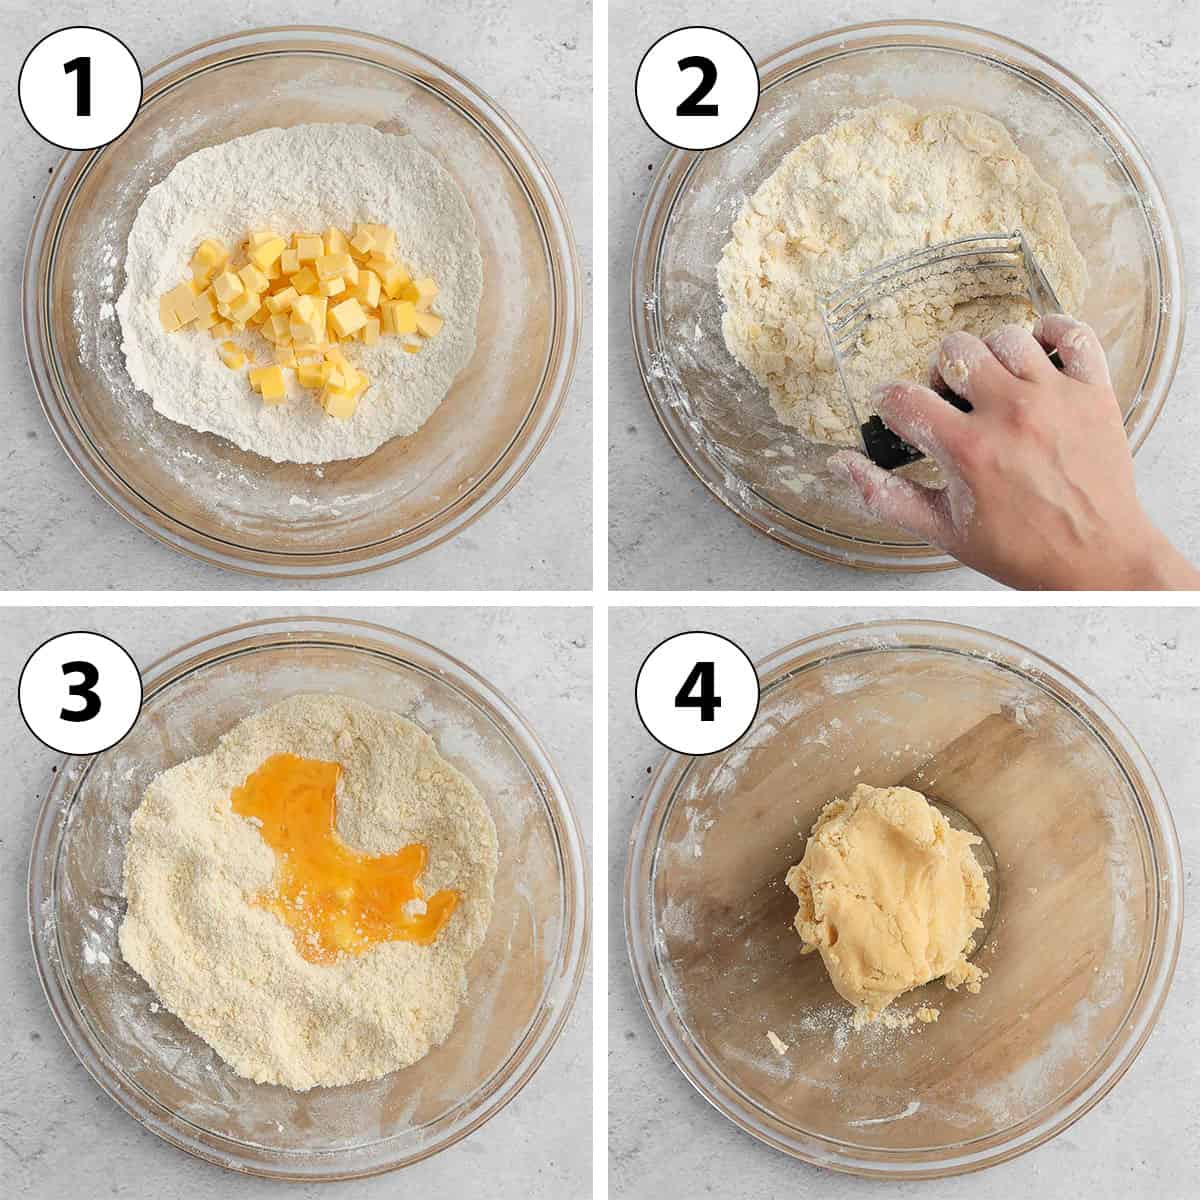
- Photo 1: Sift the Flour, Icing Sugar and Salt into a large mixing bowl. Mix to combine, then add the cold Butter cut into small cubes.
- Photo 2: using your fingers and/or a Pastry Blender, cut the butter into the dry ingredients. That is done by rubbing the small cubes of butter into the powders until you get small crumbs, can't see large lumps of butter or loose powders.
- Photo 3: Add the Egg, preferably pre-whisked in a separate bowl (it will incorporate more easily if the yolk and whites are already mixed).
- Photo 4: Mix the Egg in until a soft dough forms. That can be done by hands in the bowl, or more easily on your work bench by using the "Fraisage" technique.
The "Fraisage" is a technique used to mix a liquid ingredient (usually water or an egg) into a pastry dough. It is done by pressing small chunks of dough in a linear movement with the palm of your hands against a hard surface. This mixes the egg, butter and dry ingredient very homogeneously.
Rolling & Lining the Tart Pan
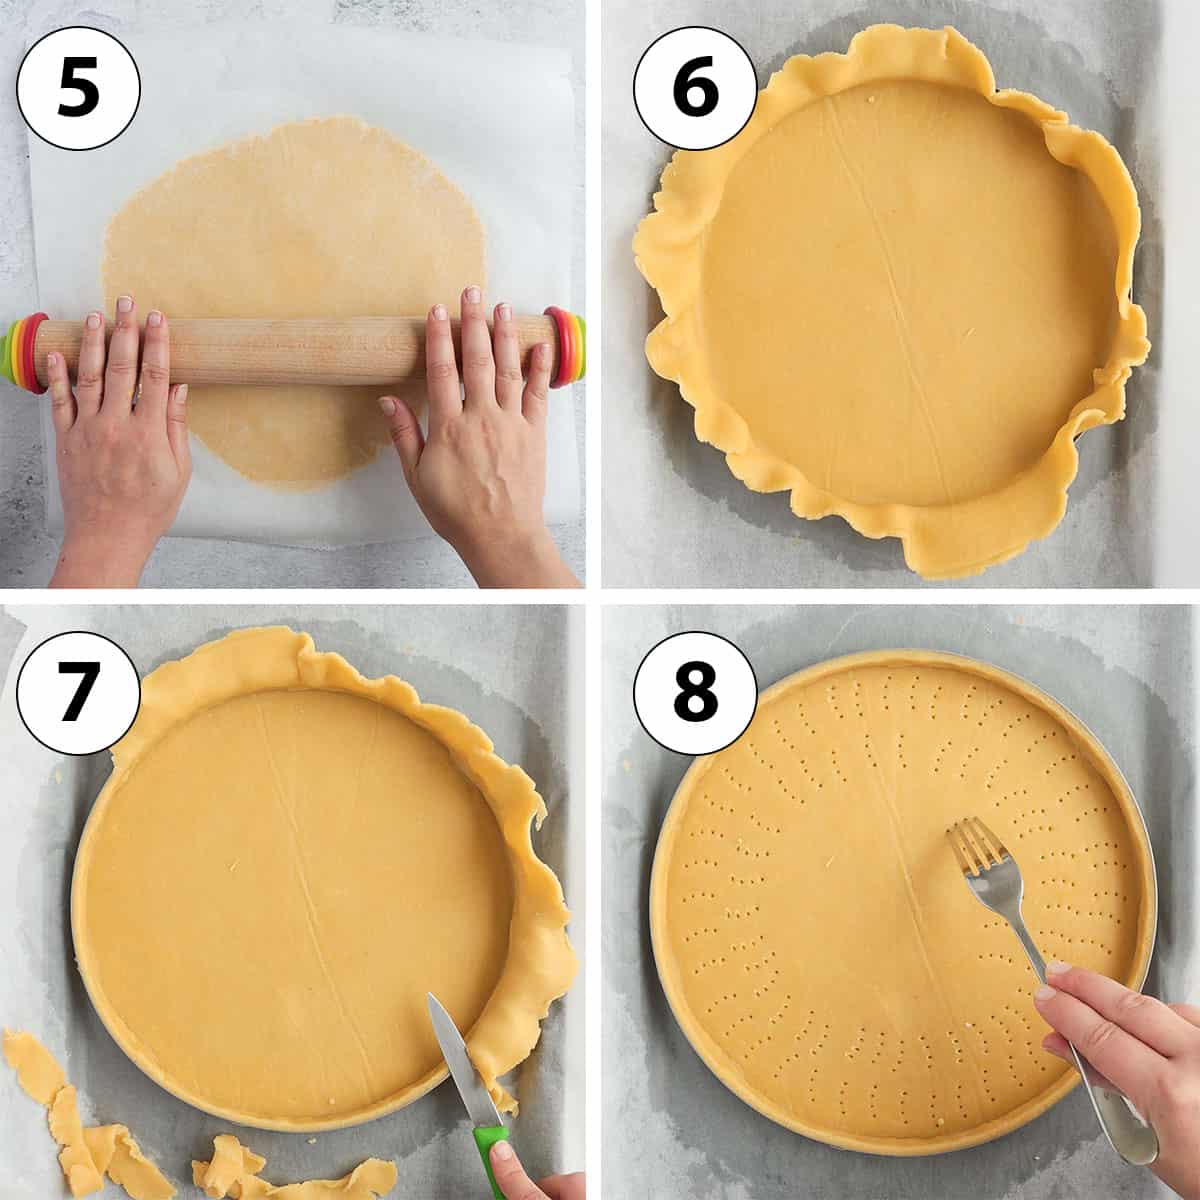
Once your Sable Pastry is ready, it is time to focus on the most important part: rolling the dough, resting it and lining the pan. Some recipes require you to chill the pastry first before rolling it, but I prefer to roll it straight away while still soft.
- Photo 5: Place the pastry dough between two sheets of baking paper / parchment paper and roll it into a large, thin circle with a rolling pin. The thickness depends on how you will use the crust, but I usually roll mine to be about 4mm (1/8 inch) thick.
Alternatively, you can also roll it between two silicone baking mats. Use a rolling pin with thickness rings to get the desired even thickness.
- Place the rolled pastry on a flat tray in the fridge to rest and chill for at least 1 hour, or up to 24 hours.
- Photo 6: Remove the two layers of baking paper and place the pastry inside your Tart Ring (or tart pan). Slide the dough along the edges of the pan and try to insure it creates a sharp 90 degree angle between the bottom and the sides of the pan.
You might need to let the pastry come back to room temperature for a few minutes if too hard to handle.
- Photo 7: Remove any excess dough with a small sharp knife
- Place the pastry back in the refrigerator to rest and chill for at least 1 hour, or up to 24 hours.
Baking the Tart Shell
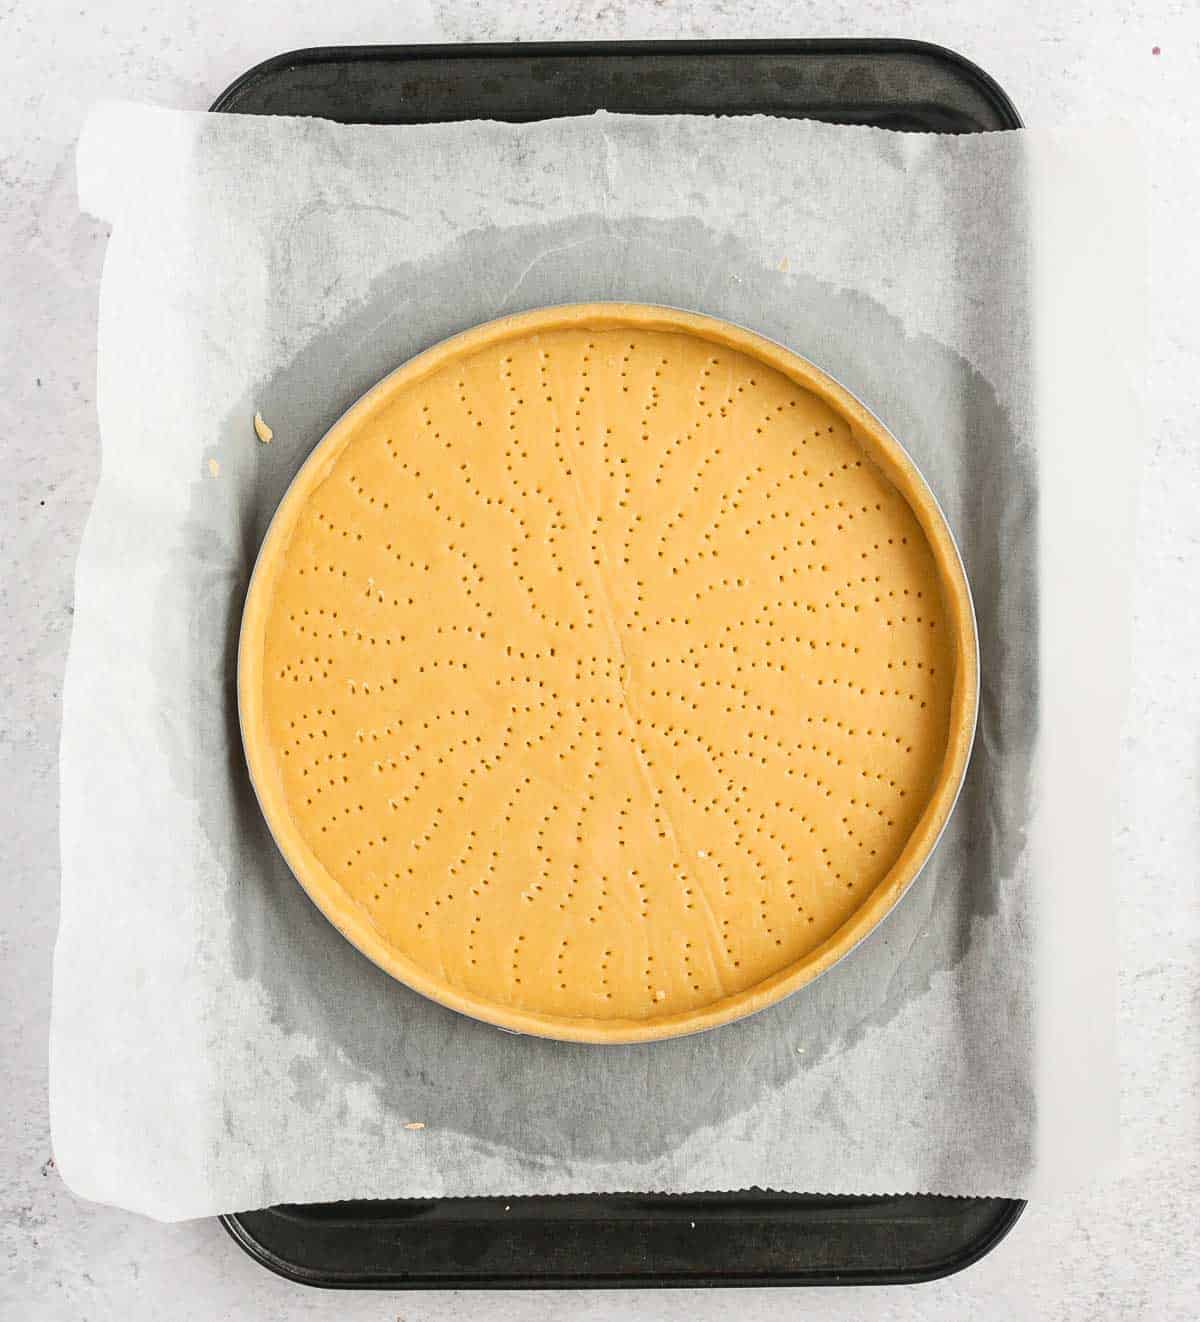
- Photo 8: "dock" the bottom of the pastry (if blind-baking it) by pricking it with a fork.
I like to place the pastry in the freezer while the oven is preheating to insure the butter is extremely cold. This is a great way to make sure the pastry does not move or collapse in the oven.
- If par-baking, preheat your oven on 160 degrees Celsius / 325 degrees Fahrenheit and bake for about 15 to 20 minutes. Leave to cool down before adding your filling and continue baking.
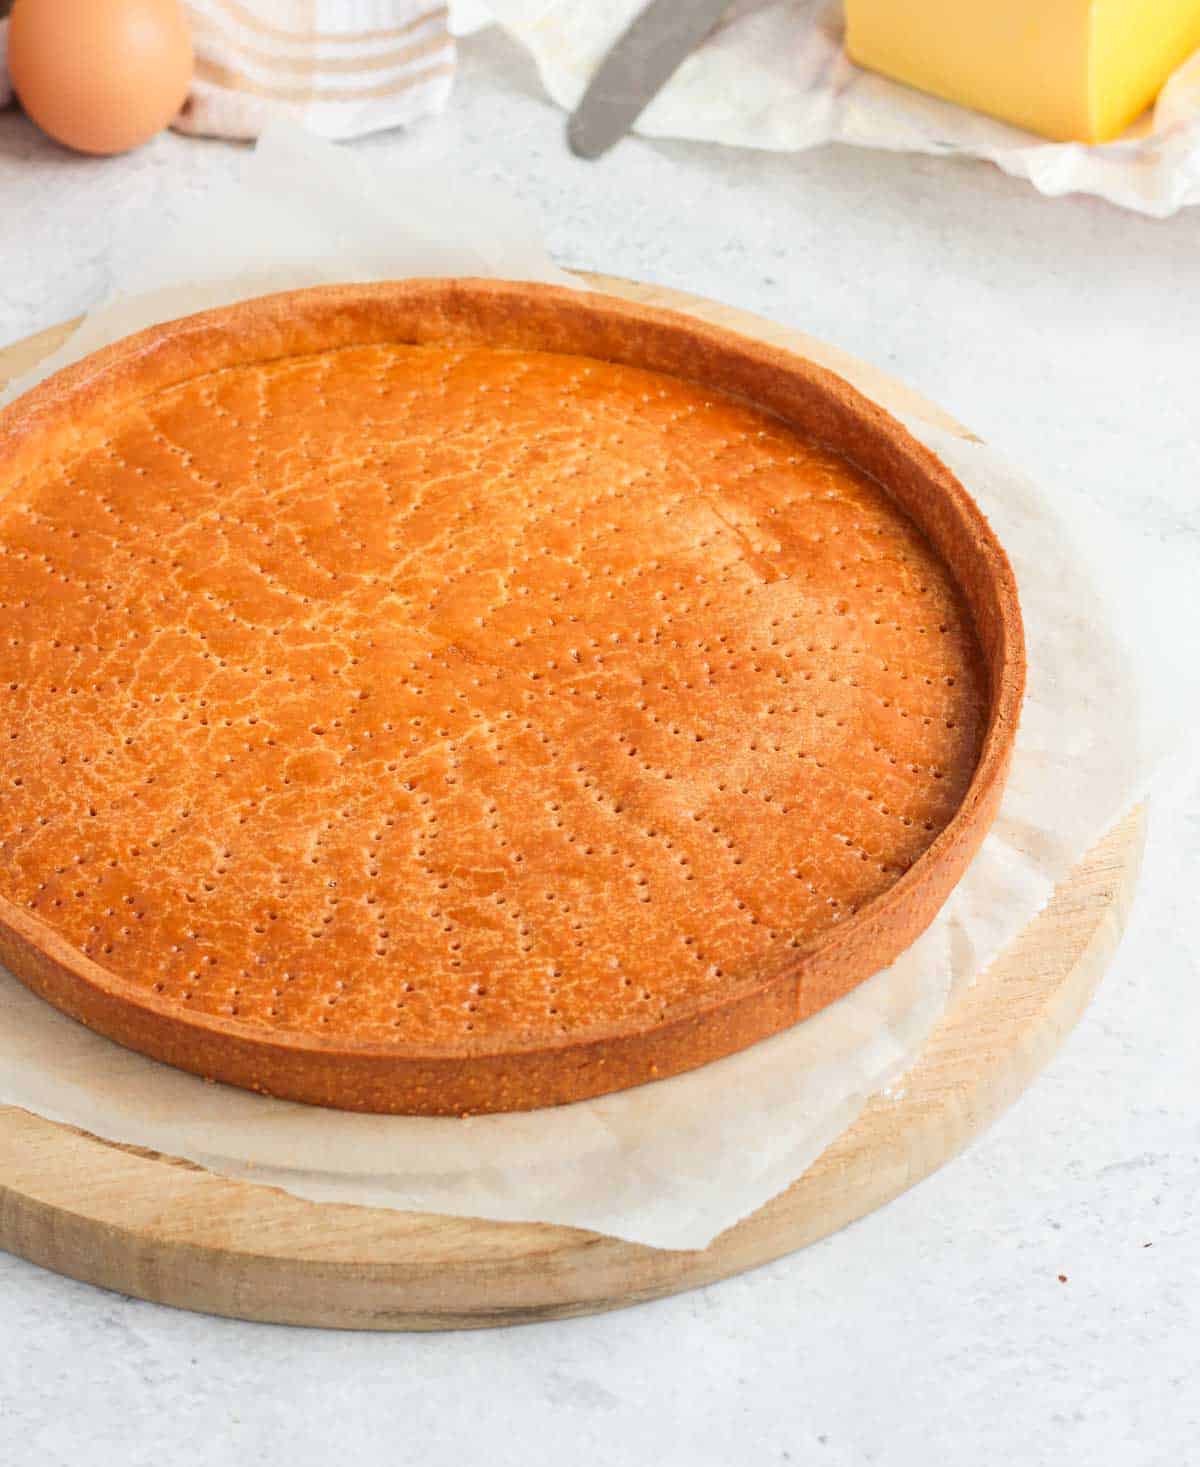
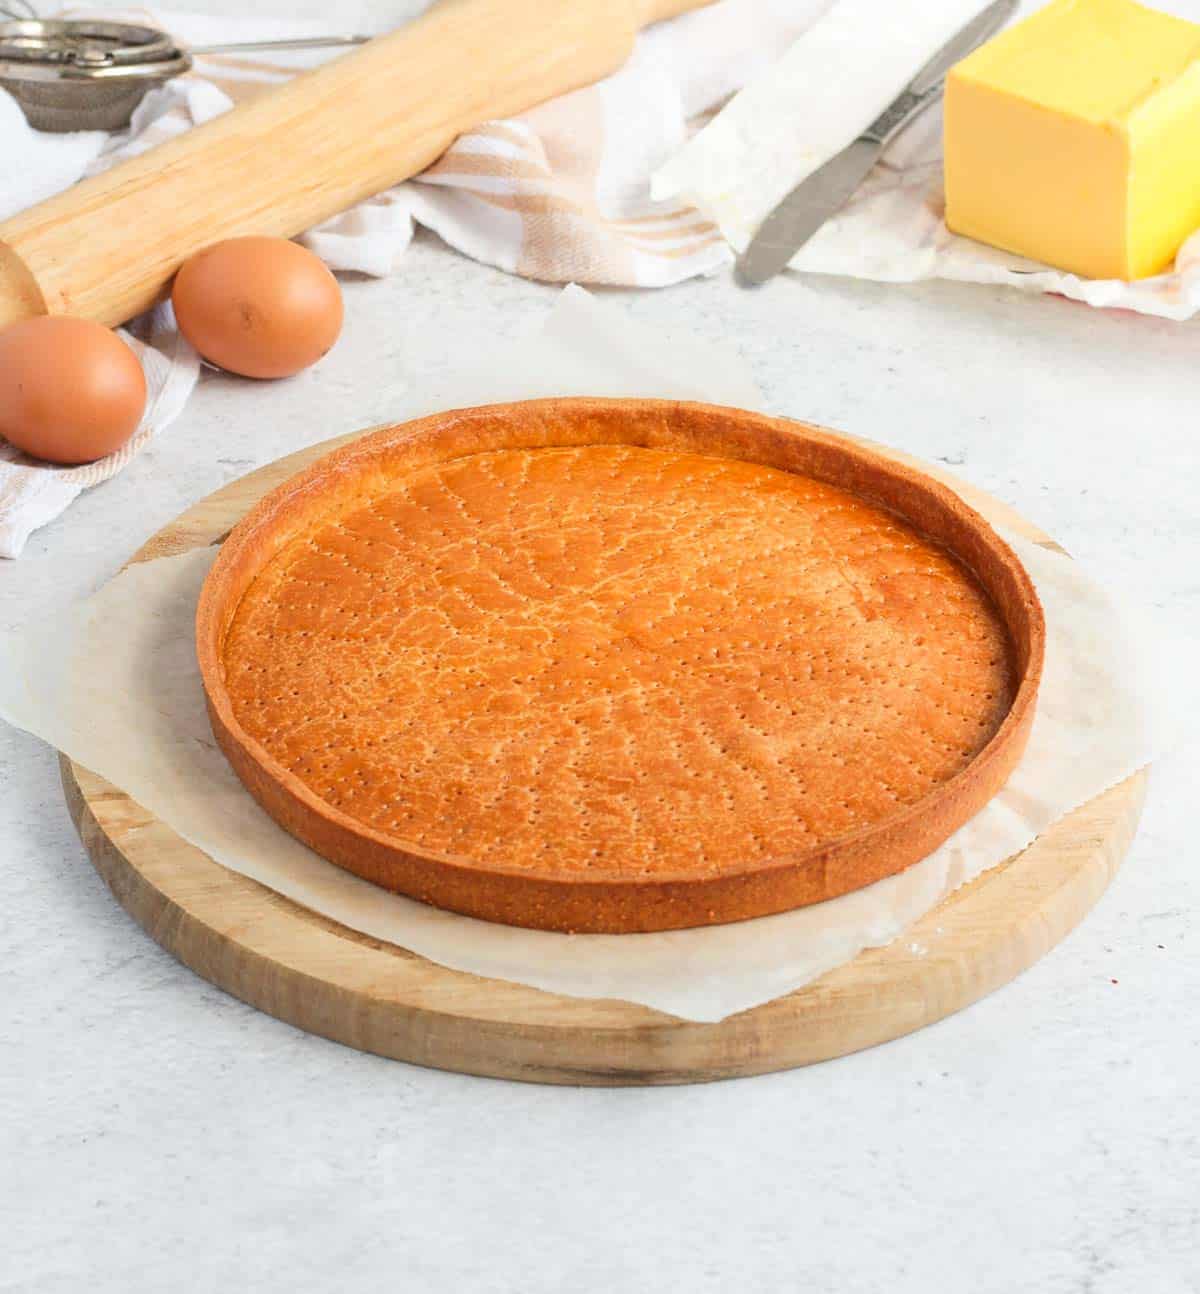
- If fully blind-baking it, preheat your oven on 160 degrees Celsius / 325 degrees Fahrenheit and bake for about 35 to 40 minutes. The crust should be golden and completely dry to the touch. Leave to cool down completely before adding your filling.
- Optionally, remove the pastry from the oven halfway through the baking, brush it with an egg yolk and place back in the oven to seal the pastry.
This tart crust should not move much in the oven, so baking beans or pie weights are not especially required. You can use some for the first 15 to 20 minutes of the baking if preferred.
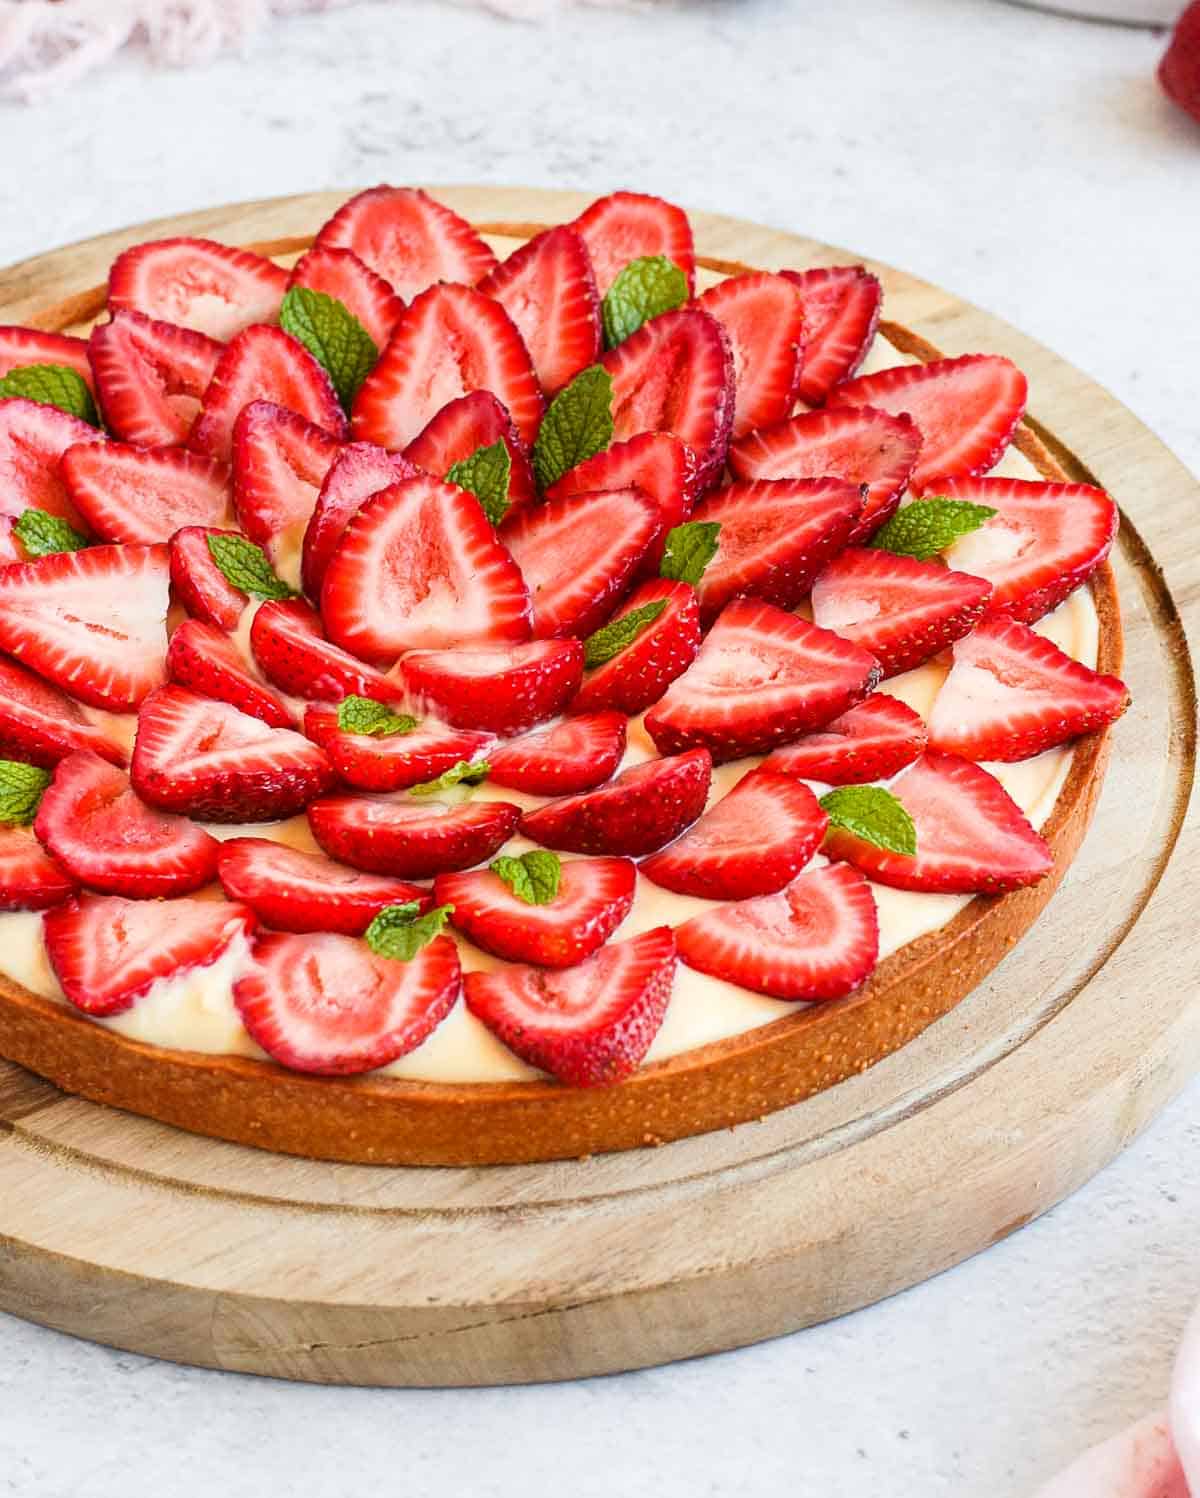
Tips for success
- Why resting & chilling the pastry dough is key for the perfect tart crust: resting the Pate Sablee is needed for two reasons. First, it allows for the gluten to relax, meaning no movement when baked). Second, chilling the dough insures the butter stays really cold, which is essential to get the nice crumbly texture known in shortcrust pastries.
- Par-Baking vs Blind Baking the Pastry: always follow the instructions of the tart filling recipe. This Pâte Sablée can be baked with a filling inside it as well as being partially or fully blind-baked as well. Some fillings will require you to fully blind bake the pastry first (a Pastry Cream filling for example) while others will need to be baked inside the Pastry (an Almond Cream Filling for example).
- How to seal the Pastry and avoid a soggy tart crust: Brush an Egg Yolk (for a golden finish) or an Egg White on the pasty halfway through the blind-baking process. This technique is a simple way to insure that the bottom of the tart crust don't turn soggy when the filling is rather wet.
Troubleshooting
- The dough is too sticky: sprinkle with a little bit of flour, about 1/2 tablespoon at the time until you get the desired consistency. A great tip is to roll the dough between two sheets of parchment paper, so that it does not stick on your kitchen bench and can be easily moved.
- The dough is hard & crumbly: mix in a little bit of very cold Water, about 1 teaspoon at the time, until you get the desired consistency.
- The pastry cracks when I line the Tart Pan: this usually happens when the dough is too cold (and the butter too hard). Simply leave the pastry to come back to room temperature for a few minutes until the butter starts to soften again. If too soft to move, place back in the fridge for a few minutes. Any cracks can be patched with your fingers.
- The crust shrank or collapsed in the oven: often happens when the Shortcrust Pastry wasn't rested and/or chilled for long enough. Always rest the pastry for at least 2 hours (one hour rolled flat, one hour lined in the tart part) or up to 24 hours in the fridge. To insure the butter is very cold, place the pastry in the freezer while your oven is preheating.
- The tart crust burned before it was fully baked: your oven is probably too hot, or the pastry was rolled too thinly. The baking time is always indicative as oven temperatures often vary, so check on your pastry while it bakes! If needed, covered with aluminium foil and continue baking until ready.
Recipe FAQs
Pâte Sablée, Pâte Sucrée and Pâte Brisée are all classic French Pastry tart crust. A Pâte Sucrée is usually made with a "creaming" method. It contains almond meal in addition to the flour, and has a lower ratio of butter to flour.
A Pâte Sucrée crust has a more crispy texture, almost like a sugar cookie. A Pâte Sablée is slightly flaky, but much less than your typical Flaky Pie Crust.
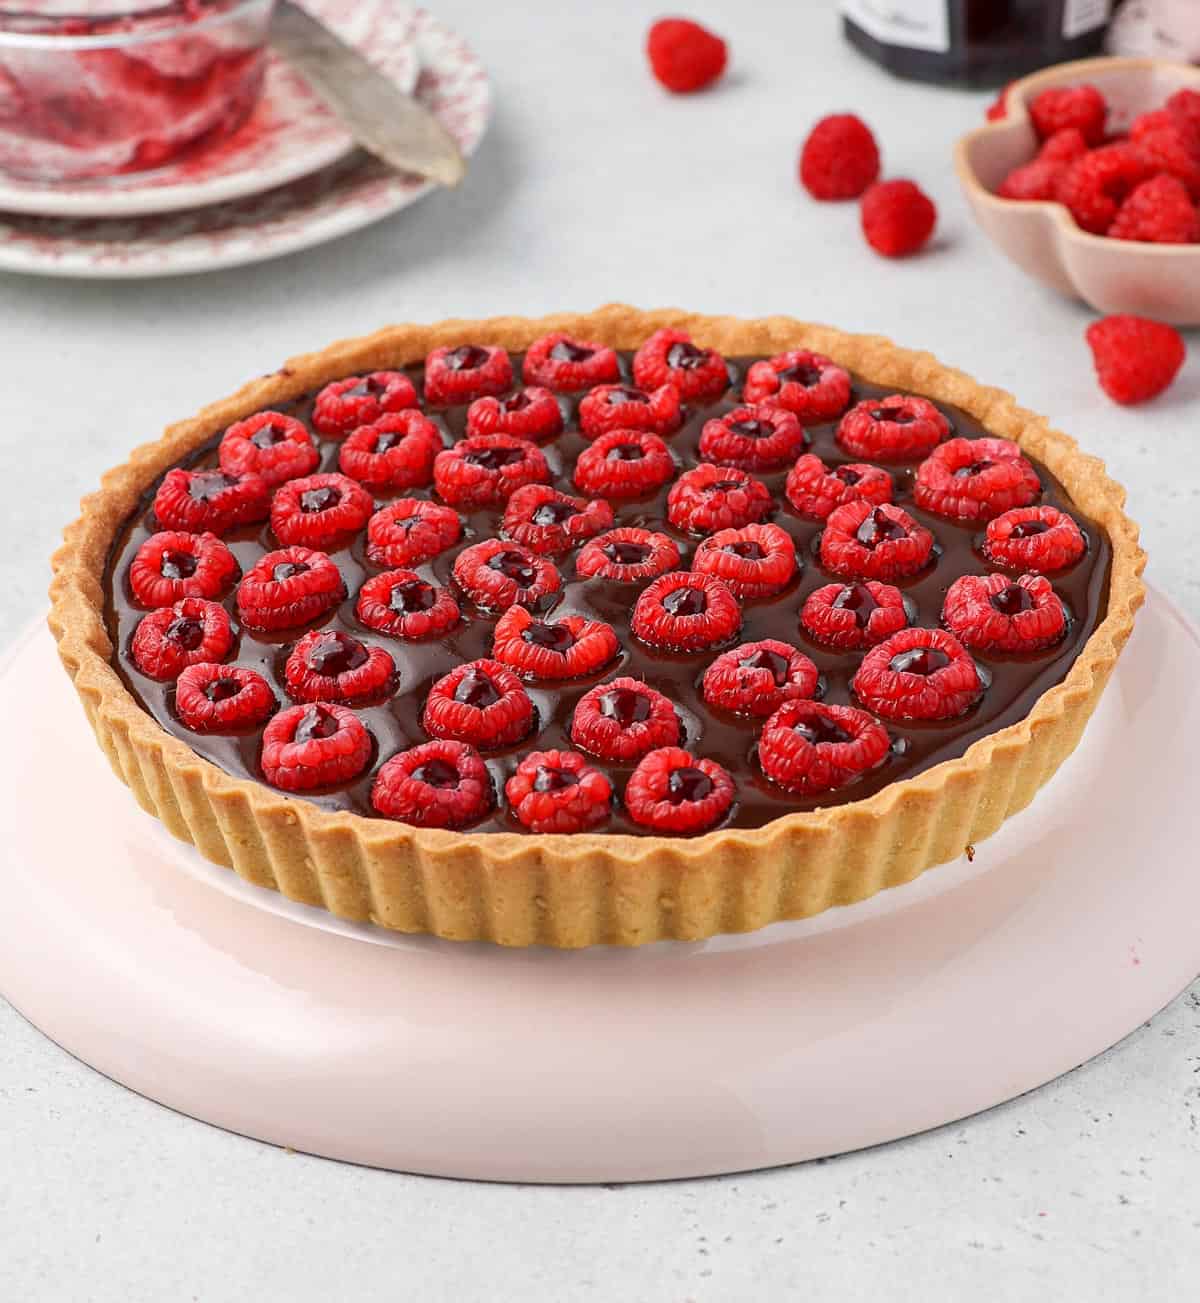
This Pastry can be used for many of your favourite sweet tarts, especially Fruit Tarts or Chocolate Tart. You can also use it to make Mini Tartlet Shells!
Here are a few recipes that use a French Shortcrust Pastry:
- Chocolate Raspberry Tart
- Strawberry Custard Tart
- Lemon Curd Tart
- Chocolate Ganache Tart
- Mini Meringue Lemon Tarts
Did you know you could also use this dough to make Cookies? This recipe is very similar to Sablés Bretons Cookies for example, or any type of Shortbread-style Cookies like my Almond Shortbreads.
I have never tried this recipe without eggs. They are both required for the pastry structure and flavour.
Best Equipment to make Shortcrust Pastry
- The best Tart Pan you can use to make a tart is a Perforated Tart Ring. This type of tart pans allows for the hot air to travel through and around the pastry and bake it evenly. You can find tart rings in many different shapes and sizes, including small ones to make mini tart crusts.
- For an even thickness in your pastry, use a Rolling Pin with Thickness Rings or some Rolling Guides.
- In addition to using a Perforated Tart Ring, place the pastry over a Perforated Baking Mat & Perforated Baking Tray that will create ideal heat flow around the crust.
How to store
This Shortcrust Pastry stores well both in the fridge and freezer, raw or baked. You can make it in advance, line your tart pan and keep it in the fridge for 24 hours. Once baked, keep it at room temperature covered with wrap for 24 hours before adding the filling.
How to freeze
Pate Sablee freezes well. I recommend lining your tart pan or ring then freeze it. Once frozen, remove the pan then wrap the crust in a layer of cling wrap and a layer of aluminium foil until ready to use. Place back in the pan before baking. Simply add 5 minutes to the recommended baking time to thaw it in the oven.
Made this recipe?
Let us know if you liked it by leaving a comment below, and tag us on Instagram @a.baking.journey with a photo of your creation!
Recipe
Pâte Sablée (French Shortcrust Pastry)
Ingredients
- 250 gr (1 2/3 cup) Plain / All-Purpose Flour
- 50 gr (1/2 cup) Icing Sugar - or Powdered Sugar
- 1 pinch Table Salt
- 120 gr (1/2 cup) Butter - very cold
- 1 large Egg
Disclaimer
I highly recommend using the measurements in grams & ml (instead of cups & spoons) for more accuracy and better results.
Instructions
Making the Pastry in the Food Processor
- Mix the Flour, Icing Sugar and Salt in the bowl of your Food Processor. Add the cold Butter cut into small cubes, then pulse to blend until you get very thin crumbs. You shouldn't see any large lumps of butter anymore.
- Add the Egg, preferably pre-whisked, and slowly blend until the dough starts to form (see note 1). Remove from the food processor and bring the dough together into a ball.
Making the Pastry By Hands
- Sift the Flour, Icing Sugar and Salt into a large mixing bowl. Stir to combine, then add the cold Butter cut into small cubes. Cut the butter into the dry ingredients using your fingers or a Pastry Blender (see note 2).
- Add the Egg, preferably pre-whisked, and work it with the rest of the ingredients with your fingers, either in the mixing bowl or on your kitchen bench (see note 3). You should get a smooth, slightly soft dough.
Rolling, Resting & Lining the Tart Pan
- Assemble the dough into a large ball and place it between two sheets of baking paper. Roll into a large circle that is 4mm thick (1/8-inch) with a Rolling Pin (see note 4). Place the rolled pastry over a flat tray and leave in the fridge to rest and chill for at least an hour, or up to 24 hours.
- Remove the two layers of baking paper and place the pastry inside your Tart Ring or Pan. Slide the dough along the edges of the pan and try to make sure you get a sharp 90 degree angle between the bottom and the sides of the pan (see note 5).
- Place back in the fridge to rest and chill for at least an hour, or up to 24 hours.
- Dock the Pastry by pricking the bottom with a Fork. Optionally, cover with baking paper and cover with baking weights, rice or beans.
- To par-bake: Preheat your oven on 160 degrees Celsius / 325 degrees Fahrenheit and place the tart crust in the freezer in the meantime. Bake for 15 to 20 minutes. Leave to cool down before adding the filling and placing back in the oven.To fully blind bake: Preheat your oven on 160 degrees Celsius / 325 degrees Fahrenheit and place the tart crust in the freezer in the meantime. Bake for 35 to 40 minutes, or until golden and dry to the touch. Leave to cool down completely before adding your choice of filling.
- Optional: to seal the pastry, take the crust out of the oven halfway through the baking and brush it with an egg yolk (for a golden finish) or an egg white. Place back in the oven to finish baking.
Tried this recipe? Make sure to leave a comment and star rating below!
Notes
- At this point, you should see large lumps and crumbs of dough. If you press the lumps in your hands, they should stick together. Try not to over-mix the pastry at this point.
- That is done by rubbing the small cubes of butter into the powders until you get small crumbs and can't see large lumps of butter or loose powders.
- You can use the "fraisage" technique, which is done by pressing small chunks of dough against a hard surface with the palm of your hands in a linear movement. This mixes the egg, butter and dry ingredient very homogeneously. If too dry to combine, add a little bit of very cold water, 1/2 tablespoon at the time. If too sticky, add a little bit of flour, 1/2 tablespoon at the time.
- The thickness is up to you and can be rolled thicker if preferred. I don't recommend going thinner that 4mm or the tart might burn in the oven,
- If using a Pastry Ring, do that step oven a lined flat tray. You might need to let the pastry come back to room temperature for a few minutes if it seems to hard to handle or starts to crack. If it becomes very soft and difficult to handle, place back in the fridge for a few minutes.


