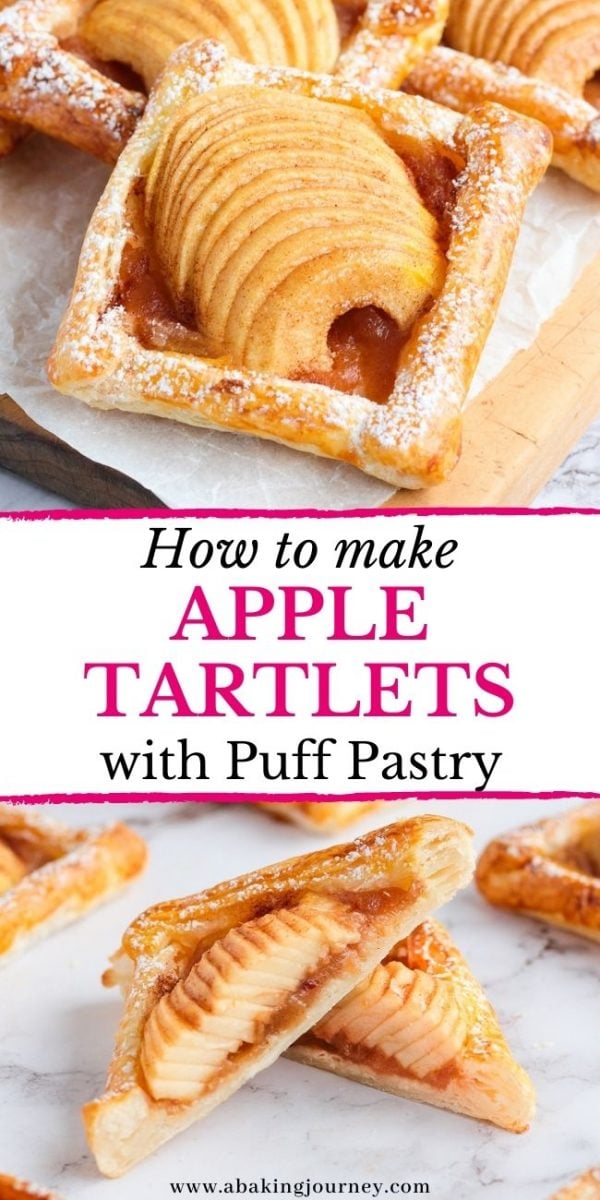
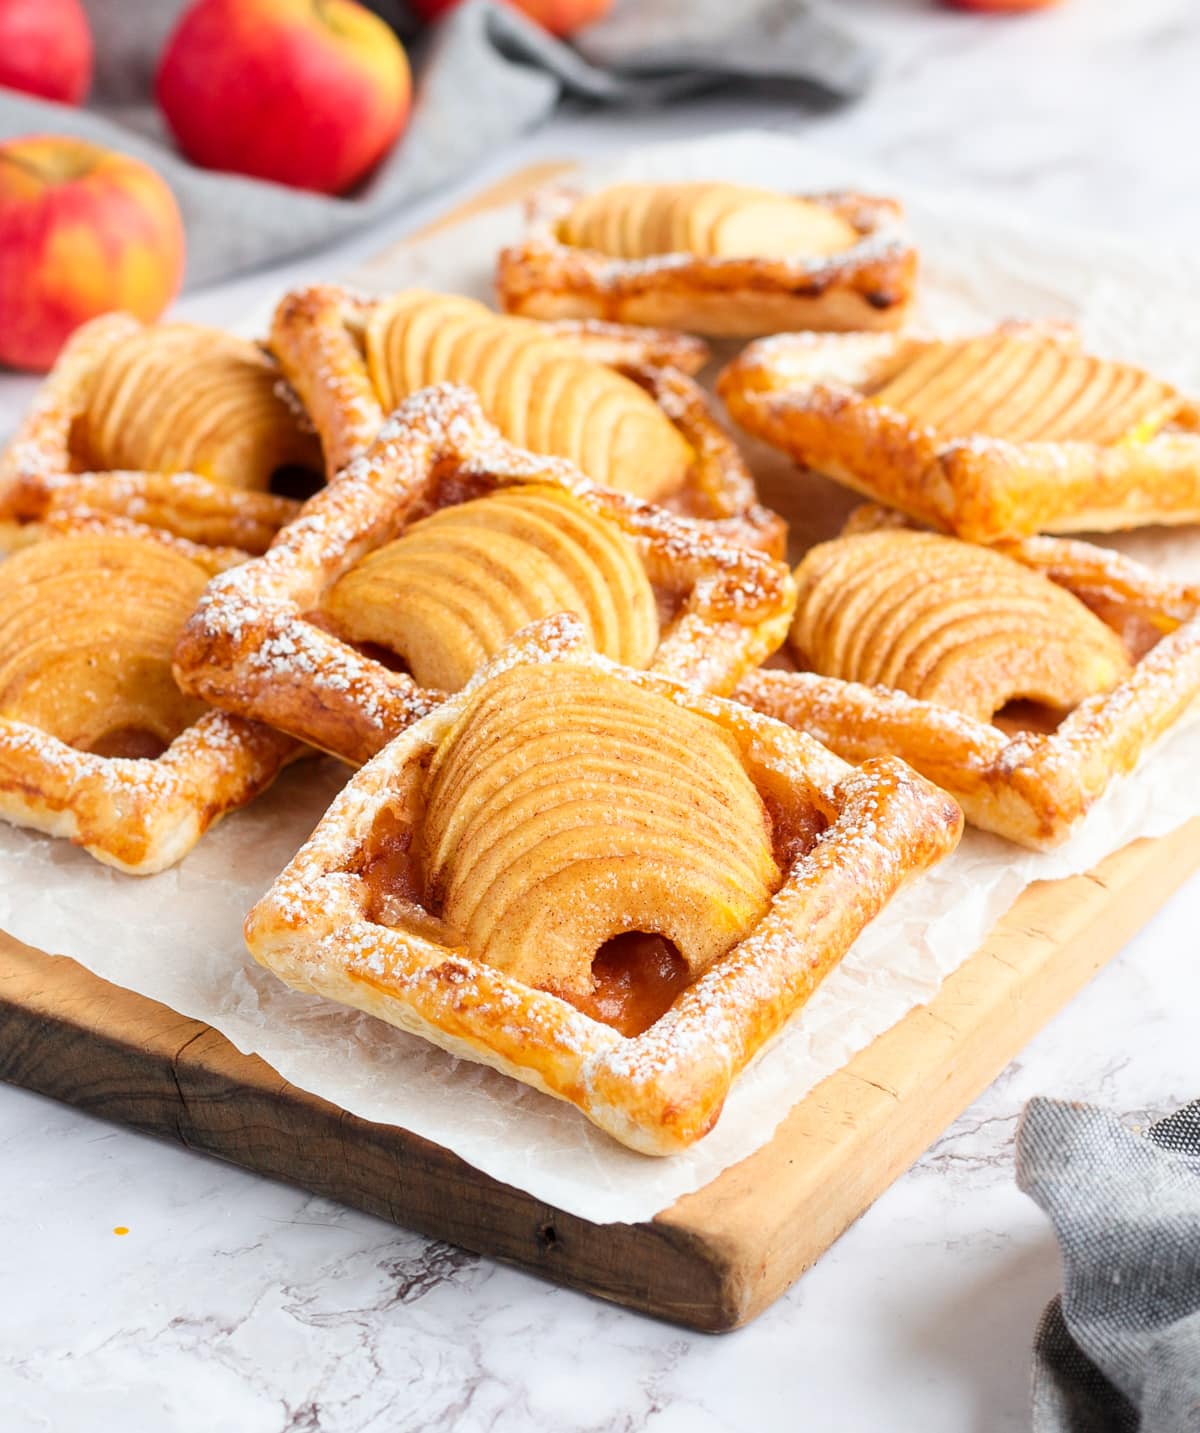
Super easy to make with 6 ingredients only, these puff pastry apple tartlets are delicious little Winter treats packed with homemade applesauce, fresh apple slices and a touch of cinnamon!

Jump to:
Why we love this Recipe
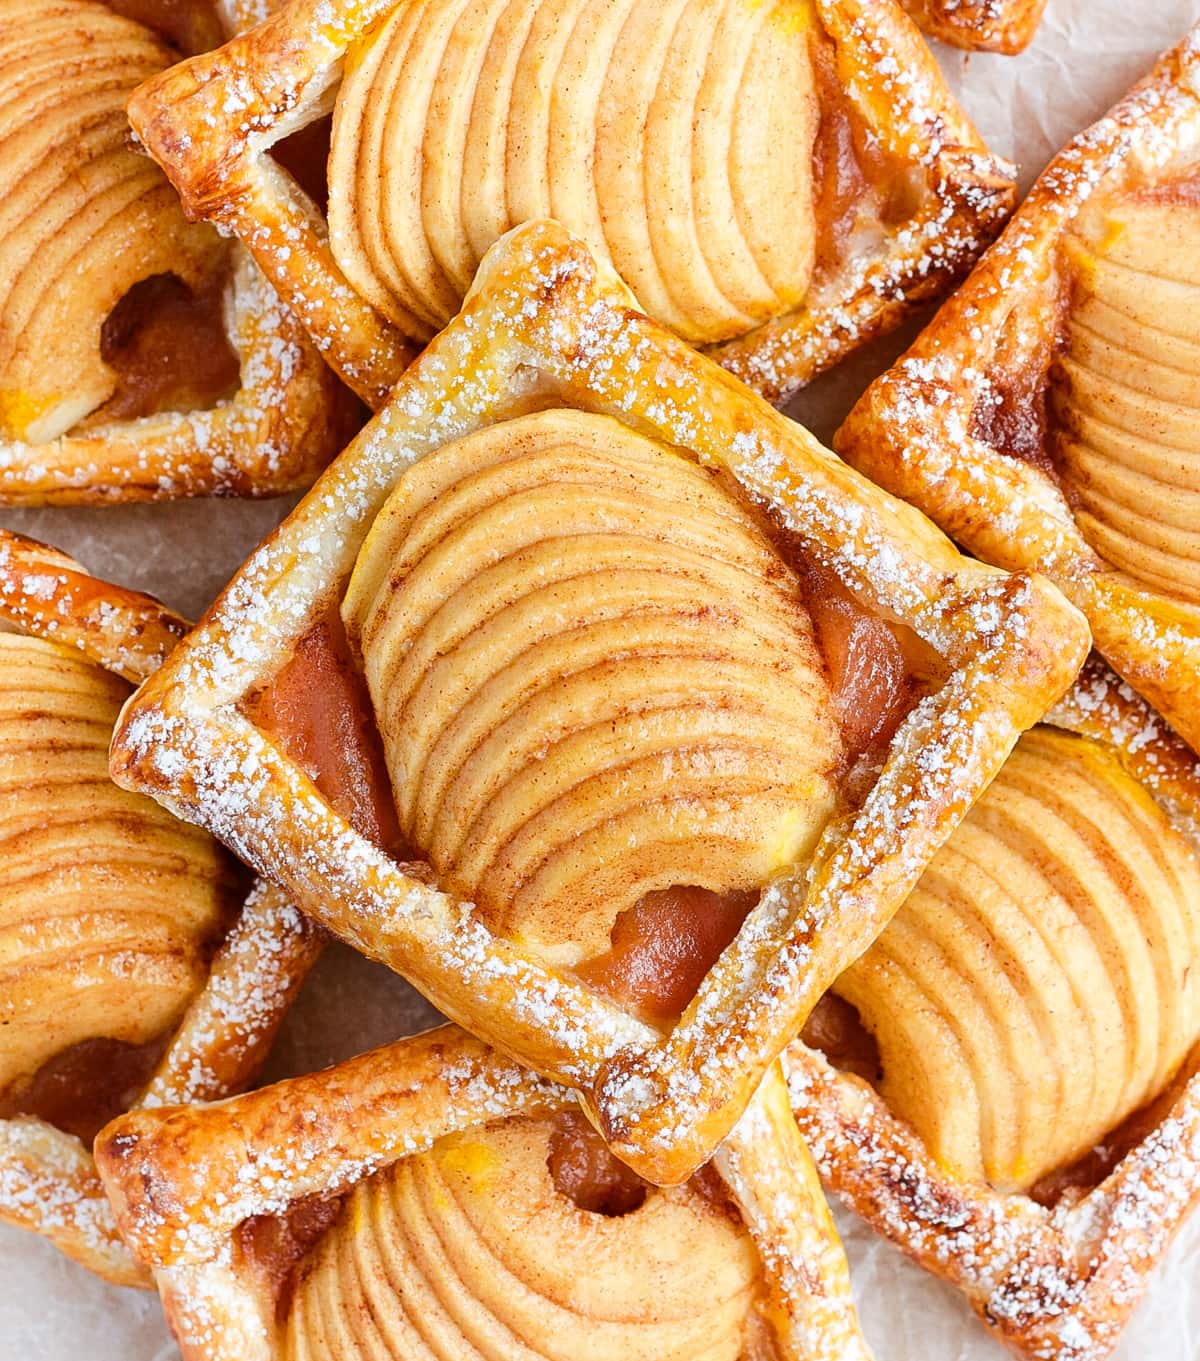
There is something so comforting and delicious about these Apple Tartlets - I cannot stop making them! The classic combination of Apple, Cinnamon, Brown Sugar and a super flakey Pastry is always a winner.
Using frozen Puff Pastry and an Applesauce filling that can be made in advance (or bought) makes this recipe so easy and quick to prepare.
These Individual Puff Pastry Apple Tarts are a quicker and easier version of my French Apple Tart, mini version of my Puff Pastry Apple Tart and a flakier version of my Apple Galette.
More Puff Pastry Tarts:
Ingredients

Scroll down to recipe card below for all quantities.
What apple tartlets are made off:
- Puff Pastry: I used Frozen Puff Pastry Sheets that are 25x25cm / 10x10inch. Use a good quality, all-butter Puff Pastry if you can for the best flavour. Most frozen puff pastries are made with shortening or oil - not butter.
- Butter: I used melted Unsalted Butter, but it will be equally delicious with Salted Butter too (think salted caramel flavours!).
- Applesauce: I can only recommend using a homemade applesauce to get the best flavours without any additives or tons of added sugar. But using store-bought applesauce is a great shortcut if you are after a quicker recipe!
- Apples: make sure to pick a variety of apples that cook well and will become soft when baked. I used Pink Lady Apples for their mild sweet taste, but you could also pick a more tart fruit like Granny Smith Apples. If using a sweeter apple, you can also add a few drops of lemon juice to balance the flavours.
I finished the pastries with a simple sprinkle of Icing Sugar, but if you want to take them to the next level, you could also drizzle some classic icing or even a Salted Caramel Sauce over them!
Flavour Variation
- Different Fruit: I have made a similar version of these tarts with Pears and it was just as delicious! You can basically use any fruit you'd like, and change the filling to match it.
- Spices: I only used Cinnamon here, but you could really add as many spices as you'd like such as Allspice, Nutmeg, Ginger, Star Anise, Cardamom,..
- More Toppings: chopped Nuts will add a delicious crunch to the recipe. Try it with Almonds, Walnuts or Pecans!
How to make Puff Pastry Apple Tartlets
The first steps are to prepare all the ingredients and par-bake the puff pastry.
- If making your own applesauce, start by cooking your apples with a little bit of water in a saucepan on medium heat until soft. Blend to get a smooth applesauce.
- Take the Frozen Puff Pastry out of the freezer and leave it at room temperature for 5 to 10 minutes, or until soft. If using non-rolled puff pastry dough, roll it into a 25x25cm (10inch) square over a lightly floured surface first.
- Preheat your oven on 180'C/350'F and line a flat baking tray (you might need two) with baking paper / parchment paper or a baking mat.
- Cut rolled Puff Pastry sheets into four squares that are about 12x12 cm / 4,5x4,5 inch.
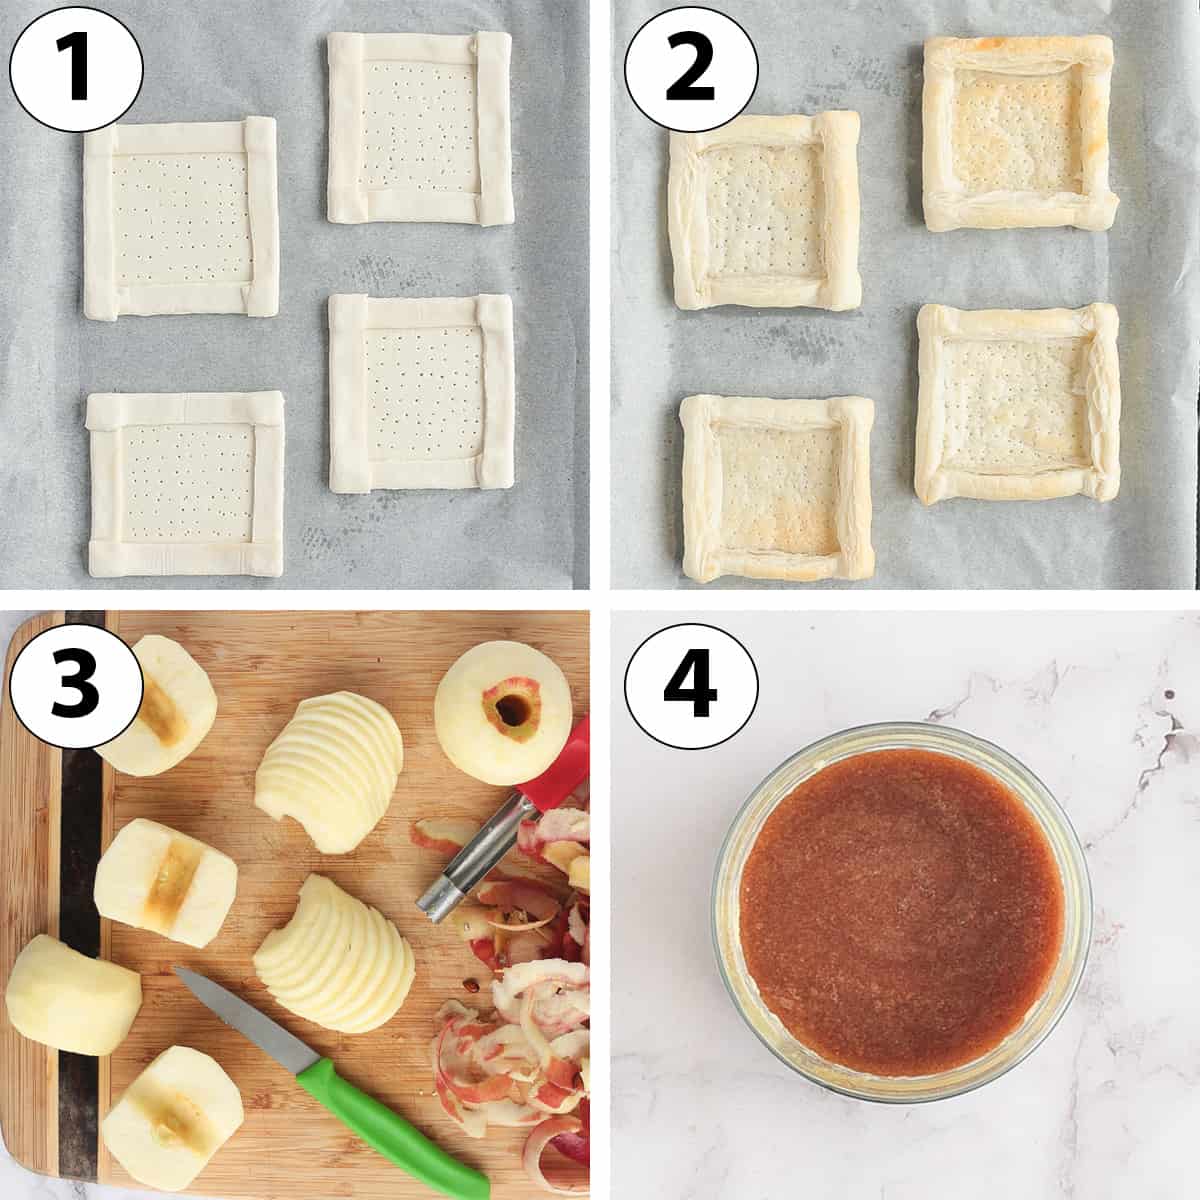
- Photo 1: Fold about 1 cm (0,4 inch) of each of pastry edges. Gently press on the folded edges them so they stick to the bottom pastry. Prick the centre of the pastry with a fork, then place on prepared baking trays.
- Photo 2: Place in the oven and par-bake for about 10 minutes. The pastries should have slightly puffed and get a light golden colour. Remove from the oven and set aside.
Would you like to save this recipe?
- Photo 3: While the pastries are par-baking, prepare the rest of the ingredients. Peel, core and slice each Apple in half. Using a small pairing knife, thinly slice each halved apples.
- Photo 4: In a small bowl, mix together the cooled down melted Butter, Brown Sugar and Ground Cinnamon to make the glaze. Stir until it resembles turns into a light paste.
Once all of your ingredients are ready, it is time to assemble the mini apple pies.
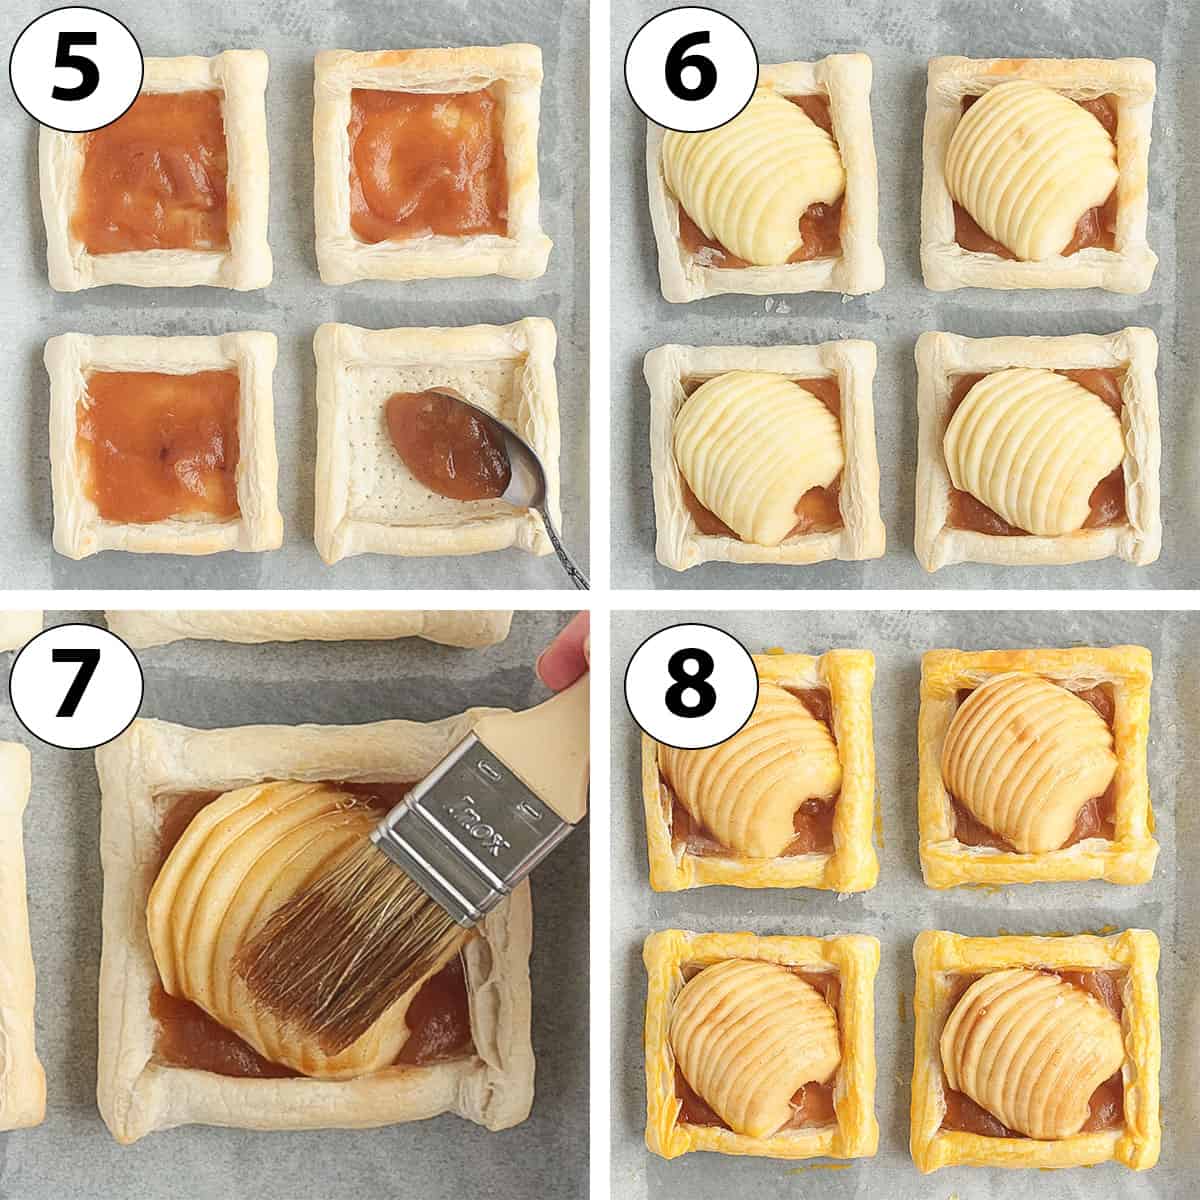
- Photo 5: Spread some Applesauce over the centre of each Puff Pastry Square.
- Photo 6: Place your sliced Apples over the Applesauce, orienting them on a slight angle.
Depending on the size of your apples, you might need to remove a few slices for them to fit inside the pastry square.
- Photo 7: Brush the Butter, Cinnamon and Brown Sugar Glaze over the sliced Apples using a Pastry Brush. Be generous with the glaze!
Note that it is easier to brush when the butter as cooled down and is starting to harden again - it will stick to the apples better.
You can also brush only half of the glaze on the apples, them re-glaze them half way through the baking for a more caramelised finish.
- Photo 8: Optionally, whisk a small Egg Yolk for the egg wash and brush it over the edges of the pastries for a golden finish.
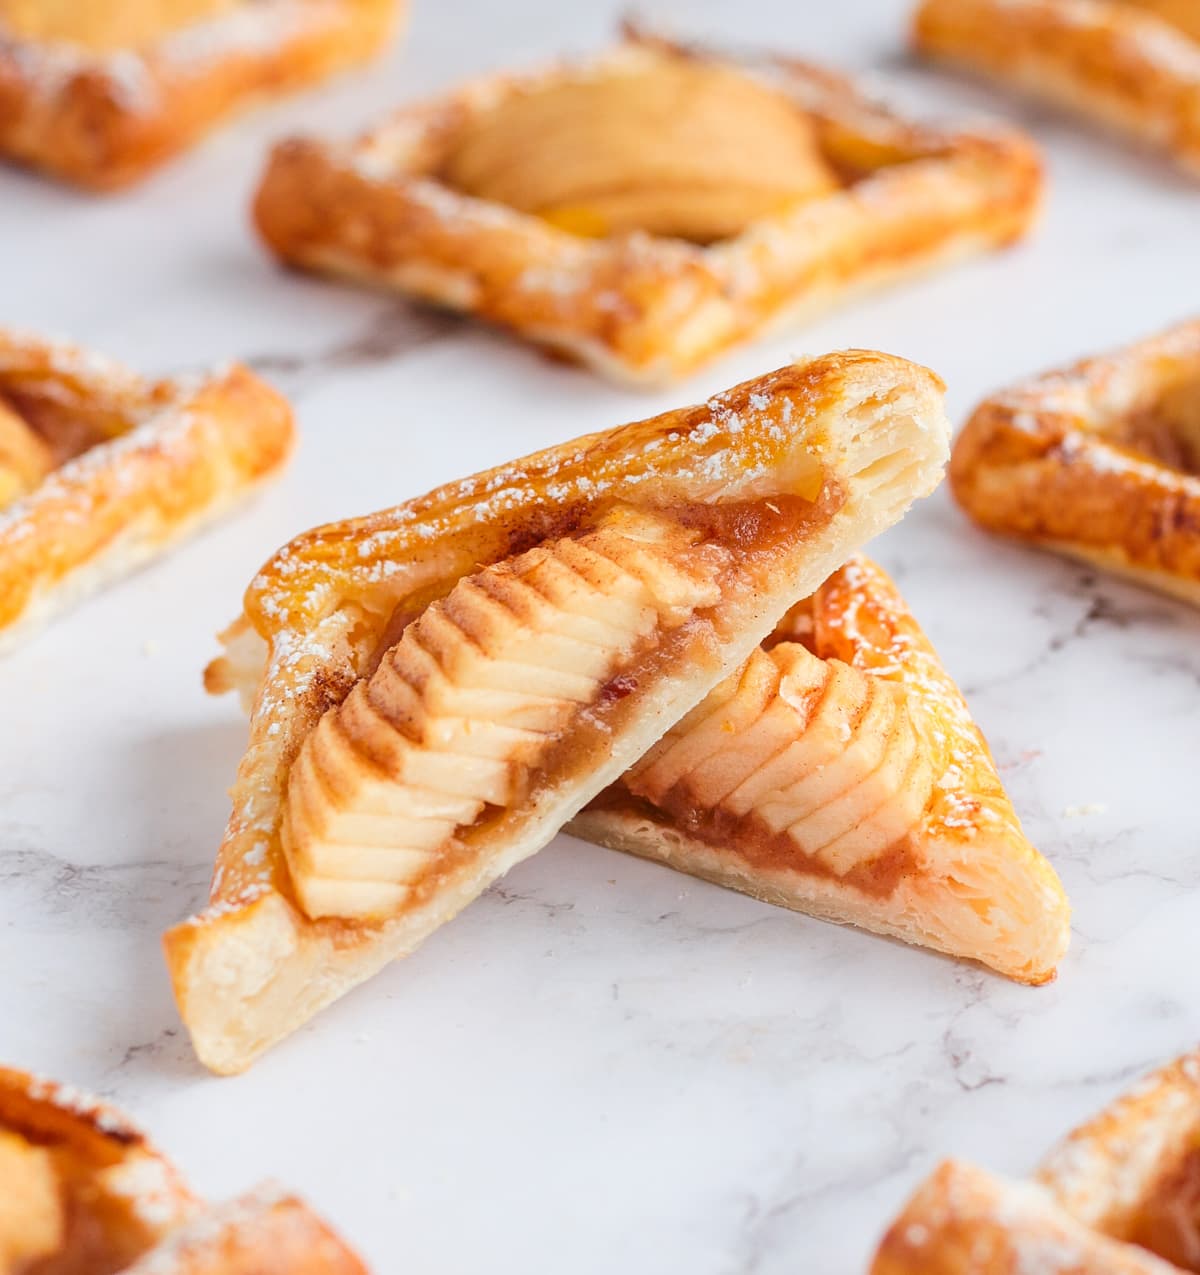
- Bake for 15 to 20 minutes, or until the edges of the Pastry are golden brown and the apples are slightly soft. Leave to cool down completely on the baking tray.
Optionally, dust the edges with a little bit of Icing Sugar once completely cool. Serve straight away or top with some vanilla ice cream for a more decadent dessert!
Recipe FAQs
Choosing the the right type of Apples is important here. You want a fruit that will bake well and become deliciously soft and juicy, yet still keep its shape.
You could use: Pink Lady Apples (the ones I used here), Granny Smith, Gala, Golden Delicious, Fuji, Jonagold or Braeburn. You can read more about picking the right apples for baking here.
You want to make sure the apples get soft in the oven so it is important to slice the apples thinly here. The thicker the apple slices, the crunchier the fruits will be.
Applesauce and apple butter are usually made from the same ingredients but apple butter is cooked for much longer, giving it a more intense taste and thick texture. You can substitute the applesauce in this recipe for apple butter if preferred.
Yes, although you won't get the same textures once baked. If using a pie crust, make sure to pick one that is extra flaky to get a similar end result.
Tips & Tricks
- Adjust the quantity of Brown Sugar to your liking. I personally prefer a less sweet taste so this mini apple pie tarts recipe is relatively low in sugar. If preferred, you can absolutely increase the amount of sugar if you want the pastries to be sweeter!
- Let the melted Butter cool down before mixing it with the Brown Sugar and Cinnamon. It is much easier to brush the glaze over the apples once the butter has started to slightly harden than when very liquid. The glaze will then stick to the apples rather than drizzle straight down.
- To make these Mini Apple Tarts dairy-free and / or Vegan, simply use an Oil or Shortening based Puff Pastries and replace the Melted Butter for Coconut Oil or margarine.
Storing & Freezing
The pastries are better served straight away for the best texture and flavours.
Once baked, the mini apple tarts can be kept at room temperature in an airtight container for up to 1 day. Alternatively, they will last 2 days in the fridge but they will loose their flaky texture more quickly.
I do not recommend freezing these apple tartlets.
Made this recipe?
Let us know if you liked it by leaving a comment below, and tag us on Instagram @a.baking.journey with a photo of your creation!
Recipe
Puff Pastry Apple Tartlets
Ingredients
Apple Tartlets
- 2 sheets Frozen Puff Pastry, 25x25 cm / 10x10 inch each
- 4 small Apples
- 45 gr (3 tablespoons) Unsalted Butter, melted
- 50 gr (1/4 cup) Brown Sugar
- 1/2 teaspoon Ground Cinnamon
- 180 ml (3/4 cup) Smooth Applesauce
Optional
- 1 Egg Yolk, for egg wash
- 1/2 tablespoon Icing Sugar, for dusting
Instructions
- Take the Puff Pastry Sheets out of the freezer and leave to thaw at room temperature for 5 to 10 minutes, or until softer. If using non-rolled puff pastry, roll it into two squares that are about 25cm (10-inch) wide.
- Preheat your oven on 180°C/350°F. Line two baking trays with baking paper or a baking mat.
- Cut each Puff Pastry Sheets into 4 equal Squares (see note 1), and fold about 1 cm / 0.4 inch of their sides to create an edge. Gently press on each folded edge so that they stick to the bottom of the Pastry. With a fork, prick the bottom of the Pastries.
- Place the pastry squares on the lined baking trays and bake for 10 to 15 minutes, or until slightly puffed and lightly golden. Remove from the oven and set aside.
- While the pastries are par-baking, prepare the rest of your ingredients. Peel, core and cut each Apple in half. Thinly slice each halved Apple. Set aside.
- Mix the melted Butter (see note 2) with the Brown Sugar and Cinnamon. Set aside.
- Spread some Applesauce on the centre of each Pastries, then top it with a sliced Apple (see note 3). Brush the Butter, Sugar and Cinnamon mixture over each Apple (see note 4).
- Optional: whisk the Egg Yolk in a separate bowl and brush it over the edges of the pastries for a golden finish.
- Bake for 15 to 20 minutes, or until the edges are puffed and golden, and the apples are slightly soft.
- Optional: Leave to cool down completely before dusting with Icing Sugar.
Would you like to save this recipe?
Notes
- Each individual Pastries should be about 12x12 cm / 4,5x4,5 inches.
- The glaze will be easier to brush over the apples if the butter is cool and has started to slightly harden again. That will help the glaze stick to the apples rather than drip straight down.
- Depending on the size of your Apples, you might need to remove a few slices to make them fit inside the pastry squares.
- For more caramelised Apples, only brush half of the glaze on the raw apples, then remove the pastries from the oven half-way through the baking and brush them with the rest of the glaze before finishing the baking.