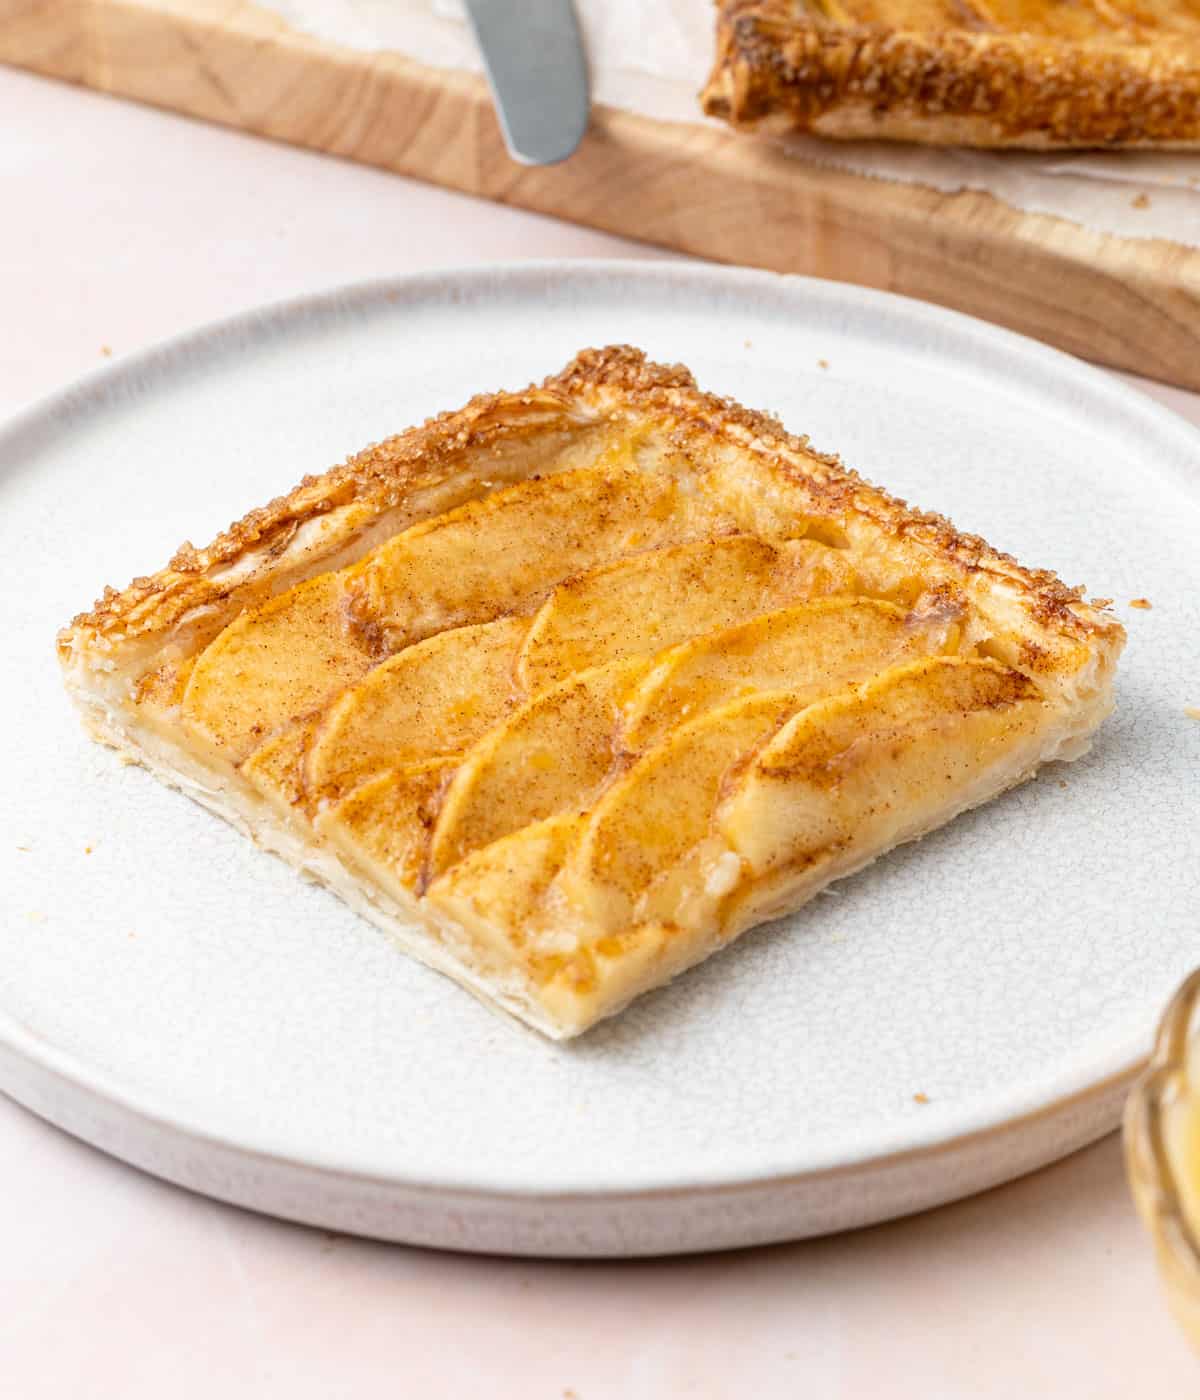
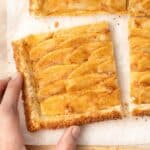
This Puff Pastry Apple Tart is super easy to make with a few basic ingredients and in less than 1 hour. It simply combines frozen puff pastry, a smooth applesauce filling and soft slices of apples baked with a hint of cinnamon.

Jump to:
Why we love this recipe
If you are craving the delicious flavours of a classic French Apple Tart but without the fuss, this puff pastry apple tart recipe is for you!
This rustic apple tart is super easy to make with store-bought puff pastry, a simple applesauce filling and apple slices.
The flaky layers of puff pastry combined with the smooth, slightly tangy applesauce and the soft, melt-in-your-mouth apple slices creates a delicious combination of textures and flavours.
Just like its Mini Apple Tarts version, this dessert is perfect for afternoon tea or dessert. It can even be served for breakfast!
Ingredients
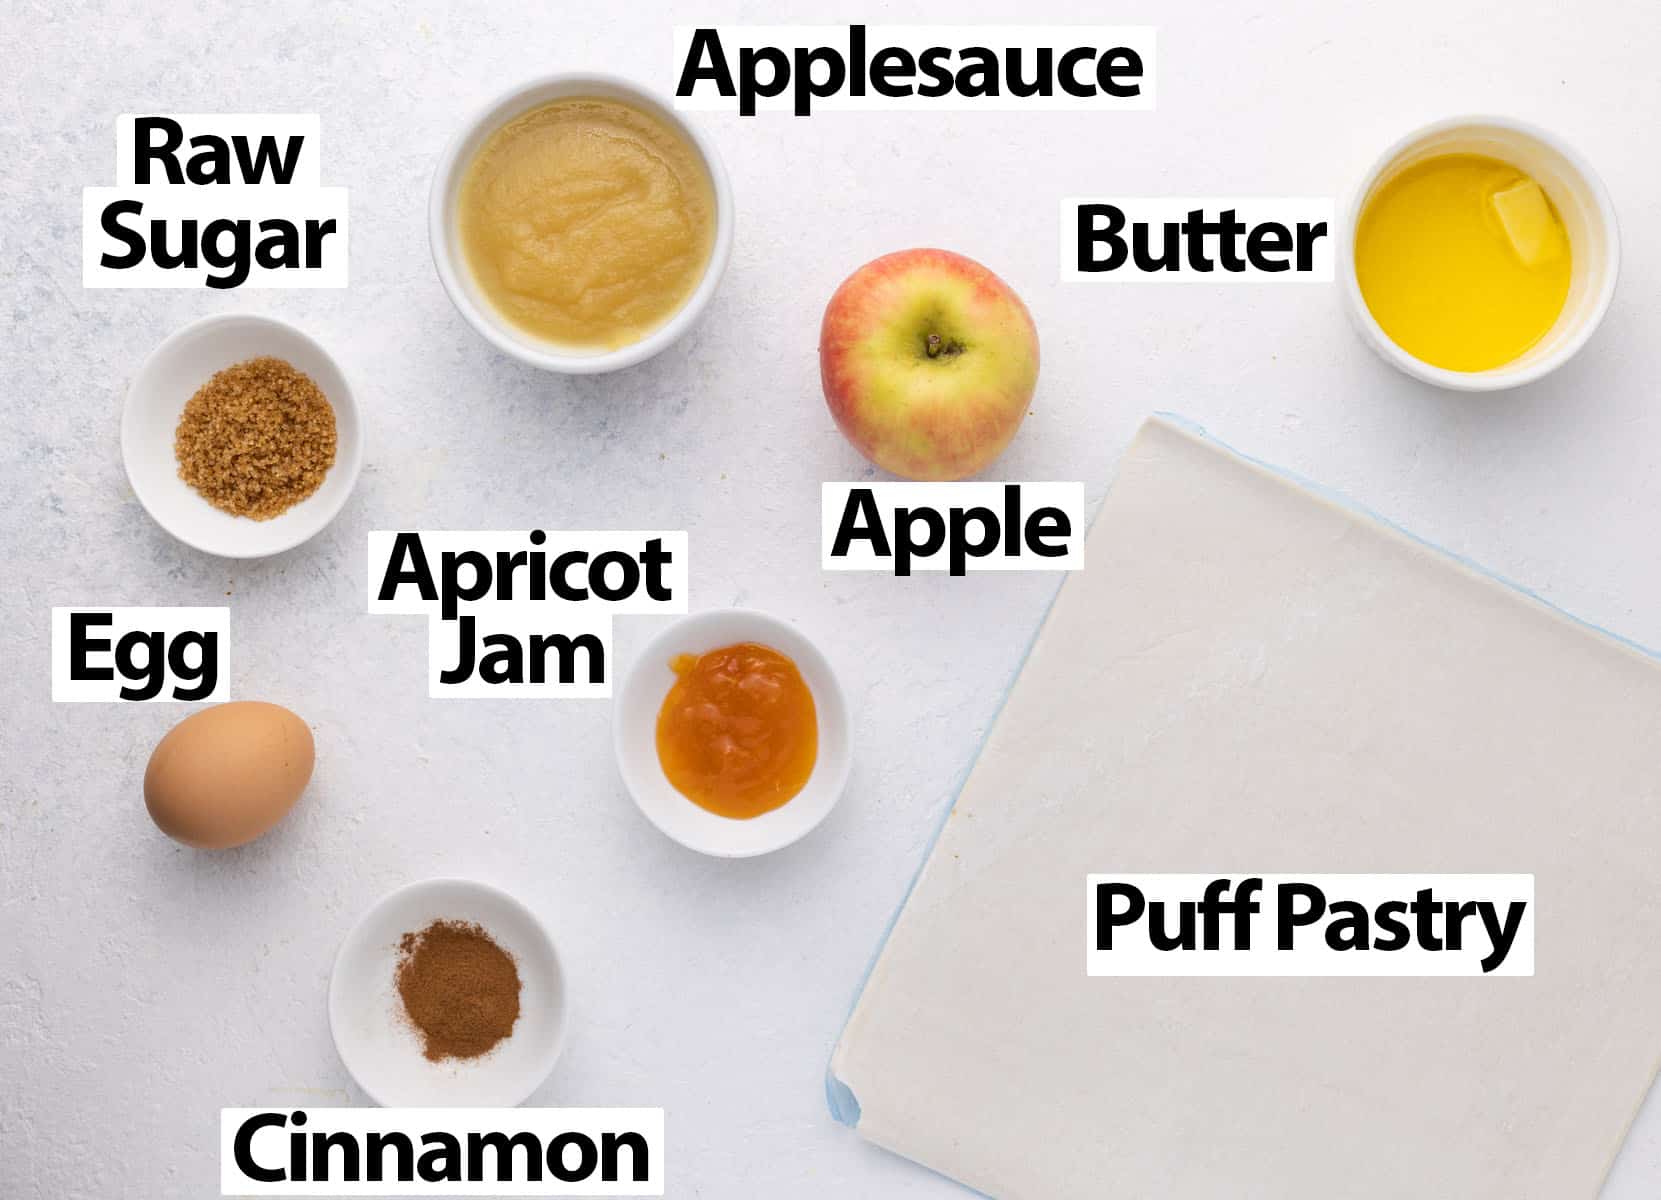
This easy apple tart is made from a few basic ingredients:
Scroll down to recipe card below for all quantities
- Puff Pastry: I used a sheet of store-bought frozen puff pastry, but it will of course work with fresh puff pastry as well. The sheet is 25x25 cm (10x10 inch). Make sure to let it thaw completely before using.
- Applesauce: or apple butter. I used my homemade smooth applesauce but you can use store-bought if preferred. I recommend checking the sugar content of a pre-made applesauce and avoid one that is very high in sugar; you want the flavours to be quite fresh.
- Apple: one large apple, peeled, cored and cut into thin slices. You can keep the skin if preferred. Depending on the size of the apple, you might need more or less than one apple. See FAQs section below for best recommended apple varieties.
- Butter + Cinnamon: unsalted butter, melted and mixed with a little bit of cinnamon. You could add any of your preferred spices here as well. There is no added sugar in the tart but if you want a sweeter or more caramelised finish, you can also include a little bit of brown sugar with the melted butter.
Optional Additions
- Egg: used for the egg wash that will give the edges of the pastry a golden brown look.
- Raw Sugar: or Demerara Sugar, sprinkled on the crust to add a bit of a crunch.
- Apricot Jam: or apricot preserve. It is brushed over the apples once the apple tart is baked to give it a shiny appearance as well as a touch of sweetness.
How to make Apple Tart with Puff Pastry

- Preheat your oven on 180 degrees Celsius / 350 degrees Fahrenheit. Prepare a baking tray with a sheet of parchment paper / baking paper or baking mat.
I used a perforated tray with perforated baking mat which allows for an better air-flow and even baking all around the tart.
- Take the store bought puff pastry sheet out of the freezer and allow to thaw at room temperature. Once soft, place on the prepared baking sheet.
- Photo 1: Fold about 1 cm (1/2 inch) of the puff pastry dough four sides to create slightly raised edges. Slightly press to make it stick to the bottom of the pastry. Dock the centre of the dough with a small fork (poke holes with a fork).
- Photo 2: Place in the oven to par-bake for 15 to 20 minutes. The pastry should feel dry to the touch and start to get a very light golden colour. Leave to cool down for 10 minutes.
Would you like to save this recipe?
If the pastry has puffed a lot, slightly press it back with the back of a fork or spoon.
- While the pastry is cooling down, peel, core and cut the apple into very thin slices with a sharp knife. Set aside.
Optionally, you can toss the apples in a little bit of lemon juice for a slightly tangy taste and to also avoid them browning.
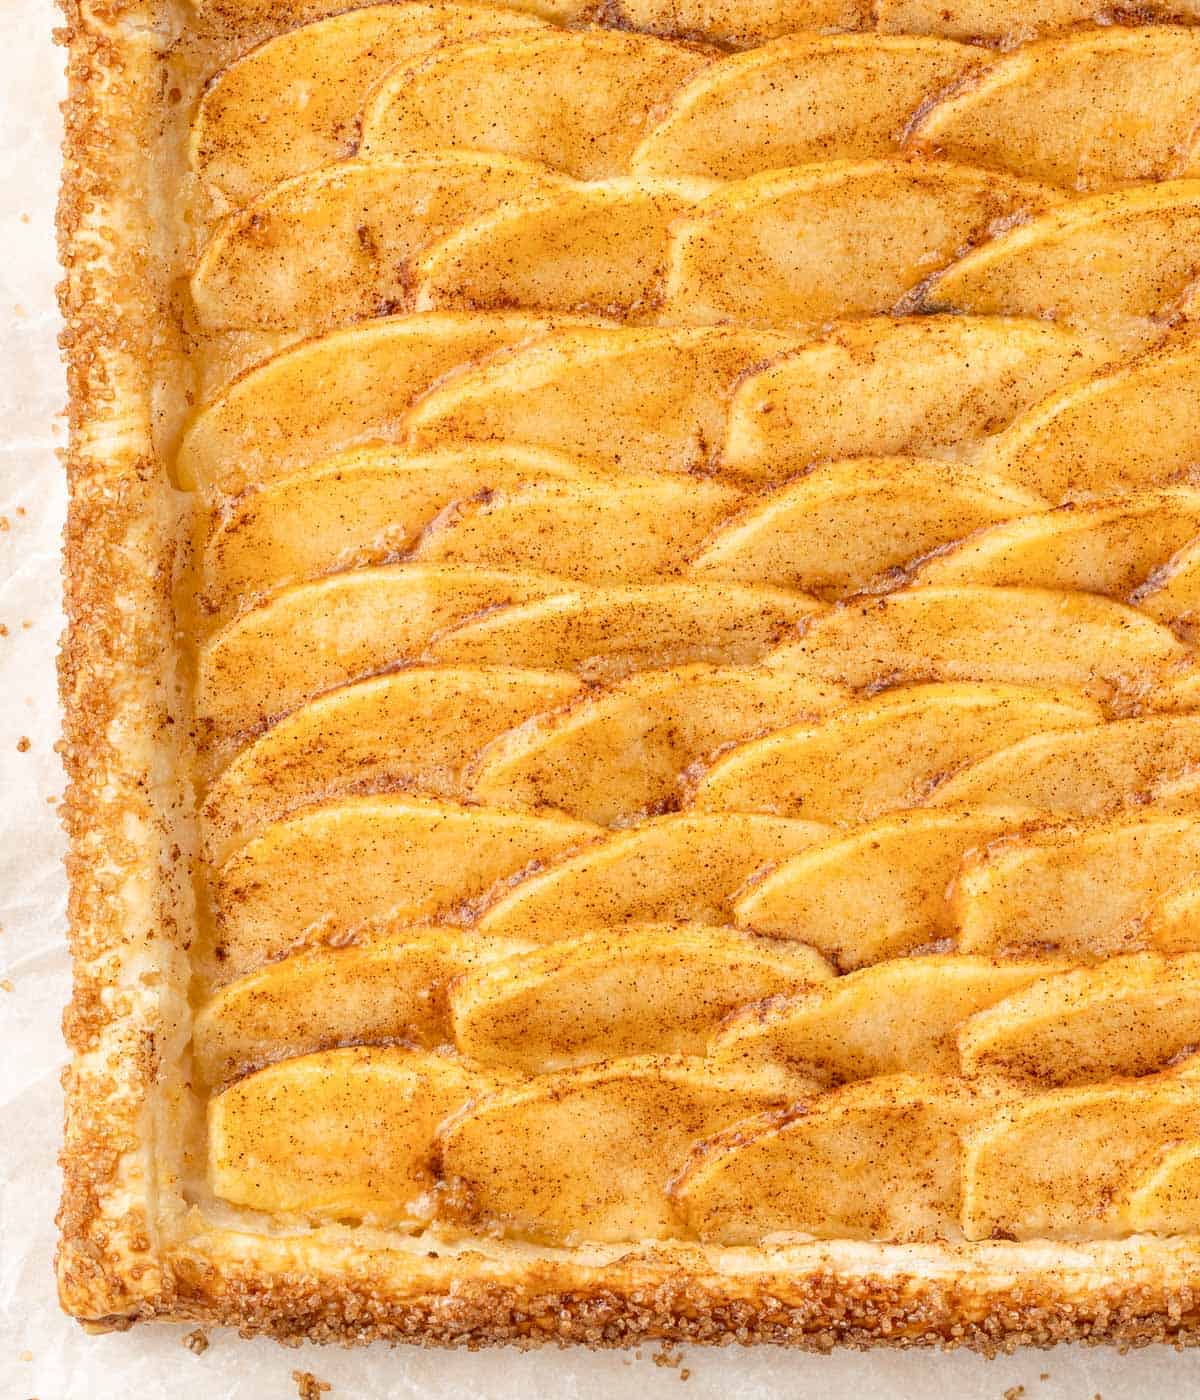
- Photo 3: Spread the applesauce over the pastry.
- Photo 4: Arrange the apple slices over the applesauce. Start from one side and place the apples in a line, slightly overlapping each slice. Continue to create lines of apple that each overlap with each other.

- Photo 5: Place the butter in a small bowl and melt it in the microwave. Mix in the cinnamon to get a liquid mixture.
- Photo 6: Generously brush the butter mixture over the sliced apples.
- Photo 7: Optionally, lightly whisk the egg and brush it over the raised edges of the pastry. Top with the raw sugar, generously sprinkling it over the egg to make it stick.
- Place back in the oven and bake for 25 to 30 minutes, or until the apples are soft and start to get lightly golden.
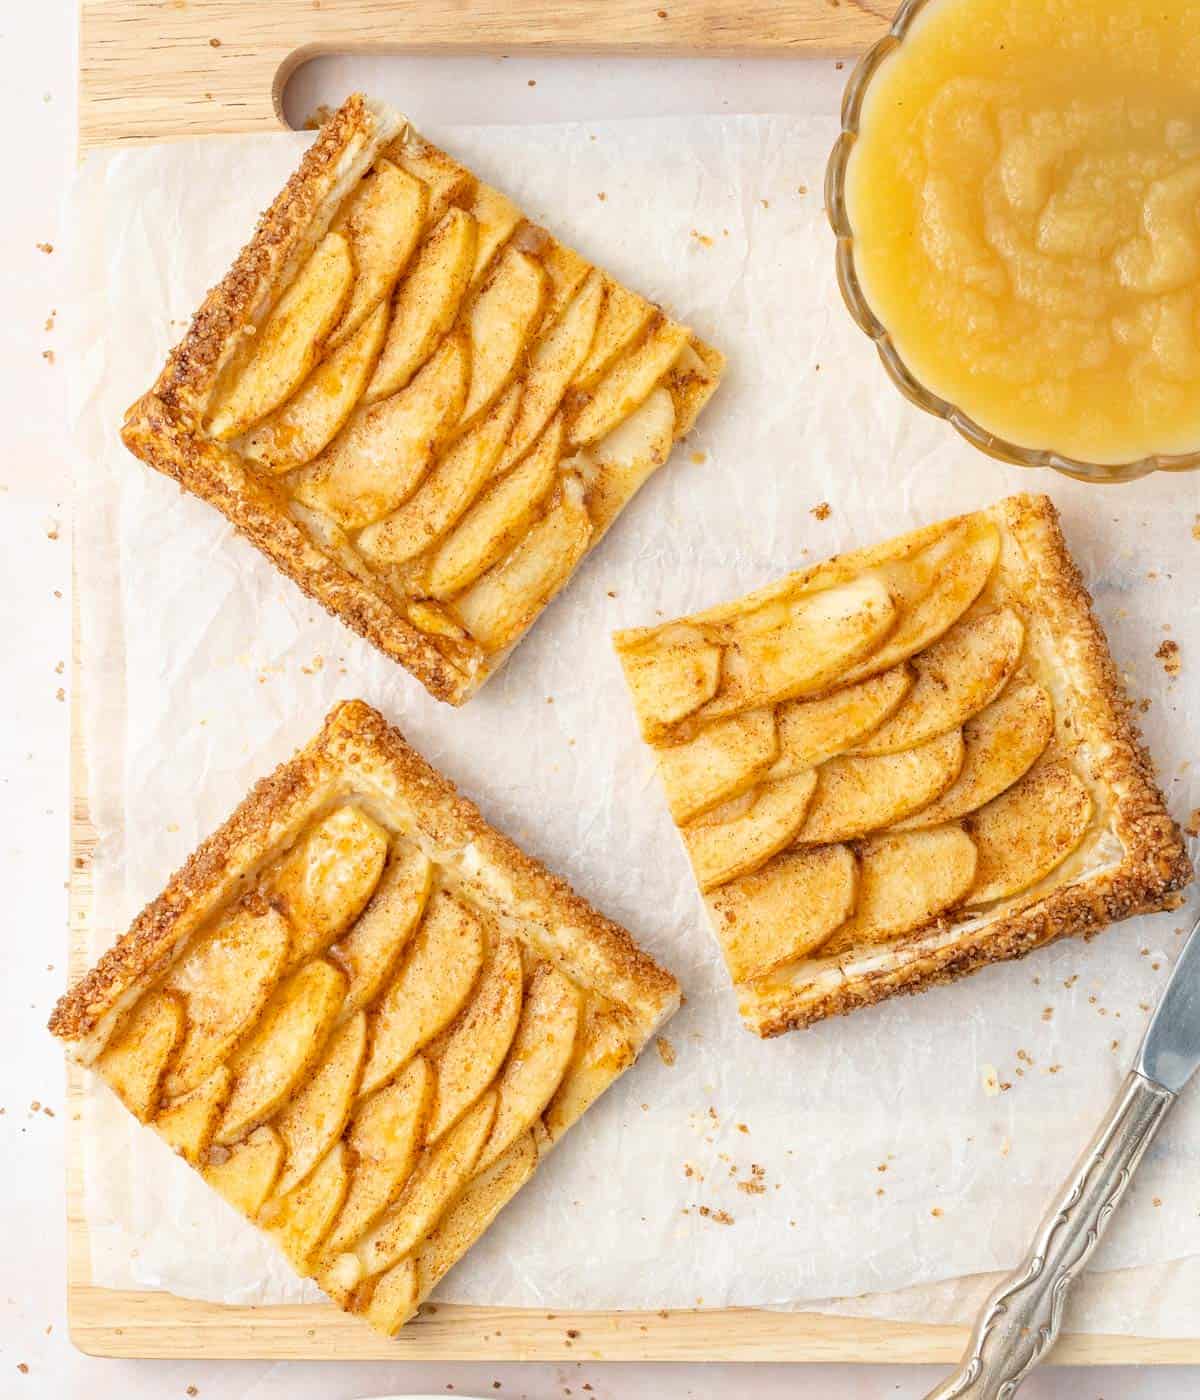
- Photo 8: Optionally, mix the apricot jam with a little bit of water and brush it over the apples while still slightly warm. Serve straight away while lukewarm or allow to cool down first.
Recipe FAQs
My two preferred types of apples to bake apple pie are Pink Lady (which I used here) for a sweeter taste and Granny Smith for a fresher, more tangy flavour.
You could also use: Gala, Golden Delicious, Braeburn, Fuji or Honeycrisp Apples.
Yes - if you want to avoid a soggy pastry bottom, it is essential to par-bake the puff pastry first before adding the filling.
If the pastry is still not cooked after the two separate baking times, you can try to bake it for a little bit longer. If the apples start to brown or burn, cover the tart with aluminium foil.
This puff pastry apple tart is great served sprinkled with some icing sugar, with a scoop of vanilla ice cream or some whipped cream - or even some caramel sauce or Crème Anglaise.
Tips & Tricks
- Use a pure butter puff pastry for the best flavours and textures.
- To evenly bake the pastry and insure the bottom of the puff pastry is crispy, bake the tart on a perforated baking tray lined with a perforated baking mat.
- You can play with the taste of the tart by using different varieties of apples. For example, using Granny Smith Apples will create a fresher, tangier taste. A Pink Lady will offer a milder, sweeter flavour.
Storing & Freezing
This puff pastry apple tart is best served straight away (lukewarm) or within a few hours (cold or slightly reheated in the oven for a few minutes).
You can keep it at room temperature for a few hours before serving. It will last for longer when stored in the fridge, but the pastry will loose its crunch and eventually turn soggy.
Because we are using frozen puff pastry, you should not re-freeze this tart.
More Puff Pastry Tarts
Made this recipe?
Let us know if you liked it by leaving a comment below, and tag us on Instagram @a.baking.journey with a photo of your creation!
Recipe
Puff Pastry Apple Tart
Ingredients
- 1 sheet Frozen Puff Pastry, thawed, 25 x 25 cm sheet
- 1 large Apple
- 120 gr (1/2 cup) Applesauce
- 20 gr (1 tablespoon) Unsalted Butter, melted
- 1/4 teaspoon Cinnamon
- 1 Egg, for egg wash, optional
- 1 teaspoon Raw Sugar, optional
- 1 1/2 teaspoon Apricot Jam or Preserve, optional
Instructions
- Preheat your oven on 180 degrees Celsius / 350 degrees Fahrenheit. Prepare a baking tray with sheet of baking paper or baking mat (see note 1).
- Take the puff pastry sheet out of the freezer and allow to thaw at room temperature. Once soft, place on the prepared baking sheet. Fold about 1 cm (1/2 inch) of the puff pastry dough four sides to create slightly raised edges and gently press to make it stick. Dock the pastry with a fork.
- Place in the oven and par-bake for 15 to 20 minutes. The pastry should feel dry to the touch and start to get a very light golden colour (see note 2). Set aside to cool down while you prepare the apple.
- Peel, core and cut the apple into very thin slices with a sharp knife. Set aside.
- Spread the applesauce over the pastry in an even layer.
- Arrange the apple slices over the applesauce: start by layering the apples in a straight line one of the sides of the pastry, slightly overlapping each slices. Continue to create lines of apple that all overlap with each other slightly.
- Place the butter in a small bowl and melt it in the microwave, then mix in the cinnamon. Generously brush the butter mixture over the sliced apples.
- Optional: lightly whisk the egg and brush it over the folded edges of the pastry. Sprinkle the raw sugar over the brushed edges.
- Place back in the oven and bake for 25 to 30 minutes, or until the apples are soft and start to get lightly golden (see note 3).
- Optional: mix the apricot jam with a few drops of water and brush it over the apples while still slightly warm. Serve straight away when still lukewarm.
Video
Would you like to save this recipe?
Notes
- I used a perforated tray with perforated baking mat which allows for an better air-flow and even baking all around the tart.
- If the pastry has puffed a lot, slightly press it back with the back of a fork or spoon.
- Depending on how thin you sliced the apples, they can cook more or less quickly. If the apples start to brown or burn before the pastry has finished baking, cover with a sheet of aluminium foil and continue to bake.