

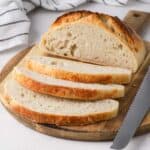
This No Knead Bread baked in a Remoska Tria is probably the easiest bread loaf you'll ever make! This overnight white bread has a perfect crunchy crust and soft crumb and can be baked from anywhere - from your caravan to your camping site or even your garden!

This recipe is sponsored by Remoska
Jump to:
Why we love this recipe
Imaging being on a camping or caravaning trip and waking up to the smell of delicious freshly baked bread. It is now possible thanks to the Remoska Tria!
This super easy no knead bread literally requires 10 minute of work and is simply made by hands. No stand mixer or bread machine needed! Simply mix the 4 basic ingredients, let it rise overnight then bake it in the Remoska Tria - and there you it. A deliciously crusty, soft bread that can be baked from basically anywhere!
The Remoska Tria is super versatile three-in-one cooker that works with 3 different lids. It has a glass lid to use the pot on the stove, a the soft-pressure lid to create a slow cooker/pressure cooker and plugged in with the baking lid to turn it into a portable oven.
It is not only portable and usable from anywhere that has a simple electricity plug, it also uses about 5 times less energy than a regular oven!
You can now pre-order the Remoska Tria and get 25% off plus free shipping when using the code "BakingJourney" at checkout! (valid only in Australia and New Zealand).
More Remoska Recipes:
Ingredients

There is nothing more basic than the 4 ingredients needed to make this No Knead overnight Bread.
Scroll down to the recipe card below for all quantities.
- Flour: I used Bread Flour here, which will give you the softest, chewiest crumb. See FAQ section below if you want to use Plain / AP Flour instead.
- Salt: a Fine Table Salt.
- Yeast: I used Instant Yeast that does not require to be bloomed (rehydrated first). You can also use Active Dry Yeast but it will need to be dissolved in the warm water first.
- Water: it is important for the water to be slightly warm - but not too hot or it might kill the yeast.
Optional Addition
This bread is a great base for any of your creation and you can basically add anything to it! From herbs to spices, seeds, or even cheese, dried tomatoes or olives.
Herbs and spices can be added from the start, but I recommend adding any "chunky" additional ingredient after the bulk fermentation stage (when the dough rises overnight the first time).

How to make No Knead Bread in a Remoska
When I say that this bread is seriously easy to make, I mean it. It requires less than 5 minutes of prep time then about 5 minutes to shape it after it rises.
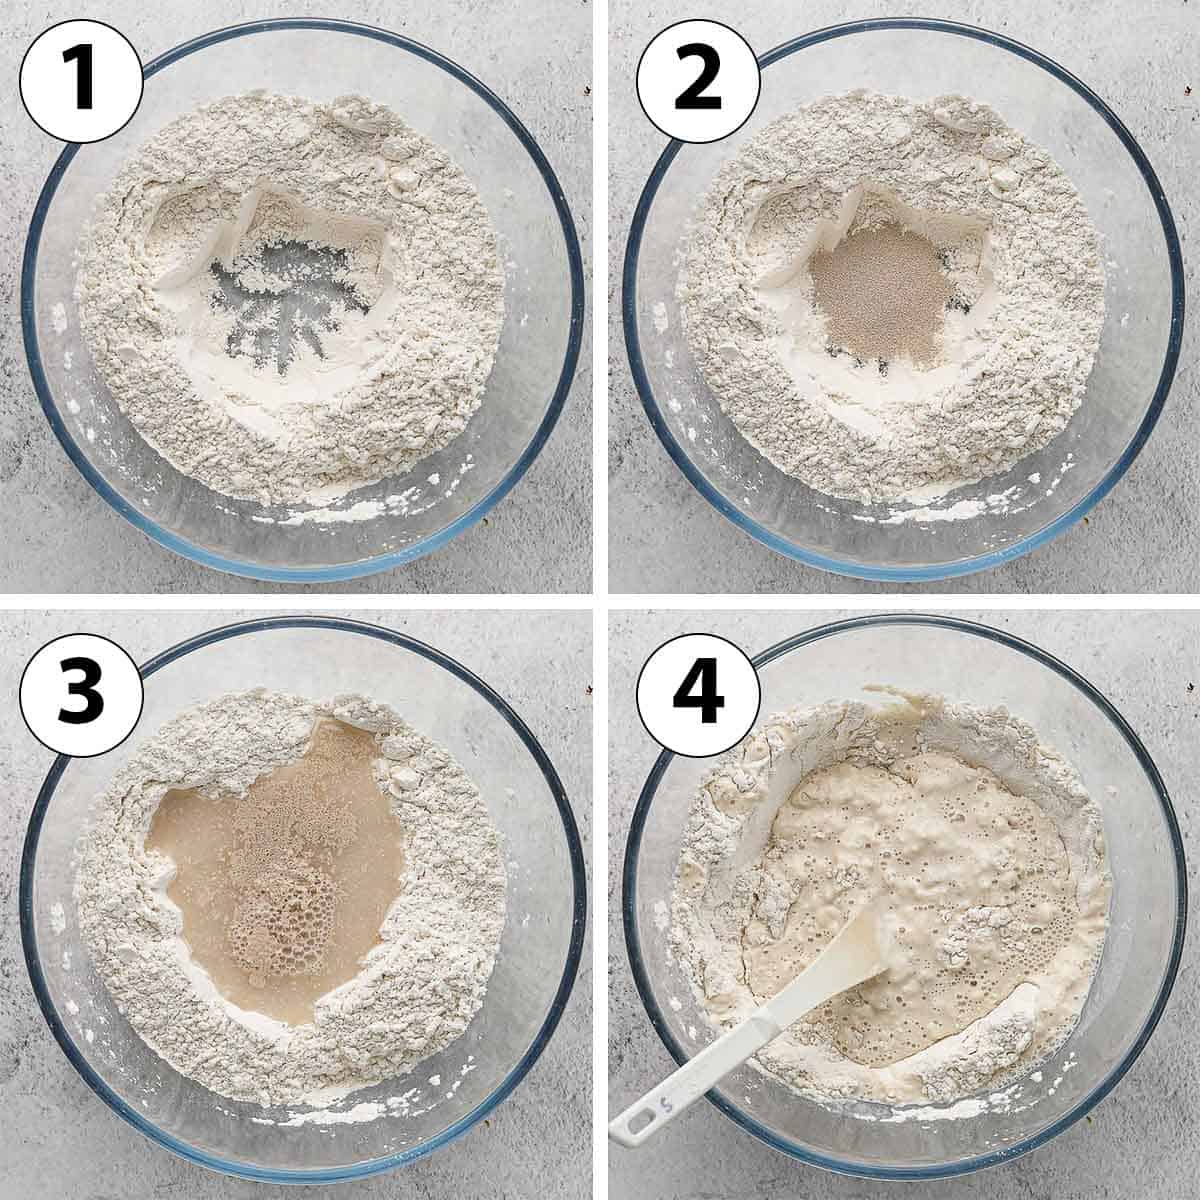
- Photo 1: Place the Bread Flour and Salt in a large mixing bowl. Mix to combine, then create a well in the centre of the bowl.
- Photo 2: Add the Dry Yeast at the bottom of the well.
Note that if using Active Dry Yeast, you will need to mix the Yeast and lukewarm Water first separately and let it sit for a few minutes until foamy/bubbly before adding it to the dry ingredients.
- Photo 3: Pour in the lukewarm Water.
- Photo 4: Mix with a spatula, starting from the centre of the bowl then slowly incorporating the Flour around it.
Would you like to save this recipe?
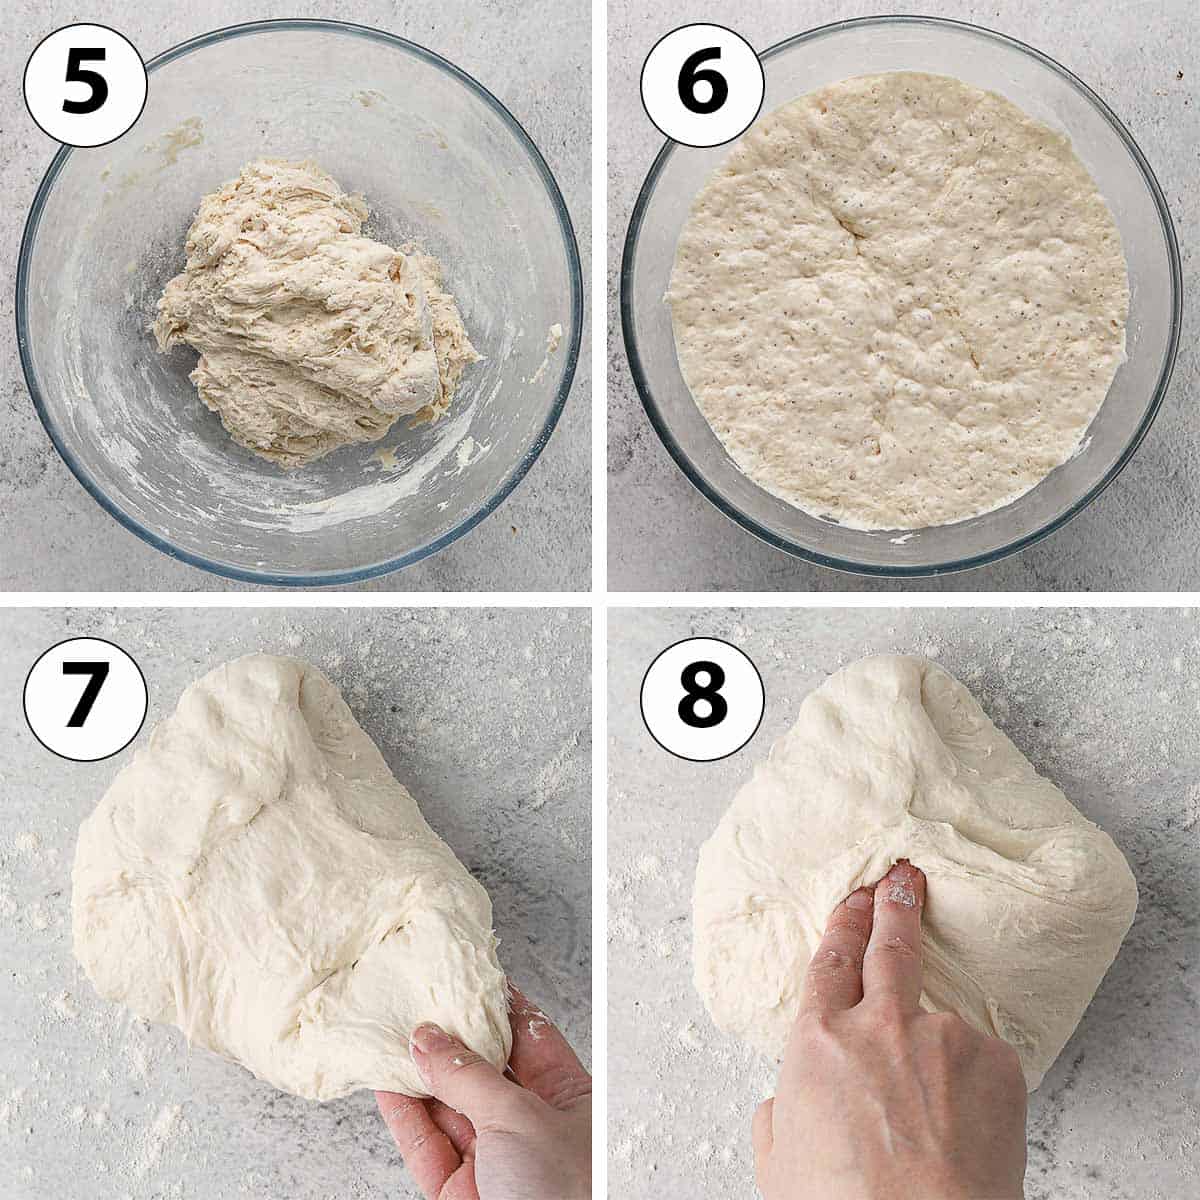
I like to start with a spatula then finish with my hands to make sure all the ingredients are well mixed in and there are no pockets of flour left.
- Photo 5: You should get a rough, sticky dough that does not look smooth. That's normal! Just make sure that there are no pockets of flour left.
- Photo 6: Cover the bowl with a tea towel and leave to proof overnight (or during the day) for 8 to 12 hours. The longer you leave it, the more developed flavours you will get. The dough should have risen quite a lot, still be slightly sticky and bubbly.
- Transfer the dough over a floured surface and bring it together into a large ball. It should be quite soft and stretchy at this point.
- Photo 7 & 8: Start shaping the bread by gently pulling on one side then folding it towards the centre of the dough. Turn the dough 90 degrees and repeat the process. Go around the dough a few times.
I went around about 4 or 5 times. You want to keep going until you start to feel resistance in the dough and it starts to break when you pull it.
This technique called "stretch and fold" allows to simply create tension within the dough. That will give you the best texture and a nicely shaped no knead bread as well.
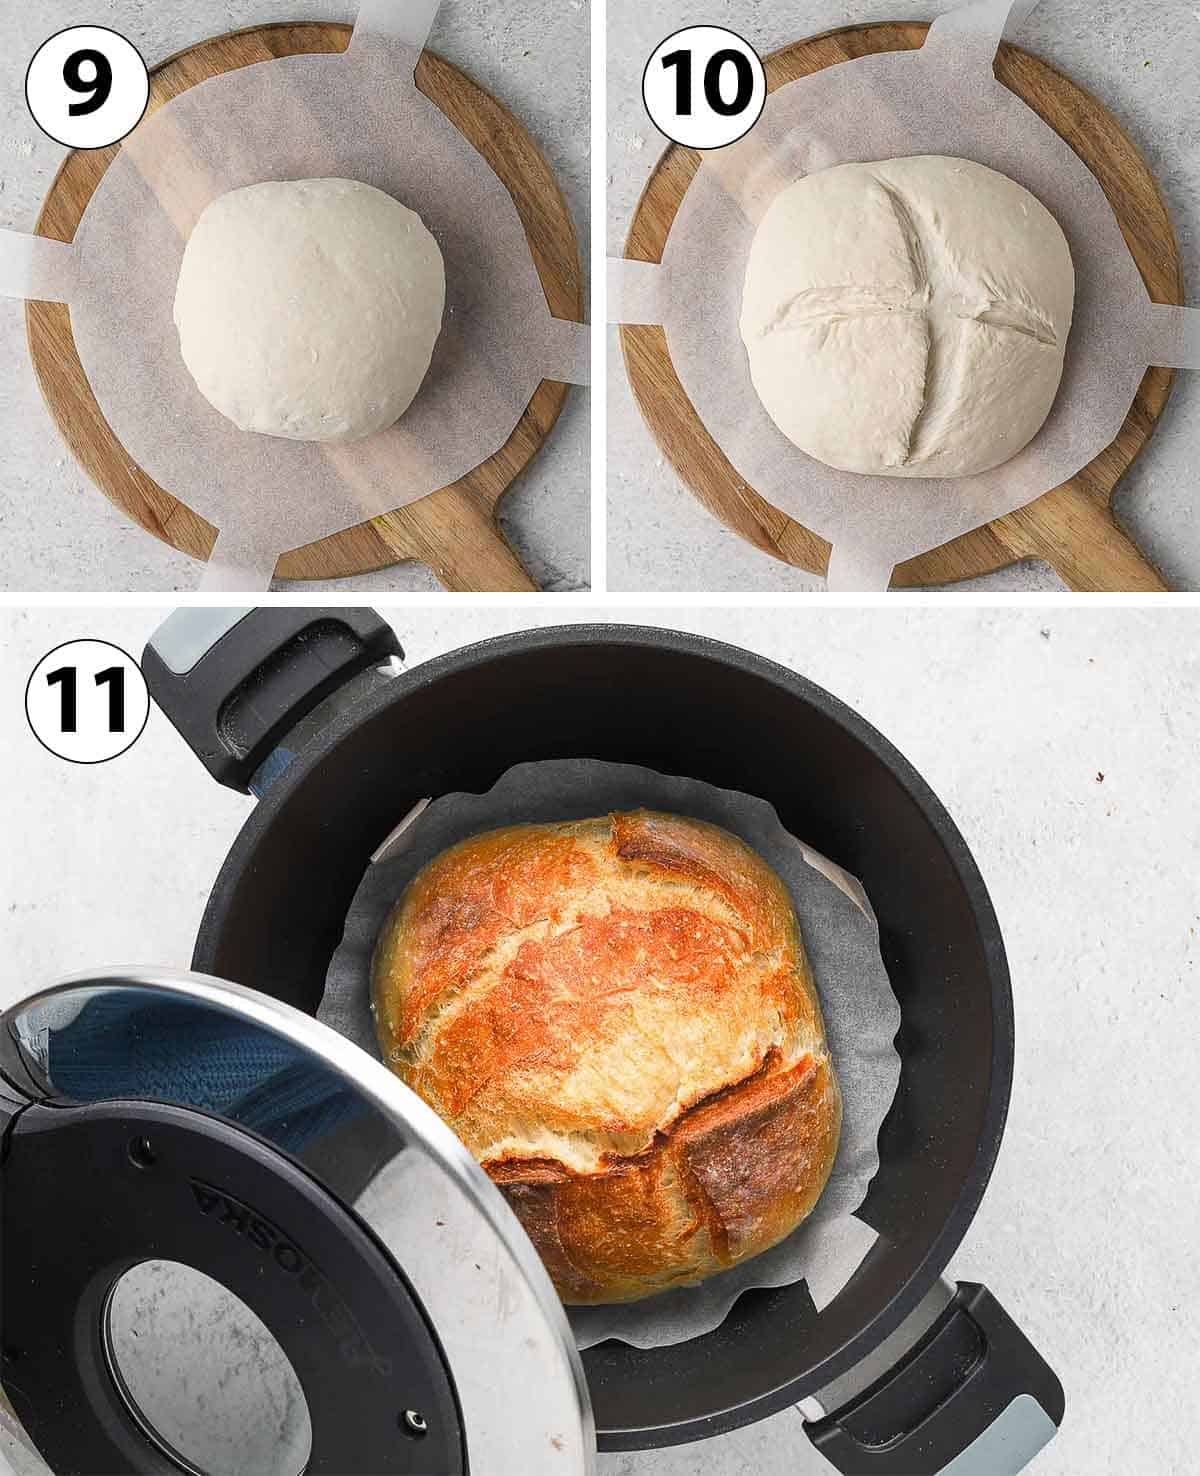
- Photo 9: Flip the bread over; you should get a nice ball. Place it over a sheet of baking paper (I cut mine into a round shape with some longer strips on the side to easily pull the bread out of the Remoska).
Note that the baking paper is only used here to easily move the no knead bread in and out of the Remoska. The Remoska pot is non-stick so you can bake it directly in it if preferred.
- Photo 10: Leave it to rise again in a warm spot for 30 to 45 minutes. It should have increased in size and spread out a bit.
- Place the baking lid over the Remoska Tria pot, turn it on and leave it to heat up for 5 minutes.
- Optional: just before transferring the bread into the Remoska, score it with a sharp knife or a scoring lame (bread blade).
- Photo 11: Carefully remove the baking lid (it will be very hot), place the bread inside the Remoska then re-cover with the Lid. Bake for 35 to 40 minutes.
- Turn off the lid and remove it (it will be very hot, don't place it face down on a surface that could melt) and let the bread cool down for 10 to 15 minutes. Take it out of the pot and leave to cool down completely on a cooling rack.
If you slice the bread when still warm just after baking it, the steam contained in it will evaporate which will result in a drier tougher bread.
Recipe FAQs
Yes, this recipe will work with plain/ap flour but the crumb won't be as light and chewy than with bread flour.
It can be proofed in the fridge, but it will need to proof for longer as cold temperature slow down the process.
I have tried to bake the bread after about 3 hours of proofing and it did work, but the no knead bread is much denser. That is because you won't get as much gluten development with a shorter bulk fermentation period.
Absolutely, using the Remoska to bake bread is basically light using a Dutch Oven in an oven. You will want to bake the no knead bread in a pre-heated dutch oven for about 20 to 25 minutes, then remove the lid and finish baking for another 10 to 15 minutes.

Tips for Success
- The longer you leave the no knead bread to proof, the more developed the flavours will be. I usually bake this bread after about 10 hours of bulk fermentation.
- Try to create as much tension in the dough as possible when you shape it. Use the stretch and fold method explained above and continue until you feel too much resistance in the dough when you pull on it.
- The dough will be quite soft and very slightly sticky - that's normal. Try to avoid adding too much flour when shaping it.
Storing & Freezing
The bread will stay fresh for up to 3 or 4 days. Store it in an air-tight container or bread box/bag if possible.
You can also freeze the bread. I always recommend freezing individual slices instead of the whole loaf as frozen slices only needs to be re-heated in the toaster.

More Bread Recipes
- Rosemary Focaccia
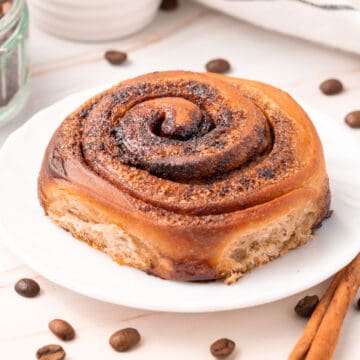
- Cinnamon Scrolls
- Chocolate Brioche Wreath
- Apple Cinnamon Pull Apart Bread
- Chocolate Chip Brioche Bread
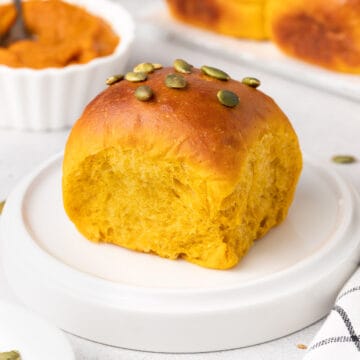
- Sweet Potato Buns
- Spinach & Ricotta Rolls
- Sesame Bagels
Made this recipe?
Let us know if you liked it by leaving a comment below, and tag us on Instagram @a.baking.journey with a photo of your creation!
Recipe
No Knead Bread in the Remoska
Ingredients
- 450 gr (3 cups) Bread Flour
- 11 gr (2 teasp.) Instant Yeast
- 6 gr (1 teasp.) Fine Table Salt
- 320 ml (1 1/3 cup) Water, lukewarm
Instructions
- Mix the Flour and Salt in a large mixing bowl and create a well in the centre. Place the Yeast at the bottom of the well and pour the lukewarm Water over it.450 gr (3 cups) Bread Flour, 11 gr (2 teasp.) Instant Yeast, 6 gr (1 teasp.) Fine Table Salt, 320 ml (1 1/3 cup) Water
- Mix with a spatula, starting from the centre of the bowl then slowly incorporating the Flour around it. Keep mixing until all the ingredients have been incorporated and you cannot see pockets of flour anymore. Use your hands if preferred (see note 1).
- Cover the bowl with a tea towel and leave to proof for 8 to 12 hours (see note 2).
- The dough should have risen quite a lot and will be slightly sticky and bubbly. Transfer the dough over a floured surface and bring it together into a large ball (see note 3).
- Shape the bread by doing to stretch and fold method: gently pull one side of the dough then fold it towards the centre, pressing on it slightly so it sticks. Turn the dough 90 degrees and repeat the process. Go around the dough a few times until you start to feel resistance in the dough and it starts to break when you pull it (see note 4).
- Flip the bread over and place it over a sheet of baking paper (see note 5). Leave to proof for another 30 to 45 minutes.
- Place the baking lid over the Remoska Tria pot, turn it on and leave it to heat up for 5 minutes. Optionally, score the bread with a sharp knife or bread lame. Carefully remove the baking lid (it will be very hot), place the bread inside the Remoska then re-cover with the Lid. Bake for 35 to 40 minutes.
- Turn off the lid and remove it (see note 6). Leave the bread to cool down inside the pot for 10 to 15 minutes. Take it out and cool down completely on a cooling rack.
Would you like to save this recipe?
Notes
- Bread Flour: can be substituted with Plain / AP Flour, but the bread crumb won't be as soft and chewy.
- Yeast: if you use Active Dry Yeast instead of Instant Yeast, you will need to bloom (rehydrate) it in warm water first. To do so, mix the lukewarm water and yeast and let it sit for about 10 minutes, or until foamy and bubbly.
- You should get a rough, sticky dough that does not look smooth - that's normal. Just make sure that there are no pockets of flour left.
- I usually make the bread at night before going to bed and let it proof overnight for about 10 hours. The longer you let it proof, the more developed the flavours will be.
- The dough should be quite soft and stretchy at this point. It will still be a bit sticky, but try not to add too much flour.
- I went around the dough about 4 or 5 times. You want to create as much tension in the dough as possible as it will give the bread a nice structure.
- I cut the baking paper into a round shape with some longer strips on the side to easily pull the bread out of the Remoska. Note that the Remoska is non-stick so you could bake the bread directly inside it, but I use baking paper to simply lift the bread in and out of it.
- The lid will be very hot at this point, don't place it face down on a surface that could melt.
Comments
No Comments