
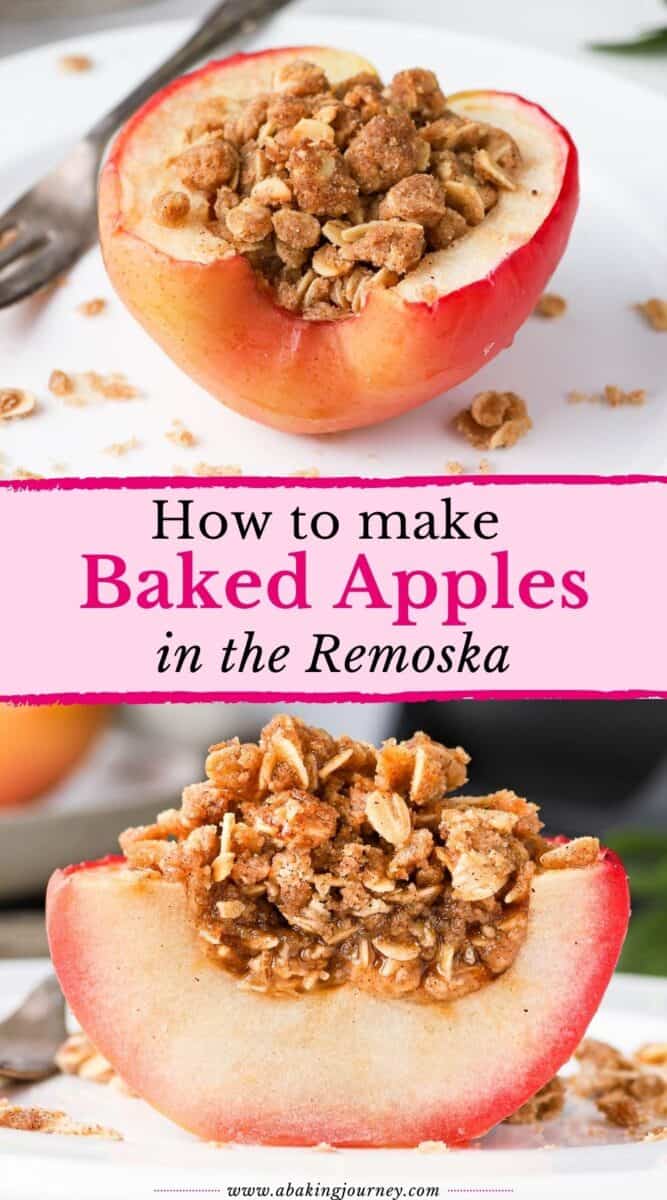
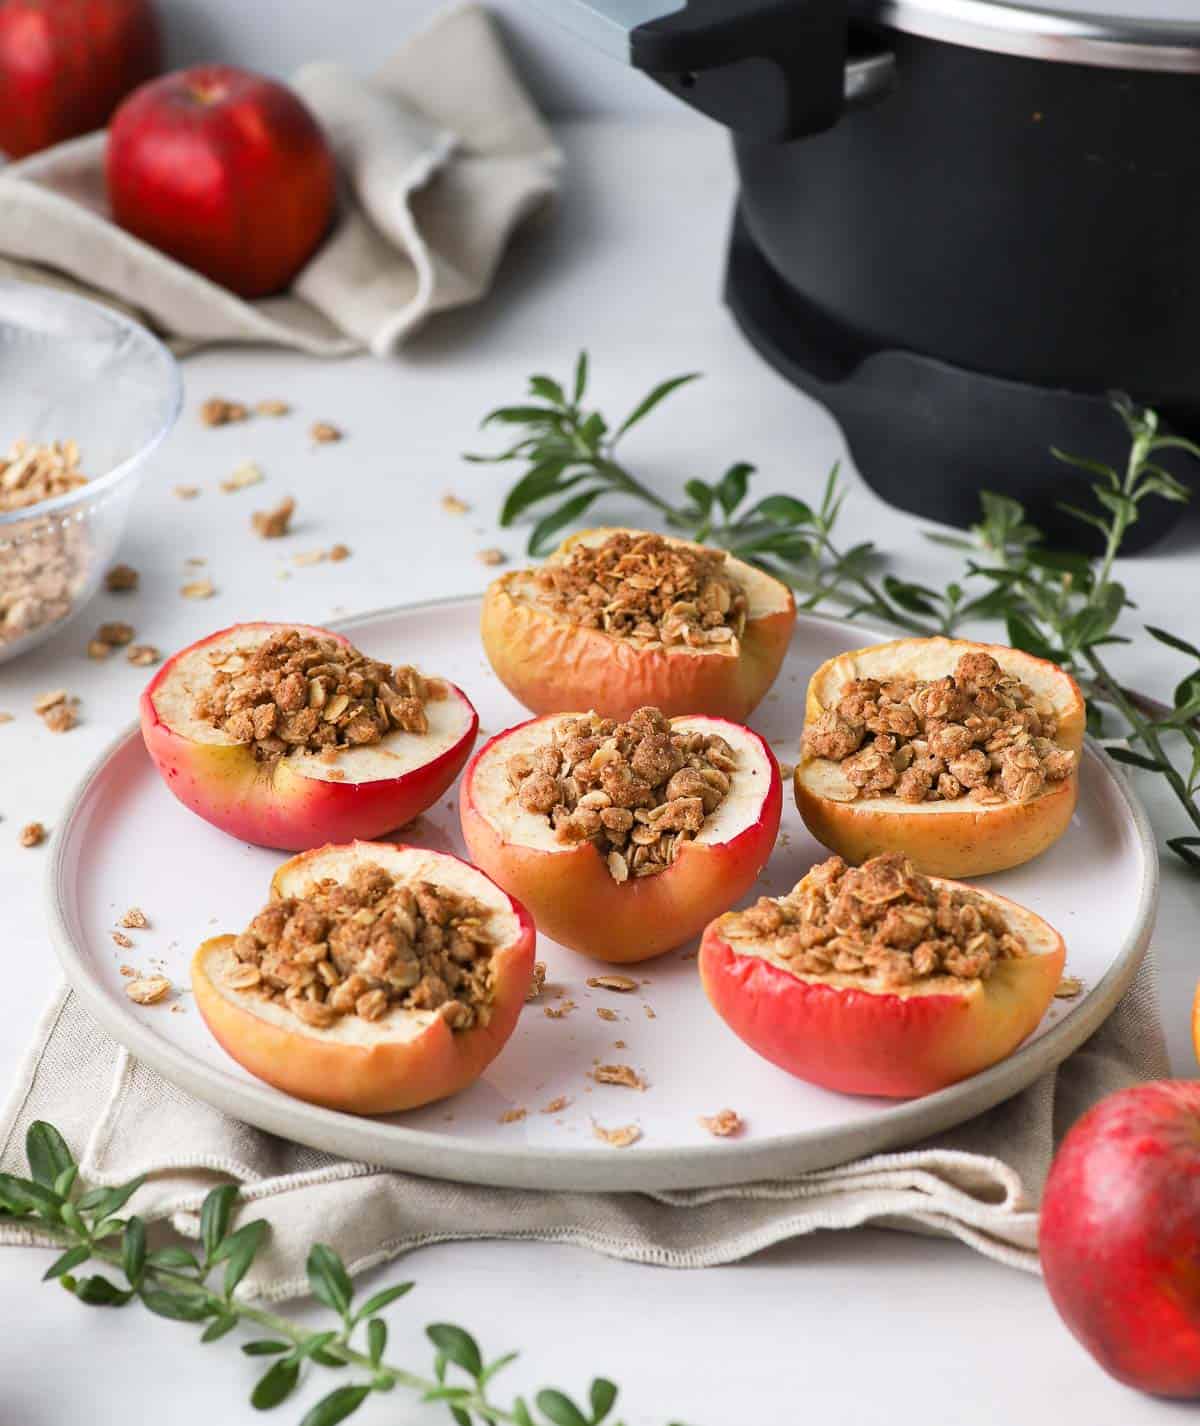
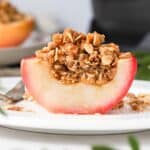
These delicious Baked Apples with Crumble Topping baked in the Remoska Tria are so quick and easy to prepare. They are the perfect comforting Fall and Winter dessert that will be ready in no time and can be made from anywhere!
Jump to:
This recipe is sponsored by Remoska
Why we love this recipe
Imagine preparing these mini apple crumbles from a campsite to your campervan, caravan, boat or backyard... it's comfort food at its best, when you need it the most!
I mean, soft baked Apples and crunchy Crumble made from basically anywhere? Yes please! This dessert is warm, sweet and so comforting. And it's super easy to prepare without an oven thanks to the Remoska Tria!
The Remoska Tria is a great 3-in-1 Portable Cooker that has 3 different lids for baking, roasting and slow cooking. It works on the stove or on its own with a simple electric plug (requiring about 5 times less energy than a regular over!), making it the most versatile cooker ever!
You can now pre-order the Remoska Tria and get 25% off plus free shipping when using the code "BakingJourney" at checkout! (valid only in Australia and New Zealand).
More Remoska Recipes:
Ingredients
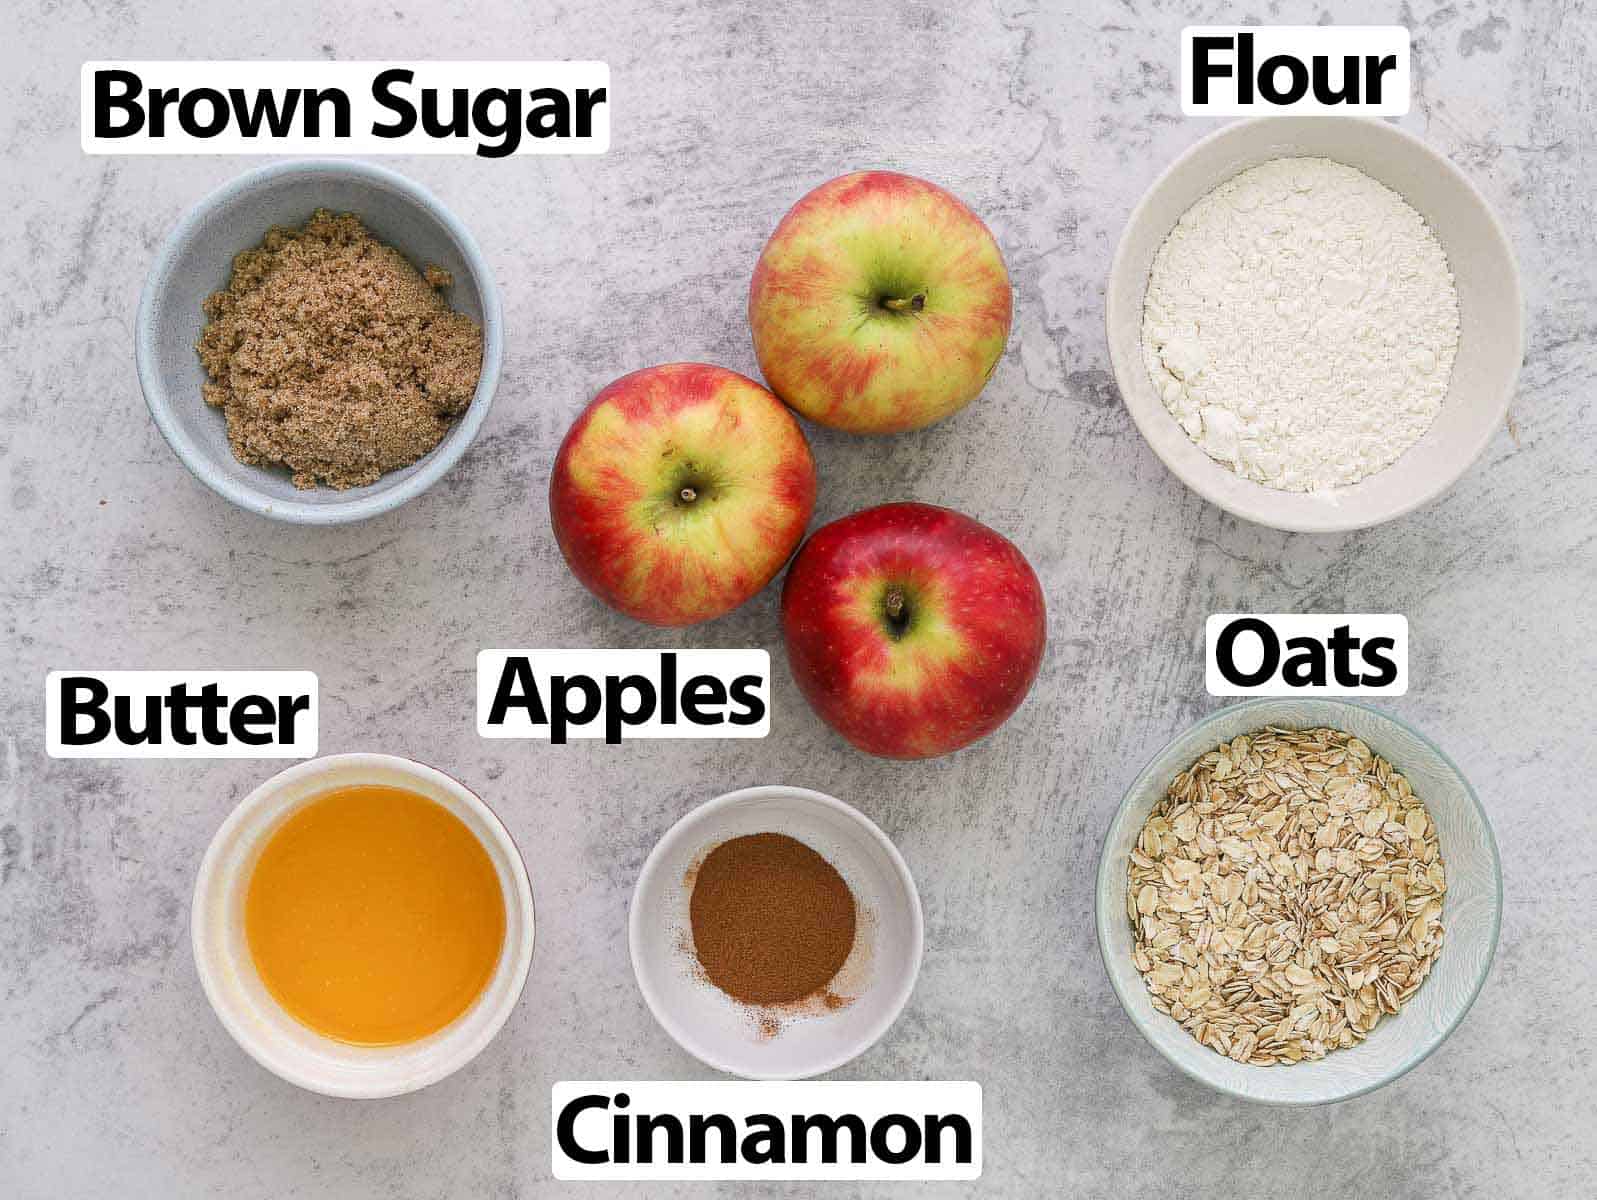
These baked apples crumbles only require a handful of ingredients (scroll down to recipe card for all quantities):
- Apples: make sure to use an apple variety that can be baked or you won't get the right texture (see FAQs section below).
- Flour: basic Plain / AP Flour.
- Oats: I used Rolled Oats but it will work with Instant Oats as well (it just won't be as crunchy).
- Sugar: Brown Sugar (you can use light or dark brown sugar, it's up to you!). It will also work with unrefined sugar like Demerara or even Coconut Sugar as well (and you'll get a crunchier crumble).
- Spices: I simply used Cinnamon here but you can really add any of your favourite spices! For example: ground ginger, nutmeg, allspice, ground star anise,...
- Butter: melted Unsalted Butter. Yes, melted! Using melted butter is what makes this recipe SO easy (and less messy) - and actually creates a super crunchy crumble!
Optional Addition: the crumble recipe is a great base but you can really add any of your favourite ingredients to it. From nuts (walnuts, pecans, almonds,...) to different grains, dried fruits or even coconut!
How to make Baked Apples in the Remoska
This recipe is SO quick and easy... And it's made even easier by the fact that it uses melted butter instead of cold butter. You don't have to cut the butter into the dry ingredients, which is not only time consuming but also messy!
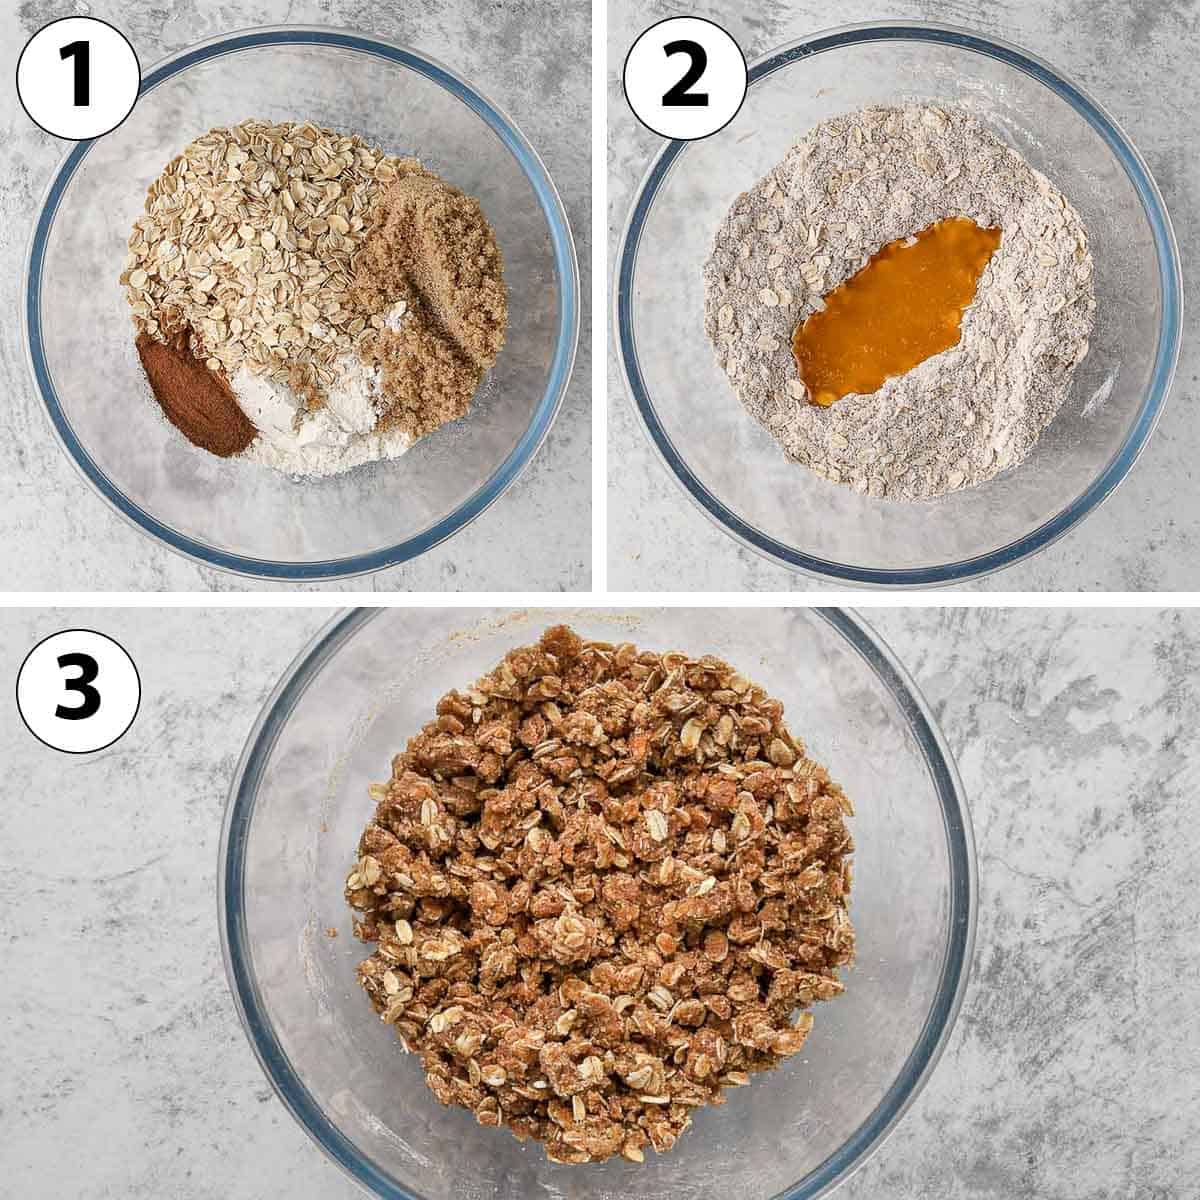
- Photo 1: place the Flour, Oats, Brown Sugar and Cinnamon in a large mixing bowl and stir to combine.
Would you like to save this recipe?
- Photo 2: Add the melted butter.
- Photo 3: mix with a spatula or wooden spoon until you get a crumble consistency. Make sure to mix well so that all the dried ingredients are covered with butter.
- Set aside. If making in advance, you can store it in the fridge.
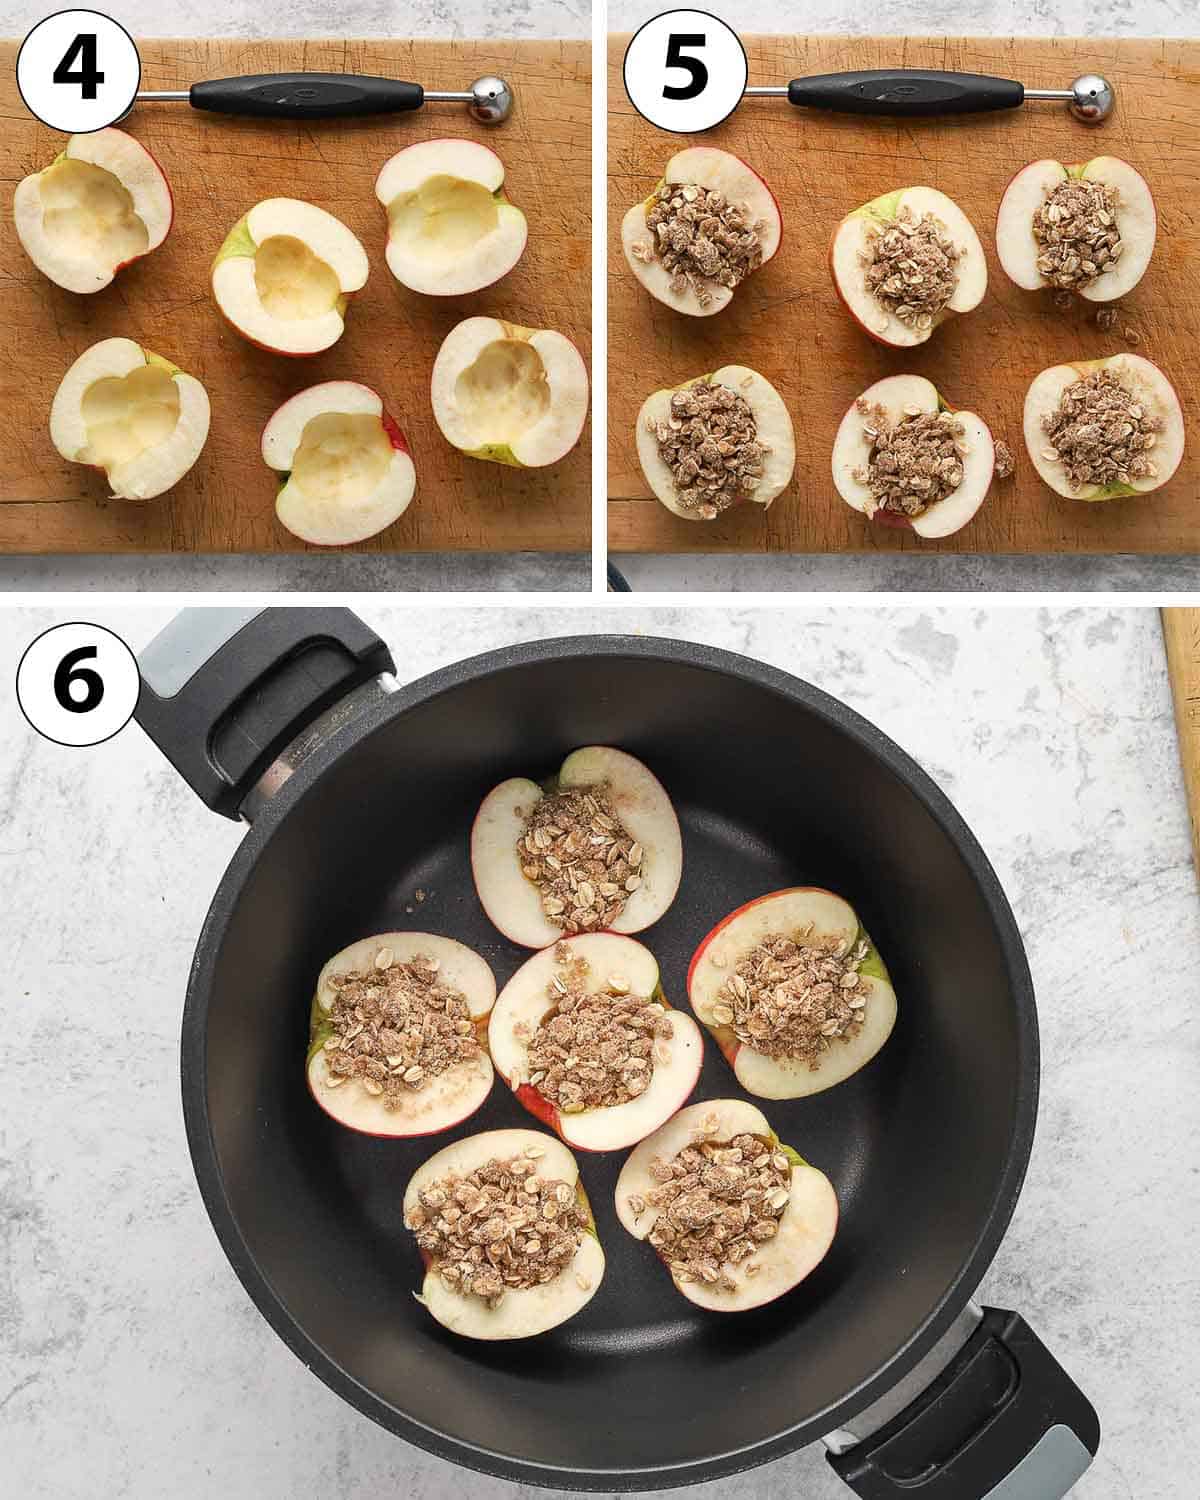
- Photo 4: wash the Apples, slice them in half then core them. Carve the centre of each apples to make room for the crumble (I used a melon baller).
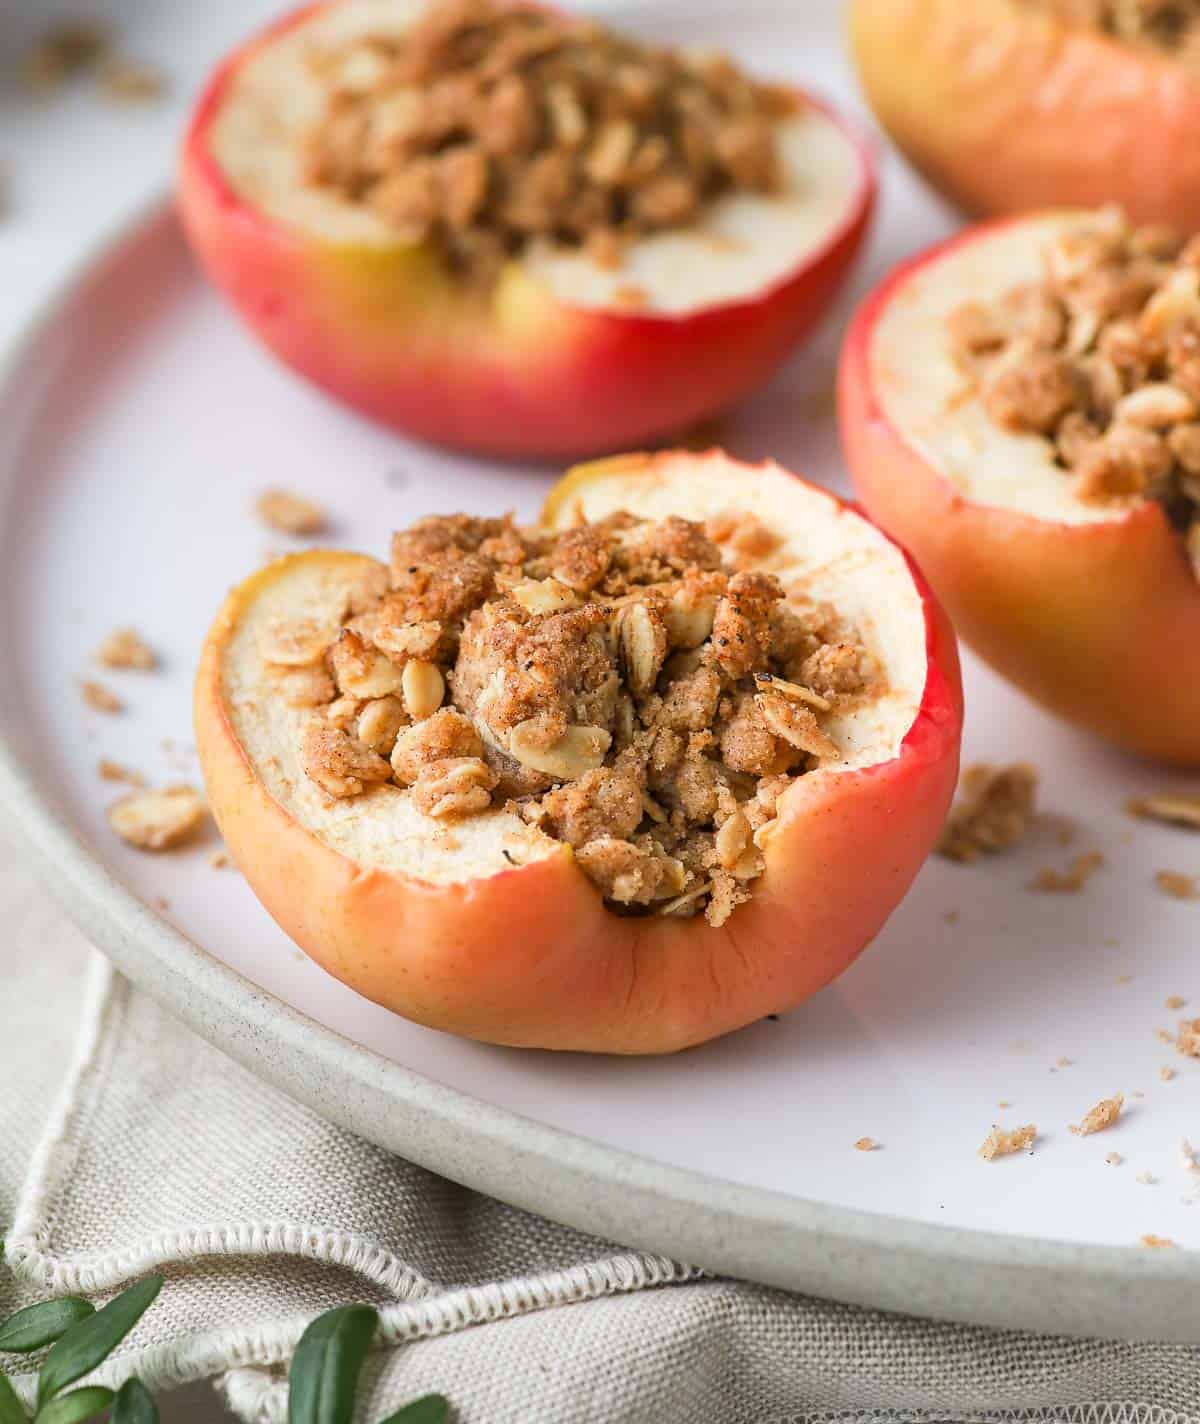
- Photo 5: fill the Apples with the Crumble Topping.
- Cover the Remoska Tria with its baking lid, plug it in and turn it on. Let it preheat for about 5 minutes.
(Note that it is only recommended to preheat the empty pot if using the Remoska Tria. If using another model, you might need to preheat it with a small heat-proof bowl filled with water).
- Photo 6: carefully remove the lid (it will be very hot), place the apples in the Remoska Pot then cover with the lid again and bake for 20 to 25 minutes or until the apples are soft and the crumble has brown and is crunchy.
The exact time required to bake the apples will depend on the size and variety of the apples, so make sure to keep an eye on them!
Recipe FAQs
I used Pink Lady Apples for these baked apples. You can use any type of apples that are known to hold its shape when baking like Granny Smith (if you want a tangier flavour), Golden Delicious or Fuji.
You can read my article on the Best Apples for Baking for more information!
Yes, the crumble can be prepared in advance and kept in an air-tight container in the fridge for a few days! I recommend using it as soon as possible for the best texture though.
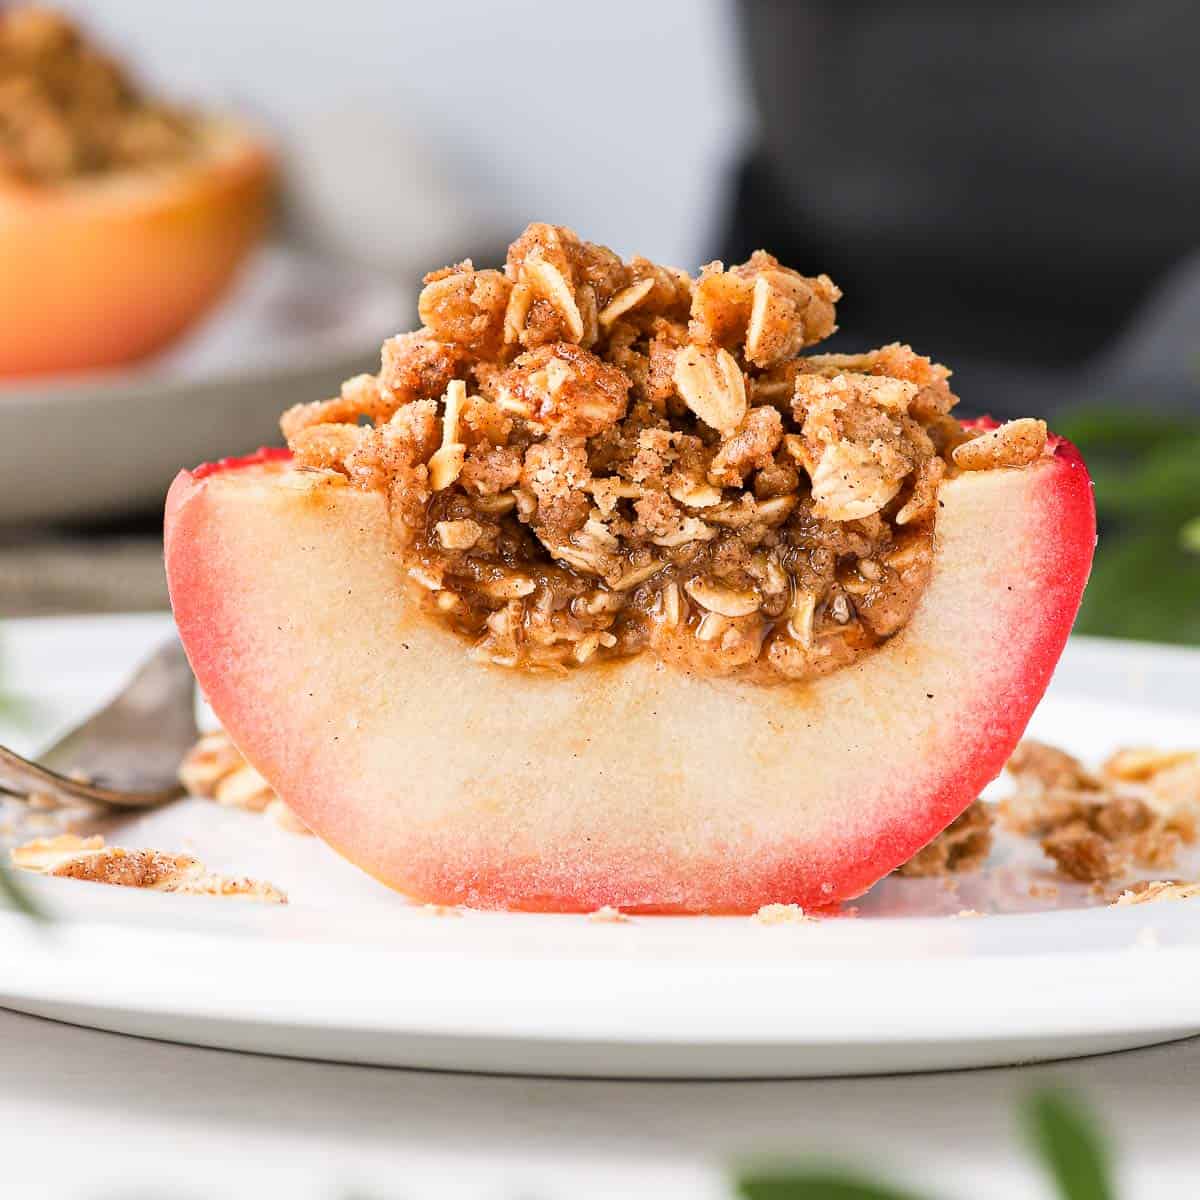
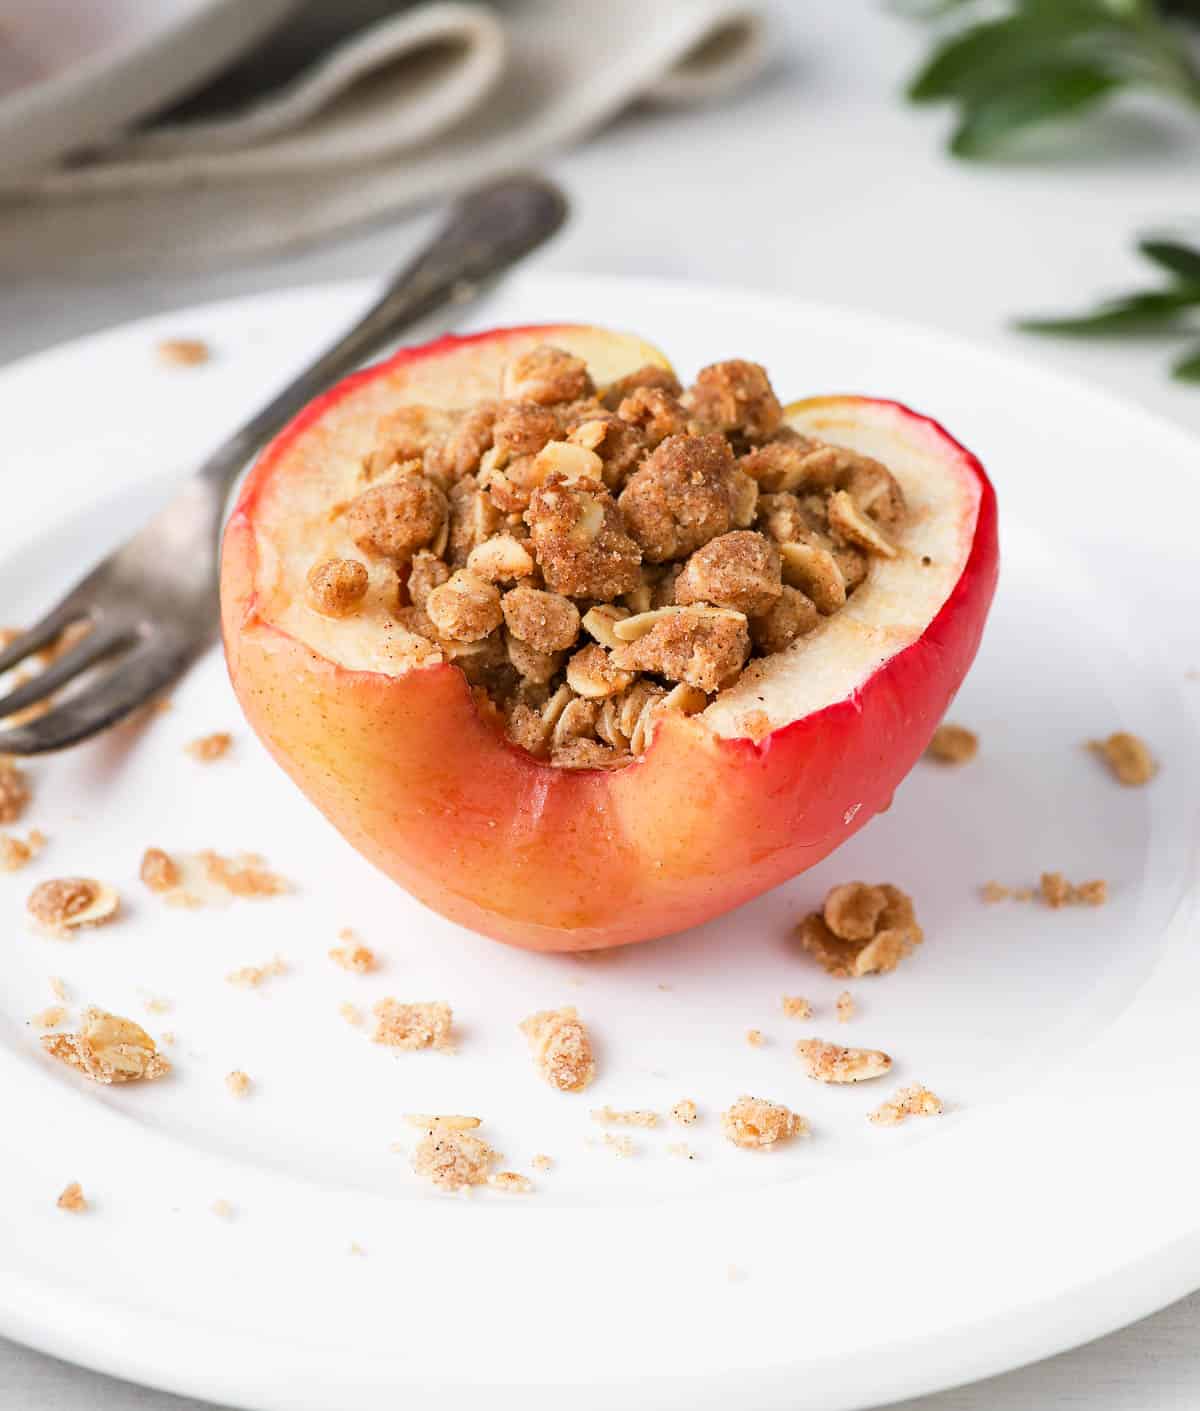
I served them on their own, but they would also be delicious with a Whipped Cream, Homemade Applesauce, Caramel Sauce or even Ice Cream!
Tips for Success
- Make sure to mix well after adding the melted butter to the dry ingredients for the crumble. You will get a drier crumble if part of the dry ingredients aren't properly mixed with the butter.
- Depending on the size / variety of apples, you might need to bake them for a little bit longer than the time recommended here.
- Customise the dessert with the addition of chopped Nuts, more Spices, Dried Fruits, other Grains or even Coconut!
Storing the Baked Apples
These baked apples with crumble will keep well in the fridge for up to two days. They should always be re-heated before serving, either in the Remoska itself or in the microwave.
I do not recommend freezing this dessert.
Made this recipe?
Let us know if you liked it by leaving a comment below, and tag us on Instagram @a.baking.journey with a photo of your creation!
Recipe
Baked Apples with Crumble in the Remoska
Ingredients
- 50 gr (1/3 cup) Plain / AP Flour
- 50 gr (1/2 cup) Rolled Oats
- 40 gr (3 tablespoon) Brown Sugar
- 1/2 teaspoon Ground Cinnamon
- 45 gr (3 tablespoon) Unsalted Butter, melted
- 3 Large Apples
Instructions
- Place the Flour, Oats, Brown Sugar and Cinnamon in a large mixing bowl and stir to combine. Add the Melted Butter and mix until you get crumbs (see note 1). Set aside.50 gr (1/3 cup) Plain / AP Flour, 50 gr (1/2 cup) Rolled Oats, 40 gr (3 tablespoon) Brown Sugar, 1/2 teaspoon Ground Cinnamon, 45 gr (3 tablespoon) Unsalted Butter
- Wash the Apples, slice them in half then core them. Carve the centre of each apples to make room for the crumble.3 Large Apples
- Fill the Apples with the Crumble Topping. Set aside.
- Cover the Remoska Tria with its baking lid, plug it in and turn it on. Let it preheat for about 5 minutes.
- Carefully remove the lid (it will be very hot), place the apples in the Remoska Pot then cover with the lid again and bake for 20 to 25 minutes or until the apples are soft and the crumble has brown and is crunchy (see note 2).
- Serve warm.
Would you like to save this recipe?
Notes
- Apples: Use a variety of apples that are known to bake well and keep their shape when baked such as Pink Lady, Granny Smith, Golden Delicious or Fuji.
- Make sure to mix well after adding the melted butter to the dry ingredients for the crumble. You will get a drier crumble if part of the dry ingredients aren't properly mixed with the butter.
- The exact baking time may vary based on the size / variety of apples you use. Make sure to keep an eye on them as they could bake more quickly (or take longer) than 20 minutes!


Comments
No Comments