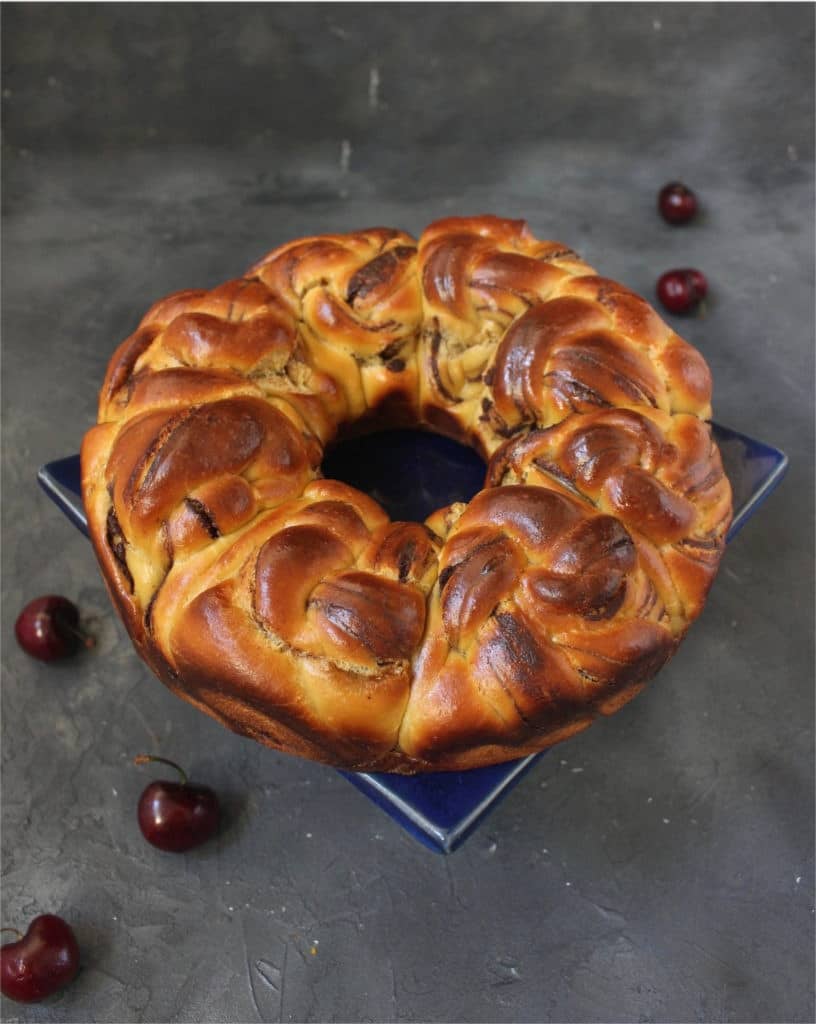
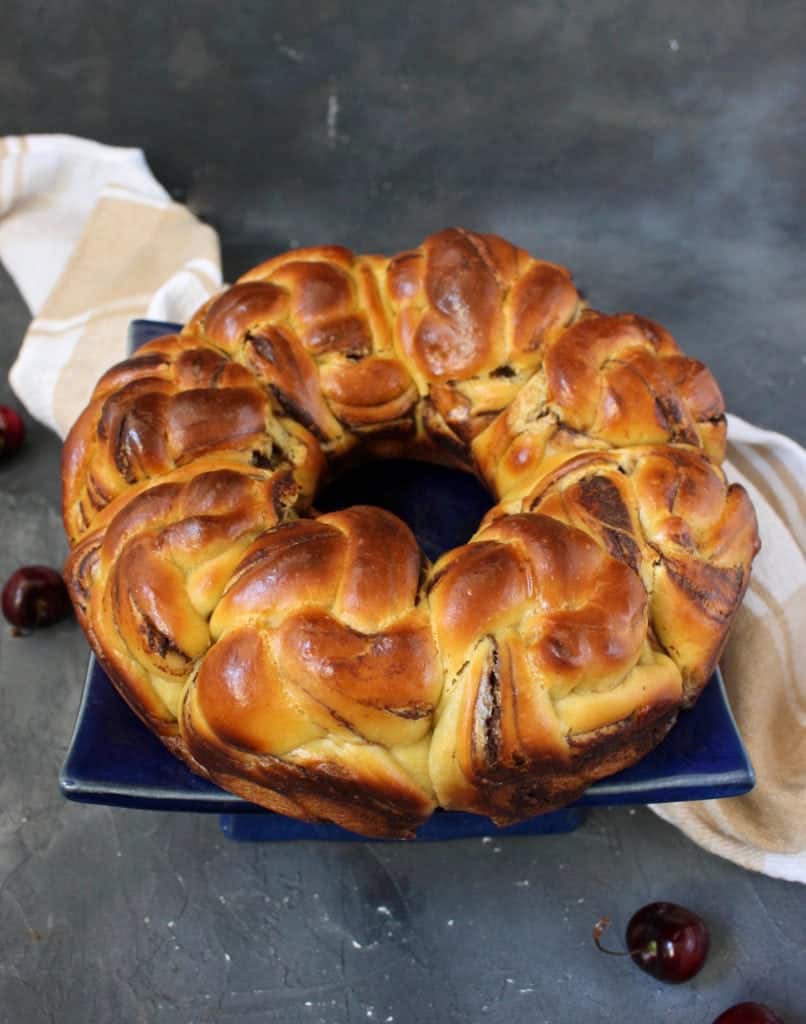
This Chocolate Brioche Bread Wreath is the perfect homemade chocolate sweet bread. Delicious and impressive looking, this chocolate bread is the perfect edible gift and will be a great addition to your Holiday breakfast table!

Jump to:
Why we love this recipe
If you ask me, there is nothing more satisfying than making your own bread - and especially deliciously enriched breads like Brioche Bread. The smell, the taste, the excitement of seeing it slowly rising - it is just too fun!
Today, I am associating this favourite of mine with another one - Dark Chocolate. Perfect for breakfast, brunch and especially for the holidays, this Chocolate Brioche Bread Wreath is a real show stopper recipe!
Just like my Chocolate Chip Brioche Bread, Chocolate Brioche and Cinnamon Babka, this Christmas bread will make the most perfect festive Christmas breakfast to enjoy with your family or to give away as an edible gift!
Also try: Pavlova Wreath
What is a Brioche Bread
Brioche is probably my favourite type of Sweet Bread. They are so light, fluffy and addictively delicious. But what is Brioche, after all?
Brioche is a classic French Sweet Yeast Bread that is made with Eggs and Butter. Although usually called a bread, brioche belongs more to the “Viennoiserie” category - baked goods that are richer than breads because they have fat in them.
Brioches can be served plain or made with different types of filling. The most commons ones are probably Chocolate Chips or Raisins, but you can pretty much fill them with anything!
The Basic Brioche Recipe is really great because it is super versatile. The dough is really easy to work with because it is enriched, which makes it easy to shape in any way you want.
Once again, I based my recipe on one I found in my favourite recipe book ever: “The Complete Guide to Baking: Bread, Brioche and other Gourmet Treats”
Basic Sweet Brioche Ingredients:
To make this Pull Apart Milk Bread Wreath, you will need:
- Milk: preferably full cream
- Yeast: I used Instant Dry Yeast
- Sugar: Brown Sugar in this case
- Flour: Plain / All-Purpose, but Bread Flour can be used too
- Eggs: medium size, at room temperature
Would you like to save this recipe?
- Butter: unsalted
- Salt: simple table salt or fine salt
How to make a Bread Wreath
There are a few different ways to make a Bread Wreath. The easiest one is probably to use the Babka technique. A Babka Bread is rolled into a large rectangle, covered with a filling, rolled on its length then sliced in half lengthwise.
The two parts are then twisted around each other to create the famous Babka 'Shape'. In the case of a Bread Wreath, you would simply add an extra step: roll the long twisty bread into a circle.
I particularly love this Chocolate Babka Wreath made by Michelle from the Brown Eyed Baker. This technique has been explained step by step with photos in this recipe: Mozzarella Pesto Babka Bread
You may want to check it out to better understand how to make this recipe, as it starts with the exact same process. To make this Chocolate Brioche Bread Wreathe, I used another technique.
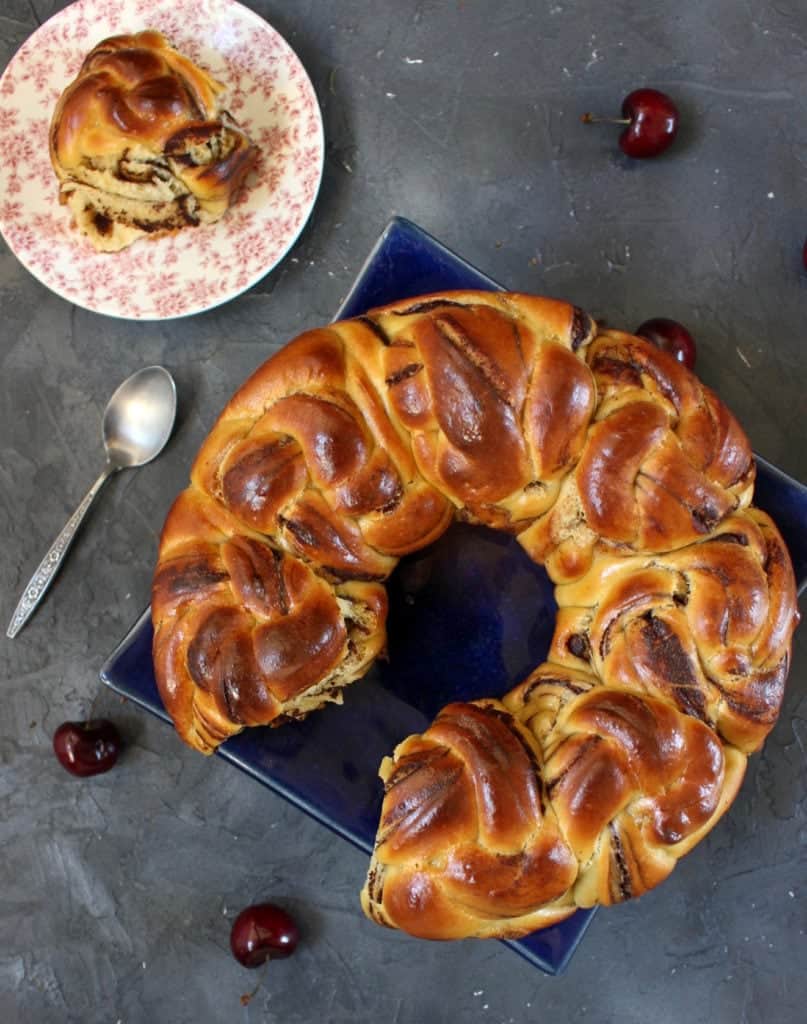
Or more specifically, I pushed this technique a little bit further. Instead of making a Bread Wreath out of one large dough, I divided the Brioche into 8 little twisted buns that I placed next to each other to create a Wreath.
Shaping the Chocolate Swirl Bread
Making this recipe may seem a little bit complicated, but trust me - it is easier than it seems! The recipe is basically the same as the one I used to make my Chocolate Raspberry Swirl Brioche Buns.
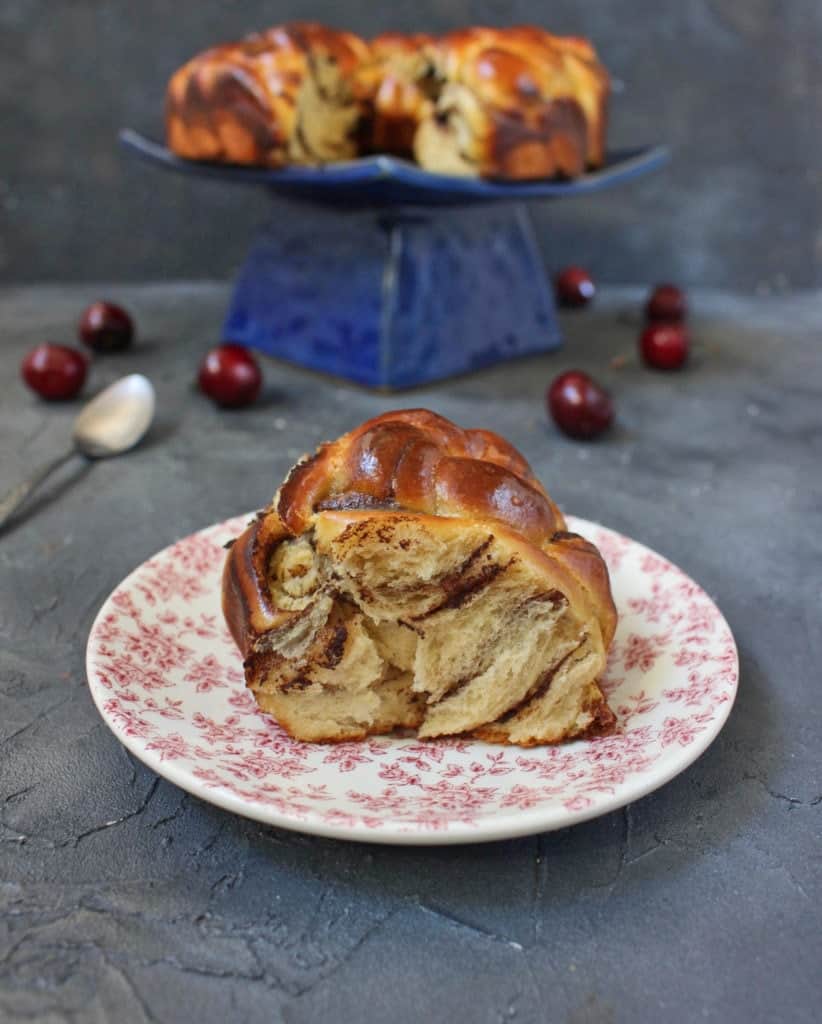
Just like for this recipe, I divided my Brioche Dough into small, individual buns. I rolled each buns into a rectangle, covered them with the Dark Chocolate Ganache filling, then rolled them into a rope-like shape.
Slice the dough ropes in half, lengthwise and twist them around each other. Lastly, wrap the twisted dough on itself to create little buns.
To create this Chocolate Brioche Bread Wreath, I used a classic Tube Pan like the one I used to make my Chocolate Chiffon Cake. I highly recommend greasing your tube pan well to avoid getting your bread wreath stuck in.
To create the Wreath effect, simply place each little Chocolate Brioche Buns next to each other in the Tube Pan and let them prove until they touch.
While baking, the Brioche Bread will rise and the individual buns will connect to form the Wreath. You will then be able to simply pull one bun out rather than having to slice it. It's that easy!
More Bread Recipes:
- Cinnamon Roll Bread Loaf
- Spinach and Ricotta Rolls
- Cinnamon Scrolls from Scratch
- Lemon Sweet Rolls
- Apple Cinnamon Pull Apart Bread
- Chocolate Raspberry Swirl Brioche Buns
- No Yeast Cinnamon Rolls
- Sweet Potato Buns
Made this recipe?
Let us know if you liked it by leaving a comment below, and tag us on Instagram @a.baking.journey with a photo of your creation!
Recipe

Chocolate Brioche Bread Wreath
Ingredients
Brioche Bread
- 125 ml (1/2 cup) Full Cream Milk
- 7 gr (2 teasp.) Instant Dry Yeast
- 60 gr (4 tablesp.) Brown Sugar
- 300 gr (2 cups) Plain / AP Flour
- 2 Eggs, at room temperature
- 80 gr (5 1/2 tablesp.) Unsalted Butter, soft
- 1 pinch Salt
Chocolate Filling
- 75 gr (2,5 oz) Dark Chocolate
- 75 ml (1/4 cup + 1 tablesp.) Full Cream Milk
Egg Wash
- 1 Egg
- 15 ml (1 tablesp.) Full Cream Milk
Instructions
To make the Brioche
- Heat up the Milk to be warm (but not boiling hot). Mix in 1 tbsp. of Brown Sugar and the Instant Dry Yeast. Whisk until the Sugar has dissolved and set aside for 10 to 15 minutes, or until foamy and thick.
- Place the Plain Flour and the rest of the Brown Sugar in a large mixing bowl. Make a well in the centre and add the two beaten eggs, then the Milk with the Yeast. With a fork, mix the dough until all the flour has been incorporated into the Eggs and Milk.
- Cut the Butter in small cubes and add to the dough. Gently knead it in until it has been fully incorporated. You shouldn't see any pieces of butter left.
- Add the pinch of salt, then transfer the dough onto your floured bench. Gently knead the dough for about 5 to 10 minutes, without adding to much flour (see note 1). The dough will be relatively sticky at the start but should get dryer as you knead it.
- Place the dough in a large bowl dusted with flour and cover with greased cling wrap. The plastic wrap should be place directly in contact with the dough. Leave to prove in a warm place for about 1 to 2 hours, or until it has doubled in size (see note 2).
Chocolate Filling
- When the dough has finished its first proving, start preparing the chocolate filling. Finely chop the Chocolate and place it in a heat proof bowl. Heat up the Milk until hot and pour it over the Chocolate. Leave for a couple of minutes then stir with a silicone spatula until smooth (see note 3).
To assemble the Chocolate Brioche Bread Wreath
- Divide the Brioche Dough into 8 equal parts. You can use a kitchen scale to be precise if you want.
- Roll each ball of dough into a rectangle. Using a pastry brush, cover with the chocolate then roll the dough on its long side. Using your palms, roll the rope for a few seconds to make sure it is properly sealed.
- Slice the rope lengthwise, stopping just before the end of the rope to keep the two parts attached. Twist the two parts around each other then starting from one end, roll up the twist until you get a little bun.Repeat with the 8 rolls.
- Generously Grease a Tube Pan and place each Chocolate Brioche Roll in it to create a wreath.
Egg Wash
- Whisk the Egg and Milk then generously brush it over the rolls.
- Cover the pan with a towel and set aside in a warm place for the second proving - about 1 to 1,5 hour.
- Preheat the oven on 180'C. When warm, place the pan in the oven and bake for 20 to 30 minutes or until the rolls are puffed and golden.
- Gently remove the wreath for the tube pan and leave on a rack to cool down.
Would you like to save this recipe?
Notes
- The time it will take to knead might vary, depending on whether you are making these by hands or using a mixer. The dough should be soft and stretchy; it shouldn't break straight away if you pull small parts of it.
- Again, the proving time might vary depending on the temperature in your kitchen and the humidity. On average, it takes about 1,5 hours to prove the first time and 1 hour for the second proving.
- If the milk wasn't hot enough, it is possible that all the chocolate will not have melted. If it's the case, you can finish melting it in the microwave in 30 seconds increments.