Perfect for breakfast, these Raspberry and Chocolate Chip Brioche Rolls are also so fun to make.Whether you are only starting to make homemade bread or are already a baking expert, this brioche buns recipe is for you!

Jump to:
Why we love this recipe
These little Raspberry and Chocolate Chips Brioche Rolls are such a delicious homemade bread recipe that is perfect for breakfast, Holidays or a sweet treat.
Just like my Chocolate Chip Brioche Bread and Chocolate Brioche Wreath, these brioche buns are super fun to make and will be equally loved by kids and adults!
What is Brioche Bread
Brioche is a classic French Bread that is usually sweeter than regular bread. This bread contains Eggs and Butter which gives it a really light and fluffy texture. Although usually called a bread, brioche belongs more to the "Viennoiserie" category.
These are baked goods that are made the same way as bread, but that are richer because of the addition of eggs, butter, milk and/or sugar. Brioches are sometimes served plained but often filled with fruits or chocolate. They are the perfect breakfast item if you ask me!
Making Brioche Bread Buns
The base of this recipe - the brioche bread - was adapted from an amazing cooking book that I randomly found a couple of month ago. Written by the French Pastry Chef Rodolphe Landemaine, this book called "The Complete Guide to Baking: Bread, Brioche and other Gourmet Treats" is probably the best cooking book I have ever read.
I absolutely love collecting cooking books and I usually just browse through them to find inspiration, but I literally read this one from cover to back in a day! This book not only has lots of different bread and baked goods recipes, they are also all extremely well explained and detailed with drawings and step by step pictures. I highly recommend getting this book if you are interested in basic bread making and French pastry techniques!
Making Brioche Buns requires the same patience as making bread. Kneading, proofing, kneading, proofing, shaping the buns, more proofing,... But when you get these little brioche buns out of the oven and finally get to enjoy them, you realise it was all so worth it!
Would you like to save this recipe?
The truth is, the most you wait, the better they are going to be... so be patient! If you have never made bread, that may sound intimidating but trust me, it is waaaaay easier than it seems!
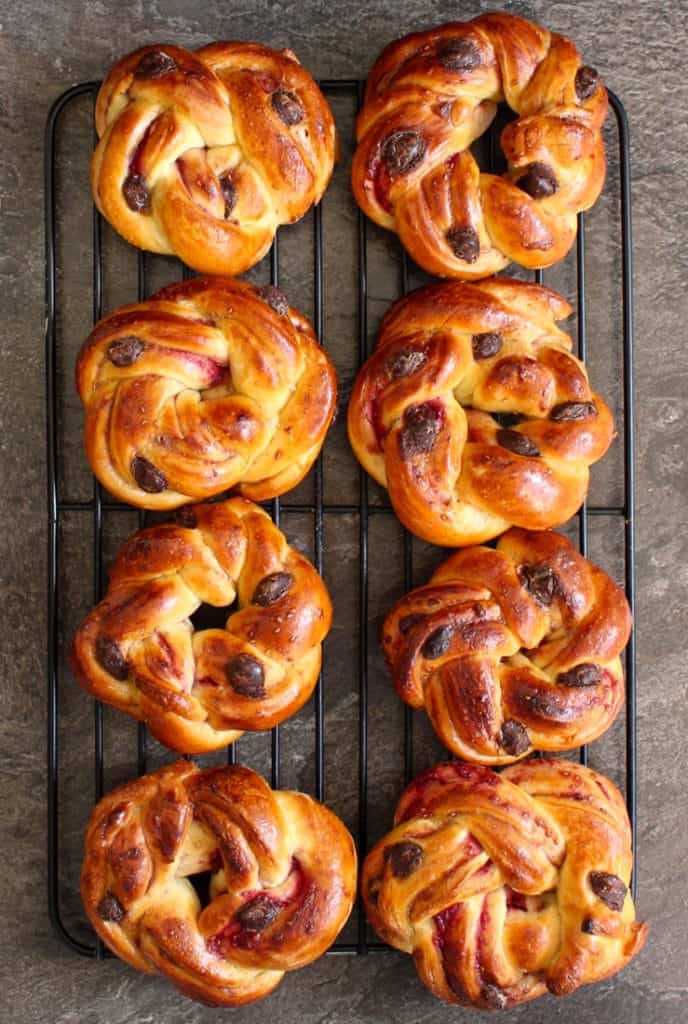
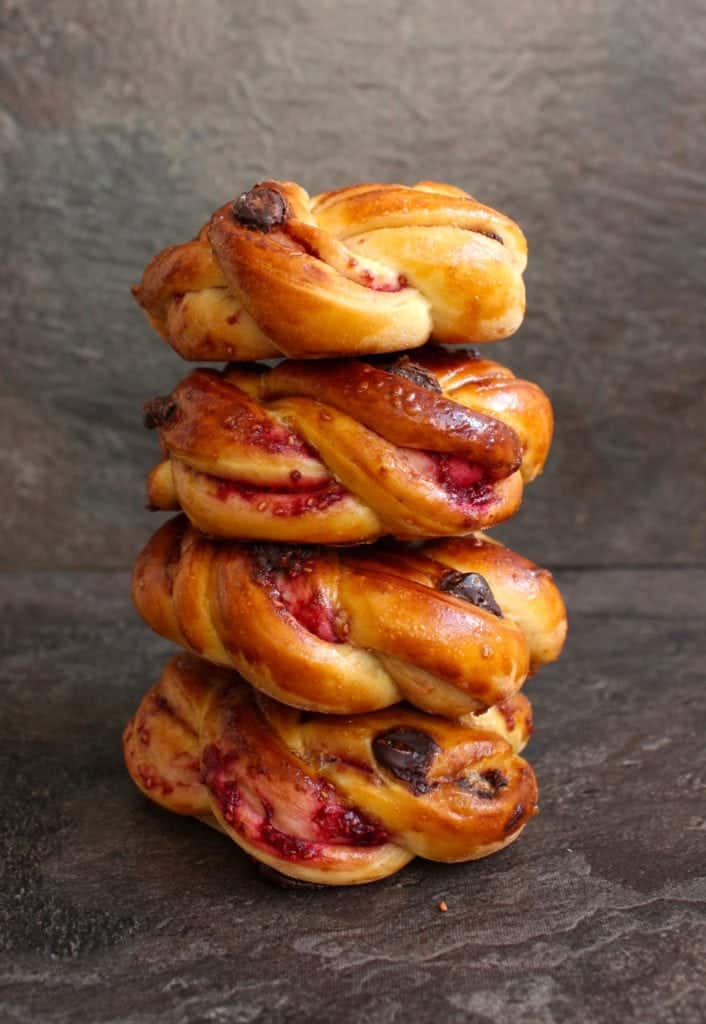
Raspberry Chocolate Chip Brioche Rolls
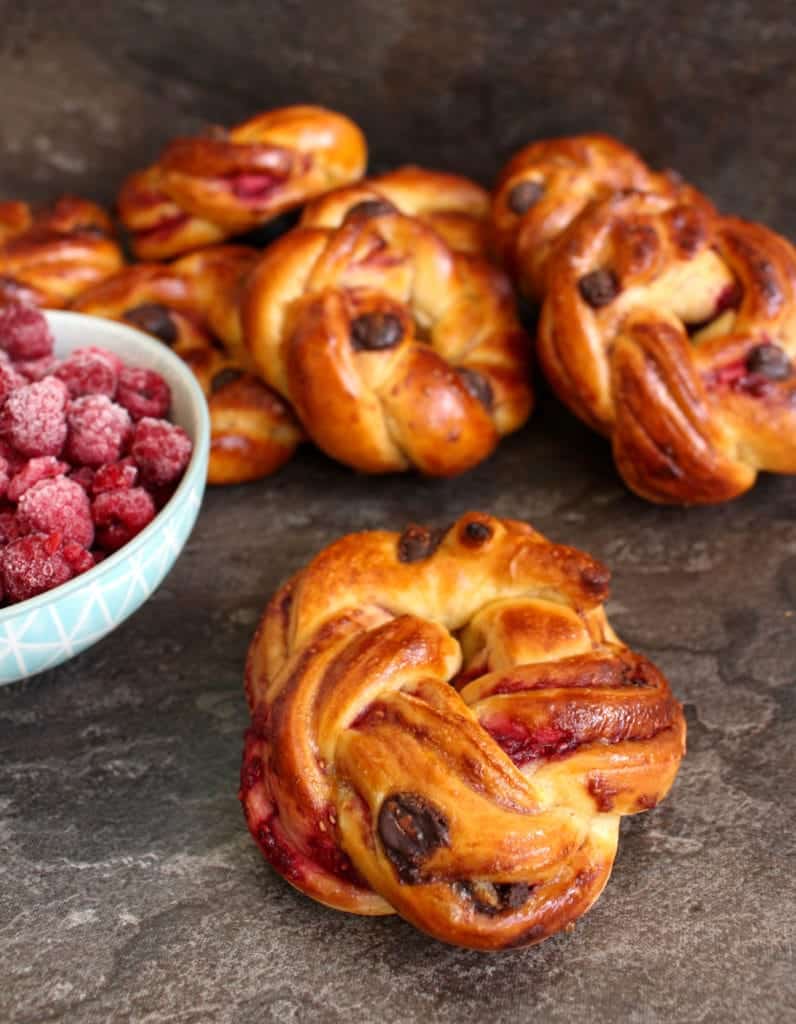
For this recipe, I decided to fill the Brioche Buns with a homemade Raspberry Puree and some Belgian Dark Chocolate Chips (the same chocolate I had used for my Dark Chocolate Mousse recipe).
To make the Raspberry Puree, I simply blended some Frozen Raspberries with a little bit of water, sugar and cinnamon powder. Alternatively, you could also simply use some Raspberry Jam.
How to make Brioche Rolls
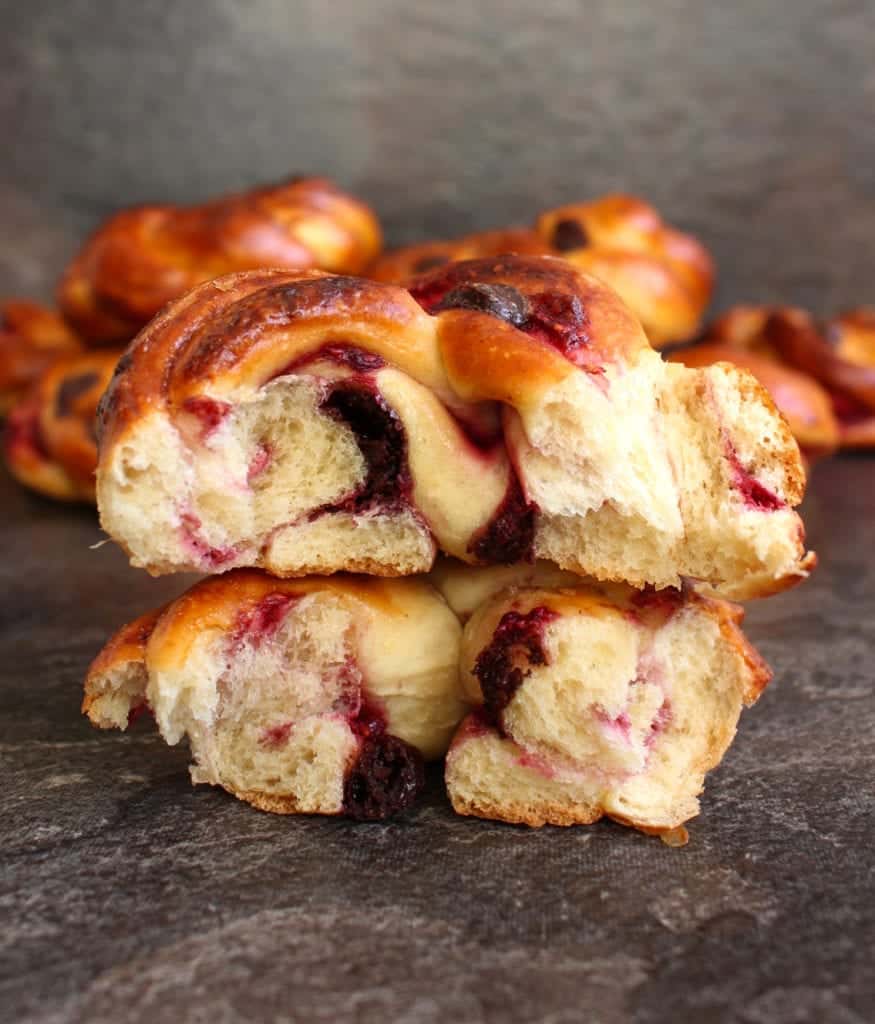
To create the Raspberry Swirl, I used the same technique as for my Pesto and Mozzarella Babka Bread. After kneading and proofing the brioche dough, divide it into 8 equal pieces. Roll each of them to create a long rectangular shape. Spread the Raspberry Puree (or jam) over the flat dough, roll it in a rope-like shape then slice it in half on its length.
You should end up with two long ropes, with the raspberry puree visible in the centre. Twist them around each other then form a circle with the twisted dough to create the Chocolate Raspberry Swirl Brioche Buns. If these steps seem confusing, I have pictures showing most of the process in my Pesto and Mozzarella Babka Bread recipe.
More Homemade Bread Recipes
- Lemon Sweet Rolls
- Cinnamon Scrolls from Scratch
- Spinach and Ricotta Rolls
- Rosemary Focaccia Bread
- Chocolate Brioche Wreath
- Apple Cinnamon Pull Apart Bread
- Sweet Potato Buns
Made this recipe?
Let us know if you liked it by leaving a comment below, and tag us on Instagram @a.baking.journey with a photo of your creation!
Recipe

Chocolate Raspberry Swirl Brioche Buns
Ingredients
Raspberry Puree
- 450 grams (2 cups) Frozen Raspberries
- 240 ml (1 cup) Water
- 2 tbsp. Brown Sugar
- 1 teasp. Cinnamon Powder
Brioche Buns
- 125 ml Full Fat Milk
- 7 gr (1,5 teasp.) Instant Dry Yeast
- 3 tbsp Brown Sugar
- 300 gr (2 cups) Plain White Flour
- 2 Eggs, beaten
- 75 gr (2,5 oz) Butter at room temperature
- 1 pinch Salt
- 100 gr (3,5 oz) Small Dark Chocolate Chips
Egg Wash
- 1 Egg
- 3 gr (1 teasp.) Milk
Instructions
Raspberry Puree
- Put the Frozen Raspberries, Brown Sugar and Cinnamon Powder in a small pot and cover with the water. Bring to a boil until the sugar has melted and the raspberries are soft.
- Blend the raspberry puree until smooth, then pass through a sieve to remove all the seeds. Set aside to cool down.
Chocolate Raspberry Brioche Buns
- Put the Milk in a heat-proof bowl and slightly heat it up. It shouldn't be warmer than 24, 25' Celsius. If you don't have a thermometer, simply put use your finger to test the temperature. If you are feeling a small burn, it is too hot.Add 1 tbsp of Sugar and whisk until melted, then add the Instant Dry Yeast. Give it a quick stir then set aside for 10 to 15 minutes to activate the yeast. You should then see bubbles or foam on top of the milk (refer to note 1 if nothing happens)
- In a large bowl, sift in the Flour, Salt and the rest of the sugar. Create a small well in the centre of the dry ingredients and add the beaten eggs and the milk with the yeast.Using your fingers, incorporate the dry ingredients with the liquid ingredients starting from the centre and slowly making your way to the edge of the ball until all the flour is mixed in.
- Knead the dough until it starts to become uniform and there is no more dry flour in the bowl. The dough will be quite sticky at this point.Cut the Butter at room temperature into very small cubes and add them to the dough. Knead it well until all the butter has been incorporated and you cannot see small pieces of butter.
- At this point, you may want to transfer the dough onto your kitchen bench to knead it more easily. The dough will still be very sticky as the gluten is still developing; that is normal! You do not want to add to much flour to avoid creating a heavy dough but do not worry, as you are kneading the dough on your bench, it will get drier and drier and should stop being so sticky (refer to note 2). Knead the dough for at least 10 minutes (yes, workout!).
- After 10 minutes of kneading, place the dough in a clean, dry bowl and cover with a towel or cling wrap. You can slightly coat the bowl with flour if you are scared that the dough will stick to it. Note that if the dough is still a bit sticky, that is ok!Leave the dough to proof at room temperature for at least an hour, or until it has doubled in size. If it is cold in your kitchen, you will need to place the dough in a warmer environment (20 to 25' Celsius) for it to rise.
- After the first proofing, the dough should have doubled in size. Now on to the most fun step of the recipe: punch the dough in its centre to remove all the air that the yeast will have created. Then fold the dough on itself a few times, taking on of the edge with your hands and folding it on the centre of the dough. Recover the dough with the towel and let it proof again for at least an hour.
- After the second proofing, remove the dough from the the bowl and quickly knead it to get rid of the air again, then cut it into 8 pieces. If you want to be very precise, you can weight the dough first to know exactly how much each bun should weight. Place the individual doughs on your bench or a cutting boards covered with a little bit of flour.
- One after the other, roll the doughs into a long rectangle using a rolling pin. Cover the rolled dough with the Raspberry Puree and sprinkle some Chocolate Chips over. Roll the dough into a rope-line shape, slice it in half on its length then twist the two ropes around each other and create a round bun with the twisted ropes. Place each twisted buns on a baking tray lined with baking paper.
- Once all your Brioche Buns are twisted, shaped, and resting on a baking tray, make the egg wash: mix 1 Egg with 3gr of Milk then brush the glaze over the buns. Let the buns proof one last time for 1 hour.
- Preheat your oven on 180' Celsius. After the last hour of proofing, your buns should have risen again. Add a second coating of wash.When at the right temperature, place your Chocolate Raspberry Swirl Brioche Buns in the oven and bake for 10 to 15 minutes.
Would you like to save this recipe?
Notes
- If you do not see foam/bubbles on top of the milk, that means that the yeast is not activated. The milk was either not warm enough to activate it, or the yeast was too old and thus not active. You can first try to slightly re-heat the milk with the yeast then wait again, but if nothing happens still, it means that the yeast is not right and you need to use a different packet.
- You can rub your kitchen bench with a little bit of olive oil on a towel before starting to knead the dough. This will prevent your dough from sticking to the bench and make it easier to knead.