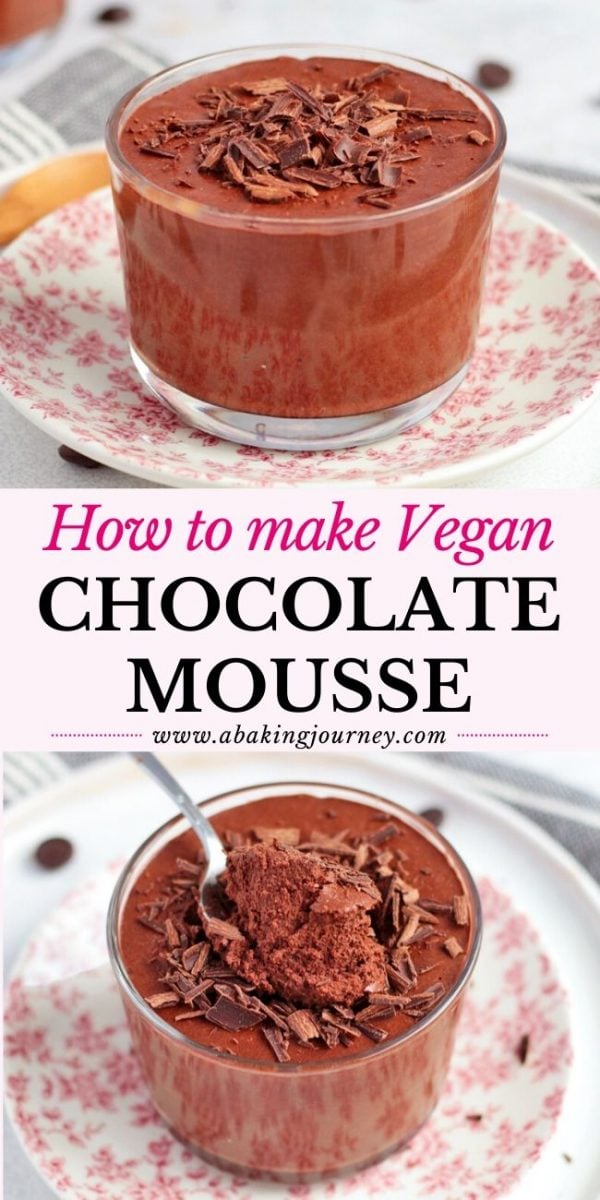
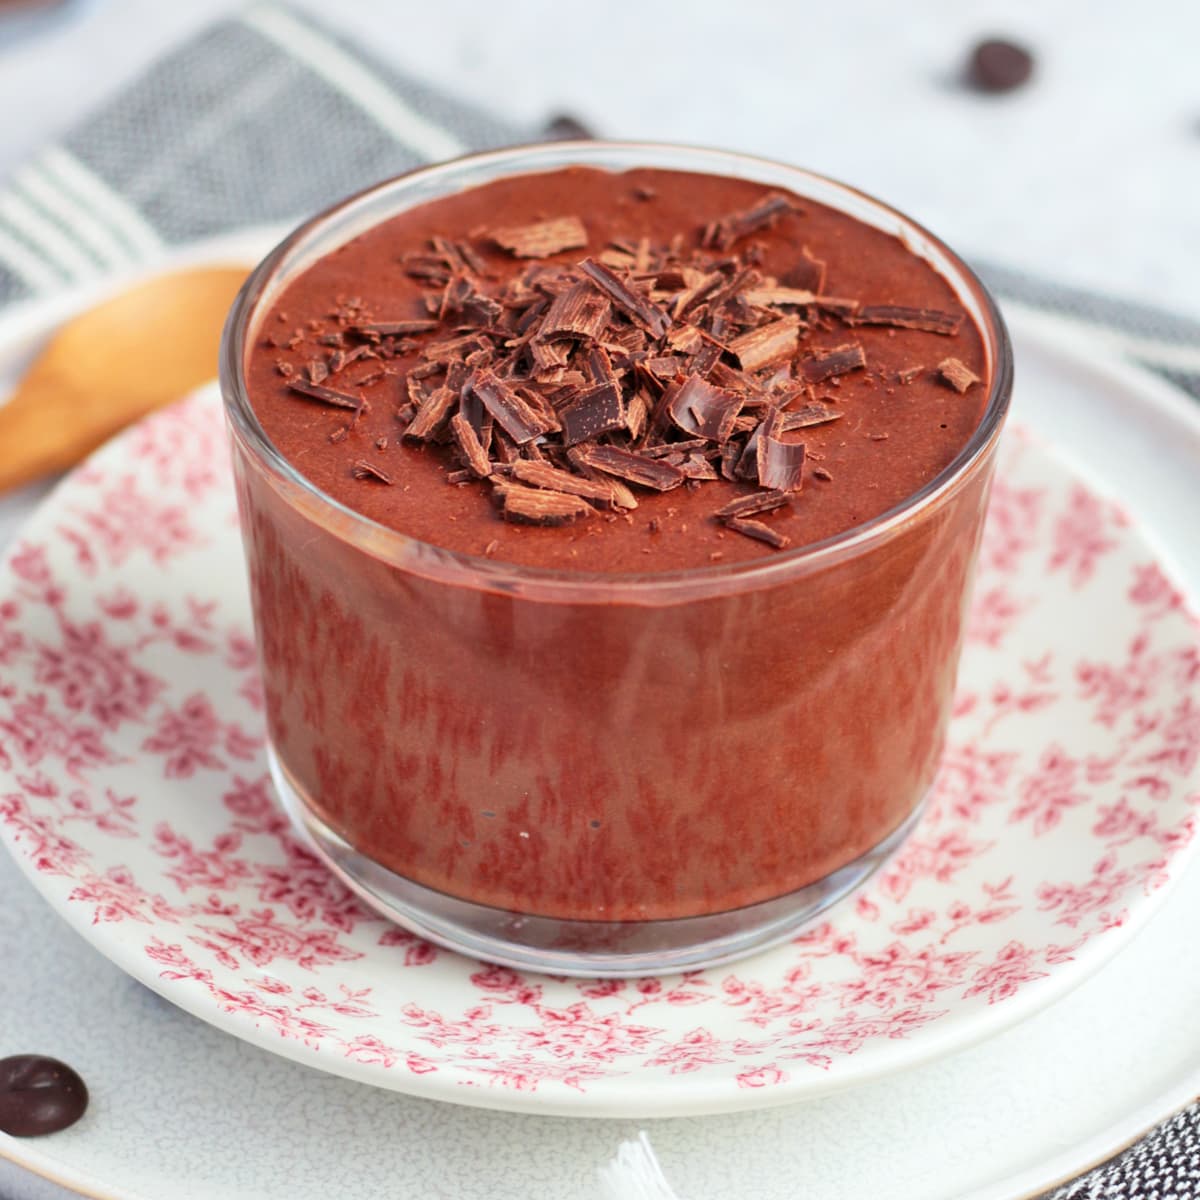
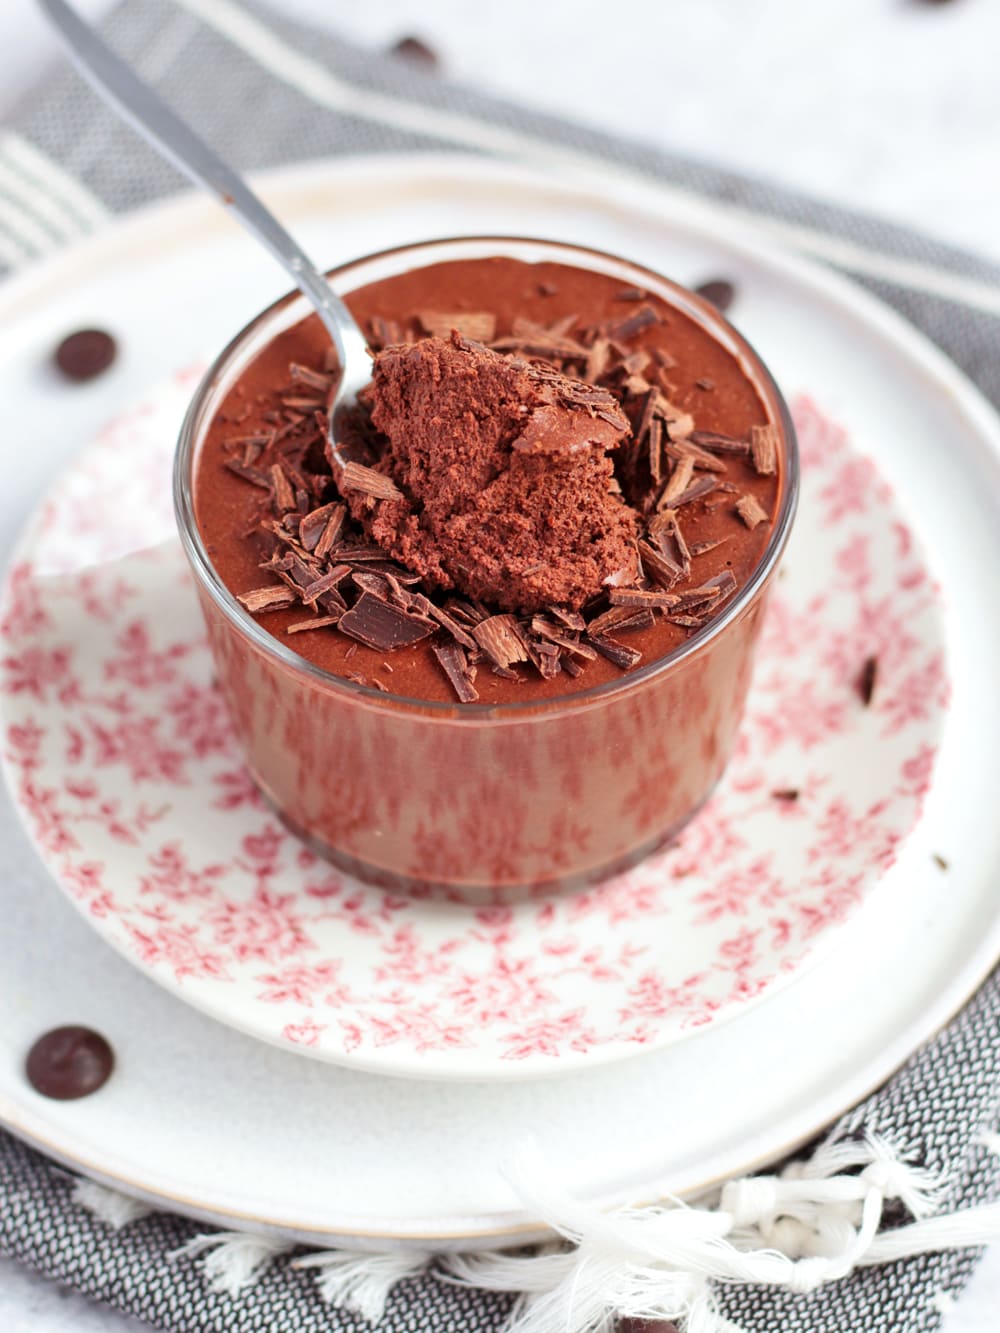
This Vegan Aquafaba Chocolate Mousse made without Egg Whites and No Dairy is a chocolate-lover dream dessert - whether you are vegan or not. Decadent and indulgent, this 3 ingredients Chocolate Mousse makes an absolutely delicious dessert.
Why we love this recipe
Did you know you could absolutely make a delicious Chocolate mousse with no eggs, no cream and no gelatine? And that it was actually almost easier to make that a classic egg white mousse? All it takes is 3 Ingredients!
Over the years, I have tried many alternative to egg mousses. Simply because I had run out of eggs, or because I was making a dessert for people who do not eat eggs. After falling hard for a Vegan Avocado Chocolate Mousse, I thought it would be time to come up with a more 'traditional' Chocolate mousse.
Comes in the secret ingredient: Aquafaba. This one is seriously like liquid gold. It is the best ingredient (and the only one I know) to substitute whipped Egg Whites, and the best part is: it is basically tasteless when mixed with chocolate! It is great to make eggless meringues or a delicious chocolate mousse!
What is Aquafaba
Aquafaba is the name given to the liquid used to cook (and store when canned) Chickpeas - or any legumes really. Aquafaba is the perfect ingredient substitution to make a chocolate mousse with no eggs - or any dessert that requires whipped egg whites really!
The easiest way to find Aquafaba is to simply use a Can of Chickpeas, where the cooked chickpeas are stored in this liquid. Alternatively, you could also make your own by cooking dry chickpeas in water then reducing the liquid.
Read more about making your own aquafaba here.
More Aquafaba Desserts:
- Aquafaba Meringue Cookies
- Vegan Chocolate Mousse Tart
- Vegan Mini Pavlovas from The Cook's Pyjamas
Ingredients
When I said this mousse was easy to make, I really meant it. 3 Ingredients is all you need - though you could technically go down to 2 as well!
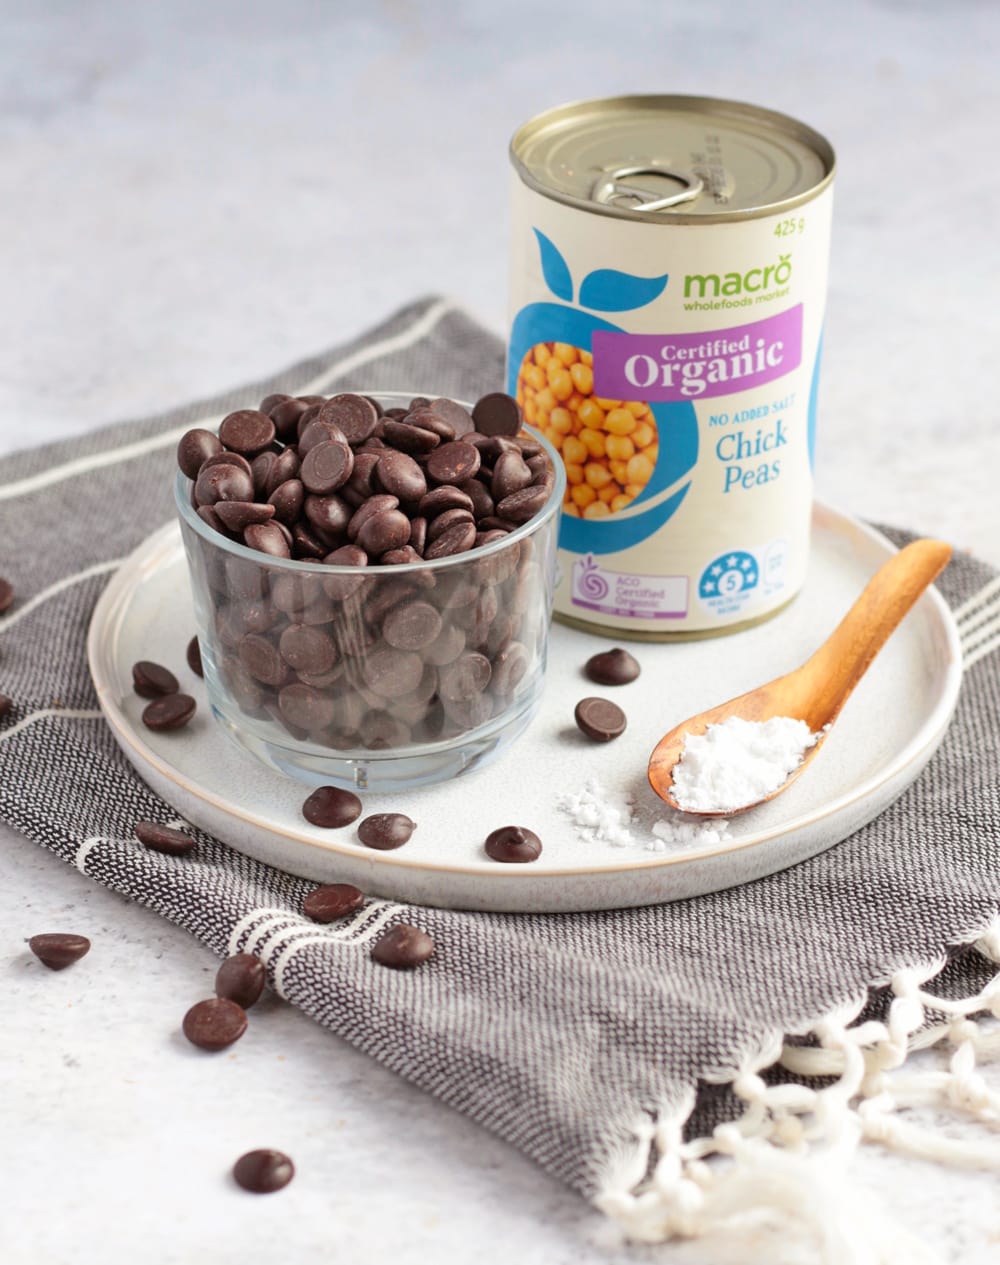
What you will need to make this recipe (scroll down to recipe card below for all quantities):
- a Can of Chickpea - keeping the liquid only
- Dark Cooking Chocolate - dairy-free/vegan if needed. I used a 70% Cacao Chocolate, but you can used your preferred Chocolate, as long as it is proper cooking chocolate (and not eating chocolate or a chocolate bar).
- Cream of Tartar - to help stabilise the whipped Aquafaba. See below for substitutions.
- Optional: a little bit of Milk
Ingredient Substitution
- Can of Chickpea - can be substituted with homemade Aquafaba. I have never tried to use another legume can myself, but you could technically also use a can of cooked beans or pulses.
- Chocolate - no substitution here, but use the type of chocolate you prefer. I used a 70% Chocolate and with no added sugar, resulting in a very dark and intense chocolate mousse. If you want something a bit sweeter, you can either add a little bit of sugar to the whipped aquafaba (see tips below) or go for a sweeter Chocolate.
- Cream of Tartar - could technically be omitted completely, but it will help to stabilise the whipped aquafaba and make it whip much much quicker. If you don't have this ingredient, you could simply use a little pinch of salt.
Optional Addition
Like mentioned above, you can add a little bit of Milk to Chocolate when you melt it. It is completely optional but will create a lighter, fluffier mousse consistency.
There are many ingredients that can be use to flavour or top the dessert as well, such as:
- Vanilla Extract
- Sea Salt
- Coffee
- Chilli Powder
- Spices
- Mint Extract
Would you like to save this recipe?

How to make Chocolate Mousse without Eggs
There are 3 main steps to make this chocolate mousse: melt the chocolate, whip the aquafaba and combine both. I know... super easy!
Here is how to make Eggless Chocolate Mousse:
- Place the Cooking Chocolate (thinly chopped if using a bar, or using chips/callets) in a heat-proof bowl and slowly melt over a double boiler (see how to make a double boiler below).
- Set aside to cool down to at least room temperature. Don't skip this step or the chocolate will seise when combined with aquafaba!
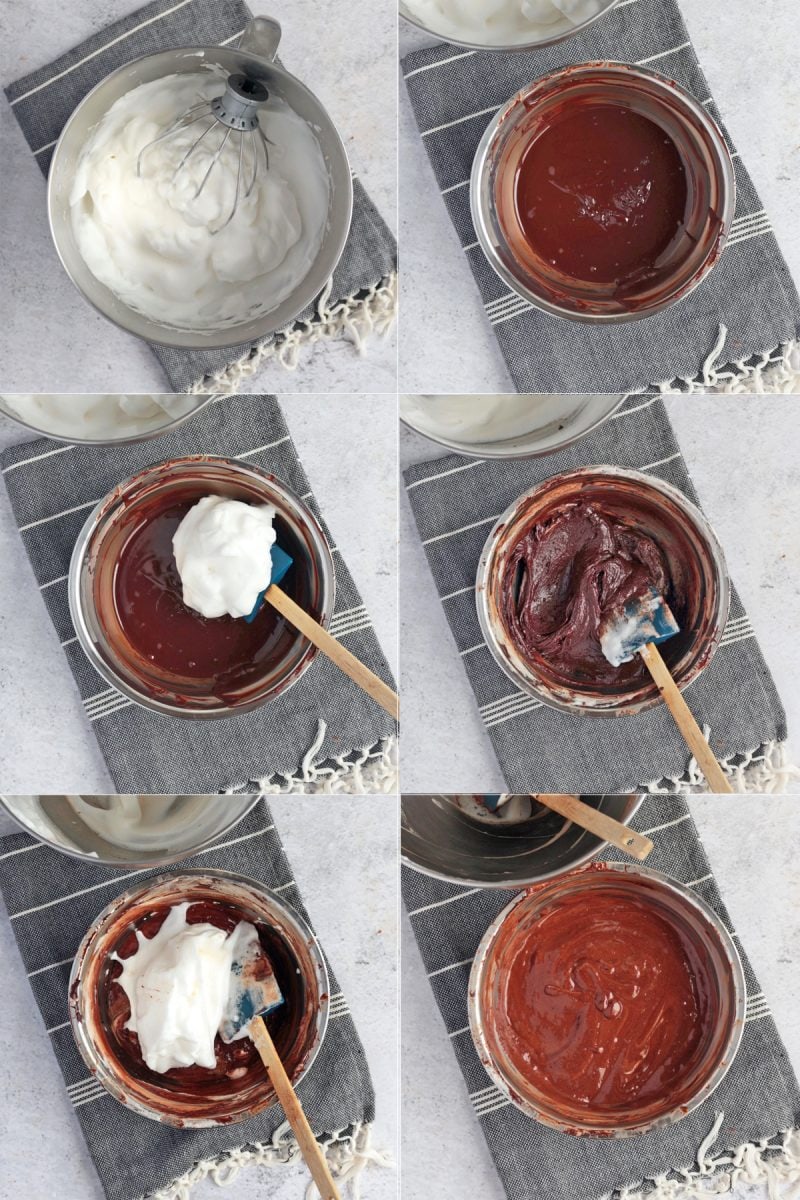
- Once the melted chocolate has cooled down, drain the chickpeas to keep the liquid only. Place the Aquafaba liquid in the bowl of your stand mixer (or a large mixing bowl if using a hand mixer). Add the Cream of Tartar and start whipping on medium speed, slowly increasing to a high speed. Keep whipping until you reach stiff peaks (*)
- Add about 1/4 of the whipped Aquafaba to the cooled melted Chocolate and gently fold it in. It will seem a bit hard at first but don't worry, it will come together.
- Fold in the rest of the Aquafaba in 2 or 3 times. Try not to over-fold it and stop as soon as it looks combined. The texture will be runny but do not worry, it will set in the fridge. It is also normal for the mousse to have deflated.
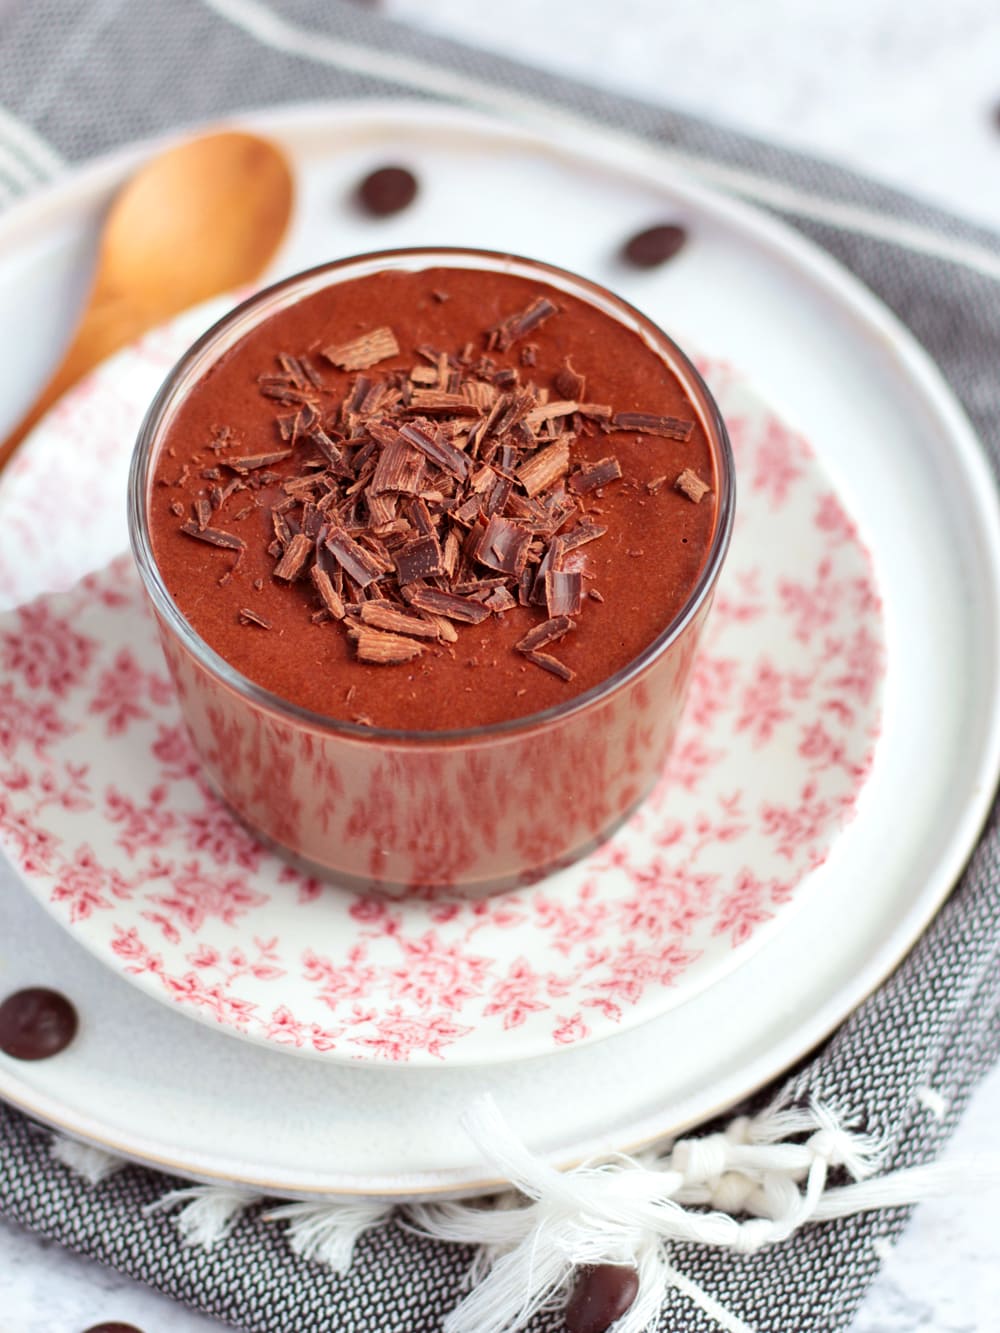
- Pour the Mousse into Individual Cups (or in a large Serving Bowl if preferred). Cover and place in the Fridge to set for at least 1 to 2 hours.
- Optional: finish the dessert with your preferred toppings, such as Chocolate Shavings, Fresh Berries, Whipped Cream or Nuts.
(*) the time it takes to reach stiff peaks can really vary depending on the brand of chickpea, the speed of the mixer or if you use cream of tartar or not. I took me about 5 minutes to reach stiff peaks, but I know it can take double the time for other people. Just keep whipping until you get the desired consistency - you cannot over-beat aquafaba!
If you are looking for more Eggless Recipes, check out my favourite 25 Eggless Cakes & Desserts!
Tips to make this dessert
- If using a Cooking Chocolate in the form of a bar, chop it thinly before melting it - it will not only speed up the process, but also allows for a more even melt and reduce the risk of burning the chocolate. Alternatively, use Chocolate Chips or Callets.
- Make sure your Chocolate has had time to cool down to at least room temperature. If the chocolate is too warm when you add the aquafaba, it will seize and become hard, making it really complicated to fold without completely deflating the aquafaba
- The texture of this mousse is more on the dense side. If you want a lighter texture, add a little bit of Milk to your melting chocolate
- Adjust the sweetness to your likeness; this recipe is made with 70% Cacao Chocolate and without any added sugar. Very intense in chocolate, just how I like it! If you want something a little bit more sweet, you have two options:
- add a little bit of Powdered Sugar (or icing sugar) to the aquafaba when you whip it (start adding it when it reaches medium peak, a little bit at the time)
- choose a Dark Chocolate with a lower Cacao percentage (45-55% for example) - or go for a Milk Chocolate for a much sweeter version (just make sure it is still a dairy-free chocolate if needed).
- Add the whipped Aquafaba, a little bit at the time. Many recipes do it the other way around (pour the melted chocolate over the aquafaba), but I find it easier to do it this way. It is very hard to gently fold two elements that have a different consistency - so adding a little bit of aquafaba into the chocolate first allows to get a more even consistency between the two. And makes it easier to combine.
Recipe FAQs
One of the most important part of this recipe is the melting of the Chocolate - and it is important to get it right to get the best mousse texture. Chocolate is very sensitive to heat and can very easily burn, which will result in a mousse with a grainy texture.
The best way to melt Chocolate is over a "Bain-Marie" or "Double Boiler". This technique allows to melt the chocolate slowly and without too much heat.
To melt chocolate over a double boiler, add a little bit of water to a small pot and place it on low heat. Place the chopped Chocolate (or chocolate chips/callets) in a heat-proof bowl large enough to stand over the pot. Make sure the bottom of the pot is not touching the water, then leave to slowly melt, occasionally stirring.
The mousse should be kept in the fridge. Make sure to cover the individual cups (or serving bowl) so that the mousse does not absorb any fridge smell.
I recommend eating this dessert within 1 or 2 days, although it will last for a couple more (no eggs or cream here, so it is safe to keep for a few days without risks!). After a couple of days, the top of the mousse will start to dry out and harden, which is why it is nicer to eat sooner.
This dessert can also be made ahead - preferably up to 24 hours in advance - and kept in the fridge until it is time to serve it. So yes, you can you keep chocolate mousse overnight!
More Vegan Desserts:
- Easy Vegan Lemon Tart
- Vegan Sticky Date Puddings
- Vegan Carrot Cake Muffins
- Coconut Panna Cotta with Strawberry Compote
- Gluten-Free and Vegan Banana Bread
- Chocolate Peanut Butter Balls
- 3 Ingredients Peanut Butter Banana Oatmeal Cookies
- Almond Flour Peanut Butter Cookies
Made this recipe?
Let us know if you liked it by leaving a comment below, and tag us on Instagram @a.baking.journey with a photo of your creation!
Recipe

Vegan Chocolate Mousse with Aquafaba
Ingredients
- 200 gr (7 oz) Dark Cooking Chocolate, Dairy-Free/Vegan
- 45 ml (3 tbsp) Plant Based Milk, (Optional)
- 180 ml (3/4 cup) Aquafaba, (equivalent to the liquid found in one 400gr / 14 oz Can of Chickpeas)
- 1/4 tsp Cream of Tartar (*)
Instructions
- Place the Chopped Chocolate (or Chocolate Chips/Callets) in a Heat-Proof Mixing Bowl and melt it over a double boiler (1).
- Optional: add the Milk to the Chocolate before melting it to get a lighter mousse texture
- Once fully melted, set aside to cool down until it reaches room temperature - about 20 minutes.
- Drain the can of Chickpea to keep to liquid only (keep the chickpeas for another recipe). Place the liquid Aquafaba in the bowl of your mixer with the Cream of Tartar and whip until you reach stiff peaks, starting on medium speed and slowly increasing to high speed (2).
- Add about 1/4 of the whipped Aquafaba to the cooled melted Chocolate and fold in to combine (3).
- Add the rest of the Aquafaba in 2 or 3 times, gently folding each time until all combined. Stop as soon as the aquafaba is all integrated to avoid deflating the mousse (4).
- Pour the Mousse into individual cups or a large serving bowl. Cover with wrap and place in the fridge to set for 1 to 2 hours.
- Optional: top with Chocolate Shavings, Fresh Berries or Whipped Cream before serving.
Would you like to save this recipe?
Notes
- Chocolate: you need to use proper Cooking Chocolate to make this recipe, either in the form of a cooking chocolate bar or callets. Using eating chocolate or chocolate chips will make the mousse very grainy as it will not melt properly.
- (*) Cream of Tartare: can be substituted with Salt, or an acid like Lemon Juice or Vinegar. It will help stabilise the whipped Aquafaba, but could be omitted if needed.
- Double-Boiler technique: place a little bit of water in a small pot on low heat. Add the chopped chocolate (or chips) to a heat-proof mixing bowl large enough to fit over the pot of water. Make sure the bottom of the bowl does not touch the water. Allow for the chocolate to slowly melt, occasionally stirring.
- The time it take to reach stiff peaks can very much vary based on different conditions. It will be much quicker with the use of Cream of Tartar (it took me about 5 minutes to get the right consistency), but it sometimes takes people twice as long. Simply keep whipping until you get the desired consistency - you cannot over-beat aquafaba!
- It will seem a bit hard to combine at first but don't worry - it will come together. If the chocolate seise (hardens quickly or splits), it means the chocolate was too warm.
- The mousse will have lost in volume - that's normal. It will also look a bit runny, which is normal as well; it will set in the fridge. You want that slightly runny consistency to be able to pour the mousse into your cups.