
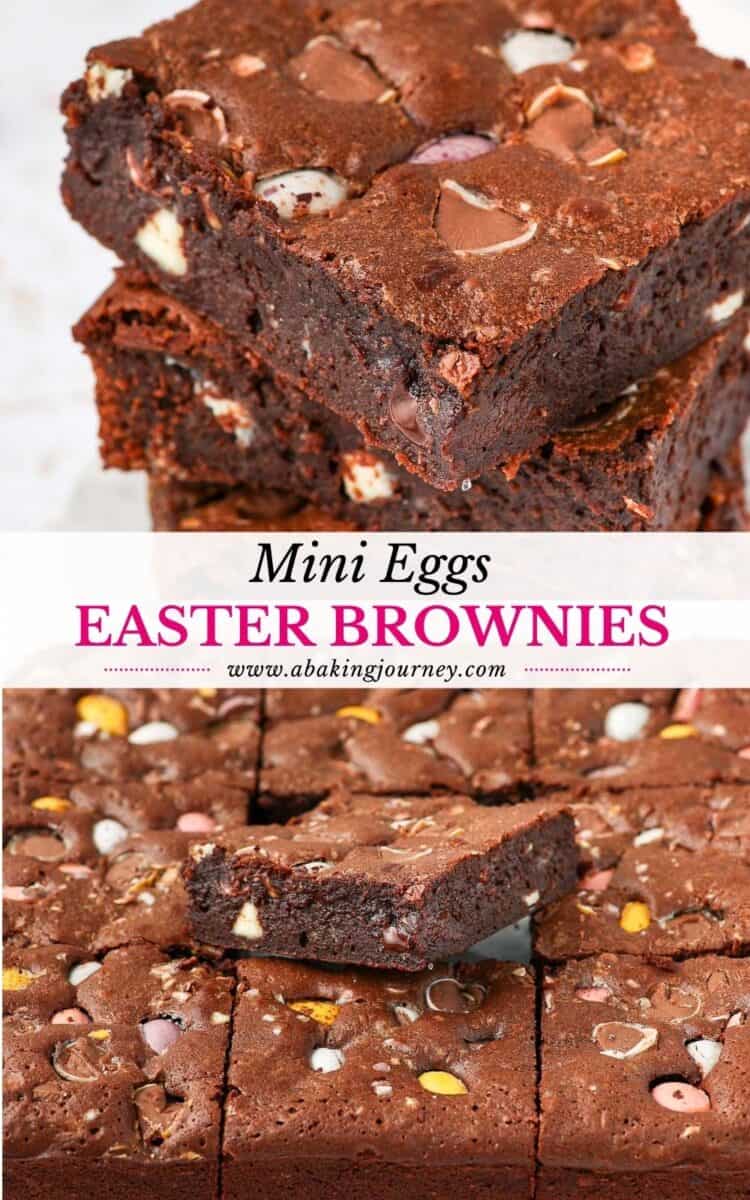
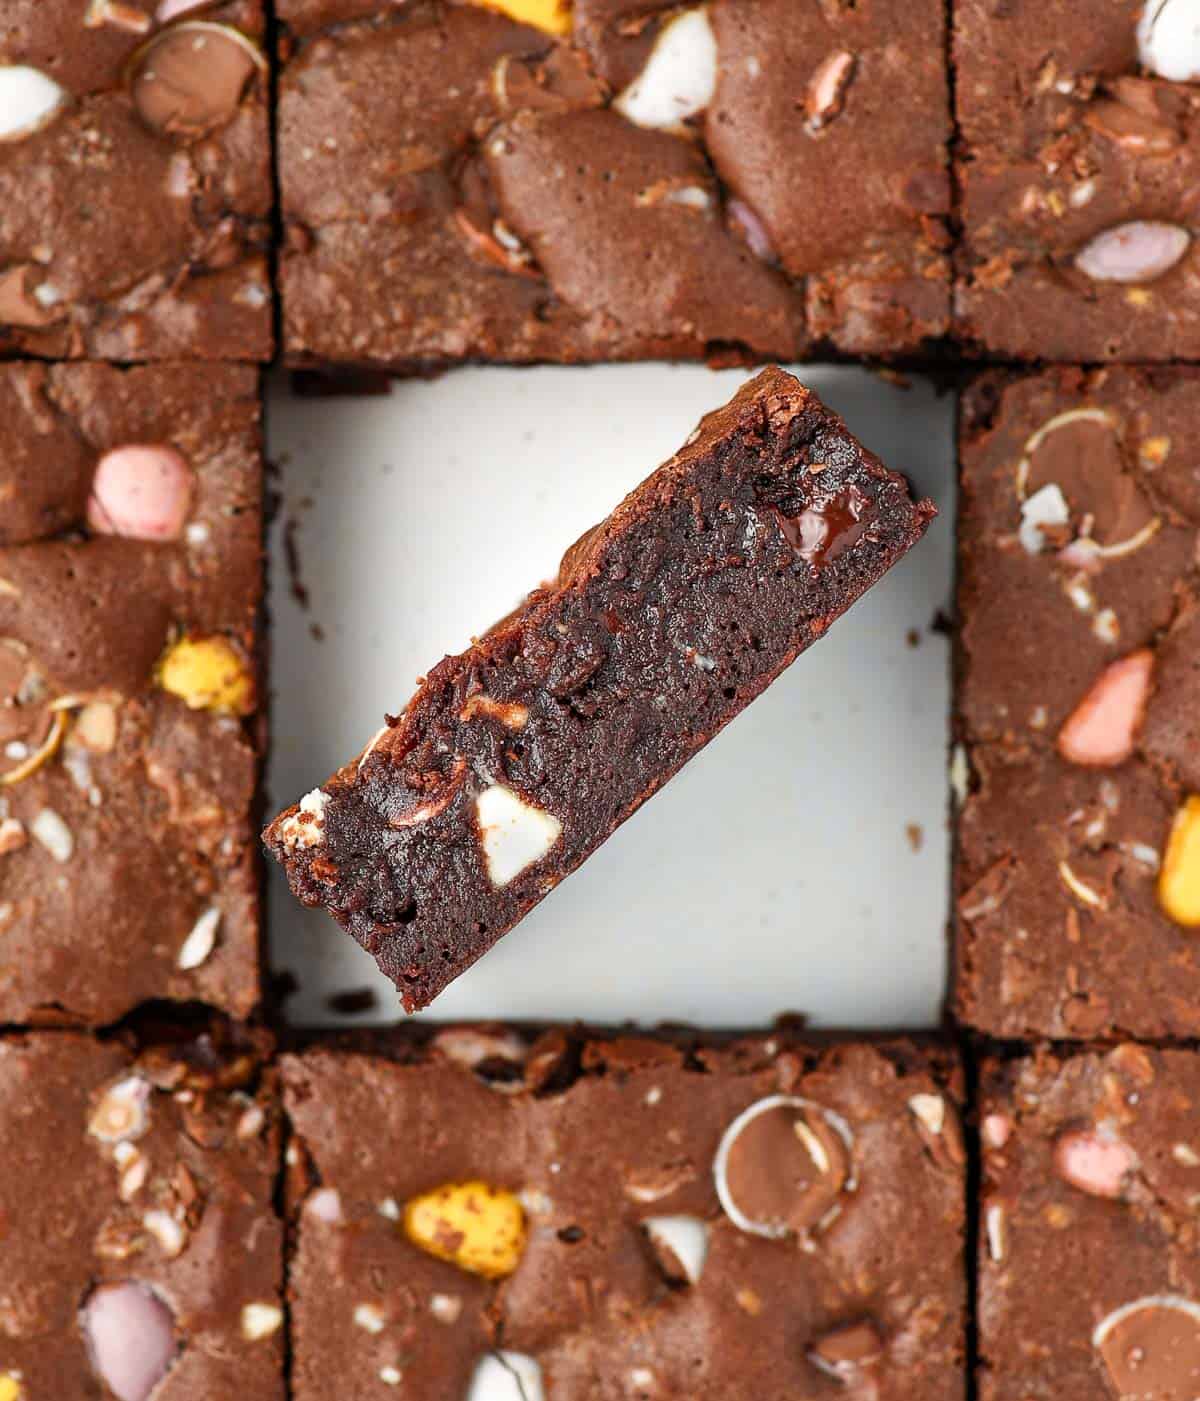
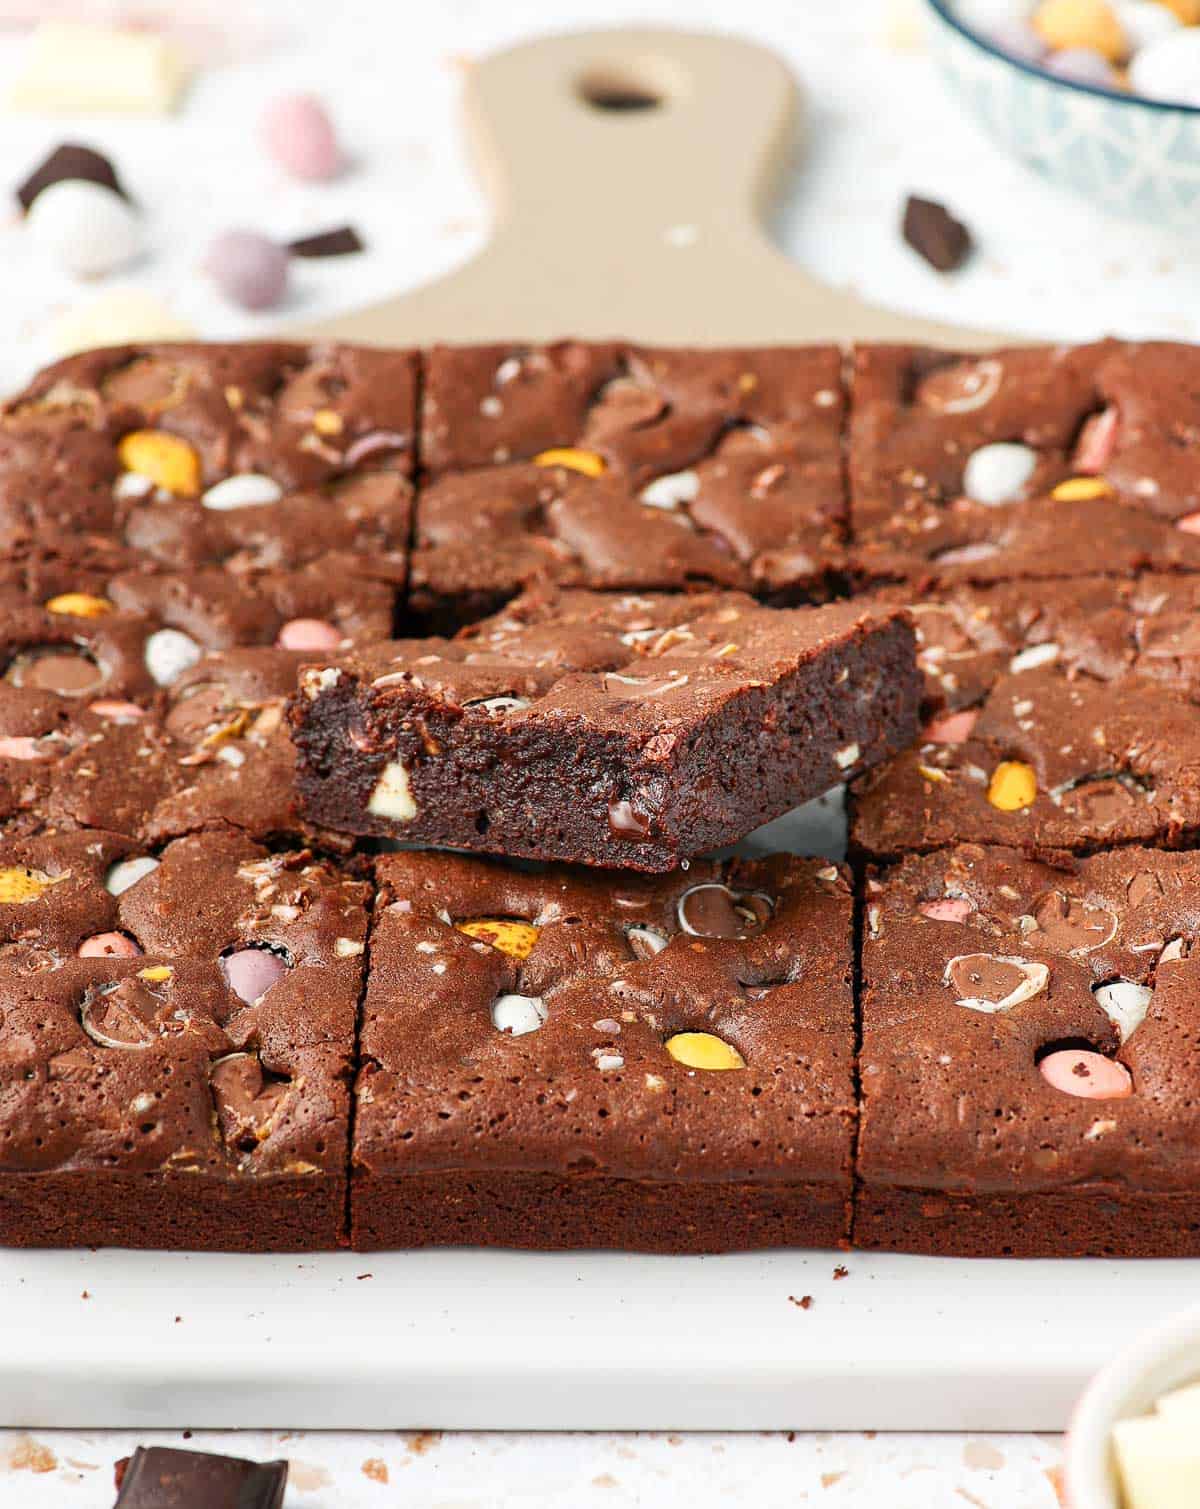
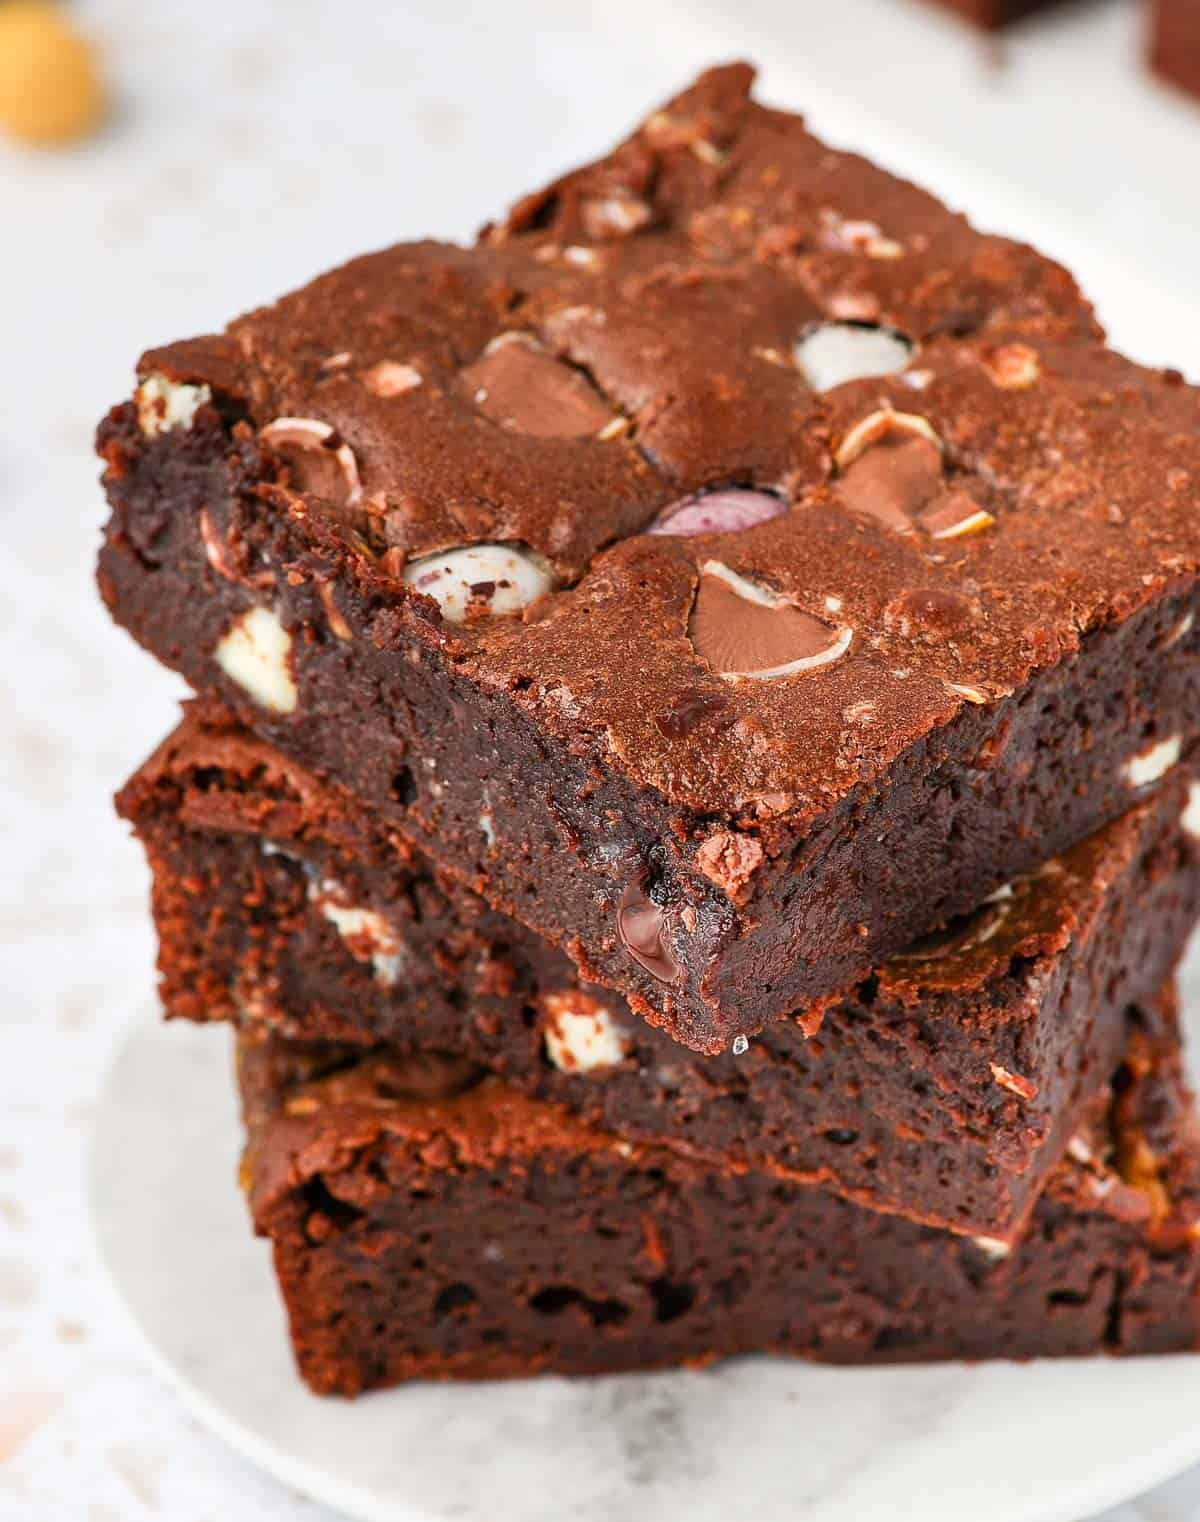
These super decadent Mini Egg Brownies are the perfect sweet treat to celebrate Easter. The Dark Chocolate Brownies are packed with dark and white chocolate chunks and topped with Mini Eggs for that extra crunch and pop of colour!
Jump to:
Why we love this recipe
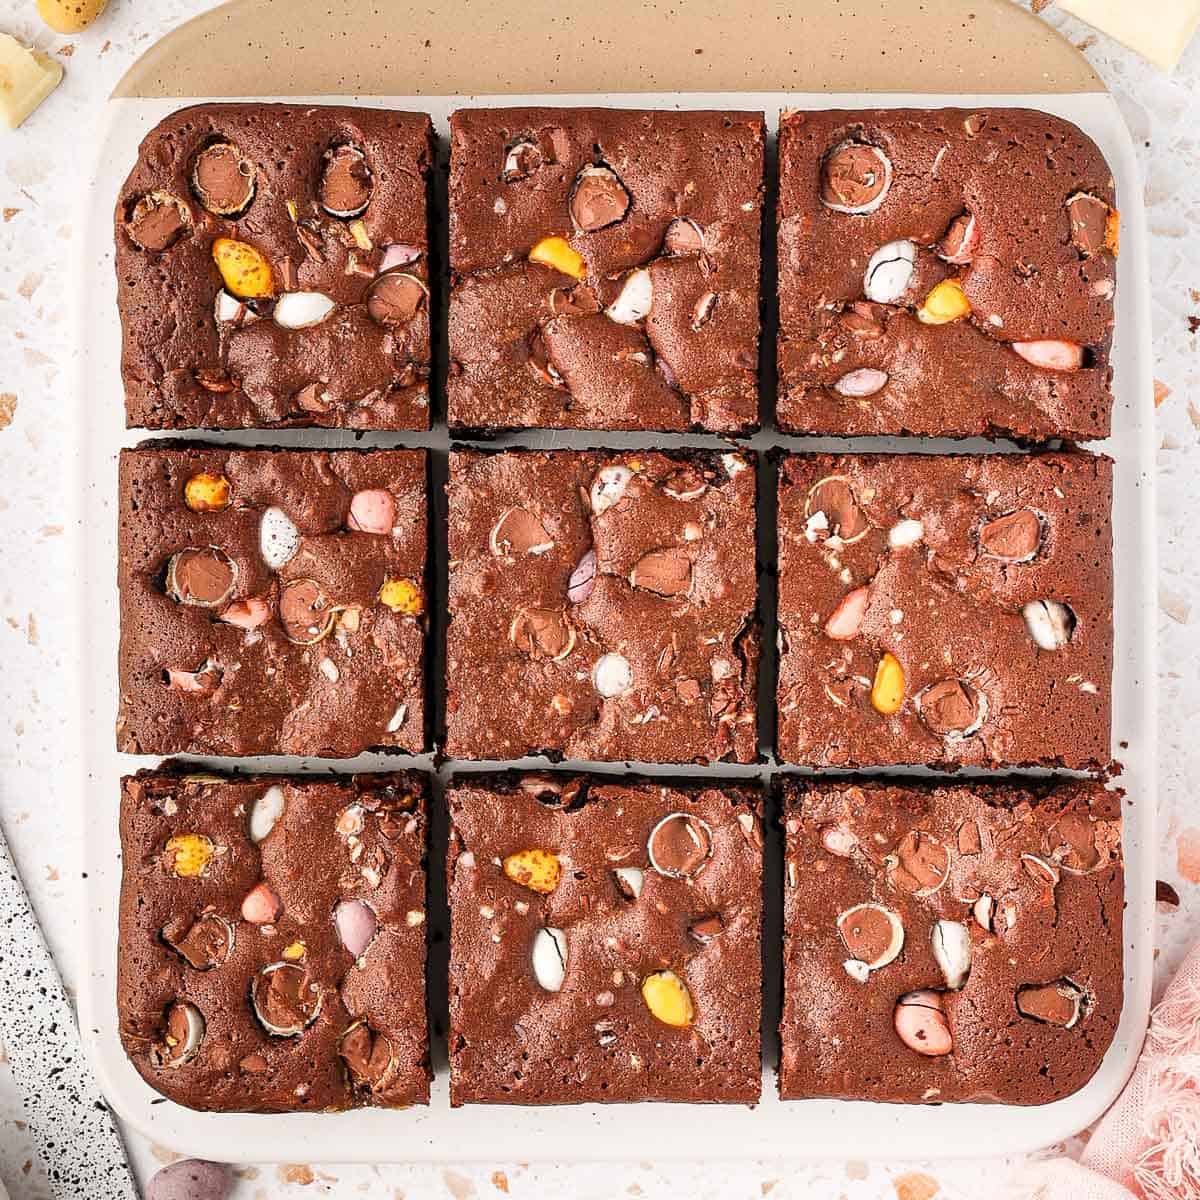
There is no better time than Easter to get decadent with Chocolate... and these Easter Brownies offer just that! A deliciously fudgy brownie made stuffed with both white and dark chocolate chunks and finished with colourful Mini Eggs.
These Easter Egg Brownies are just so fun to make. The two different kinds of chocolate used inside the brownie with the addition of crunchy mini eggs create the most irresistible Easter dessert!
Also on the Easter Sweet Menu this year: try these Chocolate Cornflake Cakes and top them with Mini Eggs!
Ingredients
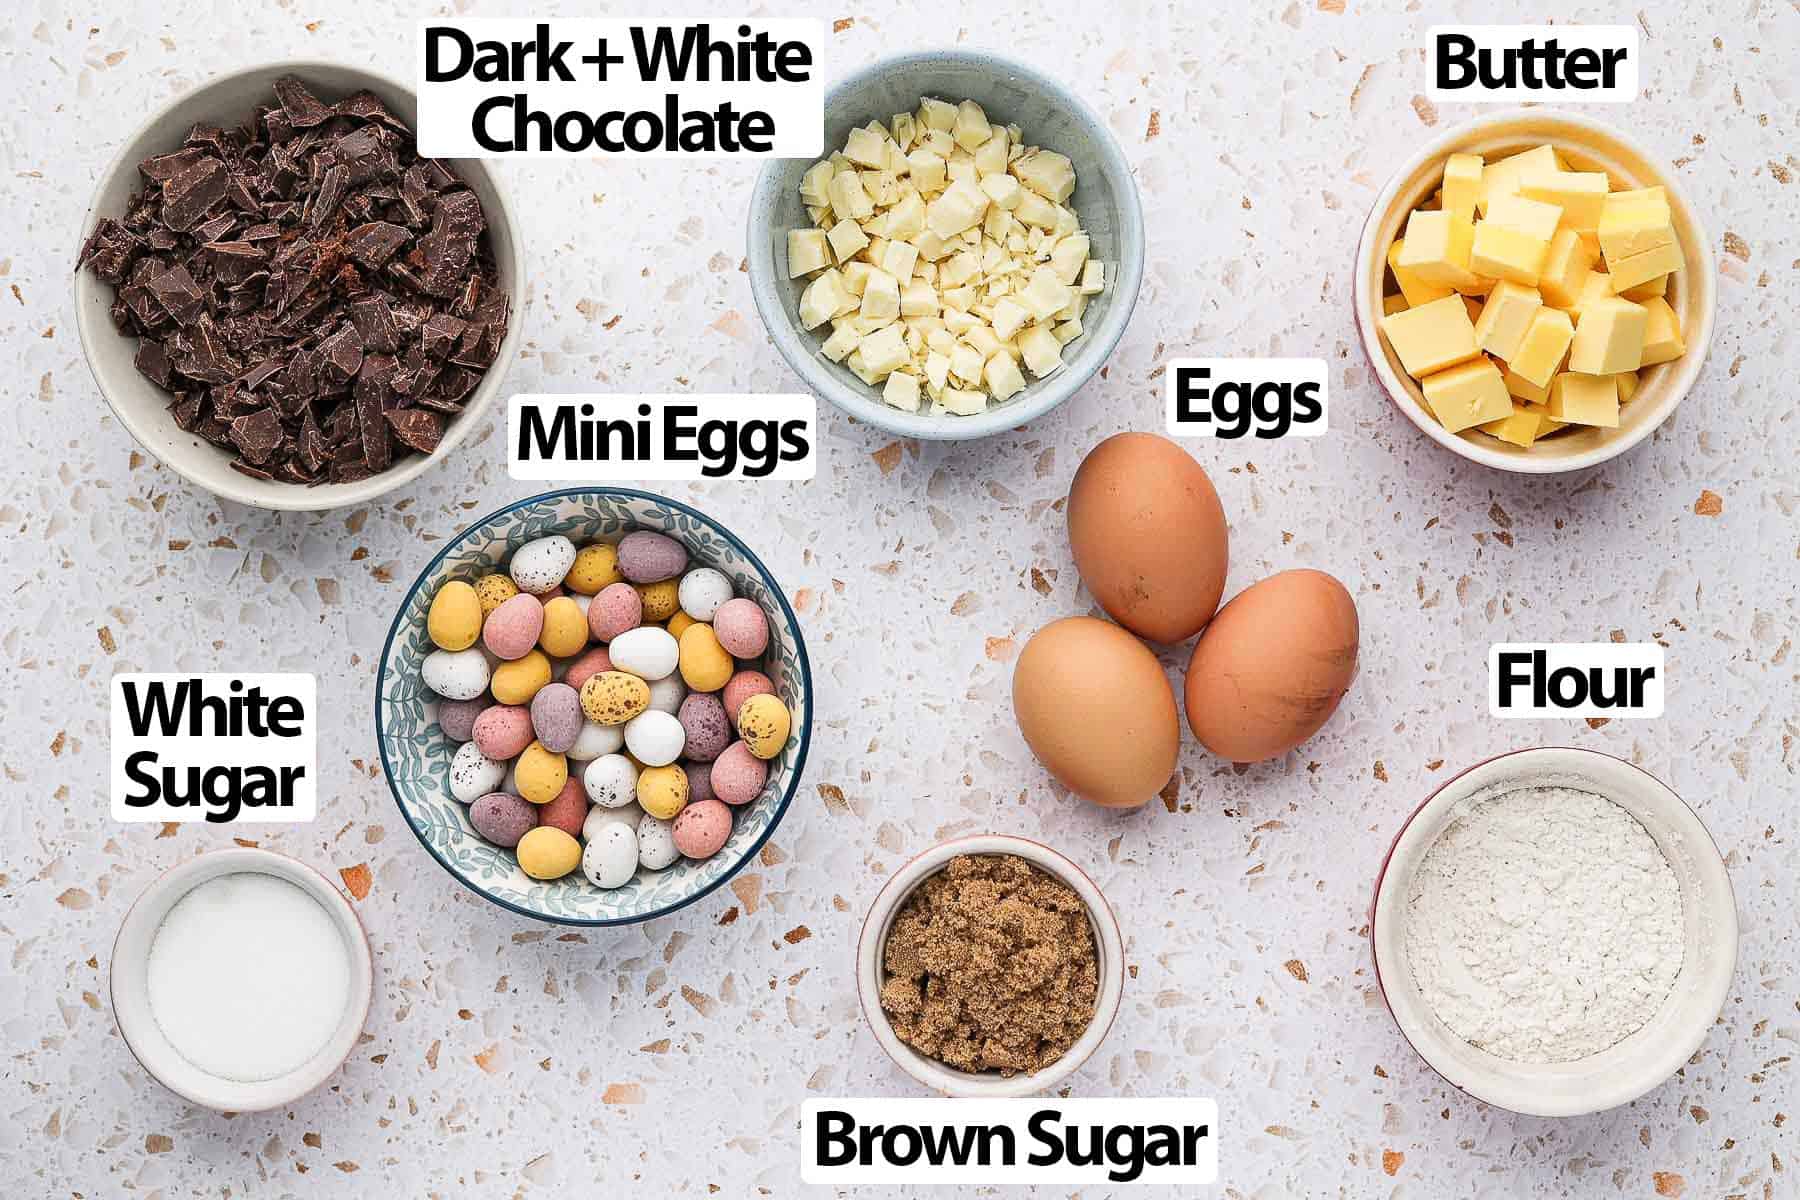
For the fudgy dark chocolate brownies:
- Dark Chocolate: I used 70% Dark Chocolate for that intense chocolate flavour. Make sure to use proper cooking chocolate in the form of a bar. Using eating chocolate or chocolate chip will likely result in a grainy melted chocolate.
- Butter: Unsalted. I gets melted straight away so it can come from the fridge.
- Eggs: medium size, at room temperature.
- Sugar: a mix of Brown Sugar and White Sugar (Caster Sugar). You could use all brown or all white, but I love the combination of both for a super fudgy brownie with the right amount of sweetness and a nice shiny top.
- Flour: All-Purpose / Plain Flour. Make sure it is sifted to avoid any lumps in the batter.
- Salt: Fine Table Salt, used to balance the sweet flavours of this Easter Brownie recipe.
These brownies are made without cocoa powder. I have tried this recipe with cocoa powder as well, but it makes these brownies drier.
For the filling and topping:
- Filling: a mix of Dark Chocolate Chunks and White Chocolate Chunks. You could use all dark or all white, but the mix of both offers a great combination of intense yet sweet brownies. I have also tried this recipe with Caramilk instead of white chocolate - it's a super fun alternative as well!
- Mini Eggs: I used Cadbury Mini Eggs here. I chopped half of the eggs and kept the rest whole for a topping that is both colourful crunchy. You could replace some of the chocolate chunks with more chopped mini eggs if you want!
Optional Additions
- Vanilla: add a little bit of Vanilla Extract or Essence for a boost of flavours.
- Coffee: if these Mini Eggs Brownies are to be served only for adults, the addition of coffee will really play perfectly with the intense flavours of dark chocolate! Add about 1 teaspoon of instant coffee granules to the hot melted chocolate.
How to make fudgy Easter Egg Brownies
Here are the instructions to make the best fudgy mini egg brownies!
- Preheat your oven on 180'C/350'F. Line a 21x21 cm (8x8 inch) square baking pan with baking paper or parchment paper.
I like the grease the pan first before placing the baking paper over it so it sticks.
- Chop the chocolates and mini eggs (optional), and set aside.
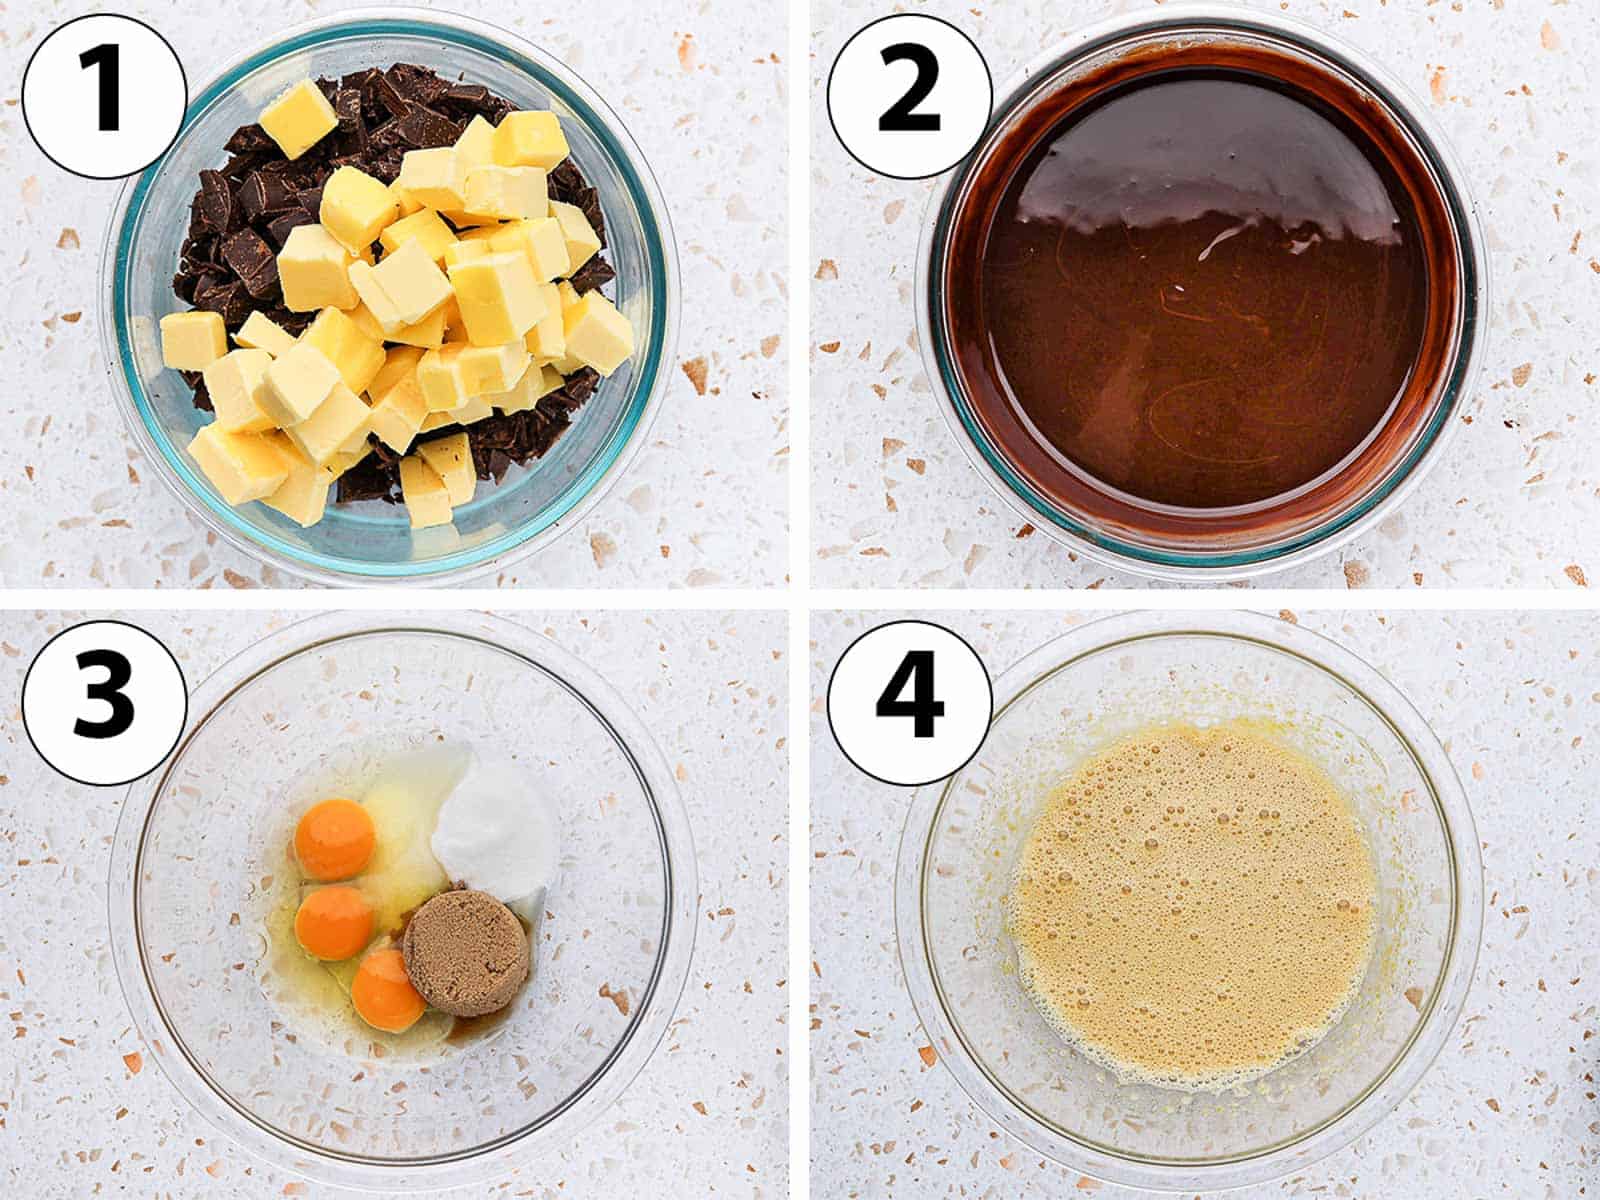
- Photo 1: Place the first part of finely chopped Dark Chocolate it in a heat-proof bowl with the Butter.
Finely chopping the chocolate before melting it helps it melt much faster and reduces the risk of burning it.
- Photo 2: Melt the Chocolate and Butter until smooth, either by placing the bowl over a double-boiler (put the bowl over a saucepan containing a little bit of boiling water) or in the microwave in 30 seconds increments. Set aside to cool down.
Would you like to save this recipe?
If melting in the microwave, it is very important to stop and stir every 30 seconds to avoid burning the chocolate. That would result in a very grainy chocolate that looks like it has split.
- Photo 3: Place the Eggs, Brown Sugar and White Sugar in a separate large bowl.
- Photo 4: Whisk for 3 to 5 minutes on medium speed or until the mixture looks lighter in colour, has increased in size and seem very foamy/bubbly.
You can use a hand mixer or stand mixer for this step. You can also simply whisk it by hands; in this case the long whisking of the eggs and sugar is used to get a nice shiny top on the brownies so it won't affect the overall taste of the cake if they are not whisked enough.
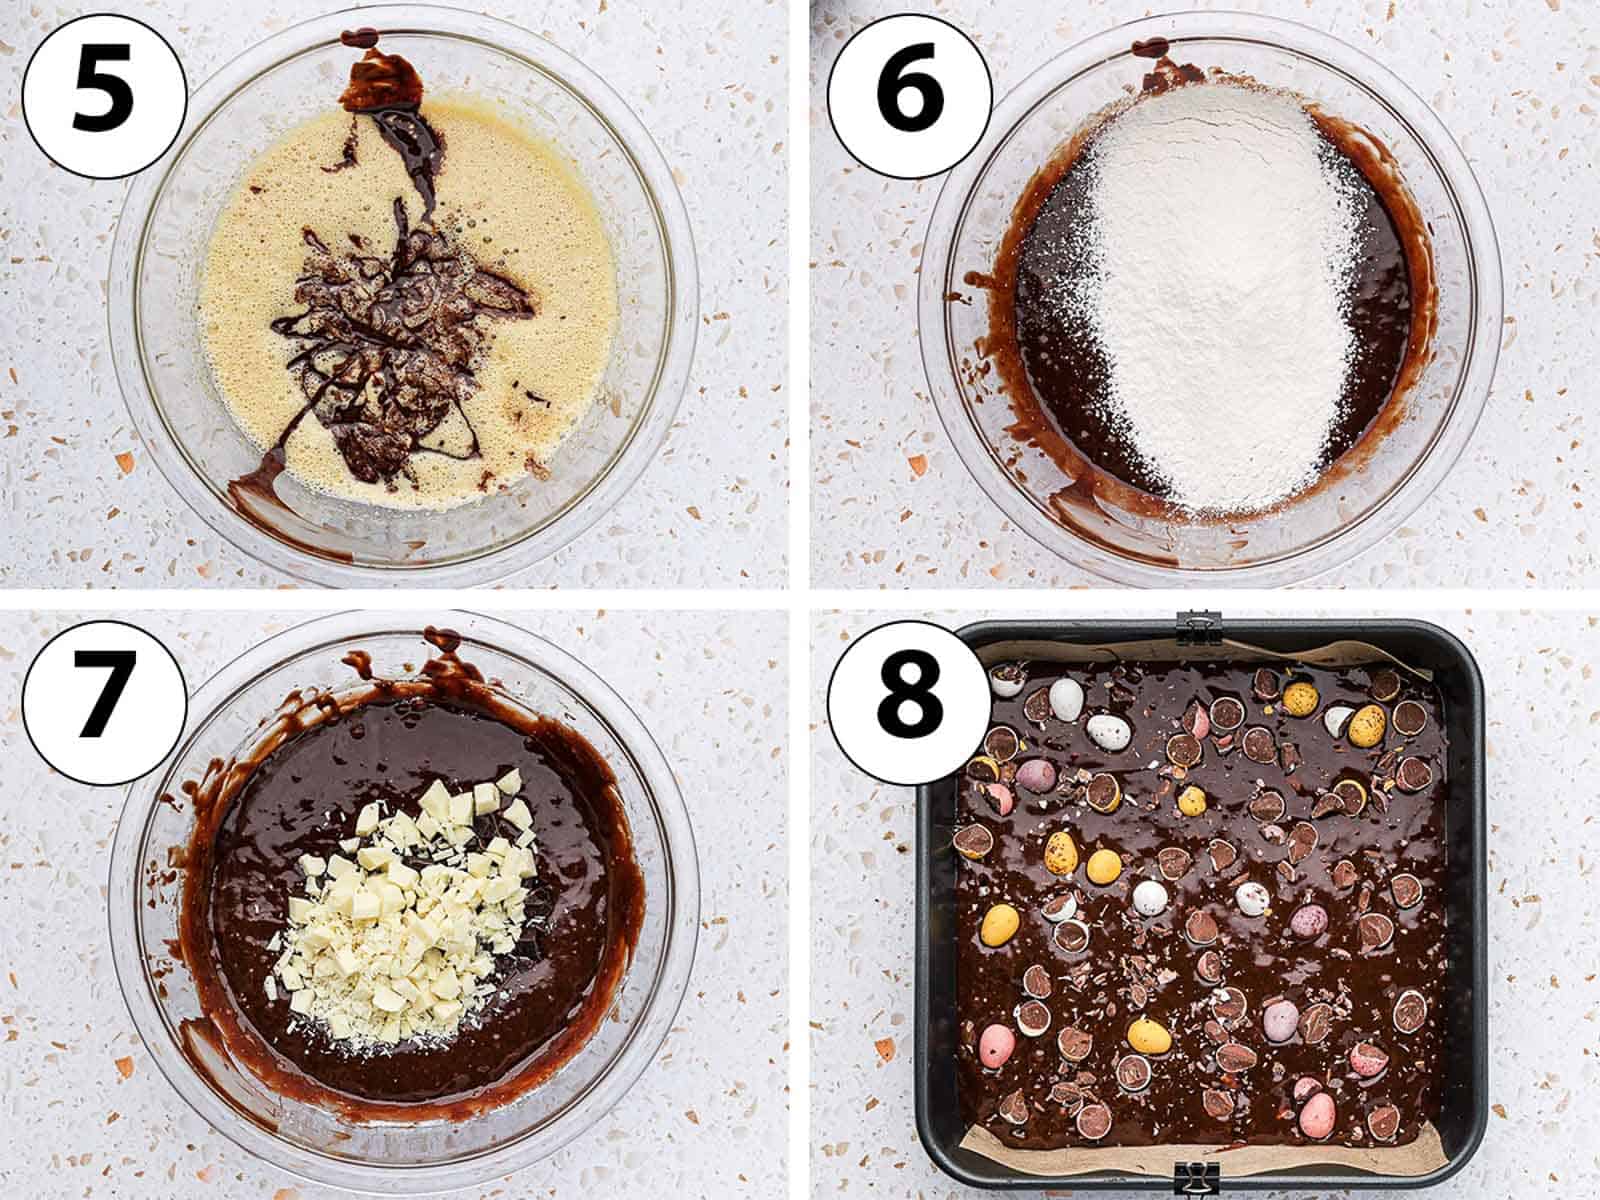
- Photo 5: Pour the melted butter / chocolate mixture over the sugar/egg one. Slowly mix until just combined.
Make sure the chocolate isn't too hot or it will cook the eggs and you will get small bits of cooked eggs in your batter.
- Photo 6: Add the Sifted Flour and Salt. Using a spatula or with the mixer on low speed, mix it in until just incorporated.
It is important not to overmix the batter at this point or you won't get a nice fudgy texture.
- Photo 7: Gently mix in the second part of Dark Chocolate Chunks and the White Chocolate Chunks. Fold with a spatula until the chunks are evenly spread throughout the brownie batter.
- Photo 8: Pour the batter in the prepared tin. Top with the Mini Eggs - either all whole or half of them slightly chopped.
- Bake for 16 to 18 minutes or until the centre looks set and the top is shiny.
It is a quick bake here because this easter brownies recipe does not require that long in the oven. Unless necessary, avoid baking the brownies for longer than that or they will be dry! A toothpick or knife should come out slightly wet still.
- Leave to cool down for 20 to 30 minutes (or until fully cooled down if serving later) before removing from the pan and slicing it.
Recipe FAQs
I personally only recommend using Dark Cooking Chocolate for the brownie batter itself. You can use Milk Chocolate Chunks for the filling instead of the dark ones for a sweeter Easter treat, or substitute the dark chunks for all white.
I used a 70% dark chocolate here, which will give you an intense chocolate flavours and deliciously rich texture. Make sure to use proper cooking chocolate in the form of a bar; not eating chocolate or chocolate chips that won't melt fully.
Yes, this recipe will work with only brown or only white sugar. Using only brown sugar will make the brownie texture extra fudgy, with a nice deep caramelised flavours. Using all white sugar will give the brownies a more chewy texture and slightly sweeter flavours.
You could use any of your preferred brand of mini eggs (chocolate eggs surrounded by a crispy sugar candy shell) or malted Robin Eggs for a similar look. Alternatively, you could use M&Ms or any small Easter chocolate eggs!
Tips for success
- For extra fudgy brownies, replace the white sugar with brown sugar. For more chewy brownies, use all white sugar. Using all white sugar will also give you a shinier top.
- Don't over-mix the batter, especially when adding the flour. We are going for a super fudgy texture here, but mixing in the flour too much will make the cake more dense and cakey.
- For the topping, chop half of the mini eggs for crunch and keep half whole for a pop of colour. You can also keep part of the dark and white chunks used inside the Mini Egg Brownies as a topping instead of filling.
- Let the brownies cool down for at least 20 to 30 minutes before removing them from the pan. They will still be quite soft when they come out of the oven and might break if you move them out too quickly.
Storing & Freezing
Because they are made with all butter, these Easter brownies will get dry more quickly than brownies made with oil, so they are best eaten straight away or within a couple of days. They should be kept at room temperature in an airtight container.
For the best texture, I don't recommend freezing these Easter Mini Egg Brownies.
More Chocolate Recipes
- Mini Chocolate Tarts
- Raspberry Brownies
- Chocolate Cornflake Cakes
- French Chocolate Fondant Cake
- Orange Brownies
- Easy Chocolate Brownie Bites
- Biscoff Brownies
Made this recipe?
Let us know if you liked it by leaving a comment below, and tag us on Instagram @a.baking.journey with a photo of your creation!
Recipe

Easter Mini Egg Brownies
Ingredients
Brownies
- 150 gr Unsalted Butter
- 200 gr Dark Cooking Chocolate
- 3 Eggs, medium, at room temperature
- 60 gr Brown Sugar
- 60 gr Caster Sugar, or fine white granulated sugar
- 60 gr Plain / All-Purpose Flour
- 1/3 teaspoon Fine Salt
Filling & Topping
- 75 gr White Chocolate, chopped into chunks
- 50 gr Dark Chocolate, chopped into chunks
- 125 gr Cadbury Mini Eggs, or similar mini chocolate eggs
Instructions
- Preheat your oven on 180'C/350'F. Line a 21x21 cm (8x8 inch) square baking pan with baking paper.
- Finely chop the Dark Chocolate required for the brownies and set aside. Roughly chop the Dark Chocolate and White Chocolate required for the filling. Optionally, chop half of the Mini Eggs. Set all aside.
- Place the chopped Dark Chocolate (200 grams) it in a heat-proof bowl with the Butter. Melt over a double-boiler or in the microwave in 30 seconds increments until smooth (see note 1). Set aside to cool down.
- In the bowl of your mixer or a large mixing bowl if using a hand mixer, whisk together the Eggs, Brown Sugar and White Sugar for 3 to 5 minutes on medium speed or until it has increased in size and looks very bubbly.
- Pour the melted Chocolate / Butter into the bowl with the Eggs and Sugar (see note 2). Gently whisk until combined.
- Sift in the Flour and Salt. Using a spatula or with the mixer on low speed, mix it in until just incorporated (see note 3).
- For the filling, gently mix in the second batch of Dark Chocolate Chunks and the White Chocolate Chunks. Fold with a spatula until the chunks are evenly spread throughout the brownie batter.
- Pour the batter in the prepared pan and top with the Mini Eggs (see note 4).
- Bake for 16 to 18 minutes, or until the centre looks set and the top is shiny. A toothpick or knife should still come out slightly wet (see note 5).
- Leave to cool down for 20 to 30 minutes (or until fully cooled down if serving later) before removing from the pan and slicing it.
Video
Would you like to save this recipe?
Notes
- If melting in the microwave, it is very important to stop and stir every 30 seconds to avoid burning the chocolate. That would result in a very grainy chocolate that looks like it has split.
- Make sure the chocolate isn't too hot or it will cook the eggs and you will get small bits of cooked eggs in your batter.
- It is important not to overmix the batter at this point or you won't get a nice fudgy texture.
- I chopped half of the mini eggs and kept the other half whole to create a crunchy texture with nice pops of colours. You could use all chopped or all whole if preferred. To easily be able to cut the brownies later, try not to place mini eggs where you will cut the brownies.
- It is a quick bake here because this easter brownies recipe does not require that long in the oven. Unless necessary, avoid baking the brownies for longer than that or they will be dry! A toothpick or knife should come out slightly wet still.
Nutrition (per serving)
Easter Mini Egg Brownies Story


Comments
No Comments