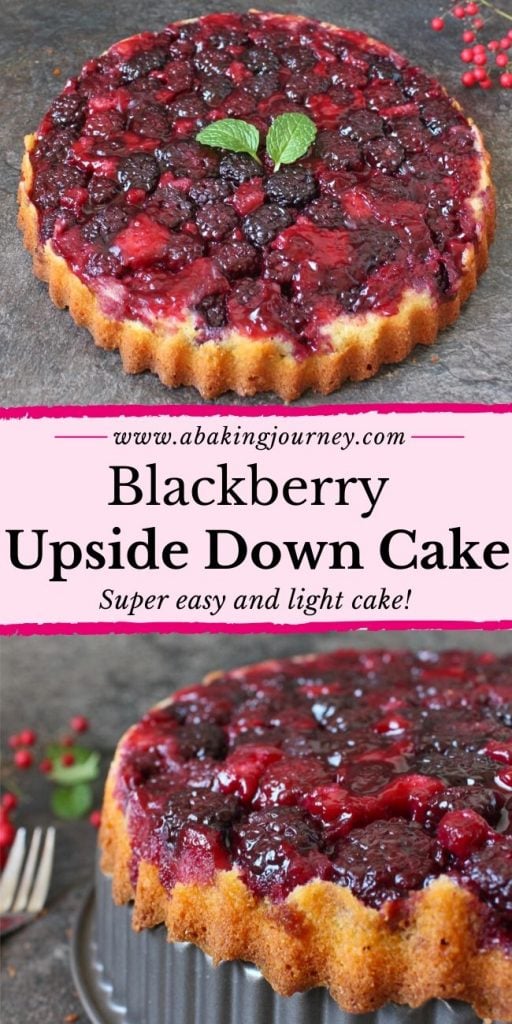
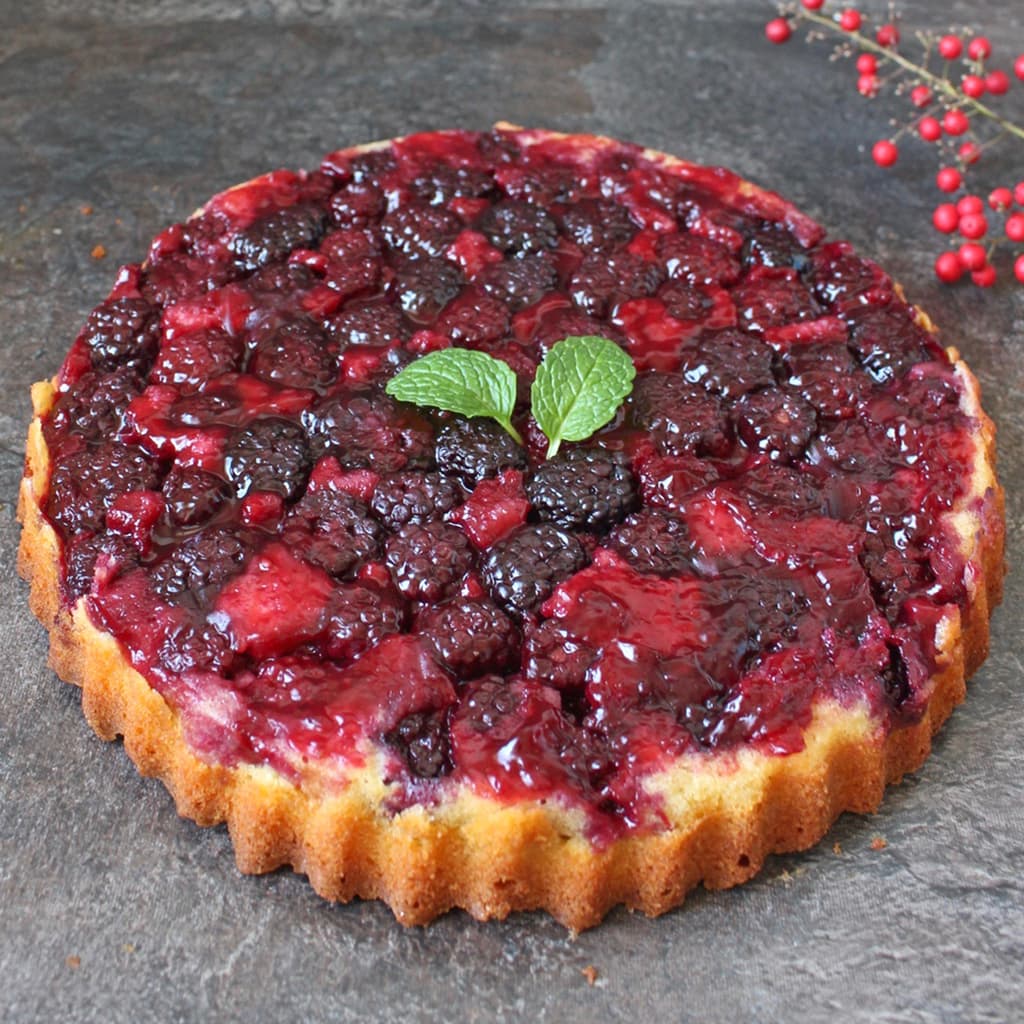
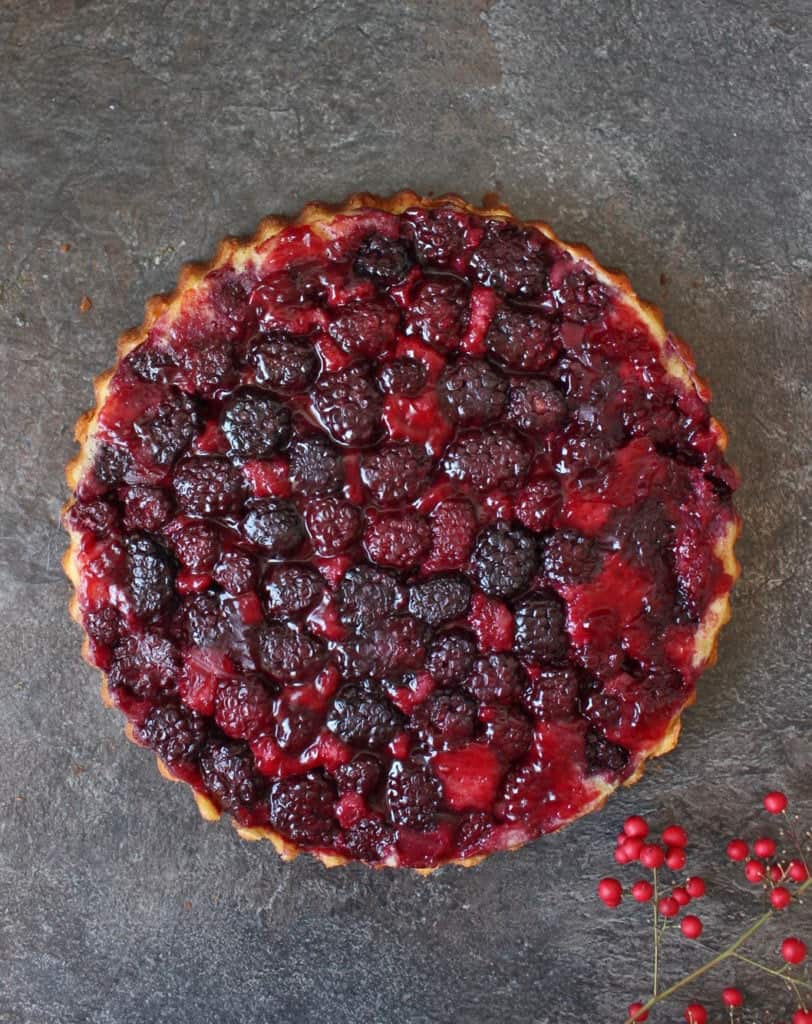
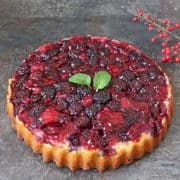
This Blackberry Upside Blackberry Cake made with Almond Meal is super easy to make and makes a delicious summer cake! The berries are baked under a butter and almond cake batter to create a delightful fresh dessert.
Note: this recipe was update in June 2020.
Jump to:
Why we love this recipe
So picture this. It's the middle of the afternoon, you have been out all day and some of your friends (or family) randomly decide to invite themselves over for dinner.
You don't have time to prepare much, but you still want to have a yummy cake for dessert. We all have been in this situation, haven't we!?
If you have too (or are right now), this Upside Down Blackberry Cake recipe is exactly what you need!
Upside Down Cakes are super fun to make, and always look impressive (but easy!). Whether it is made with Plum, Apples, Strawberries or even Blood Oranges, Upside-Down Cakes are just always a good idea!
Ingredients
There are two groups of ingredients needed to make this Upside-Down Cake with Blackberries. First, the berries themselves that will go at the bottom of the pan, then the butter and almond cake batter that will bake over it.
Blackberries
- Blackberries - fresh or frozen
- Brown Sugar
- Lemon Juice
- Cornstarch
The berries will release a lot of moisture when they cook so it is important to add an ingredient like Cornstarch that will help thicken all juices. It is the best way to avoid having a soggy cake!
Cake Batter
- Brown Sugar
- Unsalted Butter, very soft
- Eggs
- Vanilla Extract
- Plain Flour
- Almond Meal
- Baking Powder
- Salt
- Full Cream Milk
- optional: Lemon Zest
How to make Blackberry Almond Cake
The first step of the recipe is to prepare the Blackberries:
- Preheat your oven on 180'C/350'F and line your Baking Pan with Baking Paper.
- Place the Blackberries in mixing bowl and toss them with the Sugar, Lemon Juice and Cornstarch. Set aside.
Would you like to save this recipe?
Once the fruit are ready, you can start preparing the cake batter:
- Cream the Brown Sugar and very soft Butter in the bowl of your stand mixer for about 5 minutes. It needs to look very pale and fluffy
- Add the Eggs one at the time, mixing well between each eggs, then stir in the Vanilla Extract and Lemon Zest (if using some).
- In a separate bowl, sift all the dry ingredients together: Flour, Almond Meal, Baking Powder and Salt.
- Add about half of the dry ingredients to the wet ingredient and mix until incorporated.
- Pour in the Milk and mix it in, then add the rest of the Dry Ingredients. Quickly mix until all incorporated, but be careful not to overwork the batter.
Lastly, it is time to assemble the cake:
- Place the Blackberries (and any juices) on the bottom of your lined baking pan. Spread them evenly to cover the bottom
- Cover the fruits with the Cake Batter. You can use an offset spatula or the back of a spoon to evenly (but carefully) spread it over the fruits.
- Bake for about 25 minutes, or until the tip of a skewer comes out clean.
Baking the Cake
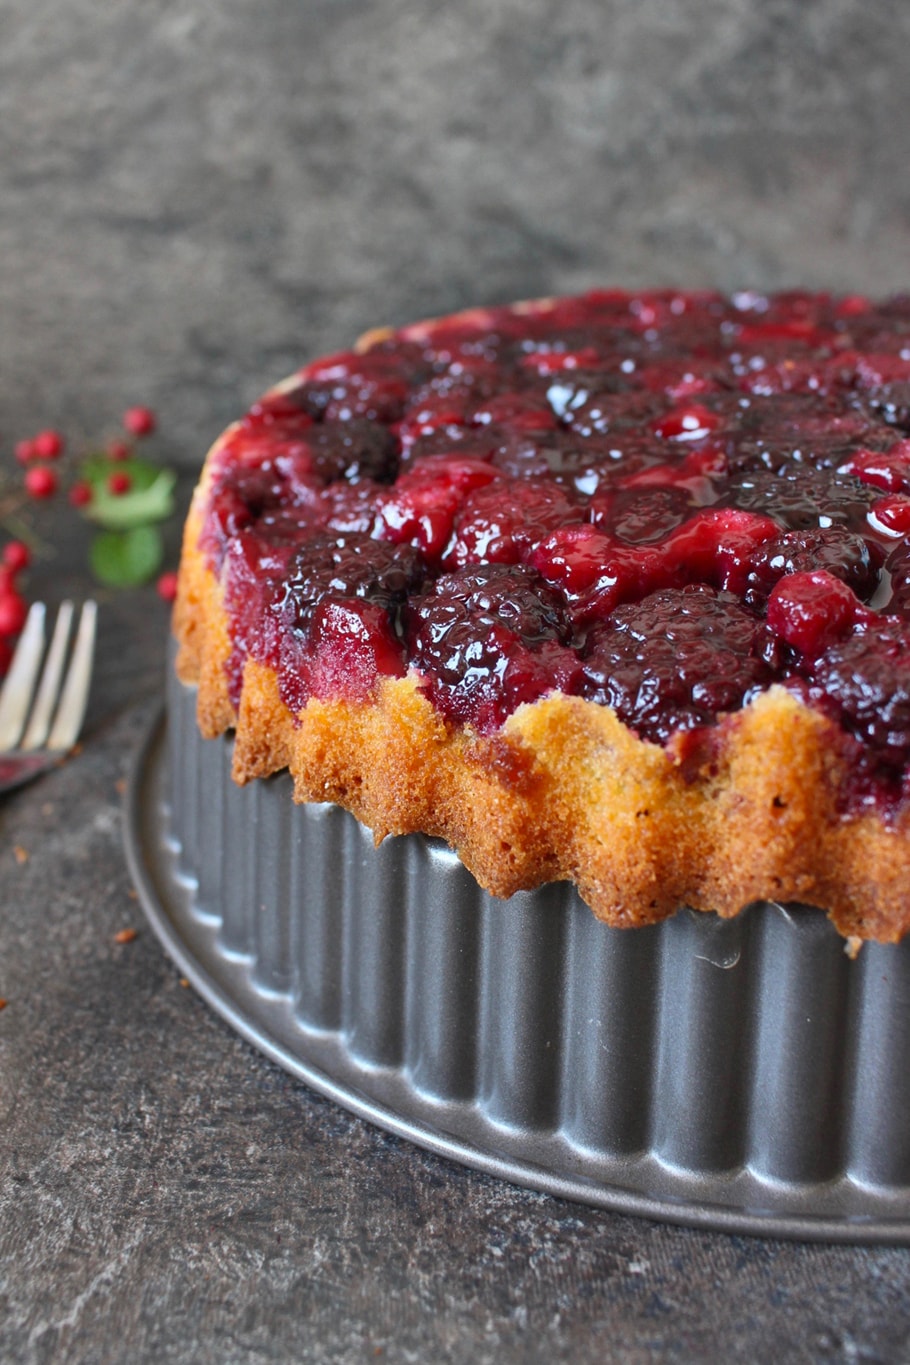
To bake this cake, I used the same Quiche Pan with removable Bottom that I had used for this Spiced Pears Double Chocolate Cake. A Quiche Pan is very similar to a Tart Pan but has higher sides.
It is great to use if you know that your cake will rise too much to be baked in a tart pan but you still want the nice wavy edges detail. The removable bottom is really essential for upside-down cakes as it makes it so much easier to flip!
I have found that even though using a pan with removable bottom is really useful to make any upside-down cake, adding an extra layer of baking paper at the bottom of the pan makes it even easier to flip.
This is optional, but a good way to make sure no fruits are sticking to the bottom of the pan!
Note that Alternatively, you can use a simple 9 inch / 22 cm Round Springform Pan to bake this cake if you do not have a Quiche Pan.
Recipe FAQs
You absolutely can use frozen blackberries instead of fresh ones. I love to use frozen berries in my cakes for two reasons: they are usually cheaper than fresh fruits and you can find them all year around.
If using frozen blackberries, do not thaw them before before making this cake and use them straight out of the freezer. They will release some moisture while baking so using cornstarch to thicken the juices is really important!
More Berry Desserts:
- Easy Cherry Clafoutis
- Strawberry Custard Tartlets
- Double Raspberry Mousse Cups
- Super Fluffy Blueberry Pancakes
- Easy Raspberry Coulis
- Mixed Berry Compote
- Lemon & Raspberry Muffins
- Chocolate and Raspberry Brownies
Recipe
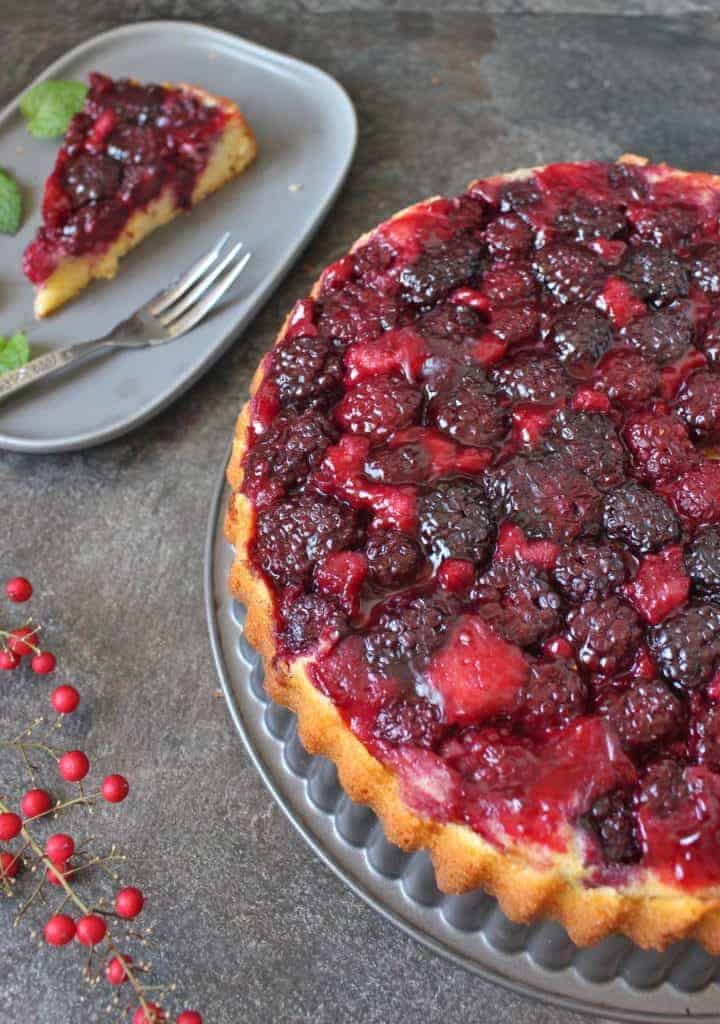
Blackberry Upside-Down Cake
Ingredients
Blackberries
- 2 1/2 cup (350gr) Blackberries, fresh or frozen
- 2 tbsp. Brown Sugar
- 1 tbsp. Lemon Juice
- 1 tbsp. Cornstarch
Cake Batter
- 1/4 cup (50gr) Brown Sugar
- 1/2 cup (120gr) Unsalted Butter, very soft
- 3 Eggs
- 1 tsp Vanilla Extract
- 1 cup (150gr) Plain Flour
- 1 cup (100gr) Almond Meal
- 1 1/2 tsp. Baking Powder
- 1 pinch Salt
- 1/3 cup (90ml) Full Cream Milk
- 1 Lemon, Zested, optional
Instructions
- Preheat your oven on 180'C / 350'F and line your baking pan (*) with Baking Paper
Blackberries
- Place the Blackberries in a large bowl and toss in the Brown Sugar, Cornstarch and Lemon Juice until the fruits are evenly covered. Set aside.
Cake Batter
- Using a stand (or hand) mixer, Cream the Brown Sugar and very soft Butter on medium speed for about 5 minutes, or until very pale and fluffy.
- Add the Eggs one at a time, mixing well between each egg. Mix in the Vanilla Extract and Lemon Zest (optional)
- In a separate bowl, sift together all the dry ingredients: Plain Flour, Almond Meal, Baking Powder and Salt. Add about half of the Dry Ingredients to the wet ingredients and mix until combined.
- Mix in the Milk, then add the rest of the dry ingredients and mix until fully combined (2)
Assembling the Cake
- Put the Blackberry Mix (including any juices) at the bottom your baking pan and spread them evenly.
- Cover the fruits with Cake Batter, and use an offset spatula or the back of a spoon to evenly (and carefully) spread it over the fruits.
- Bake for about 25 minutes, or until the tip of a skewer comes out clean.
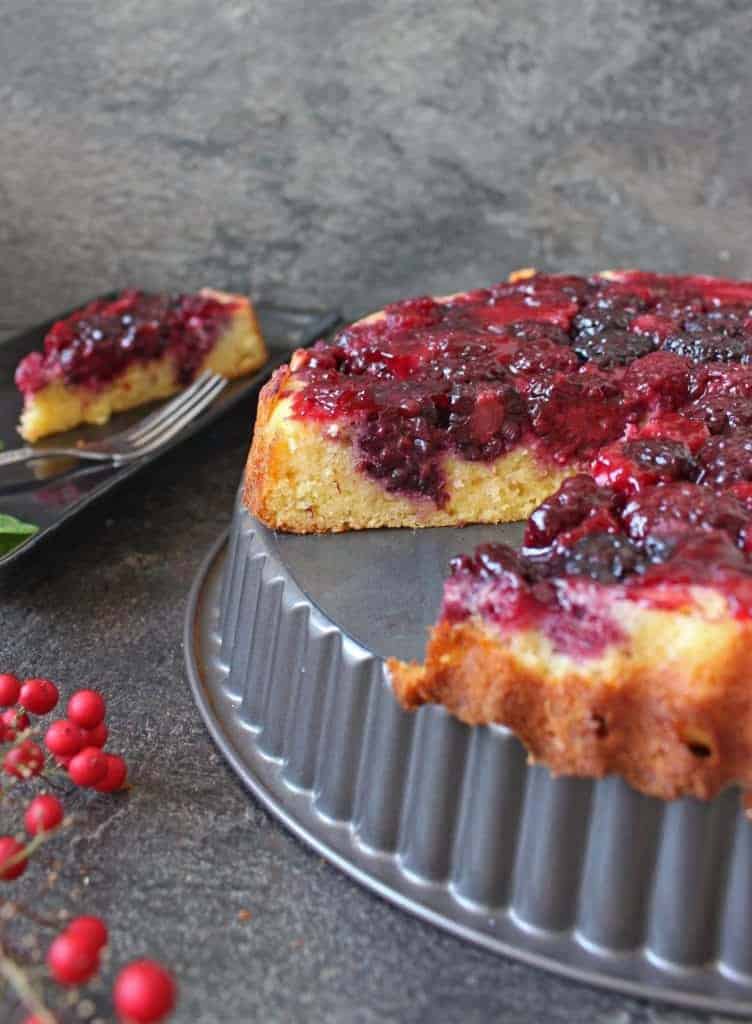
- Leave the cake to cool down for at least 15 minutes (3), then place a plate over the top of the pan. Carefully holding both the plate and the pan, quickly flip it upside down to release the cake.
Would you like to save this recipe?
Notes
- I lined my quiche pan with baking paper I had cut in a circle the size of the bottom of the pan. Even though the pan has a removable bottom, using additional baking paper is a great way to make sure none of the fruits are going to stick to the bottom of the pan when you flip it.
- Stop as soon as all the ingredients are combined to avoid overworking the batter. You can stop to scrape the edges of the bowl with a spatula if needed.
- It is important to leave the cake cool down a little bit before flipping it or it will be too soft and might break. If using a pan with removable bottom, the cake can be pushed out of the pan before flipping it.