
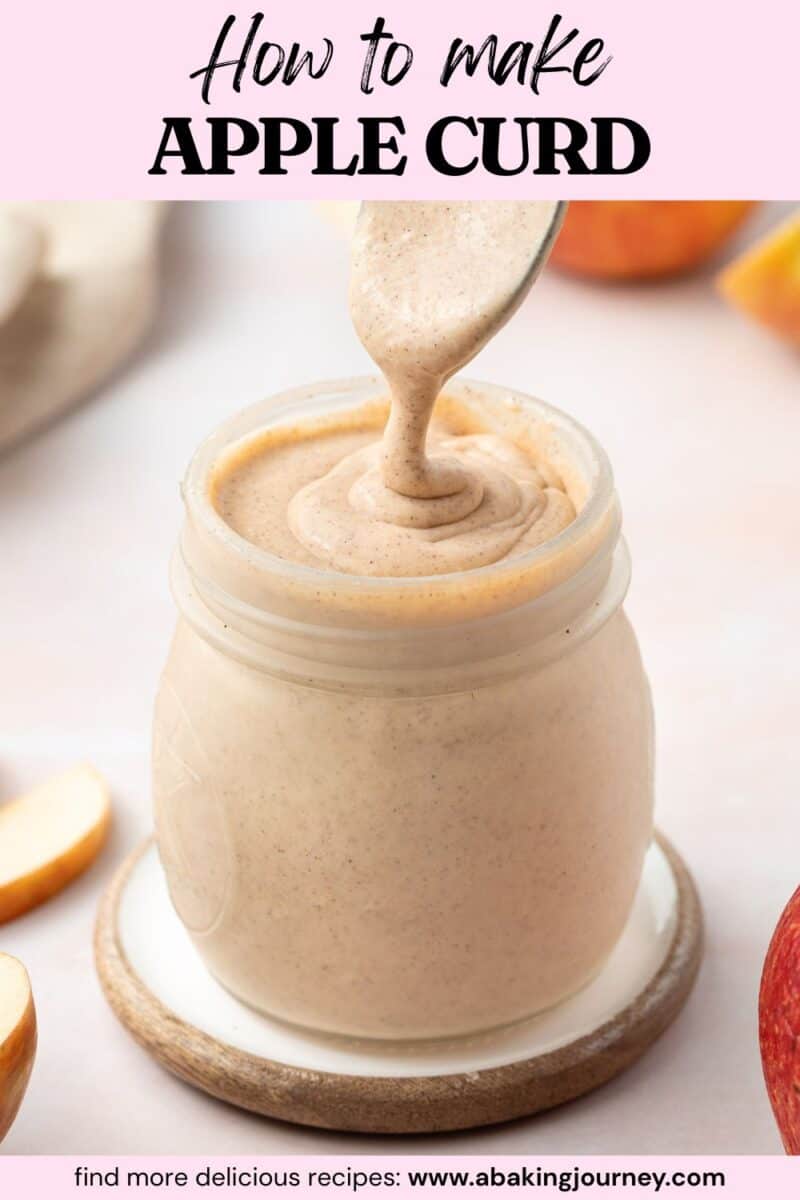
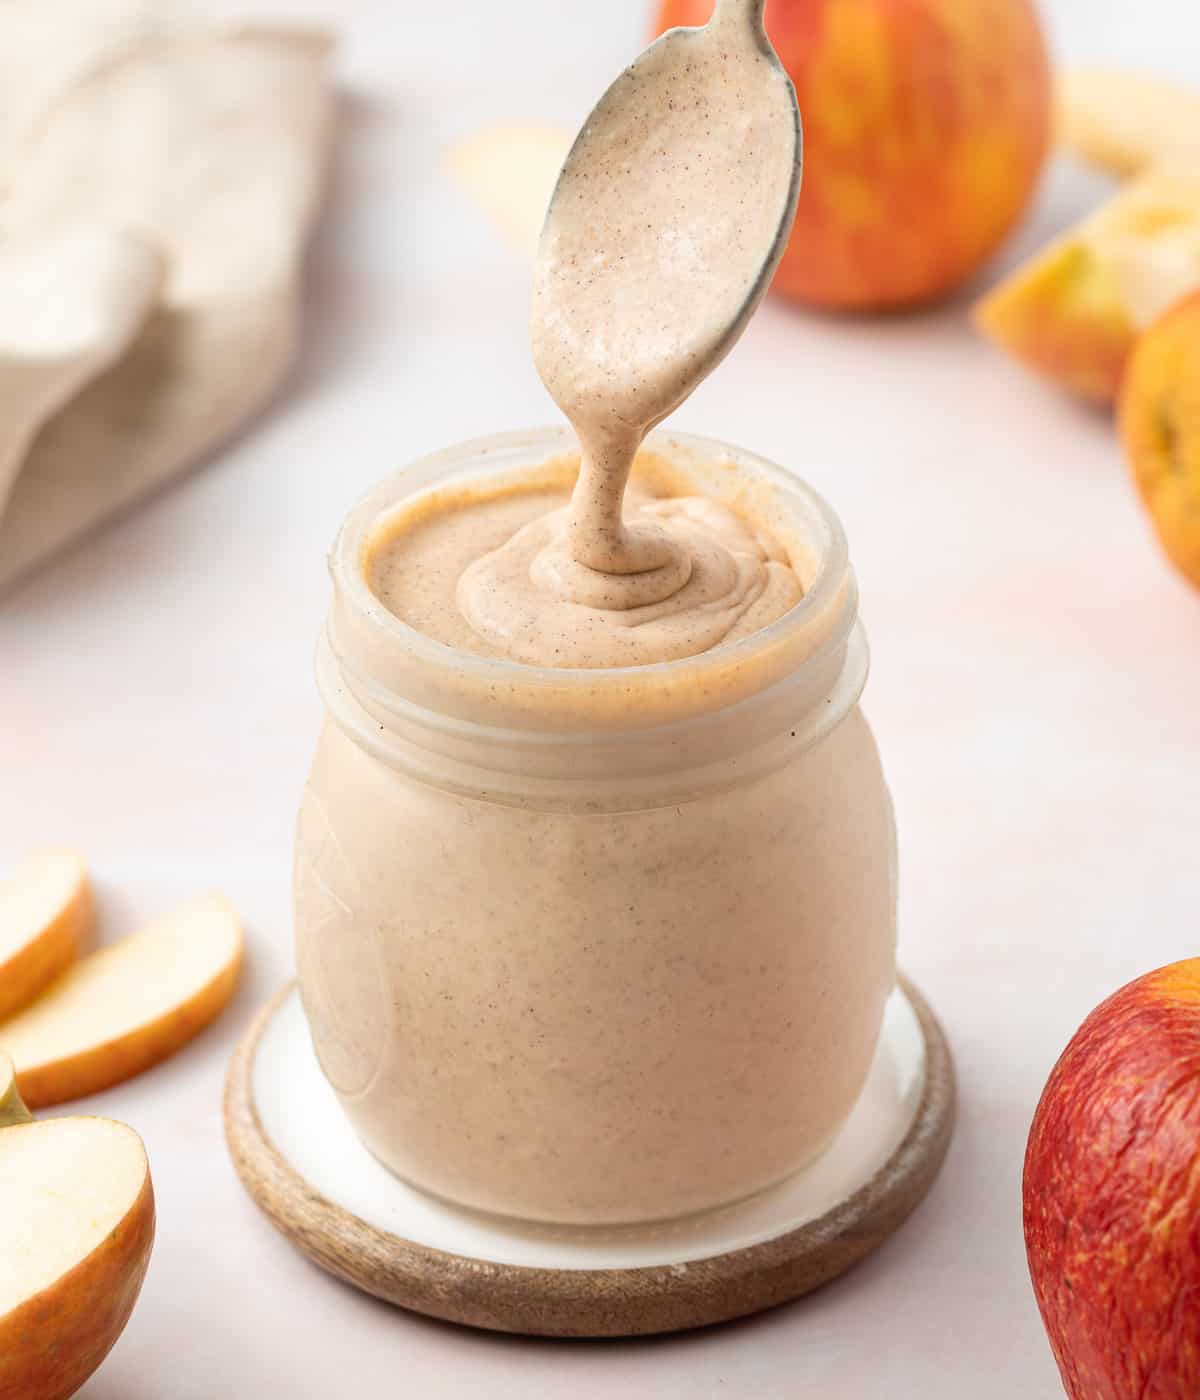
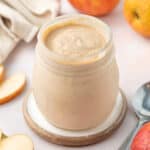
This easy apple curd made with apple juice is a deliciously creamy and luscious spread that is perfect as a breakfast topping or cake filling. It is packed with apple flavours and a touch of cinnamon.

Jump to:
Why we love this recipe
This easy apple curd recipe creates a smooth, silky and flavourful spread that is perfect over toast, scones, waffles and pancakes - or to use as a tart and cake filling.
This recipe simply uses apple juice to create the delicious curd. No need to blend or cook whole apples here! The light touch of cinnamon gives this curd a deliciously comforting aroma and flavour.
This recipe is simple to make and results is a super versatile, tasty and original fruit curd. If you love applesauce or apple butter, you will love this apple curd!
Ingredients

Scroll down to recipe card below for all quantities
What is apple curd made of:
- Apple Juice: no need to blend whole apples here, we are only using the juice! You can juice your own apples or simply use store-bought apple juice as long as it is 100% apples with no added sugar.
- Eggs: large egg yolks, at room temperature. If too cold, the eggs might curdle when you start cooking them. You can keep the egg whites to make Financiers for example.
- Lemon Juice: to help balance the sweet flavours of the apple as well as stabilise the curd. You can add some lemon zest once the curd has cooked for a tangier finish.
- Brown Sugar: you can use either light or dark brown sugar, it's up to you! The recipe will work with caster or granulated sugar as well, but the stronger flavour of brown sugar works really well with apples.
- Cinnamon: optional, but a great way to boost the flavours of the curd. You could also add any of your preferred spices in addition to the cinnamon such as ginger, nutmeg or cloves.
- Butter: unsalted butter, at room temperature (but not too soft) and cut into cubes.
Optional Additions
- Cornstarch: if you want a thicker apple curd (to use as a cake filling for example), you can add a little bit of cornstarch to thicken the curd.
- Salt / Vanilla Extract: they are both flavour enhancers.
How to make Apple Curd step by step
If you are making your own apple juice, start by juicing the apples. Use the liquid only but keep the leftover pulp to make applesauce for example.
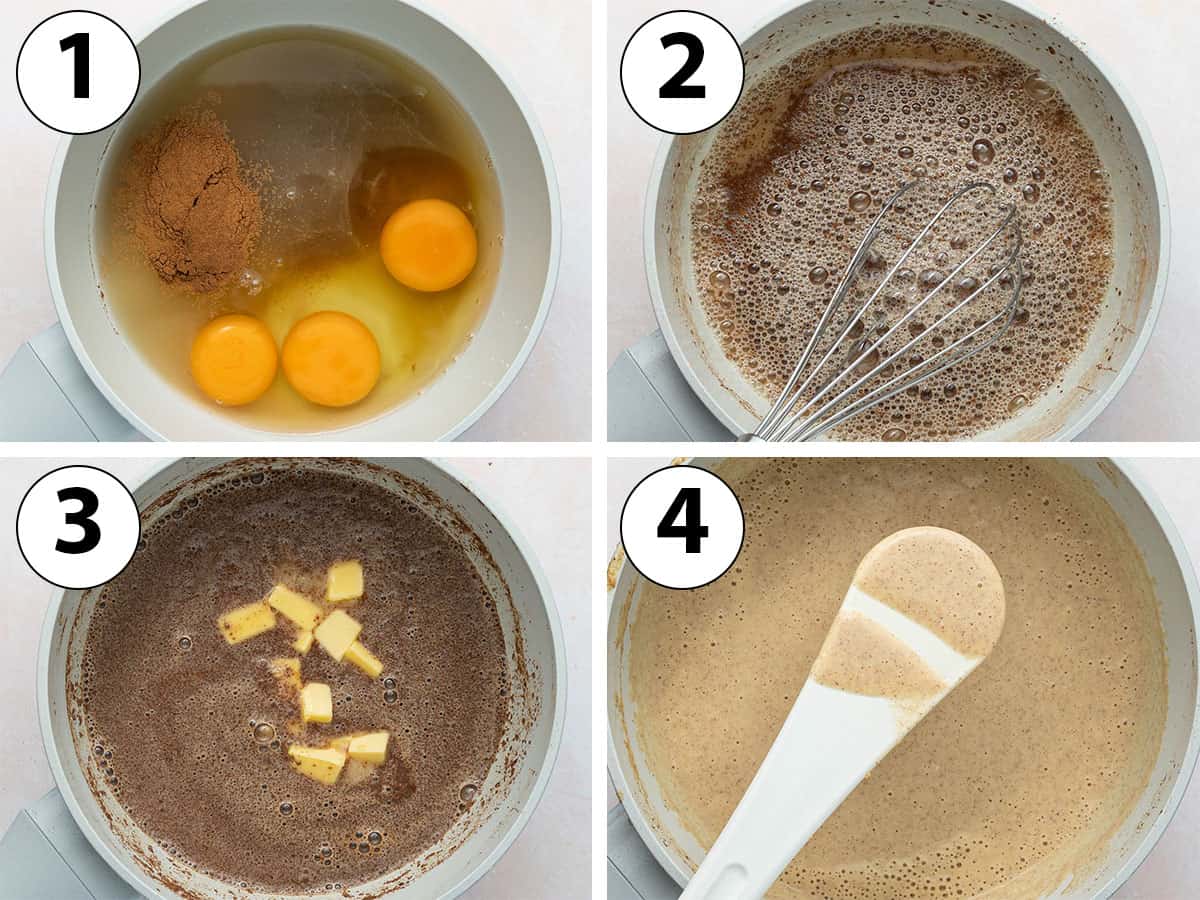
- Photo 1: Place the apple juice, lemon juice, egg yolks, sugar and cinnamon in a non-reactive, heavy based saucepan.
Avoid metal or aluminium saucepan that can react to the lemon juice and give your curd a metallic taste. The cooking time can vary based on the size of your saucepan but as a reference, I used a medium saucepan.
- Photo 2: Whisk until combined, then place on the stove. Turn on low heat and cook for 3 to 4 minutes, continuously stirring with a heat-proof spatula or wooden spoon. The sugar should have completely dissolved and the apple mixture should start to thicken very slightly.
Would you like to save this recipe?
Make sure not to keep the temperature on very low or the eggs will cook too quickly and start to scramble, resulting in a curdle or lumpy curd. The curd should only simmer and never boil.
- Photo 3: Add the cubed butter a little bit at a time, stirring until completely melted in the mixture before adding more.
- Photo 4: Once all the butter has been mixed in, continue to cook in the pot for another 5 to 8 minutes (more or less depending on the heat and size of saucepan and heat of the stove). The curd should have thickened and coat the back of a spoon or spatula.
Ideally, use a kitchen thermometer to check if the curd is cooked; it is cooked when it reaches about 82 degrees Celsius (180 degrees Fahrenheit).
- Optionally, pour the cooked apple curd through a fine mesh sieve to discard any lumps or bits of cooked eggs.
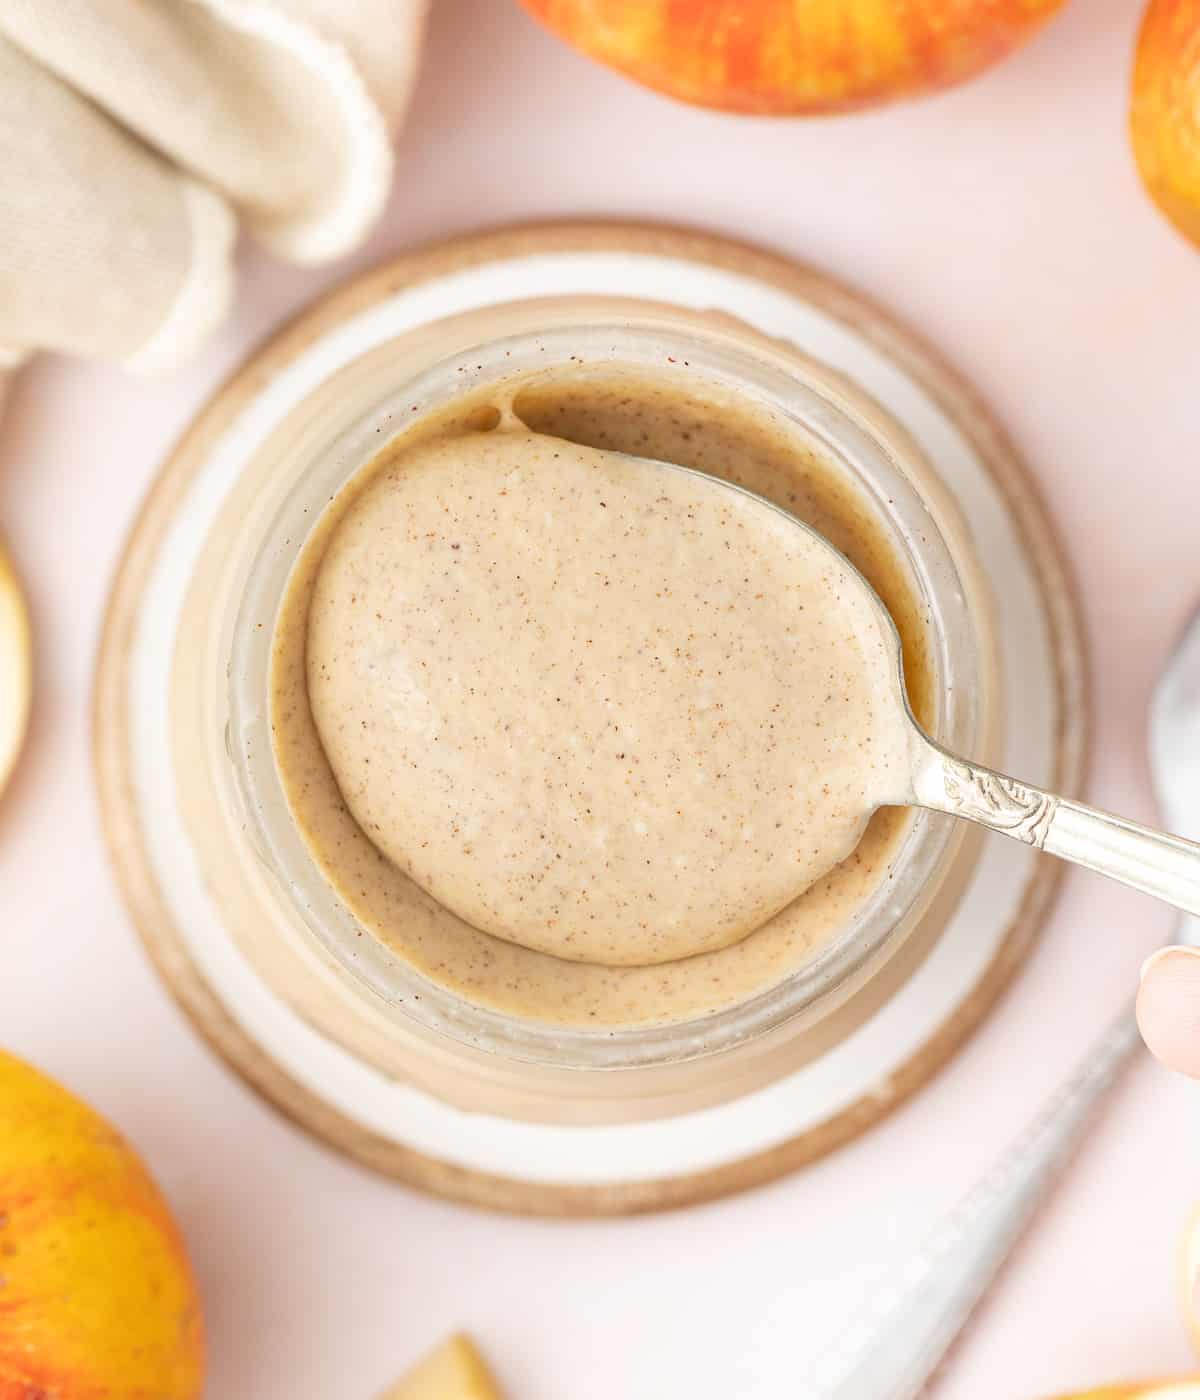
- Let the curd cool down slightly then transfer inside glass jars with lids or in an airtight container, covering the top of the curd with plastic wrap touching its surface.
- Place in the fridge to chill for at least 2 hours, preferably overnight. The curd will set as it chills. Keep in the fridge.
Recipe FAQs
An apple curd is like a traditional Lemon Curd - but the lemon juice is replaced with apple juice. It is a spread that is cooked on the stove and thickened with egg yolks and butter.
Applesauce is simply made from apples cooked on the stove with sugar and spices then blended (or kept chunky). Apple butter is a more concentrated version of apple sauce.
If you are going to juice your own apples, you can really play with the flavours by picking the right variety.
A granny smith apple will give you a tangier, fresher curd while a gala, golden delicious or pink lady apple will create a sweeter taste.
If you want a thicker texture and richer taste, you can substitute the apple juice with a homemade apple compote or apple puree.
Peel, core and slowly cook your apples with a little bit of water in a saucepan until very soft, then use a blender of food processor to turn it into a smooth sauce. Optionally, pour it through a fine mesh sieve to smooth it out even more.
Yes, but make sure to use an apple juice that only contains apple with no added sugar.
Tips & Troubleshooting
How to tell a curd is cooked: there are two methods to check if a curd is done cooking:
- Check the temperature with a kitchen thermometer; it needs to reach 82 to 84 degrees Celsius (180 to 183 degrees Fahrenheit).
- Dip the back of a spoon or spatula in the curd, draw a line with a finger (be careful, it will be hot) and tip it down. If the curd looks liquid and runs over the clear line, it's not ready. If the curd looks thick and the line stays clear, it's ready.
How to thicken a curd: making curd can be a long process because we are working with a very low heat to slowly cook the egg yolks that will make the sauce thicken. When cooked properly, it should thicken on its own and will also continue to thicken while it chills in the fridge.
Why did my apple curd curdle? This can happen if the heat is too high which cooks the egg yolks too quickly, making them scramble. The curd should only ever go as high as a simmer.
How to fix a lumpy curd? If you curd has curdle and is lumpy, start by pouring it through a fine mesh sieve or strainer to remove small bits of cooked eggs. If still lumpy, use an immersion blender to smooth it out.
Serving Suggestion
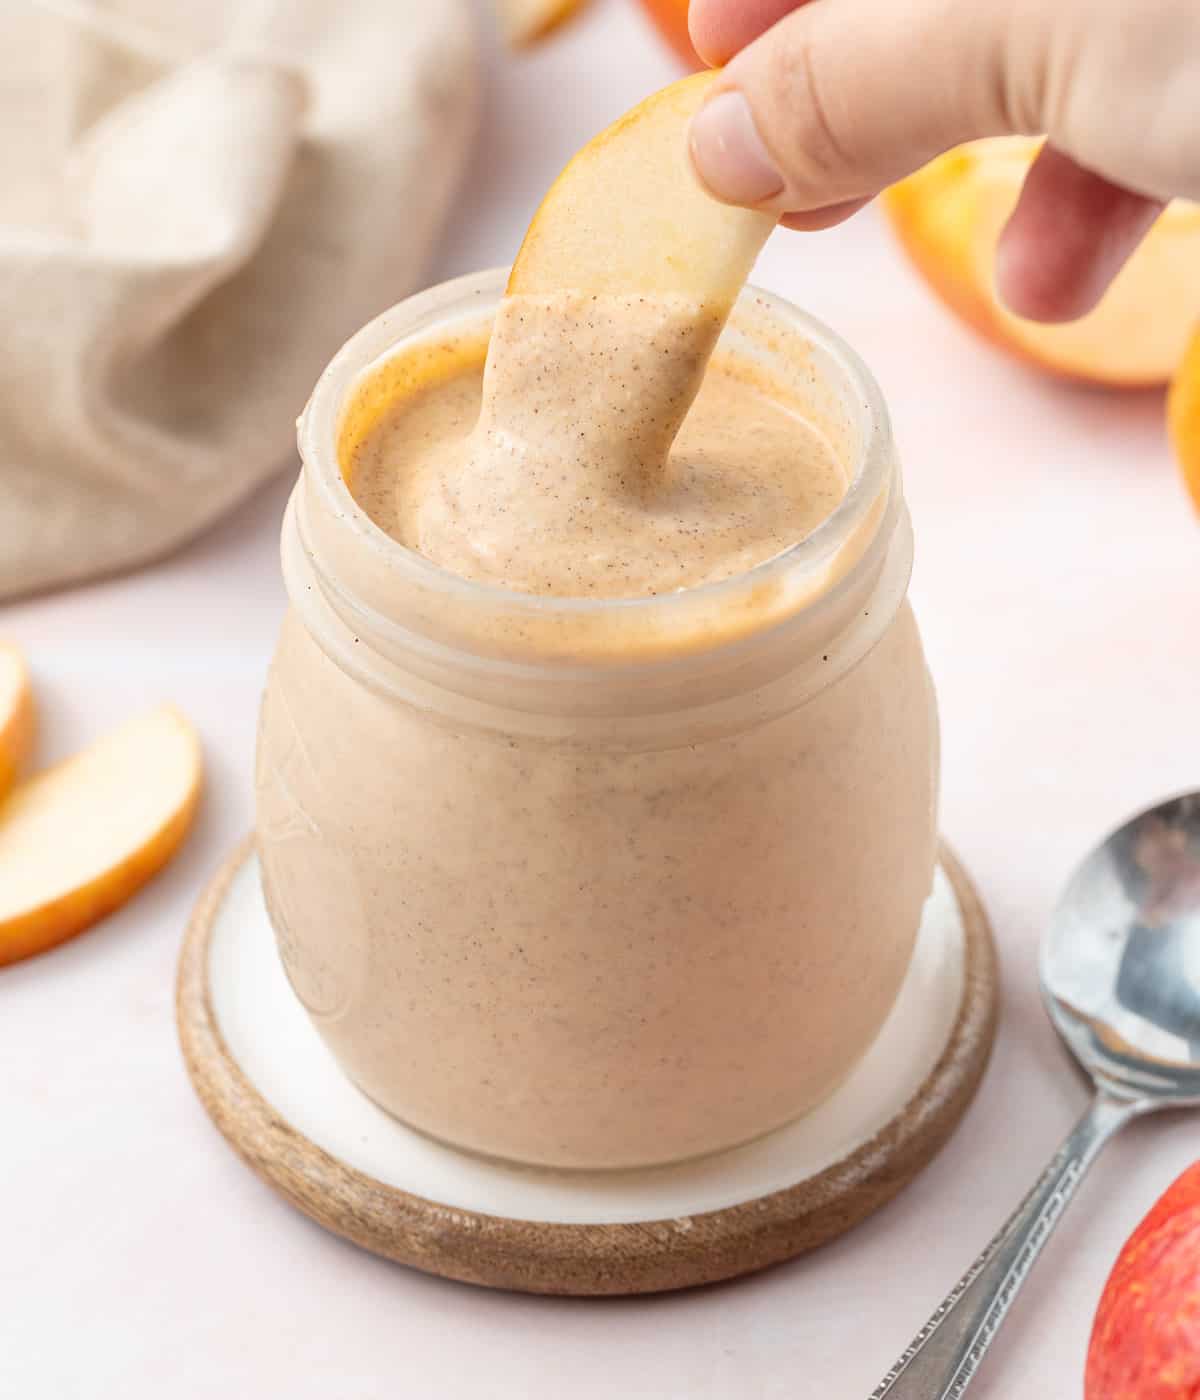
This fresh apple curd can be used in so many delicious different ways:
- Spread over pancakes, french toast, crepes, muffins, waffles, biscuits, scones, yogurt, ice cream,...
- Used as a cake filling or topping like over my Applesauce Crumb Cake, inside pastries, tart shells or as macaron filling.
- On its own as a delicious dessert or simply spread over toast!
Storing & Freezing
The apple curd should be kept in the fridge, either stored in an airtight container or in a sealed jar. The curd is best eaten within a week for flavour and freshness. I don't recommend freezing this curd.
I personally don't have any experience with canning / preserving. You should use a recipe that will give you specific instructions if you wanted to preserve the curd.
More Fruit Curds
Recipe
Easy Apple Curd
Ingredients
- 180 ml (3/4 cup) Apple Juice
- 3 large Egg Yolks
- 30 gr (2 1/2 tablespoons) Brown Sugar
- 15 ml (1 tablespoon) Lemon Juice
- 1 teaspoon Ground Cinnamon, optional
- 90 gr (6 tablespoons) Unsalted Butter
Instructions
- If you are making your own apple juice, start by juicing the apples and keep the liquid only.
- Place the apple juice, egg yolks, sugar, lemon juice and cinnamon in a non-reactive, heavy based medium saucepan. Whisk until combined.
- Turn on low heat and cook for 3 to 4 minutes, continuously stirring with a heat-proof spatula or wooden spoon. The sugar should have completely dissolved and the apple mixture should start to thicken very slightly (see note 1).
- Add the cubed butter a little bit at a time, stirring until completely melted in the mixture before adding more. Once all the butter has been mixed in, continue to cook in the pot for another 5 to 8 minutes (more or less depending on the heat and size of saucepan and heat of the stove). The curd should have thickened and coat the back of a spoon or spatula (see note 2).
- Optionally, pour the cooked apple curd through a fine mesh sieve to discard any lumps or bits of cooked eggs.
- Let the curd cool down slightly then transfer inside glass jars with lids or in an airtight container, covering the top of the curd with plastic wrap touching its surface. Place in the fridge to chill for at least 2 hours, preferably overnight. The curd will continue to set as it chills. Keep in the fridge.
Would you like to save this recipe?
Notes
- Make sure not to keep the temperature on very low or the eggs will cook too quickly and start to scramble, resulting in a curdle or lumpy curd. The curd should only simmer and never boil.
- Ideally, use a kitchen thermometer to check if the curd is cooked; it is cooked when it reaches about 82 degrees Celsius (180 degrees Fahrenheit).


Comments
No Comments