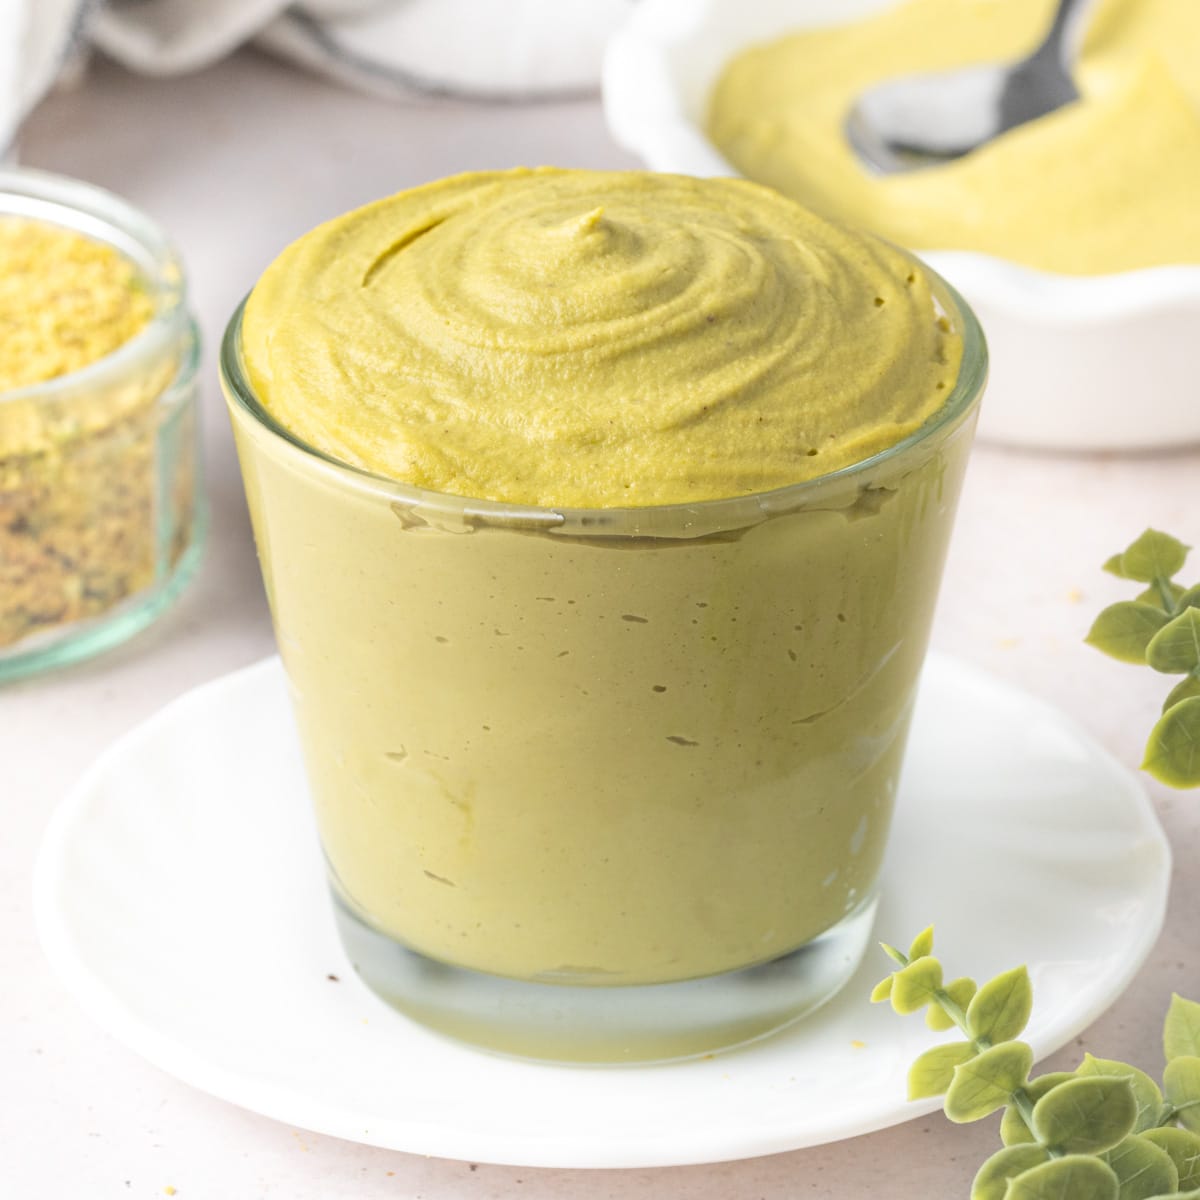
This pistachio paste is super easy to make with one ingredient only. It is an amazingly colourful and tasty paste that can be use to flavour your favourite creams, desserts, cakes, pastries and more!
Jump to:
Why we love this recipe
If you love pistachios in desserts, this pistachio paste recipe is a must-try! It is ridiculously easy to make and extremely versatile. It will bring a delicious, fresh pistachio taste to your favourite cream fillings, buttercreams, ice cream, cakes, cheesecakes and desserts!
Ingredients
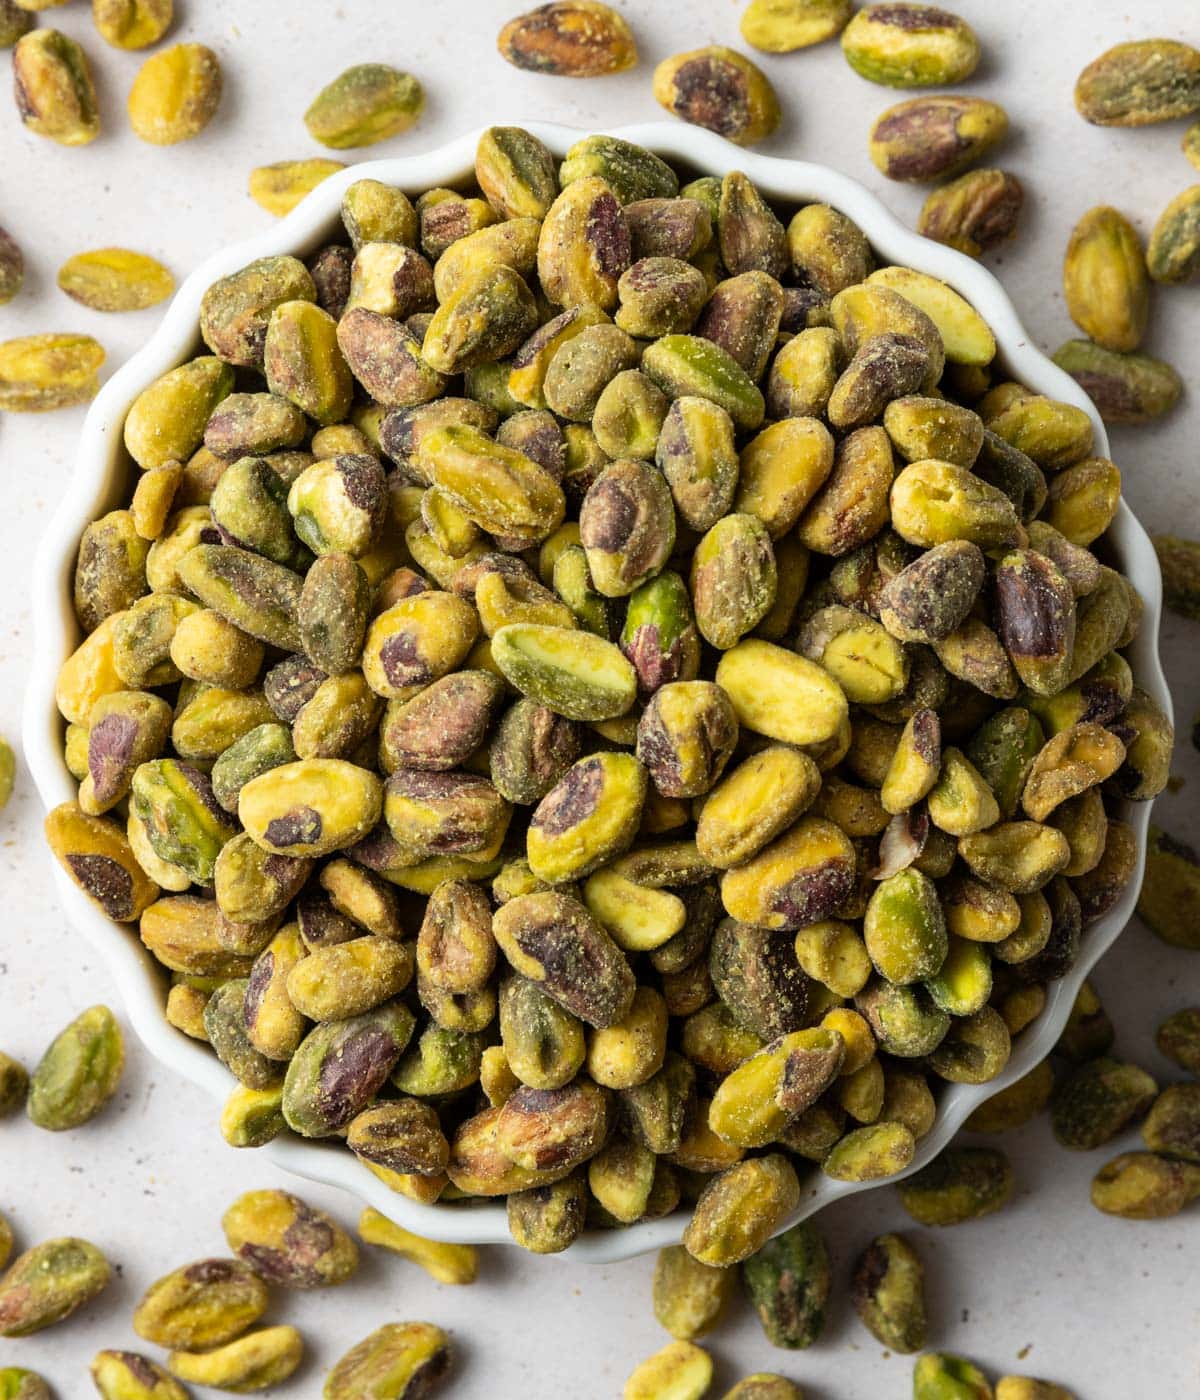
Scroll down to recipe card below for all quantities
What is Pistachio Paste made of:
- Raw Pistachio: unsalted pistachios, preferably shelled for convenience. Even better if they are already peeled! Slivered Pistachios will work too. You can use toasted or roasted pistachios too as long as they are unsalted / unflavoured - but you will usually get a paste that is less vibrant in colour.
Like often in baking, the final taste will be highly influenced by the quality of the product you use. Using good quality pistachios will give you the best results, although they can be expensive.
- Water: optional, if required. Depending on the consistency of pistachio paste you are after and how well your food processor blends the nuts into a paste, you might need to add a little bit of water to thin it out.
Optional Addition and Variation
- Sugar: for a sweetened version, you can add a little bit of Powdered Sugar while blending the nuts.
- Salt: a pinch of fine table salt or flaky sea salt will bring out the flavours of the pistachio.
- Flavouring: add some Vanilla Extract, Citrus Zest (I personally love the addition of lime zest here!), Almond Extract, Orange Blossom Water or even Rose Water extract
How to make pistachio paste step-by-step
1. Blanching the Pistachios
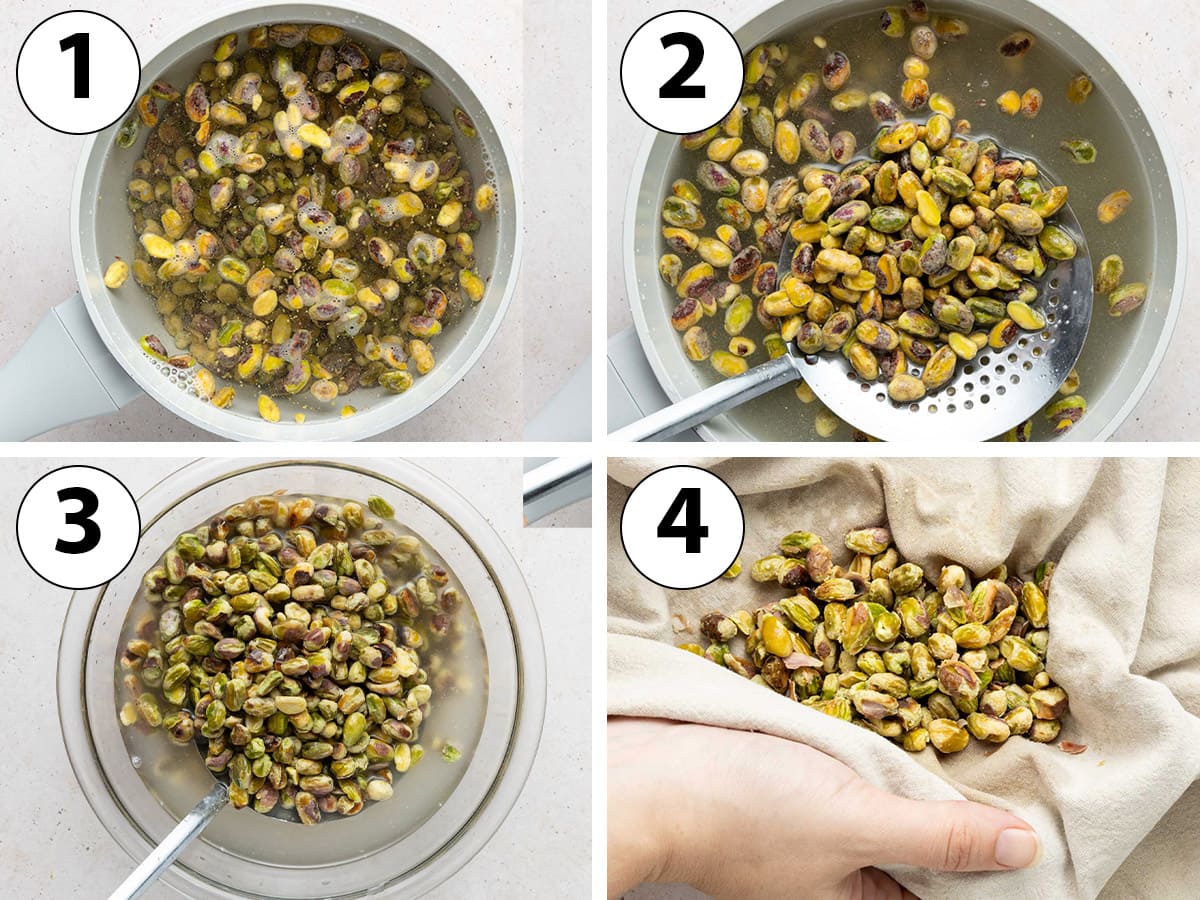
This first step of instructions is blanching the nuts. It serves two purposes: easily remove the skin of the pistachios and lightly soften the nuts to help blend them more easily.
- Prepare a large bowl with icy water (either some very cold water straight from the fridge or tap water with a few ice cubes in it).
- Photo 1: Pour some water into a small saucepan, turn on medium heat and bring to a boil. Add the shelled pistachios and allow to cook for 30 seconds to 1 minute.
- Photo 2: Using a slotted spoon, transfer the pistachio into the bowl with icy water. This step will allow to stop the cooking process straight away.
Alternatively, simply strain the pistachio through a thin mesh sieve then transfer into the bowl of icing water.
- Photo 3: Leave the pistachios in the cold water for a few minutes to fully stop the cooking.
- Photo 4: working in small batches, place the pistachios inside a clean kitchen towel and vigorously rub them few seconds. This will allow to detach the brown skin from the pistachios.
- Sort through the pistachio, discarding the peel and keeping the skinned pistachio only. You might need to change the kitchen towel to a fresh one if the first one is getting a bit dirty.
This step is a bit long and labour intensive but it's the only "hard" part of the recipe! You can skip the peeling process if preferred but keeping the skin will result in a pistachio paste that has a brown colour instead of a bright green one.
2. Blending the Pistachios
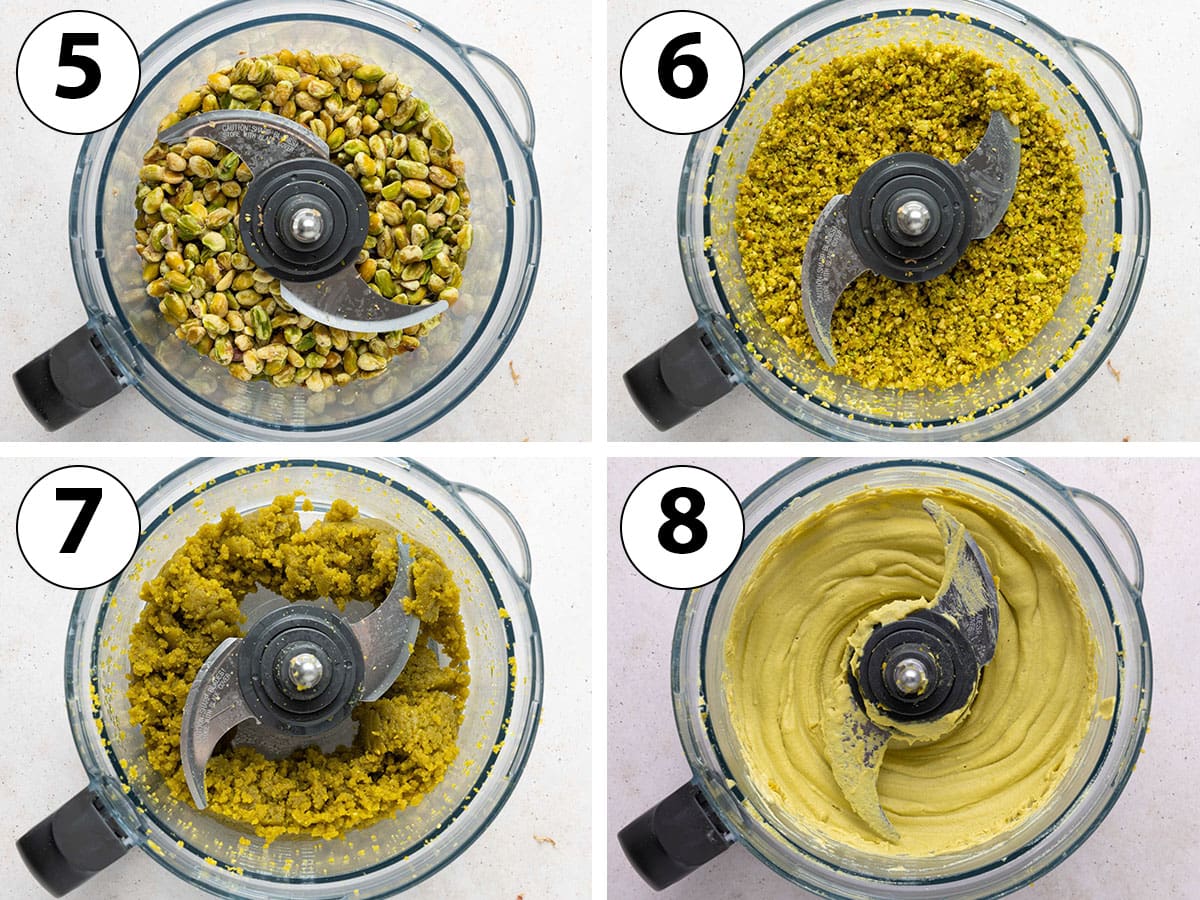
- Photo 5: Place the peeled pistachios in the bowl of your food processor. A pretty powerful food processor is required here - just like for making Praline Paste. Using a blender will not work unfortunately.
- Photo 6: Start blending on medium to high speed. After a couple of minutes, you should get a coarse powder with large chunks of pistachios.
- Photo 7: Continue to blend until the coarse powder starts to turn into a thick paste. The exact time can highly vary based on the strength of your food processor. Stop to scrape the bowl when required to make sure the nuts are blending evenly.
If it starts to overheat, stop the food processor and allow to cool down for a few minutes.
- If the pistachios aren't turning into a paste and remain quite gritty after 5 to 10 minutes of blending, you can add a little bit of water to help turn them into a paste. Only add a little bit of water at a time, about 1 tablespoon, and stop adding some as soon as the texture of the pistachio paste starts changing.
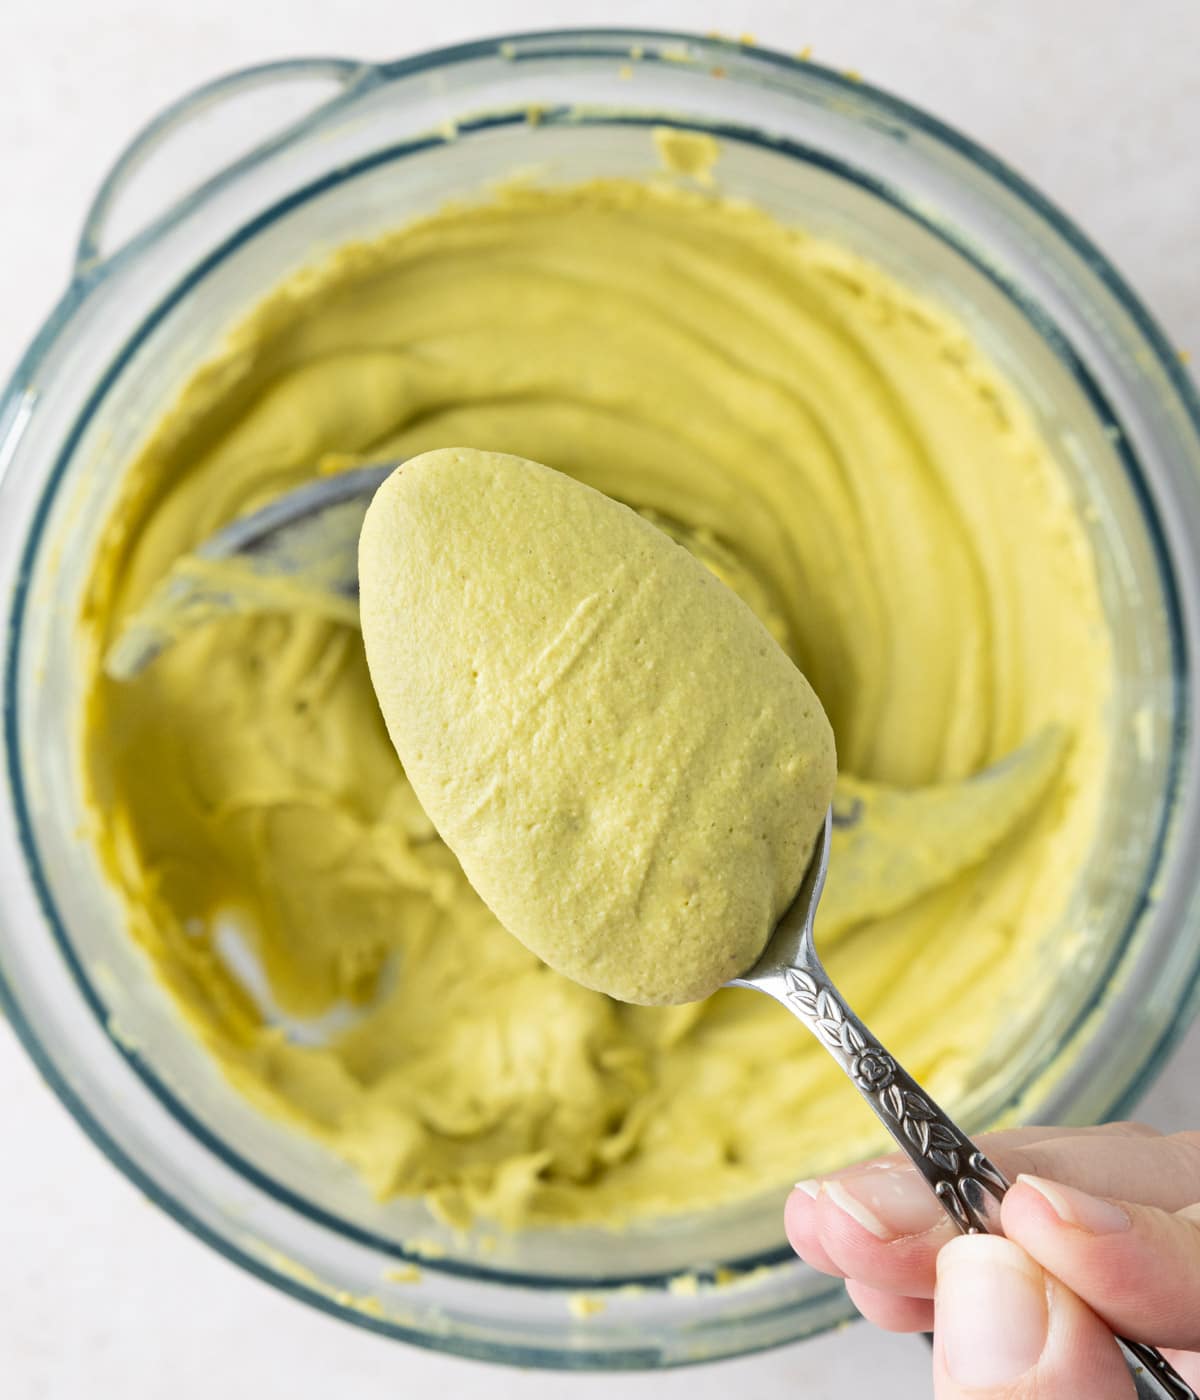
- Photo 8: Depending on the consistency and texture you are looking for, stop once you get a thick paste or continue to blend until it turns into a smooth paste.
Recipe FAQs
In most cases, pistachio paste and spread / butter are different.
Although it can vary with brands, pistachio butter and spread generally have extra ingredients added to them. That can include extra oil, sweetener or flavour enhancers used for taste or texture.
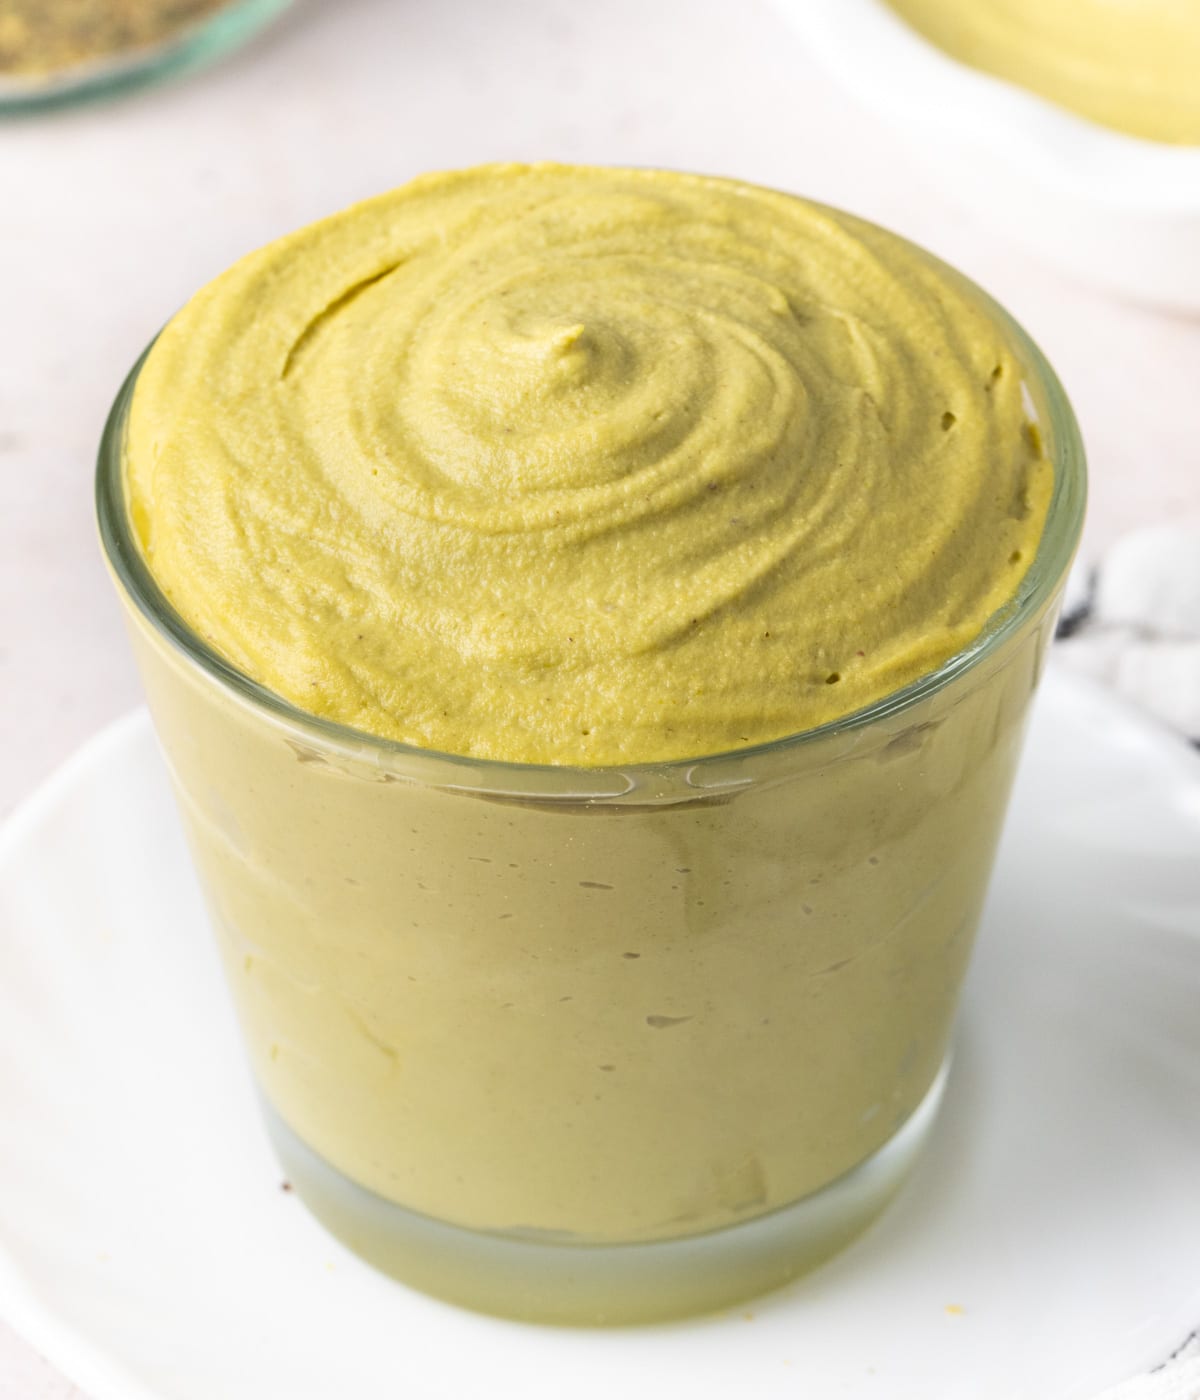
Pistachio Paste is made out of pure pistachios only (unless adding a little bit of water to help the blending process).
Yes, although it will affect the colour of the pistachio paste and how easily they turn into a paste in the food processor. Blanching not only help you remove the skin of the pistachio easily, it also soften them.
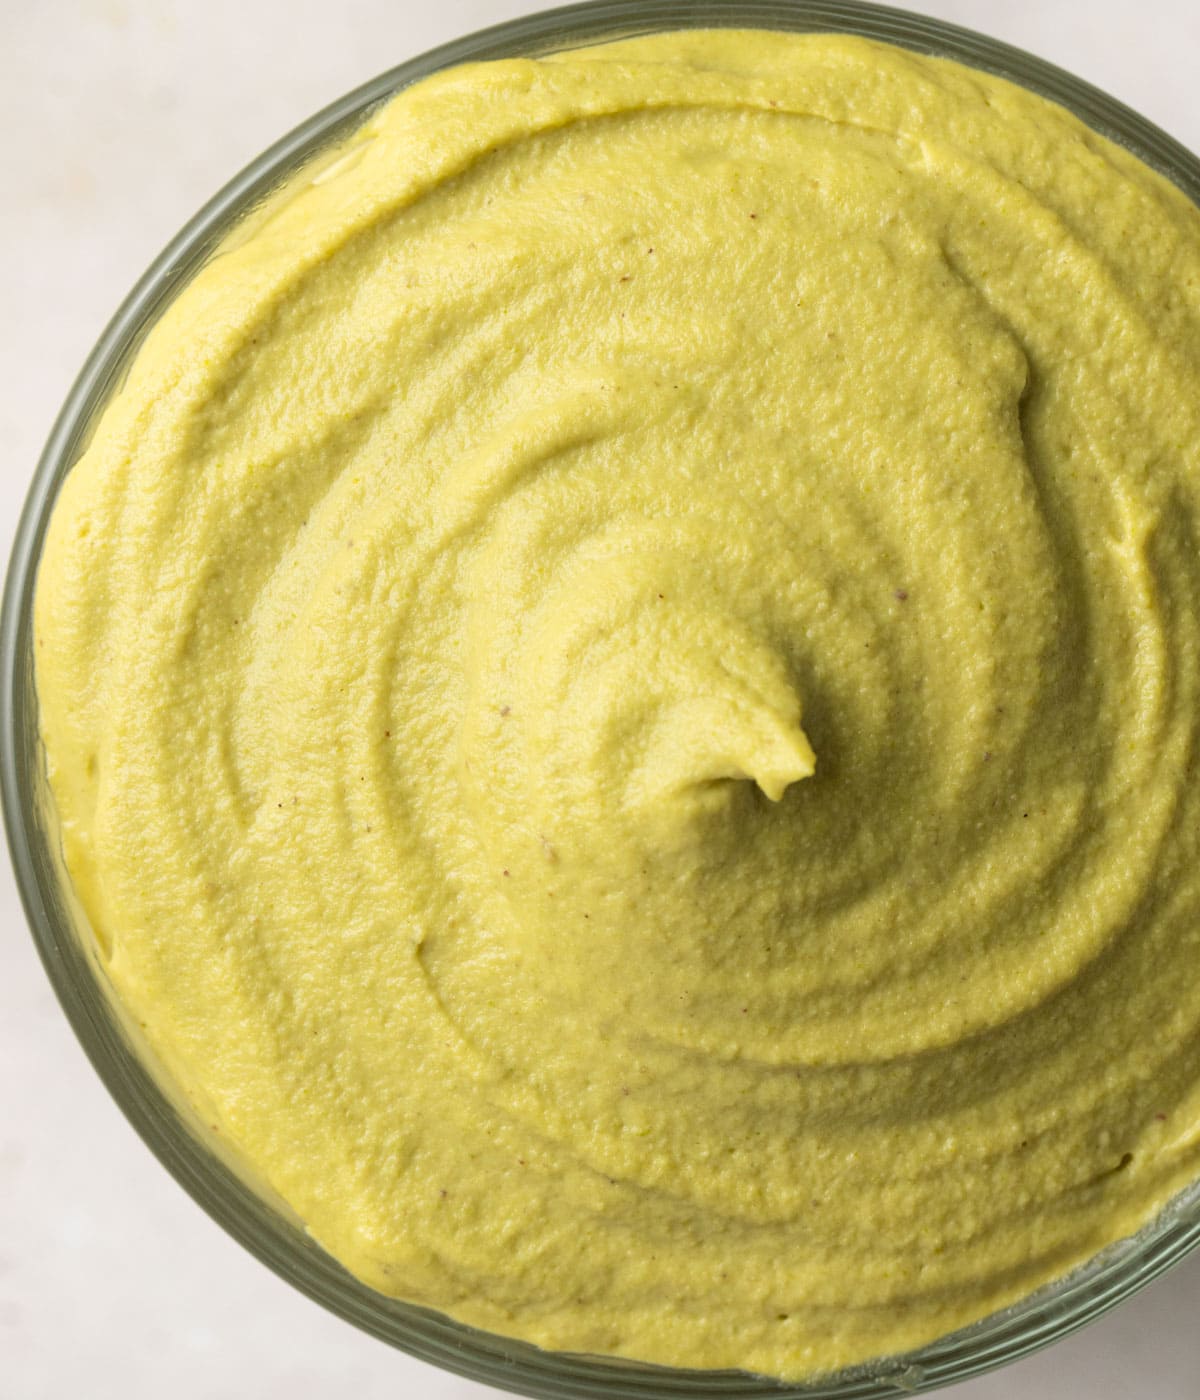
You can keep it on the coarser, thicker side or keep on blending (with extra water if required) if you are after a smoother paste. There is no right or wrong consistency when it comes to pistachio paste, it just depends on your preference and how you plan on using the paste!
Tips & Troubleshooting
- The skin isn't coming off the pistachios: blanching the nuts is an essential step to follow in order to peel the pistachios. If the skin isn't coming off at all, you might want to blanch the pistachios for a little bit longer. Working in small batches while rubbing them in the towel will also help the process.
- For a stronger flavour: roast the pistachios in the oven for 5 to 8 minutes on a flat baking tray. Toasting them will enhance their flavour, but note that it will also affect the colour of the paste.
- The pistachios won't turn into a paste: this could happen if the food processor you use isn't powerful enough. Adding a little bit of water (be careful not to add too much, only add a tablespoon at a time max) should help the blending process if required.
- Why is the colour dull? This could happen if you haven't removed the skin from the pistachios, are using roasted pistachios or simply depending on the origin and quality of the pistachio. Adding water to the paste will also slightly dull the colour.
How to use Pistachio Paste
What is pistachio paste used for:
- Make pistachio ice cream or pistachio gelato.
- Flavour cream, custard, buttercream and mousse like Pastry Cream, Diplomat Cream or Bavarian Cream.
- Use pure pistachio paste as an addition to choux pastries filling, macarons, drizzled over cakes or cheesecakes.
- Add to cakes and cookies batter to make pistachio cake, pistachio cheesecake or pistachio cookies!
Storing & Freezing
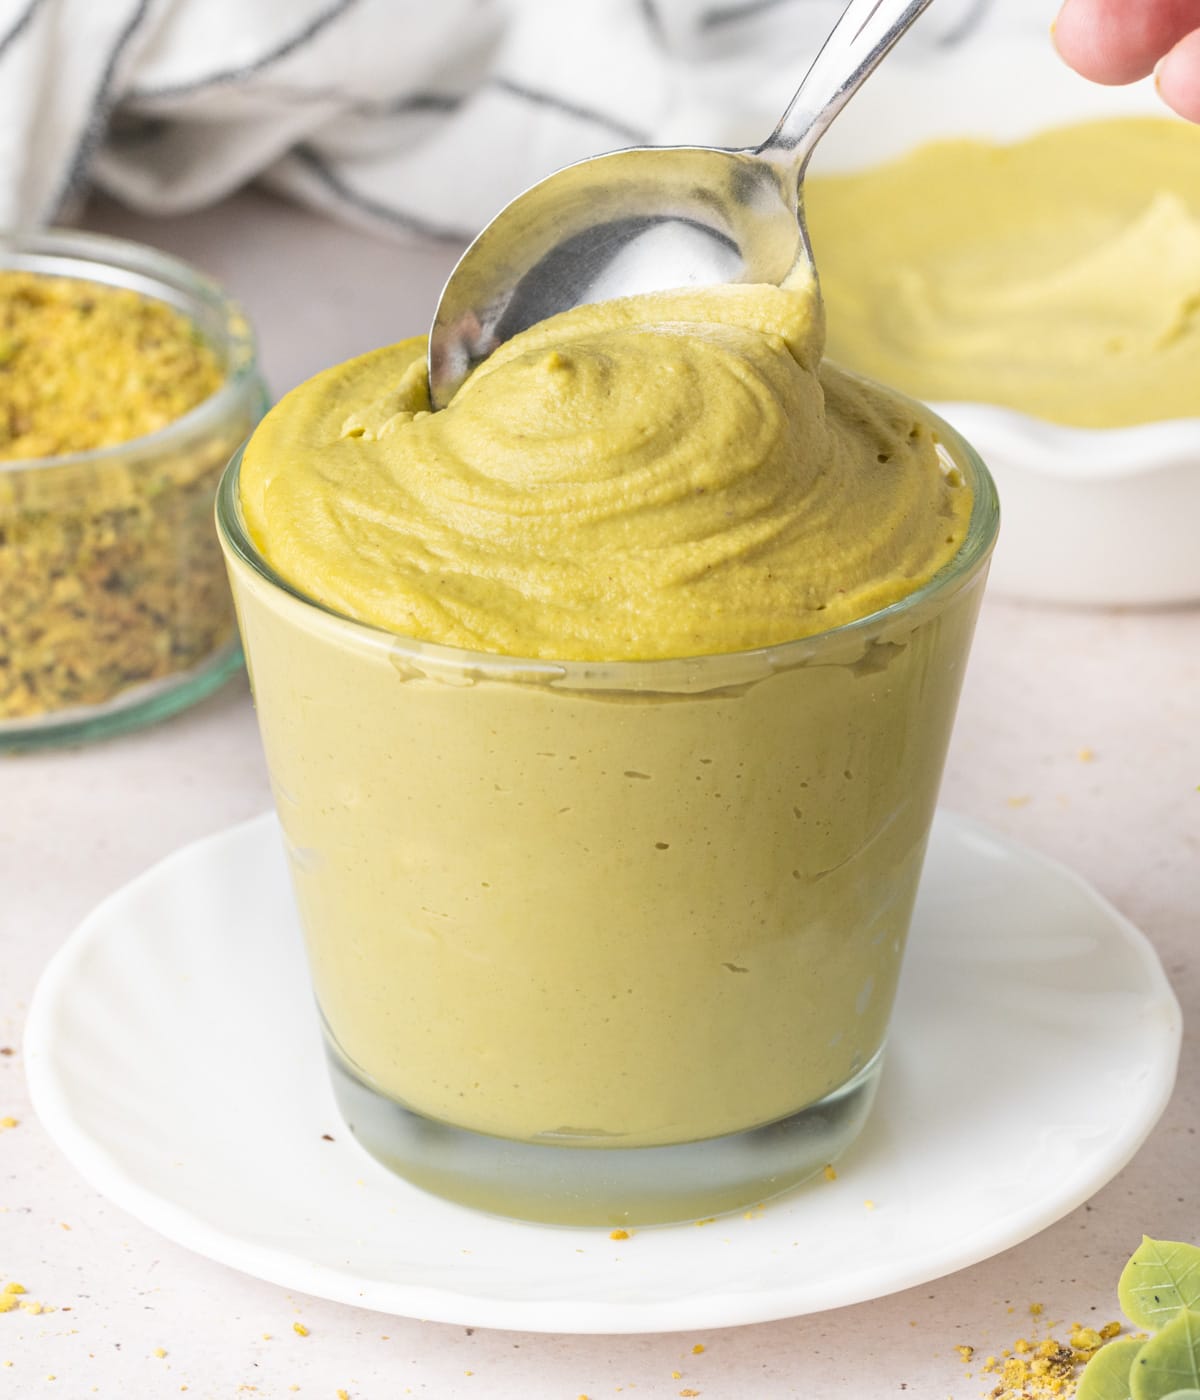
Once the pistachio paste is ready, transfer it into a clean jar or airtight container and keep it in the refrigerator. It is best used within a couple of weeks for optimal flavor. You can also keep it at room temperature for a couple of days.
Pistachio paste can also be frozen for up to three months.
More Basic Cream Recipes
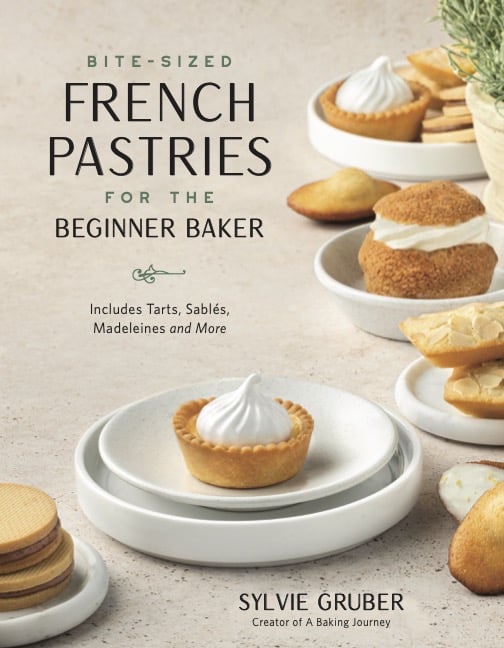
I am so excited to share that my debut cookbook
"Bite-Sized French Pastries for the Beginner Baker"
was released in December 2023!
Recipe

Pistachio Paste
Ingredients
- 200 gr Raw Pistachio - shelled
- Water (if required)
Disclaimer
I highly recommend using the measurements in grams & ml (instead of cups & spoons) for more accuracy and better results.
Instructions
1. Blanching & peeling pistachios
- Prepare a large bowl with icy water (either some very cold water straight from the fridge or tap water with a few ice cubes in it).
- Pour some water into a small saucepan, turn on medium heat and bring to a boil. Add the shelled pistachios and allow to cook for 30 seconds to 1 minute. Using a slotted spoon, transfer the pistachio into the bowl with icy water (see note 1). Leave the pistachios in the cold water for a few minutes to fully stop the cooking.
- Working in small batches, place the pistachios inside a clean kitchen towel and vigorously rub them few seconds to detach the skin from the pistachios. Sort through the pistachio, discarding the peel and keeping the skinned pistachio only (see note 2).Note: If using pre-peeled pistachios, you can skip this step.
2. Blending into a paste
- Place the peeled pistachios in the bowl of your food processor. Start blending on medium to high speed. After a couple of minutes, you should get a coarse powder with large chunks of pistachios.
- Continue to blend until the coarse powder starts to turn into a thick paste. The exact time can highly vary based on the strength of your food processor (see note 3). Stop to scrape the bowl when required to make sure the nuts are blending evenly.
- If the pistachios aren't turning into a paste and remain quite gritty after 5 to 10 minutes of blending, you can add a little bit of water to help turn them into a paste. Only add a little bit of water at a time, about 1 tablespoon, and stop adding some as soon as the texture of the pistachio paste starts changing.
- Depending on the consistency and texture you are looking for, stop once you get a thick paste or continue to blend until it turns into a smooth paste (the more water you add, the smoother it will get but the duller the colour of the paste and less strong of a flavour).
- Transfer it into a clean jar or airtight container and keep it in the refrigerator for up to two weeks for optimal flavour. Pistachio paste can also be frozen.
Tried this recipe? Make sure to leave a comment and star rating below!
Notes
- Alternatively, simply strain the pistachio through a thin mesh sieve then transfer into the bowl of icing water.
- You can skip the peeling process if preferred but keeping the skin will result in a pistachio paste that has a brown colour instead of a bright green one. You might need to change the kitchen towel to a fresh one if the first one is getting a bit dirty.
- If the food processor starts to overheat, stop for a few minutes to allow to cool down.
Nutrition
Made this recipe?
Let us know if you liked it by leaving a comment below, and tag us on Instagram @a.baking.journey with a photo of your creation!



Comments
No Comments