
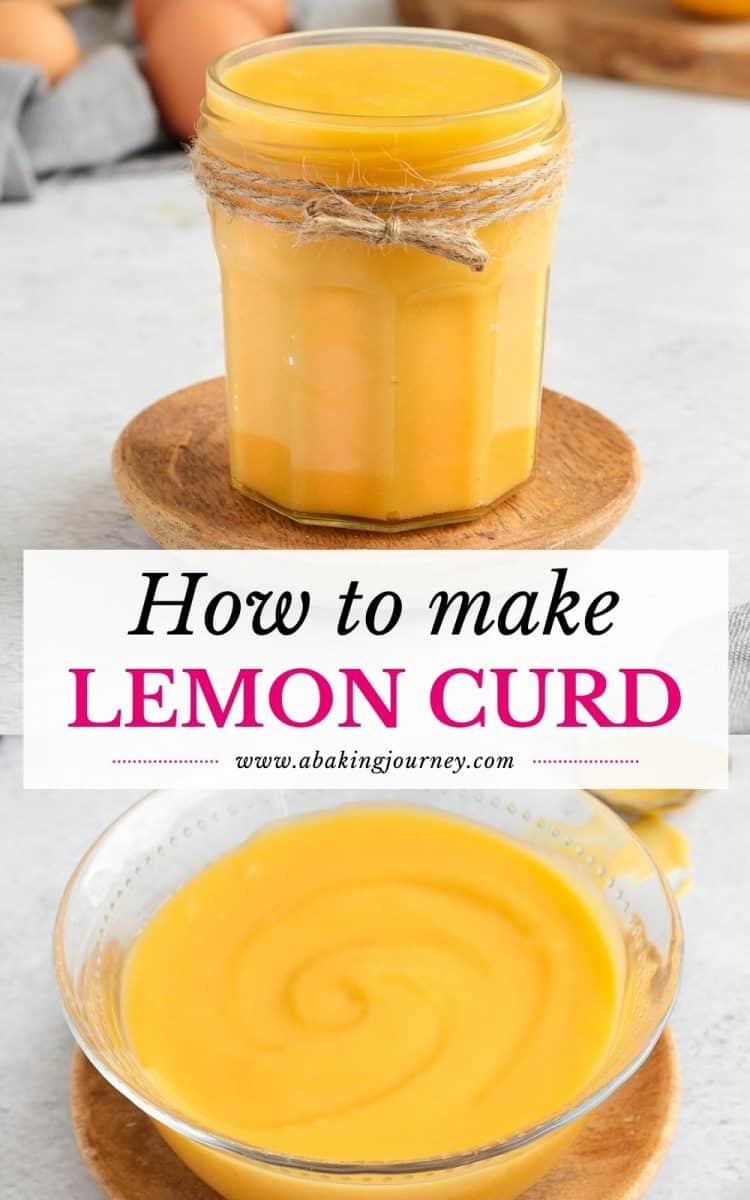
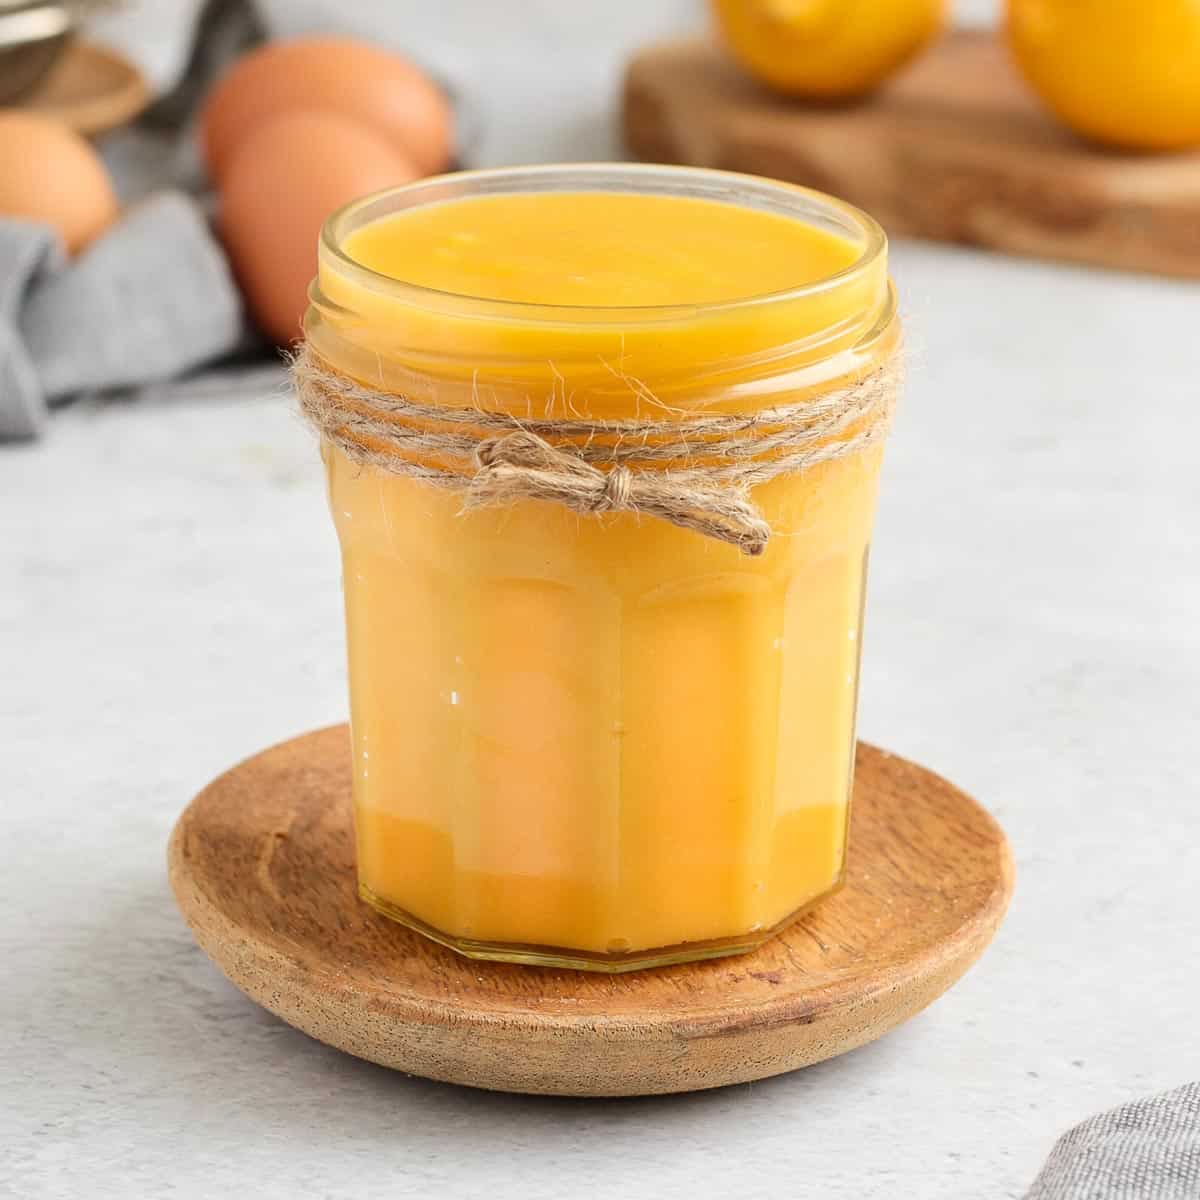
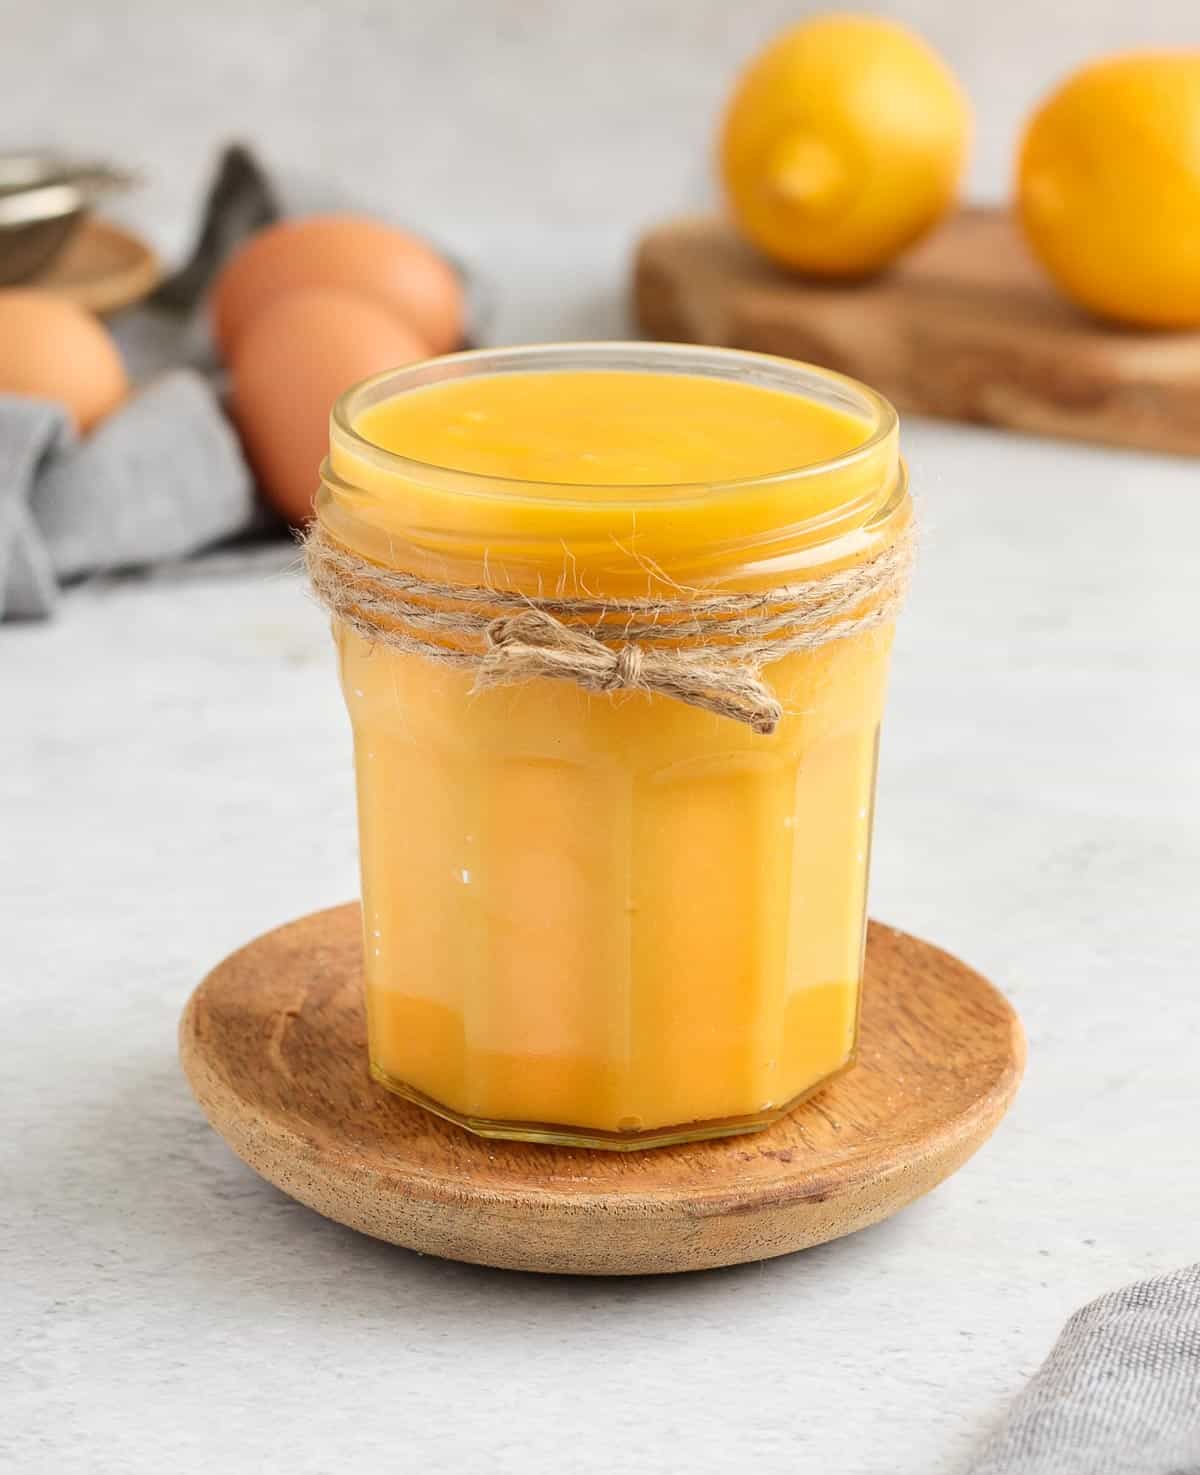
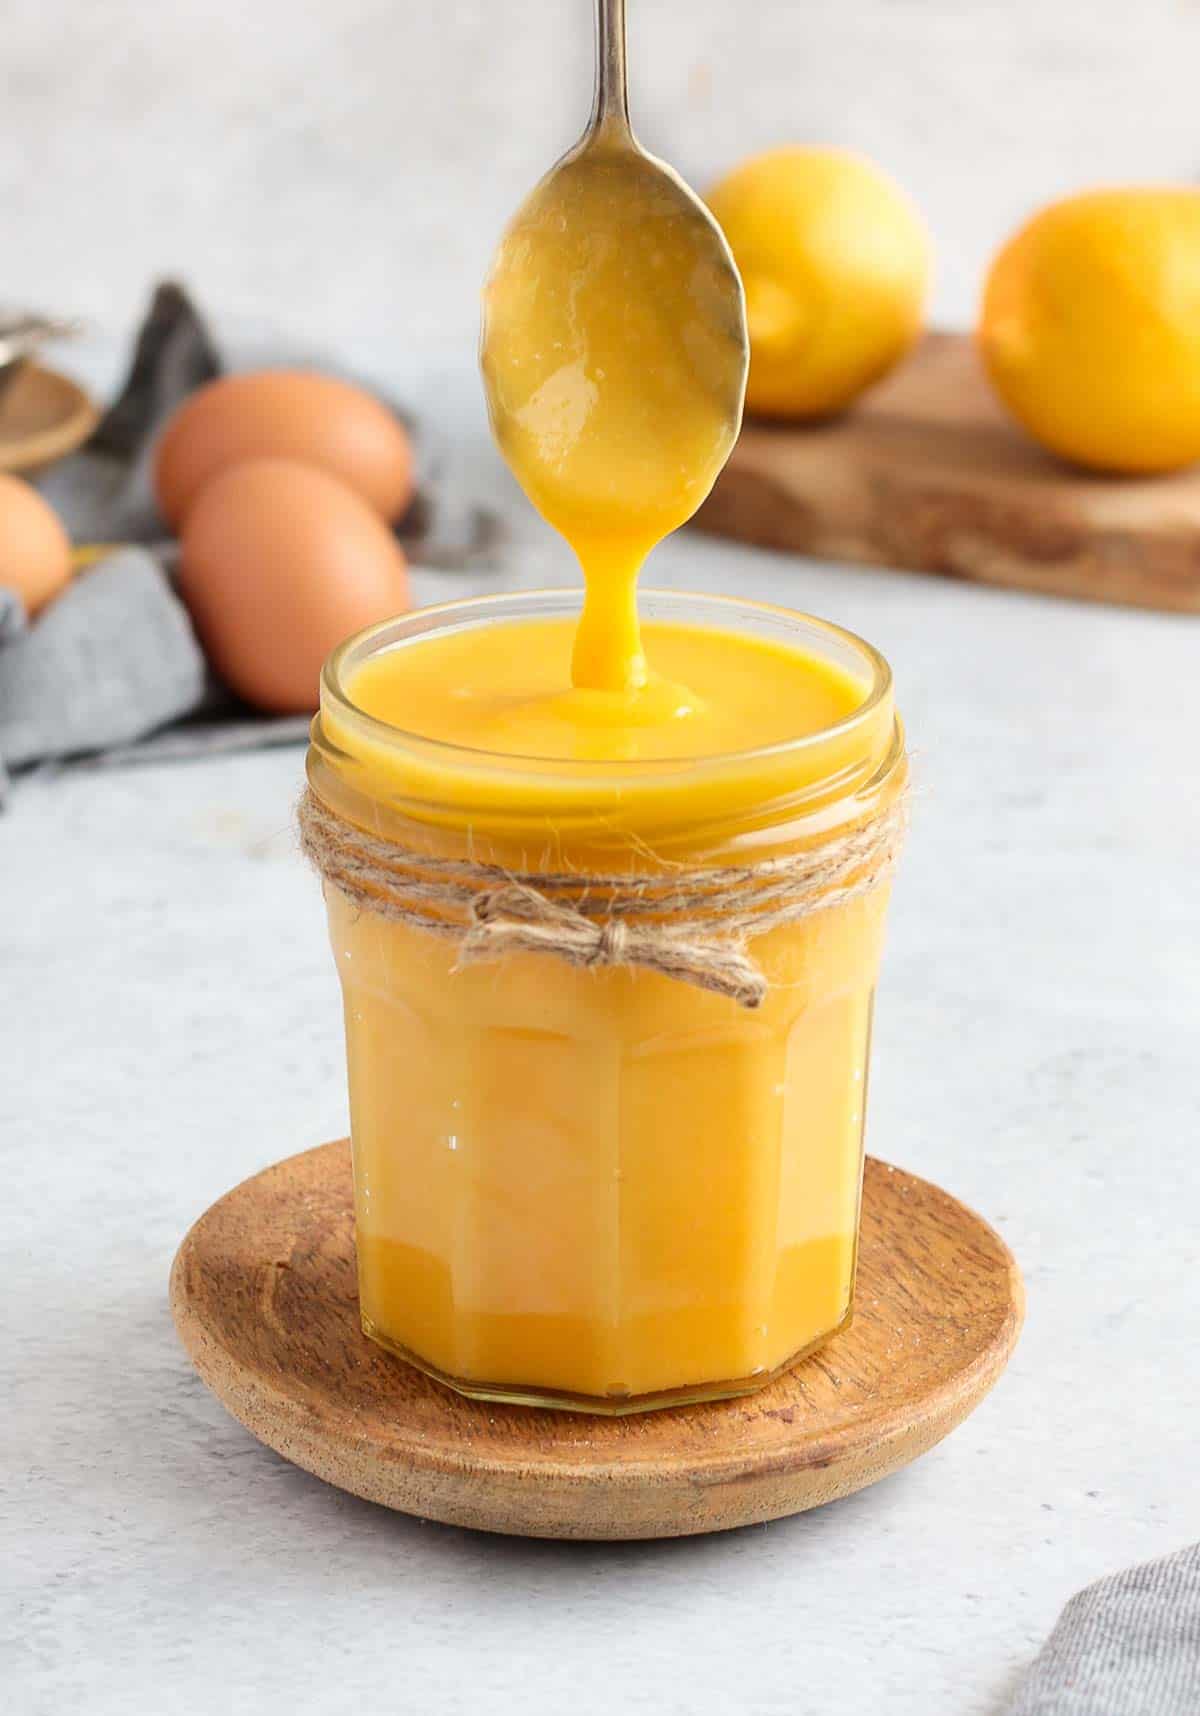
This Super Tangy Lemon Curd is a classic sweet spread that can be used in many delicious ways. Perfect to serve over pancakes, scones and desserts, as a cake filling or a cheesecake topping, you will want to keep a jar of this Low Sugar Lemon Curd in your fridge at all time!
Jump to:
Why we love this recipe
There is nothing more classic than a good old Lemon Curd - and it's a classic for a good reason: it is simply delicious and extremely versatile!
I know it is tempting to just grab a jar from your supermarket but you will be amazed at how quick and easy it is to make at home. Just like when making Orange Curd, Apple Curd, Mango Curd, Raspberry Curd or Passion Fruit Curd, you only need 4 ingredients, a pot and a whisk to make this recipe.
Making lemon curd from scratch is also such a great way to control the level of sweetness and sourness and make sure it fits your taste. I personally like it super tangy (it is lemon, after all!), so this low sugar version is perfect for me!
It is great as a cake, breakfast or dessert sauce, served over a slice of Lemon Ricotta Cake or drizzled over some Brioche French Toasts.
This spread can also be used to create delicious baked goods such as:
Ingredients
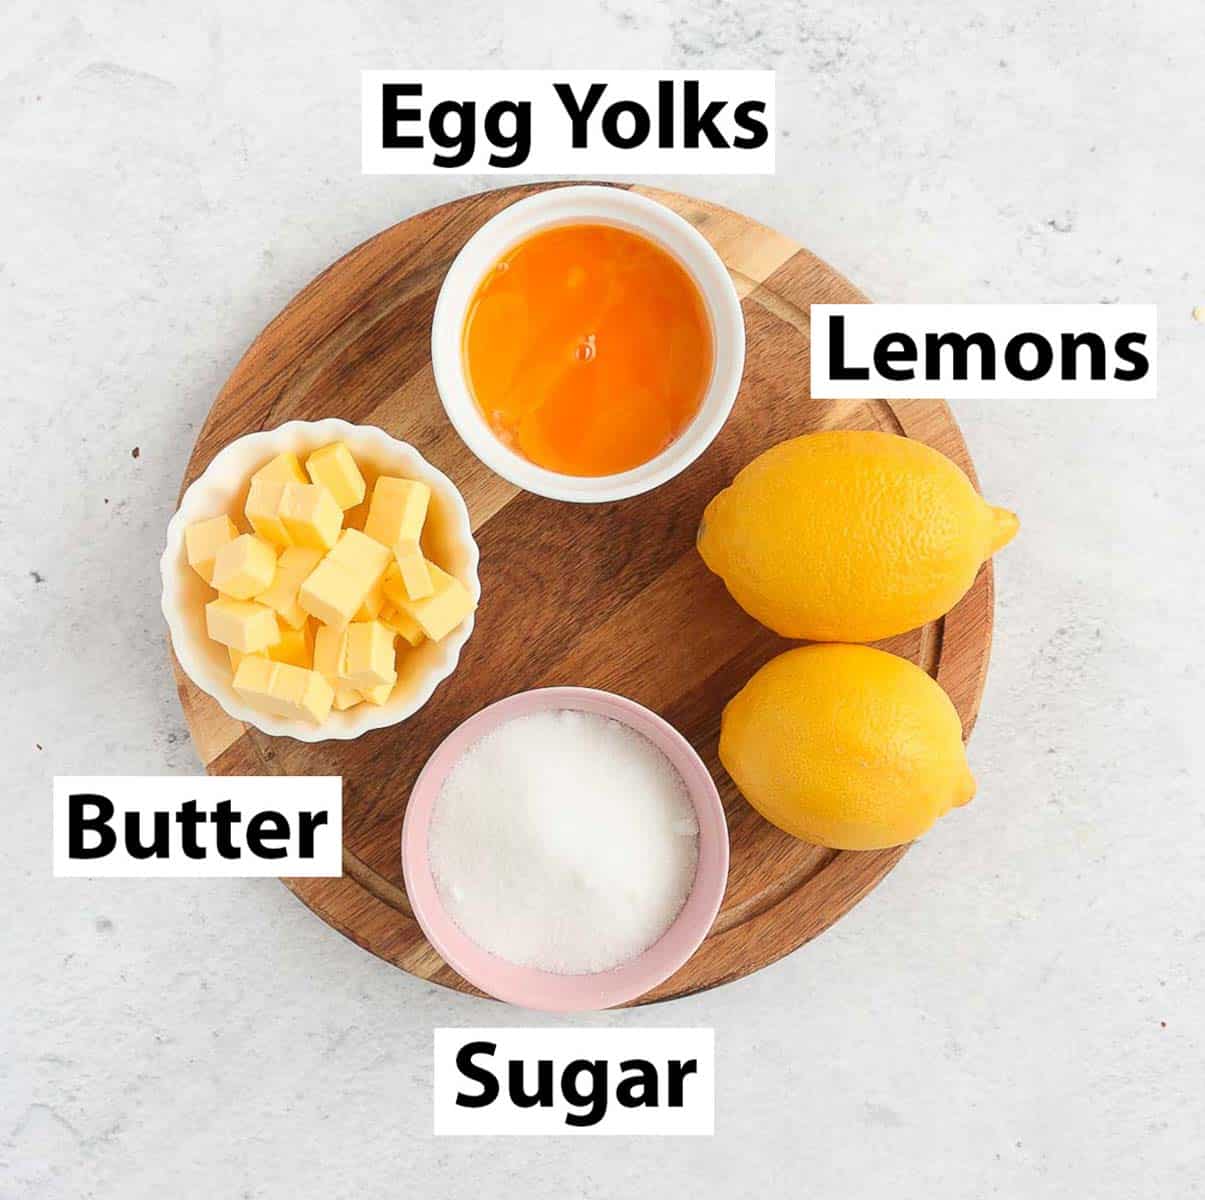
You will only need 4 ingredients:
- Egg Yolks: I used medium size eggs at room temperature. Keep the Egg Whites for another recipe like my Raspberry Mousse.
- Sugar: Caster Sugar, or Fine White Granulated Sugar. I have never tried this recipe with a liquid sweetener or a sugar-free sweetener as it would change the consistency of the curd, the way it sets and its preservation.
- Lemon: Juice & Zest. Depending on the size of the lemons, you will need between 2 and 4 lemons for this recipe. Make sure to measure the liquid quantity over the number of recommended lemons as the fruit size (and how much juice they produce) will highly vary.
- Butter: Unsalted, at room temperature. I recommend cutting it into small cubes before starting the recipe as you will need to add it to the curd a little bit at the time.
How to make Lemon Curd step by step
Lemon Curd is all made in a pot on the stove. You will also need a whisk and a zester (I use a Microplane to zest citrus fruit).
I like to prepare all the ingredients before starting so it is all ready to go. That includes separating the egg whites and yolks and cutting my butter into small cubes.
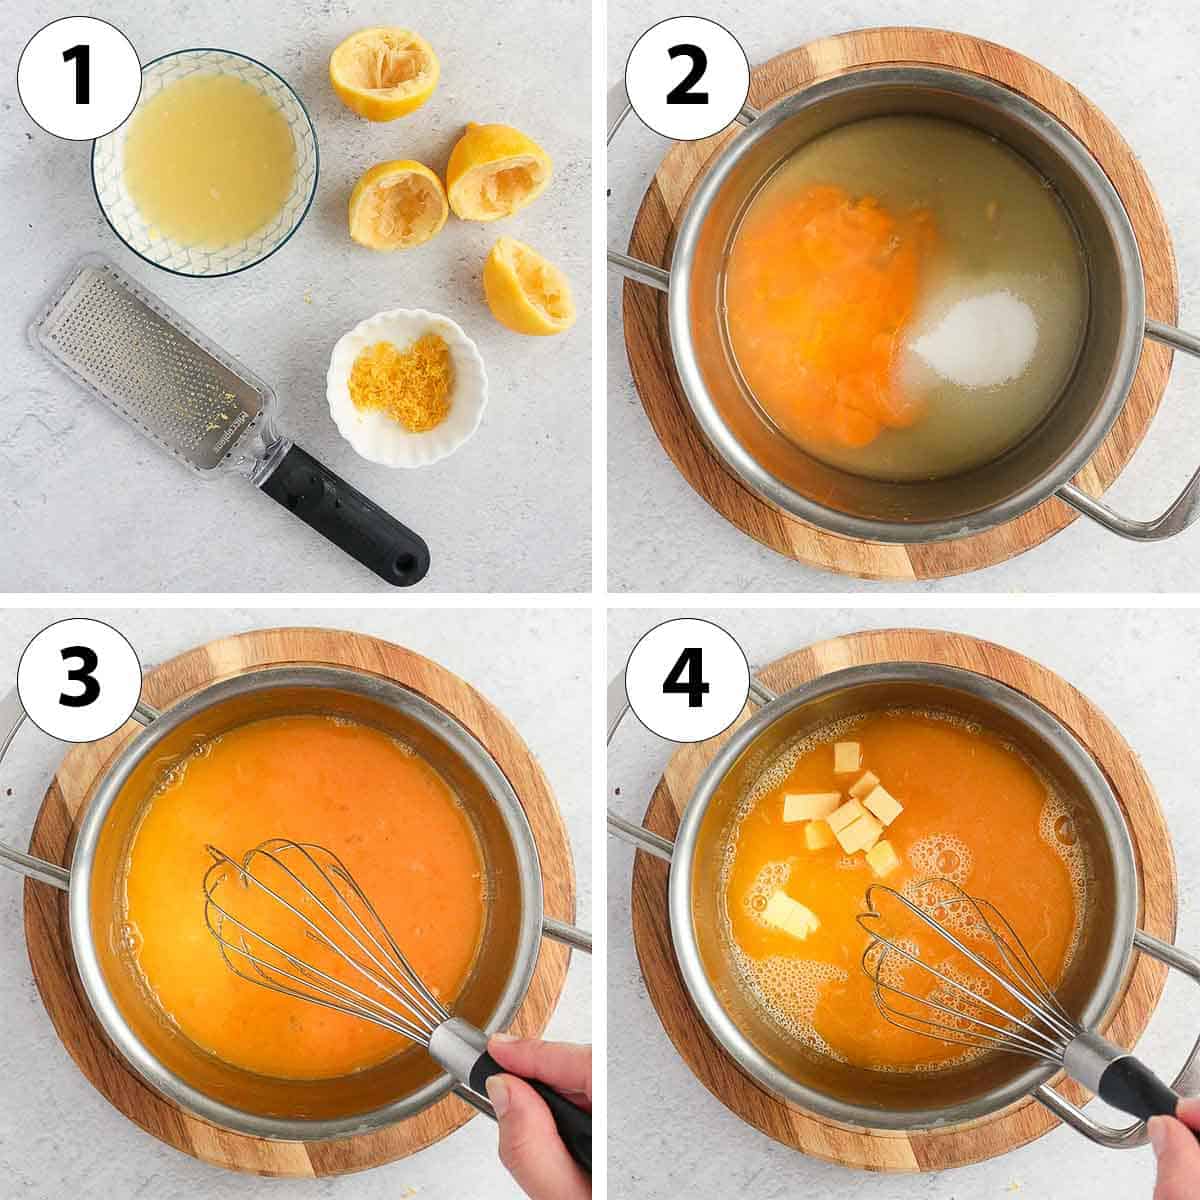
- Photo 1: First, prepare your Lemons by zesting them and juicing them. Depending on the size of your lemons, you might need 2 to 4 to get enough juice so always go with the liquid measurement given in the recipe card over the number of lemons.
- Photo 2: Place the Lemon Juice, Egg Yolks and Sugar in a small pot.
- Photo 3: Whisk it together then turn on low heat (it is very important to work slowly on very low to low heat to avoid cooking the eggs). Keep whisking for about 5 minutes, or until the liquid starts to thicken a little bit. The curd should not be brought to a boil or the eggs might start cooking and you will get bits of cooked eggs in the curd.
- Photo 4: Add the Butter cut into small cubes, a little bit at the time, whisking between each addition. Once the butter has melted and is combined, add a little bit more. Repeat until all the butter has been added, then add the Lemon Zest.
Would you like to save this recipe?
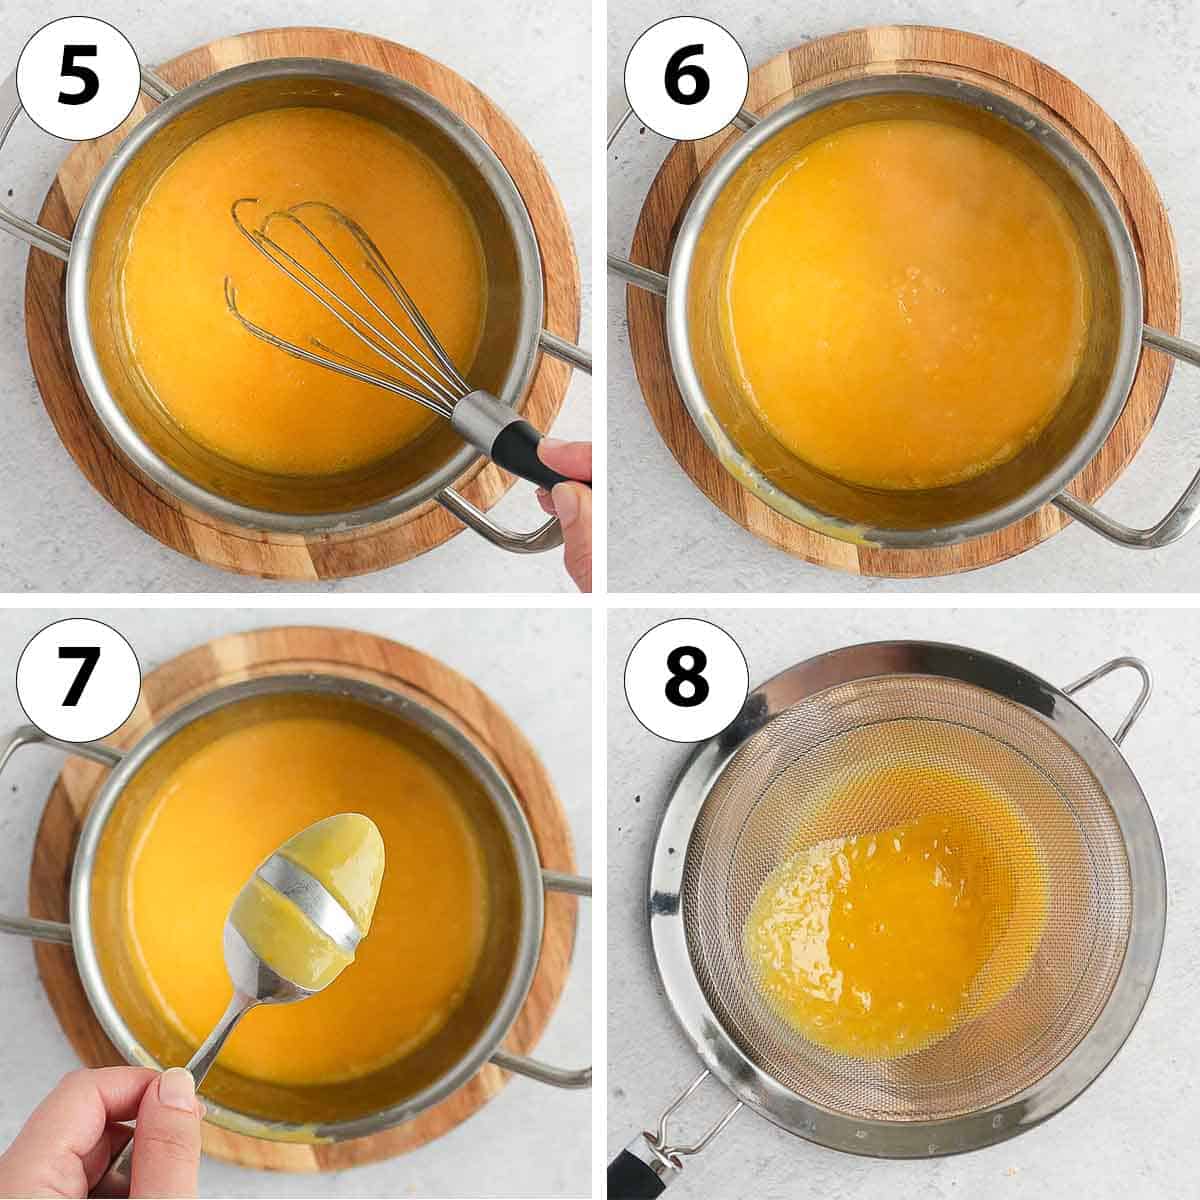
- Photo 5 & 6: Once all the butter has been added, keep whisking for another few minutes (anywhere from 5 to 15 minutes depending on the temperature) - or until the curd thickens. If you work on very low heat, it could take some time - it's completely normal!
How to know the Lemon Curd is cooked and ready:
- Photo 7: Do the spoon test - dip the back of a spoon in the curd then draw a line with a finger (be careful, it might be hot). Tip the spoon down and check to see if the curd drips back down over the clear line. If the line stays clear, the curd is fully cooked and has thickened enough!
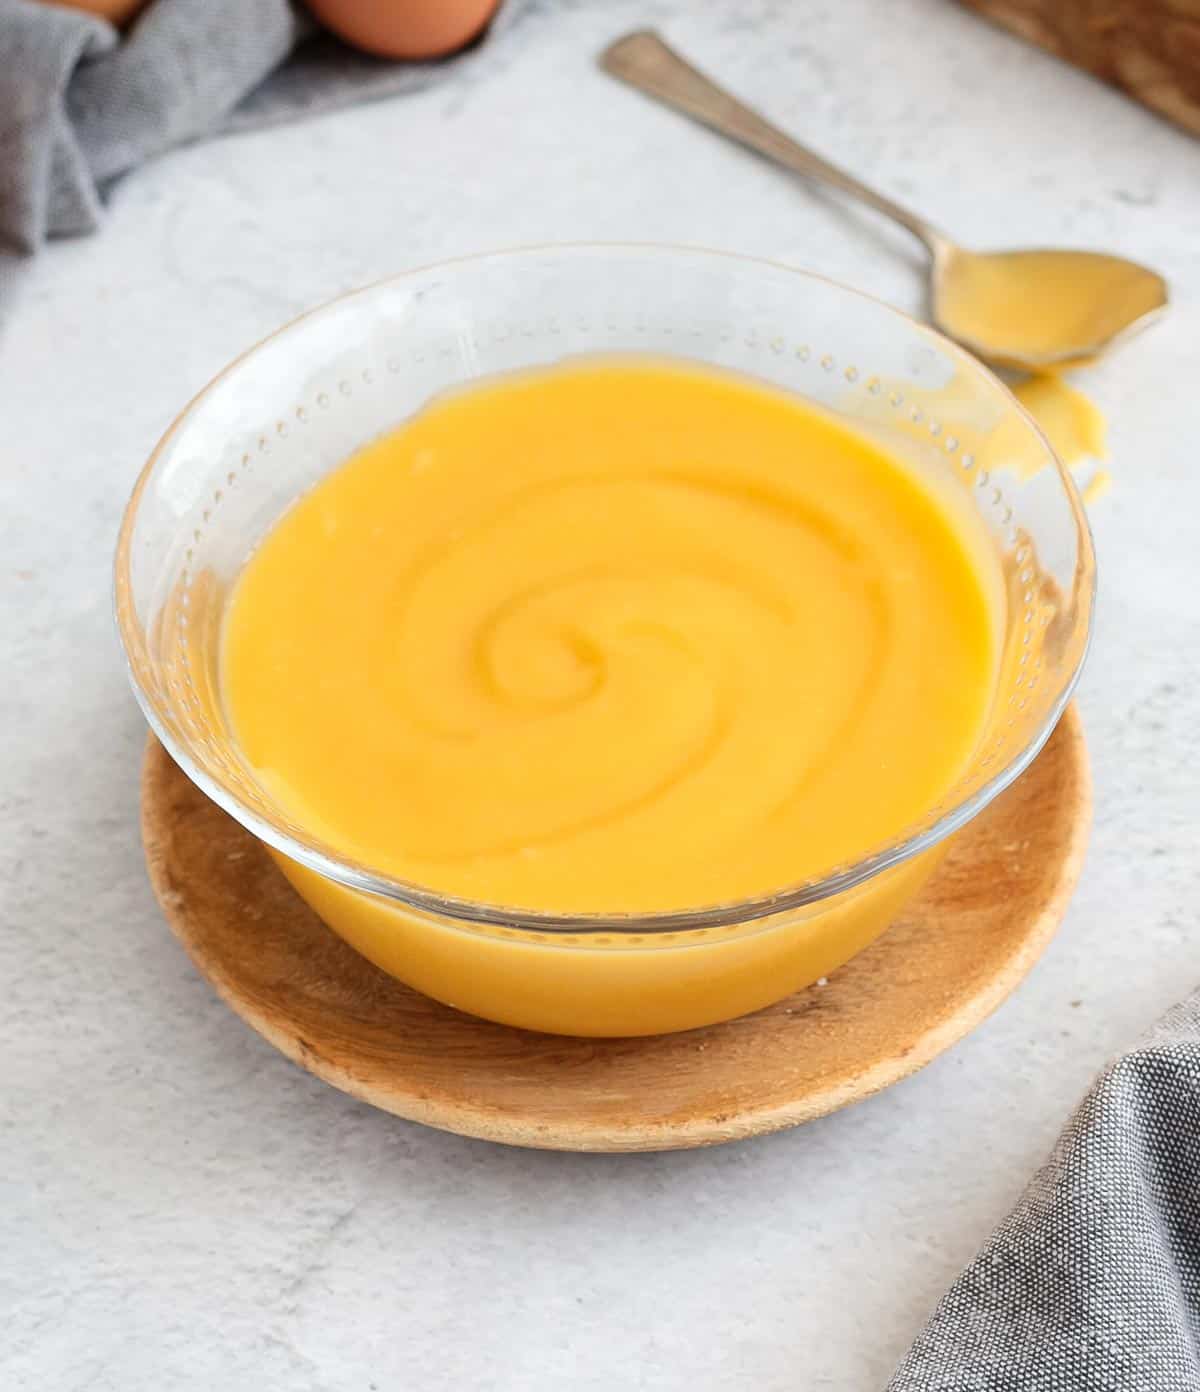
- Check the temperature with a food thermometer: just like a Crème Anglaise, the Eggs need to reach a certain temperature to be fully cooked (and safe for consumption) but keep a nice and smooth consistency. The curd is fully cooked when it reaches around to 82'C / 180'F.
- Photo 8: Lastly (and optionally), pour the lemon sauce through a thin mesh sieve to remove any bits of cooked eggs that might stick to the bottom of the pan and smooth out the curd.
Tips to make this recipe
- Use ingredients that are at room temperature. Working with really cold ingredients might make the curd split while cooking.
- Cook on very low temperature to avoid cooking the eggs and see bits of cooked eggs in the curd. It is one of the most important thing to remember when making a curd. It will take longer for it to cook but will insure you get the perfect smooth texture! Make sure the curd NEVER boils or it will cook the eggs and get a grainy texture.
- Add the Butter slowly and wait for it to melt and get mixed in before adding more. If you add all the butter at once, it might split.
- Once cooked, taste the curd and adjust the sweetness to your liking. This curd is quite tangy (that's how I like it), but you might want to add a little bit more sugar to suit your taste. If adding more sugar, whisk it in when the curd is still hot so it can dissolve easily.
Troubleshooting
- The curd is very thick: first try pouring it through a thin-mesh sieve to remove any larger chunks. Then to use an Immersion Blender to smooth it out (very slowly or the curd might end up being too liquid). If still too thick, you can also mix in a little bit more lemon juice, about a tablespoon at the time.
- The curd is too liquid: first, do the spoon test (or check with a thermometer) - lemon curd always continues to thicken as it cools down so you might get a better consistency after resting as long as long as it passed the tests. If it failed the spoon test, keep whisking it on low heat - it is normal for it to take a long time to cook, sometimes up to 15 minutes!
- The curd has split: that could be due to a too high cooking temperature (it should never boil), or the temperature of the ingredients. Saving a curdled curd might not always work, but try slowly blending it with an immersion blender then pour it through a thin mesh sieve to remove any chunks. If needed, place it back on the stove to thicken again.
How to use Lemon Curd
There are SO MANY Lemon Curd Uses: as a topping, a cake or dessert filling, a baked goods or breakfast spread, a dip... or simply on its own with a spoon! Here are a few ideas:
- served with this Lemon Yogurt Cake
- with these Strawberry Coconut Scones
- as a dip for Lemon Poppy Seed Shortbread Cookies
- over some fluffy Japanese Pancakes
- topped over a Lemon Ricotta Cheesecake or Mini Lemon Cheesecakes
- as a filling for French Crêpes or inside Lemon Curd Cookies
- with Waffles
- as a topping for these Lemon Mousse
Recipe FAQs
Yes - once it has cooled down, you will need to keep the jar of lemon curd in the fridge. Because of its low sugar content, I do not recommend canning this curd.
It will depend how you store it, but because this recipe is relatively low in sugar (which usually helps to preserve curds for longer), I recommend eating it within a week.
Absolutely, you can freeze lemon curd for quite a few months - although I personally prefer to make to make it fresh. It can be frozen in a freezer-friendly container, in freezing bags or even in an ice cube tray for single serves!
Leave to thaw overnight in the fridge when ready to eat, and slightly re-whisk it before serving in case some of the fats or juices have split.
More Sweet Sauces and Creams
Made this recipe?
Let us know if you liked it by leaving a comment below, and tag us on Instagram @a.baking.journey with a photo of your creation!


