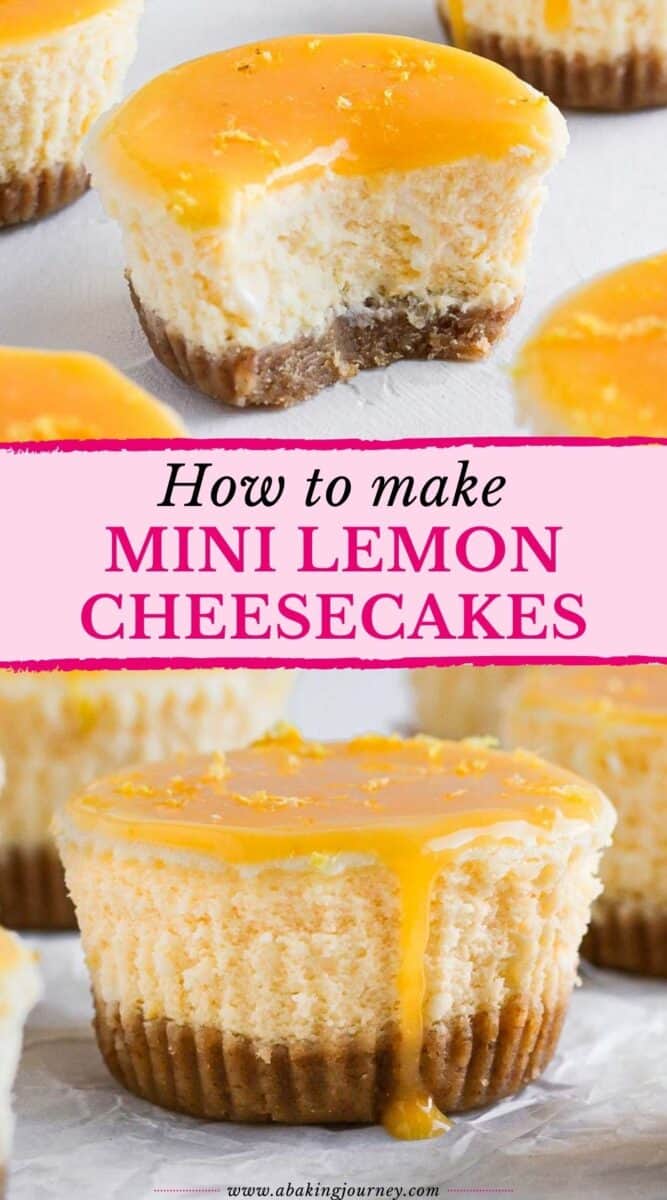
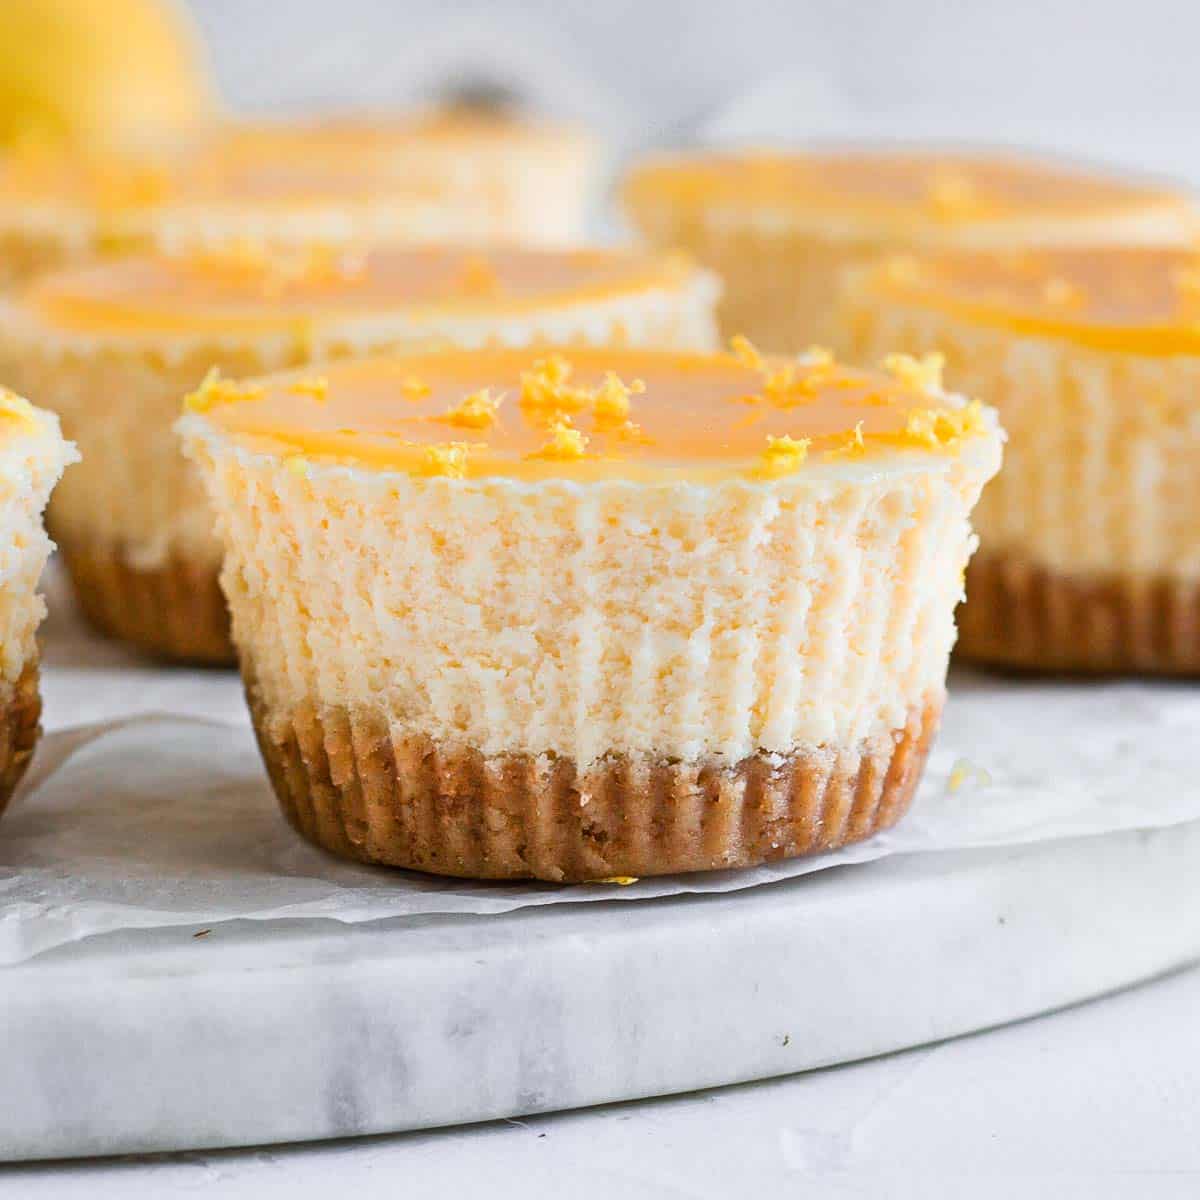
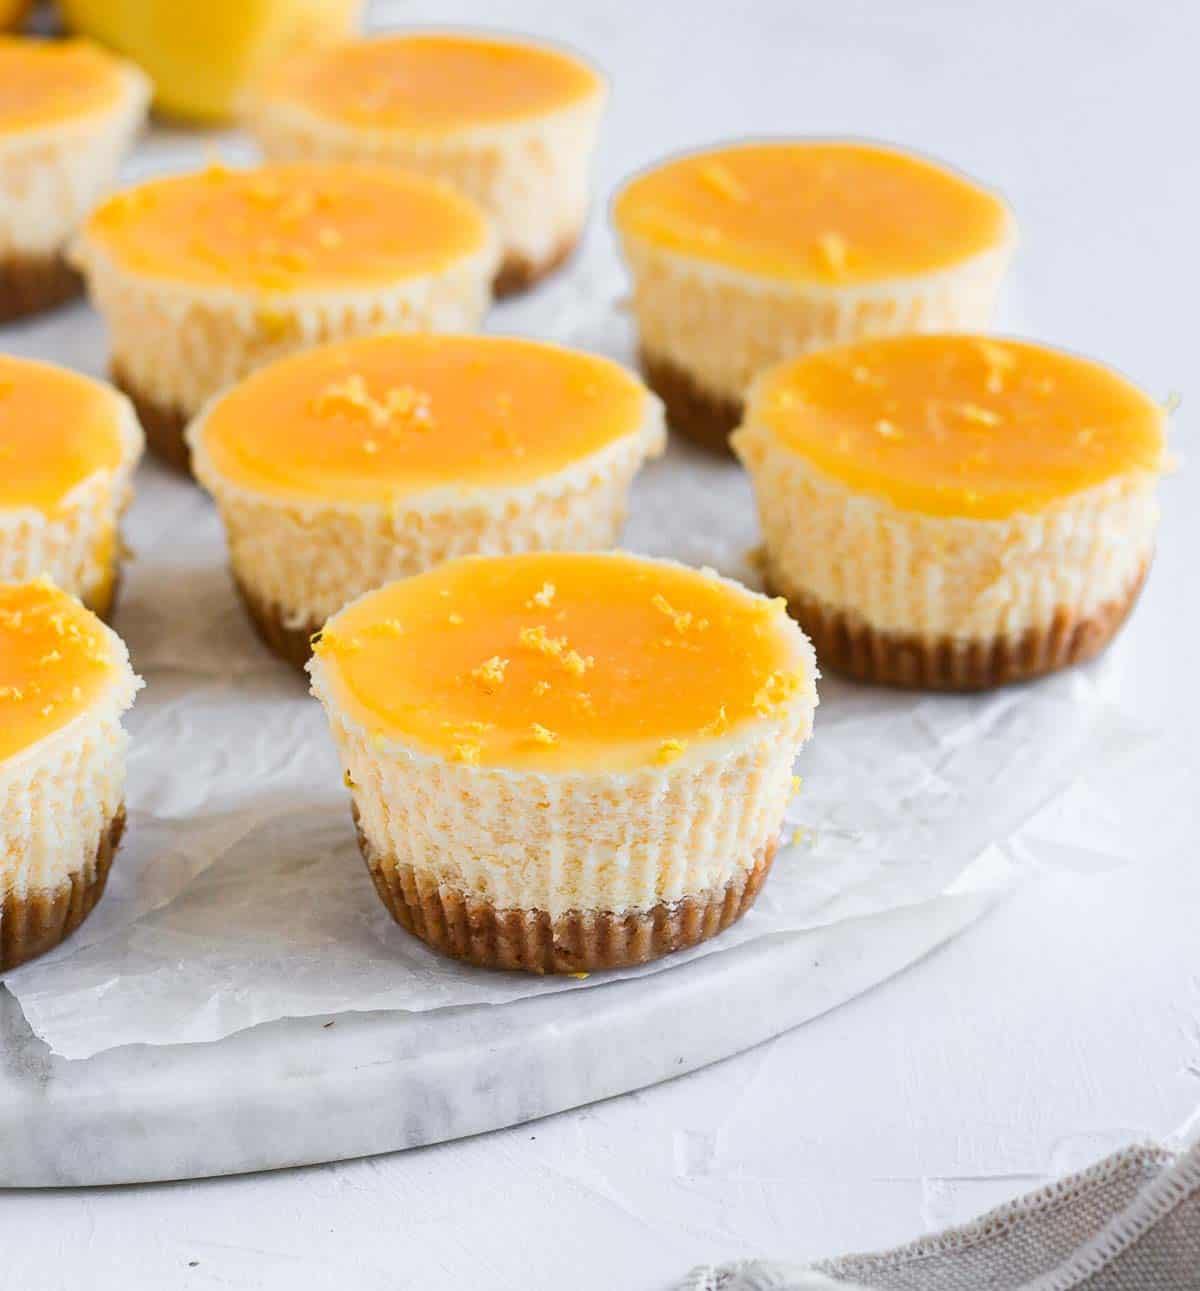
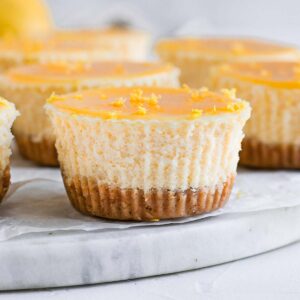
These Mini Lemon Cheesecakes with Lemon Curd Topping are the perfect mix of sweet, sour, creamy and crunchy. Great for a party, dessert or afternoon tea, these lemon cheesecake bites are a must-try if you love the tanginess of lemons!
Jump to:
Why we love this recipe
There is nothing that I love more than a super tangy lemon dessert - and that's exactly what these Lemon Curd Cheesecakes offer! A simple 2 ingredients biscuit base combined with a lemon cheesecake batter and oh-so-tangy lemon curd topping.
The Lemon Curd is really what makes this recipe so special. It is relatively low in sugar so that the curd is extra tangy. It really adds a big kick of sourness (and flavour) to these mini cheesecakes.
I personally adore the texture of baked cheesecakes over the no-bake ones. Just like this Lemon Ricotta Cheesecake and Mini Blueberry Cheesecakes, these Mini Baked Lemon Cheesecakes are still super light, creamy and fluffy.
These Bite-Size Lemon Cheesecakes are great for afternoon tea, for a gathering, party or Holidays - or simply as an every day dessert. They will last for a few days in the fridge too, so you can prepare them in advance!
Ingredients
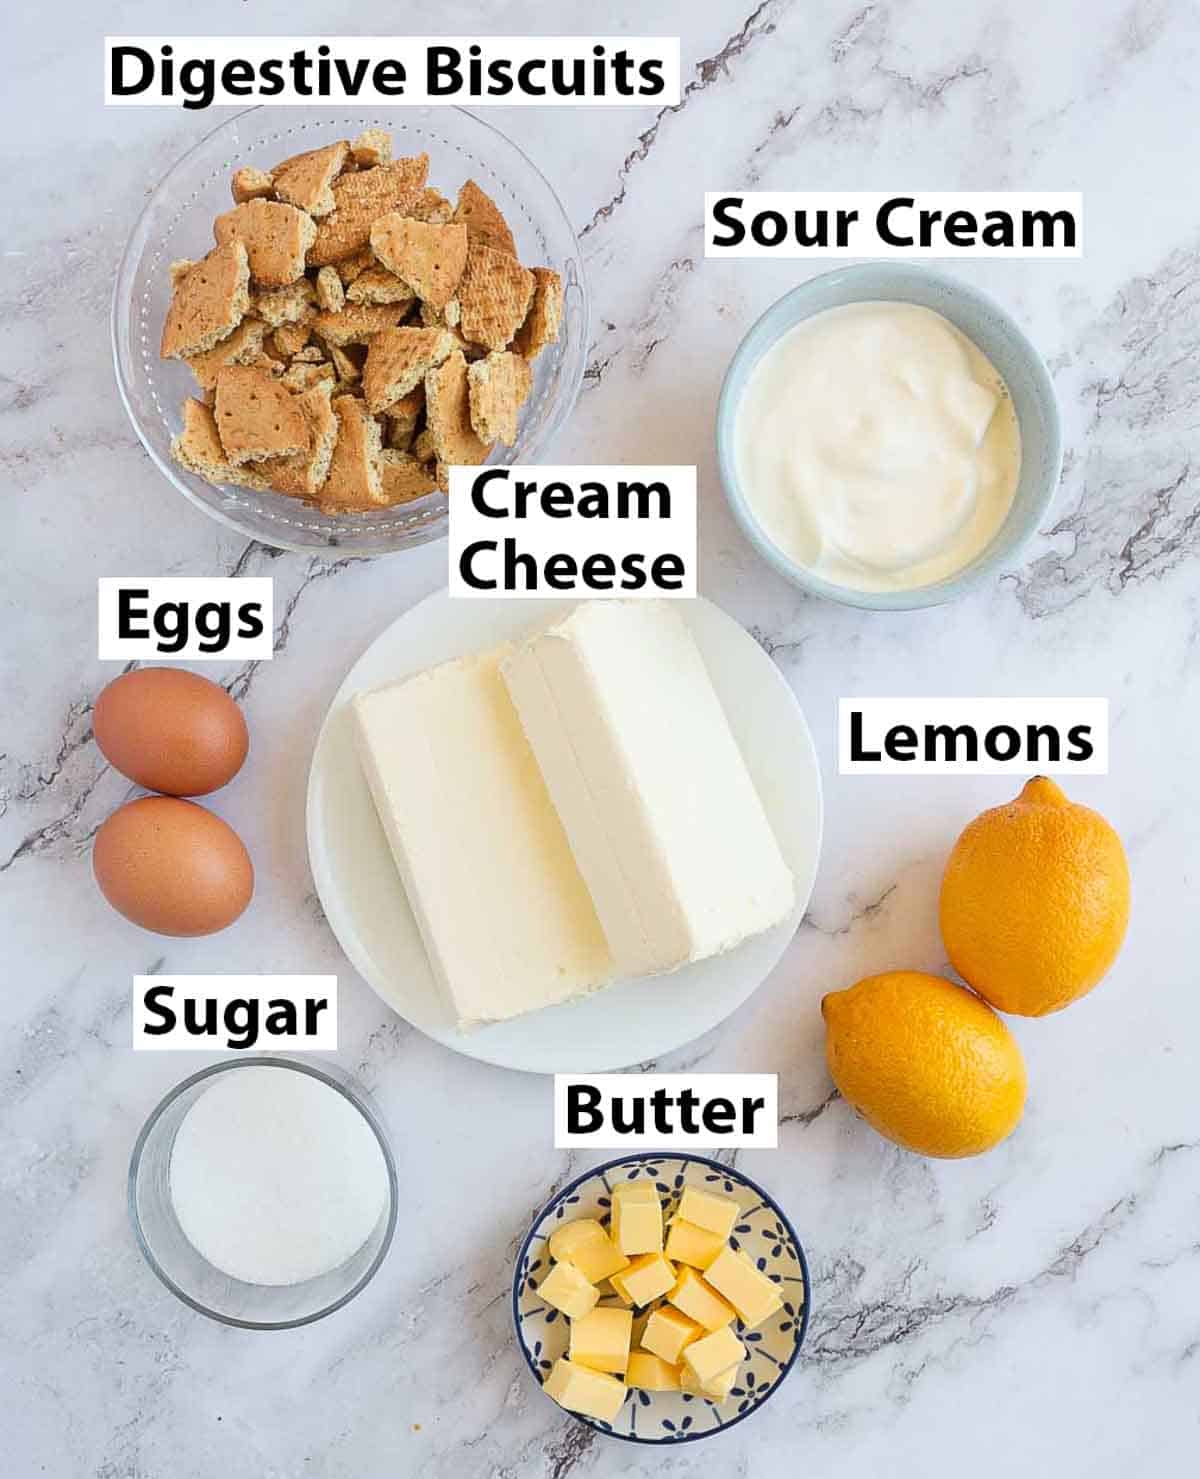
These Mini Lemon Cheesecake Bites are made from a few simple ingredients (scroll down to recipe card for all quantities):
- Crust: an easy mix of Digestive Biscuits (but you can basically use any of your favourite biscuits/cookies or graham crackers) and melted Unsalted Butter.
- Cheesecake Batter: combining Cream Cheese, Sour Cream, Lemon (both juice and zest), Sugar (I used Caster Sugar/Fine White Granulated Sugar) and Eggs. Make sure that all of those ingredients are at room temperature before mixing them - it's really important!
- Lemon Curd: you can use a pre-made Lemon Curd if you want, but I personally love to make my own as I find store-bought ones to be way too sweet. To make your own tangy lemon curd, you will need Egg Yolks, Sugar, Lemon Juice/Zest and Butter.
Ingredients Variation
If you want to experiment a little bit, you could also replace the Lemons with other Citrus Fruits like Meyer Lemons, Limes, Orange or even Grapefruit.
You can also use different types of Biscuits/Cookies like Graham Crackers for the base to bring a slightly different flavour. This recipe is very easily customisable!
How to make Mini Cheesecakes in a Muffin Pan
There are three main steps required to make these lemon cheesecake bites: prepare the crust, make the lemon cheesecake filling then the lemon curd topping. One of my favourite thing about this recipe is that is is simply made in a Muffin pan - so no need for a special pan!
Biscuit Crust
- Melt the Butter in the microwave and set aside to cool down.
- Photo 1: Place your Digestive Biscuits (or your choice of Cookies/Biscuits or Graham Crackers) in your mixer/food processor and blend until your get fine crumbs.
- Photo 2: pour the melted Butter over the Biscuits Crumbs and blend until all the crumbs are covered with butter. It should resemble wet sand.
- Photo 3: place Paper Liners inside your Muffin Pan and add a little bit of the Biscuit Crumble in each liner. Using your fingers, the back of a spoon or of a cup, press the crumbs together until they stick together and are tightly packed down.
- Place in the fridge to set while you prepare the Cheesecake Batter (at least 30 minutes recommended). The butter should have solidify again and the crust should be hard before you top it with the cream.
Note that depending on the size of your Muffin Pan, you will get 12 to 15 mini lemon cheesecakes.

Lemon Cheesecake Batter
While the crust is chilling in the fridge, prepare the lemon cheesecake batter.
- Preheat your oven on 140'C/285'F and place the oven rack on its lowest position.
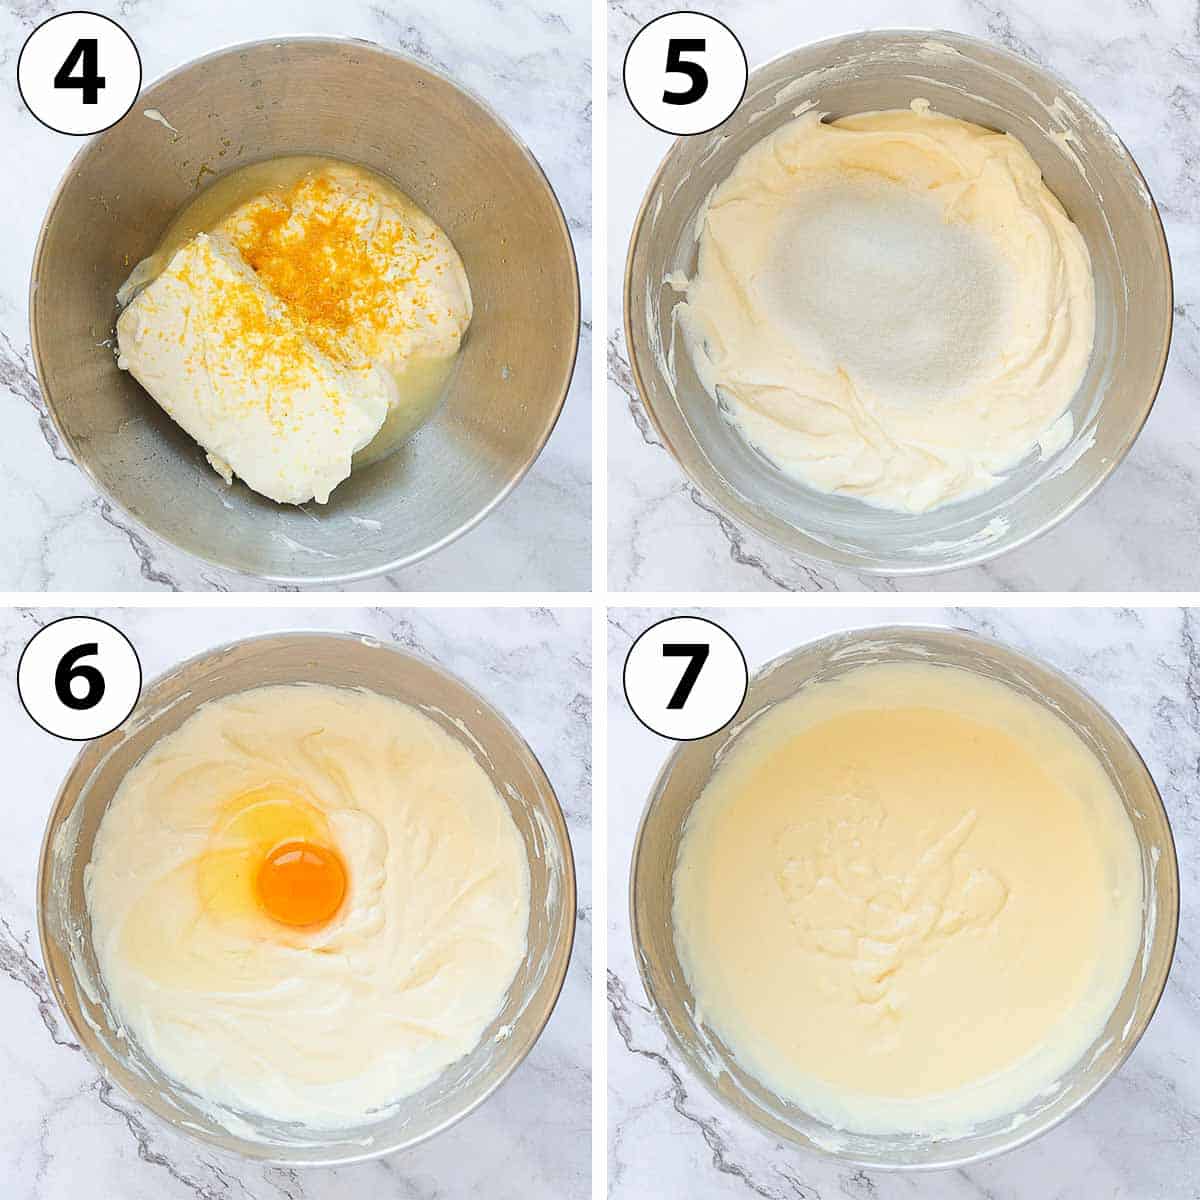
- Photo 4: Place the Cream Cheese, Sour Cream, Lemon Juice and Lemon Zest in the bowl of your mixer (or a large mixing bowl of using a hand mixer) and mix until completely smooth and with no lumps. These ingredients need to be at room temperature to combine easily.
- Photo 5: Add the Caster Sugar and mix until just combined.
- Photo 6: Add the Eggs, one at the time, mixing on a slow speed until combined. Don't over-mix the batter at this stage to avoid adding too much air into batter. You can also pre-whisk the eggs in a separate bowl first to help them combine more easily into the rest of the cream.
- Photo 7: you should get a slightly runny, smooth cream. Pour the cream over the chilled crust (without over filling them as they will rise slightly in the oven), and gently tap on a hard surface to pop any air bubbles. Place in the oven to bake for 20 to 25 minutes.
- When baked, turn the oven off and leave the mini lemon cheesecakes to cool down inside the oven for 30 minutes to 1 hour. Take them out of the oven and leave to cool down completely at room temperature before moving them to the fridge.
Lemon Curd Topping
Once the cheesecakes are baked, chilled and fully set, it is time to prepare the Lemon Curd if you are gonna use a homemade one.
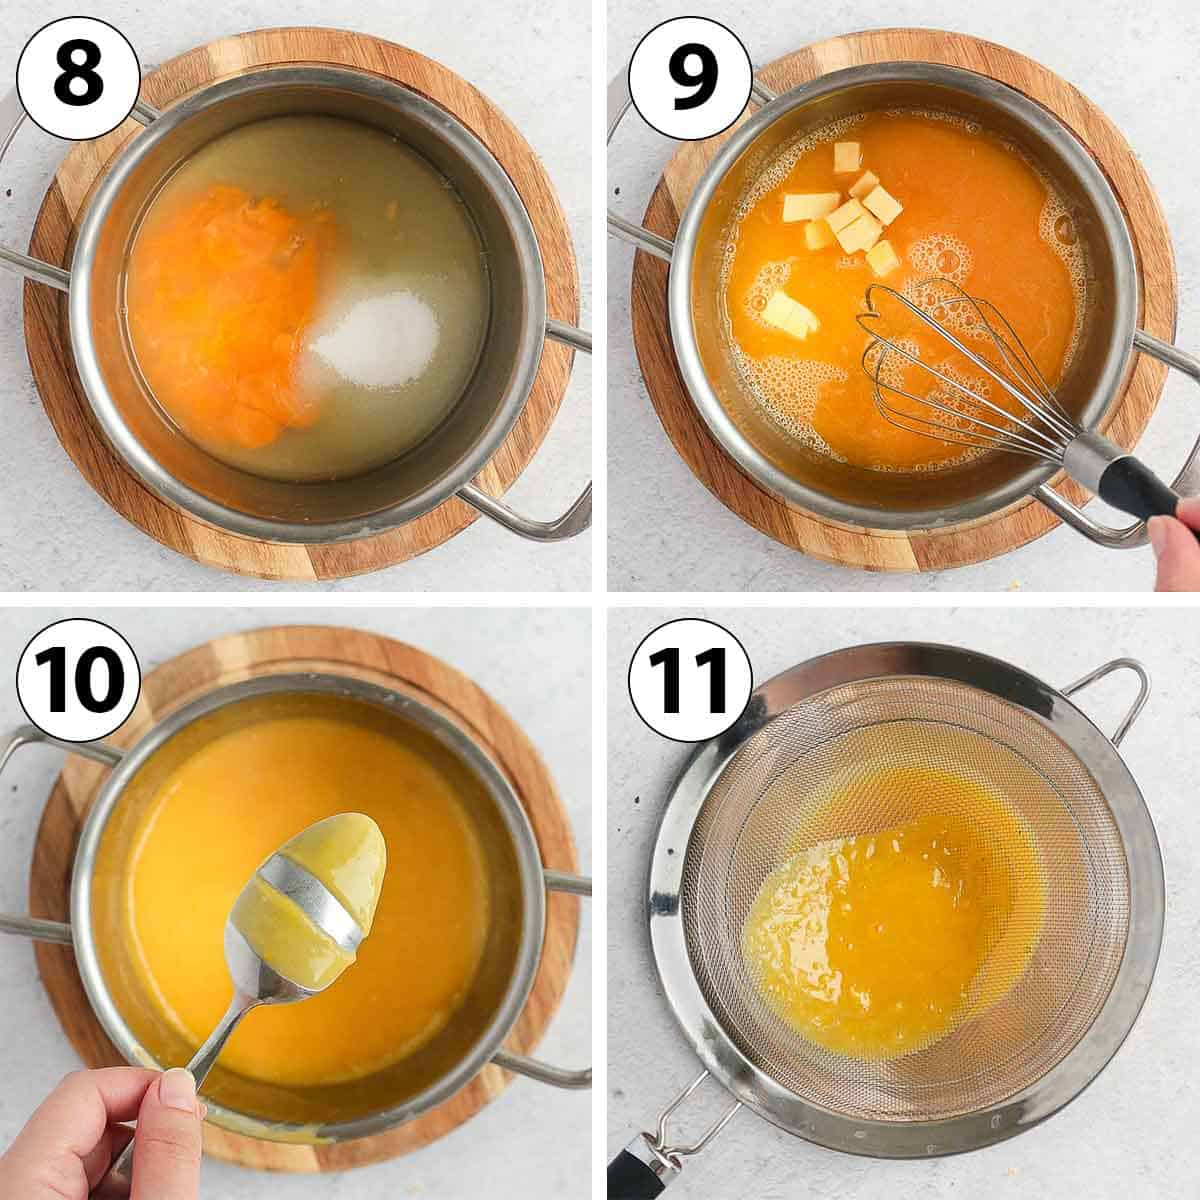
- Photo 8: Place the Lemon Juice and Zest, Egg Yolks and Sugar in a small Pot and whisk to combine. Turn on low heat and whisk until the sugar has dissolved and the liquid has started to very slightly thicken.
- Photo 9: add the Butter cut into small cubes (and at room temperature), a little bit at the time. Whisk until fully melted before adding more.
- When all of the Butter has been added, continue to whisk on low heat for 5 to 15 minutes (depending on the temperature of your stove) until the curd has started to thicken. Make sure it never boils or you will get bits of cooked eggs in your curd.
- Photo 10: to know the curd is ready, dip the back of a spoon in and draw a line with your finger. If the line stays clear, it is ready. If the liquid drips over the line, it needs more time on the stove. If you have a food thermometer, the curd is ready when it reaches 82'C/180'F.
At this point, I recommend to taste the curd and adjust the level of sweetness if needed. Simply add more sugar and whisk until dissolved.
- Photo 11: pour the Lemon Curd through a thin mesh sieve to remove any bits of cooked eggs and make it super smooth.
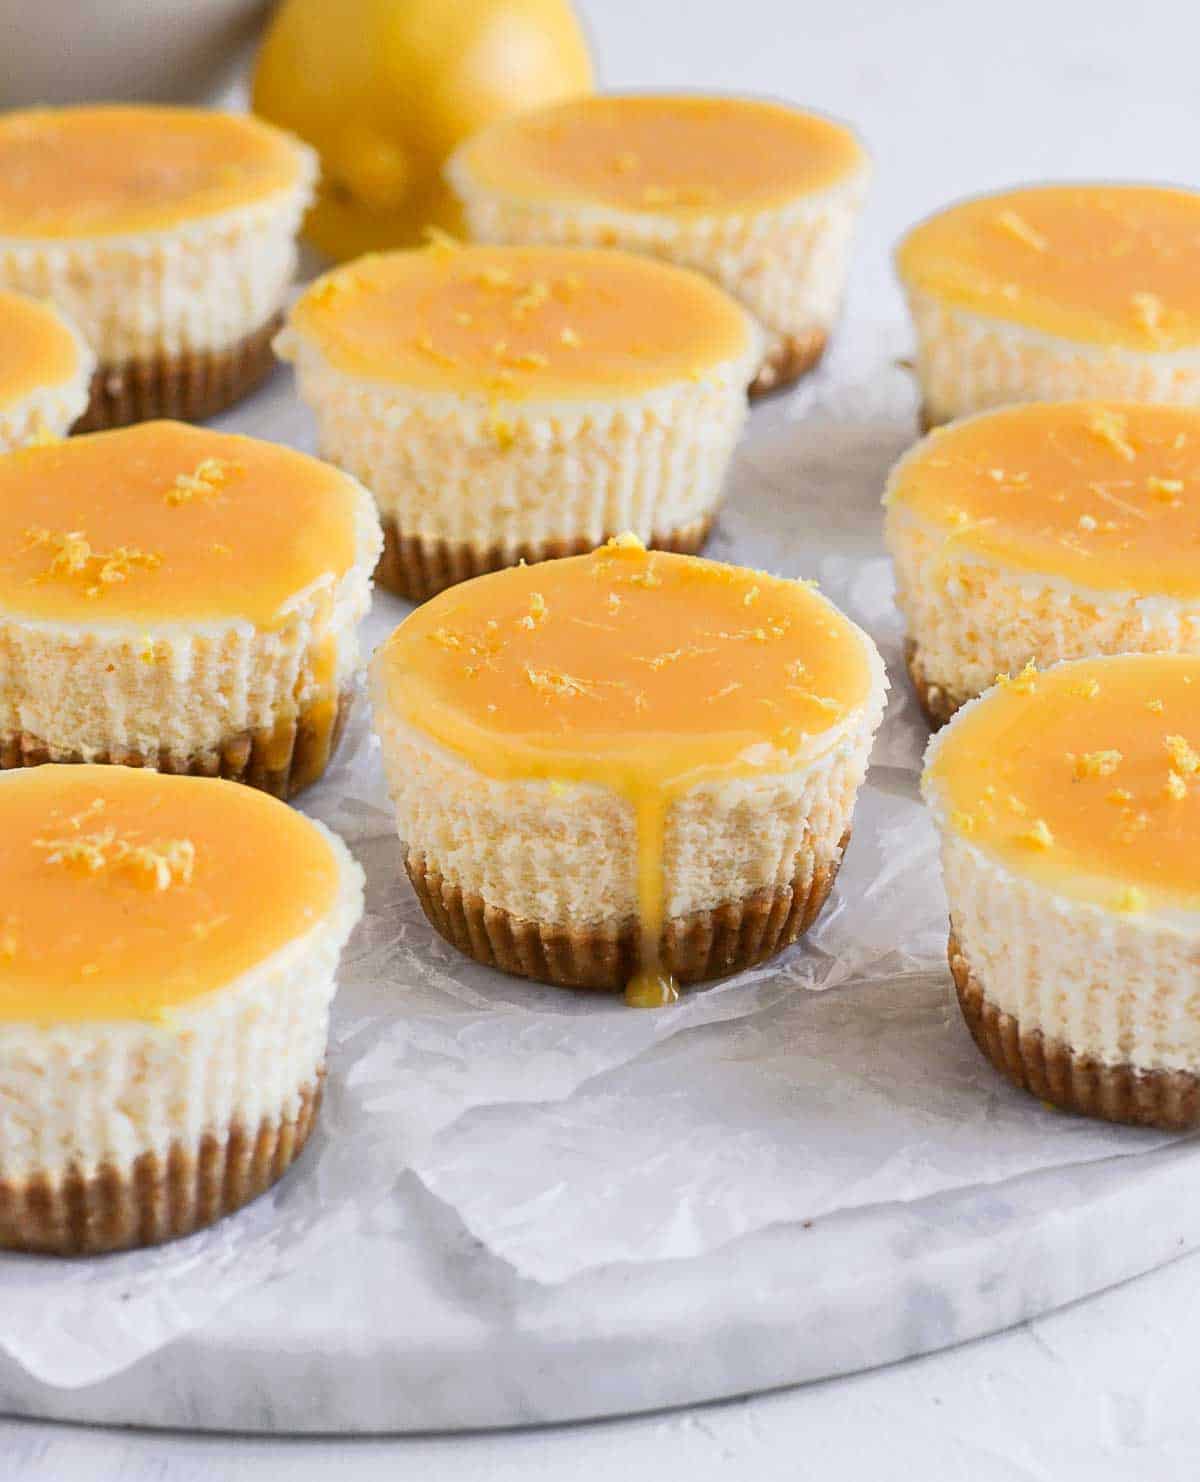
- While still warm, pour a little bit of Lemon Curd over each Cheesecake and gently spread it with the back of a spoon. I like to remove the paper liners before I add the curd so that it is less messy, but you can keep the liners if preferred.
- Place back in the fridge to set and chill for about 1 hour, or until ready to serve. You can also finish them with a little sprinkle of Lemon Zest before serving if you want even more lemon flavours!
Recipe FAQs
I used Digestive Biscuits like for my Coffee Cheesecake as they are really easy to find in Australia. But any Cookies/Biscuits can be used instead of Digestive Biscuits, as well as Graham Crackers. Basically any cookie that can be turned into small crumbs will do!
You could even use Gingerbread Cookies or Speculoos (Biscoff) Cookies like I did for my Biscoff Cheesecake to add some delicious spices to these bites!
I highly recommend the Lemon Curd for a super tangy finish, but if you are after something more sweet than sour, you could also simply top the cheesecakes with Whipped Cream or a Toasted Meringue!
You can if you want, but I love the simplicity of using a Muffin Pan instead of a Mini Cheesecake Pan. You don't need to use paper liners with a cheesecake pan, but make sure to slightly grease the edges of the pan.
It's all about the wiggle! After 20 minutes of baking, gently shake the muffin pan and see if the centre of the cheesecakes are wobbly. If not, they are ready. If they wobble, leave for another 3 to 5 minutes in the oven.
Tips for success
- Make sure all the Cheesecake Cream Ingredients at room temperature before combining them. If the cream cheese, sour cream or eggs are too cold, you will most likely end up with large lumps of unmixed ingredients.
- Don't over-mix the ingredients of your cheesecake cream to avoid adding too much air in the batter, which could make the mini lemon cheesecakes expand too much in the oven then sink or crack when cooled down.
- To keep Mini Cheesecakes from sinking, bake at a low temperature and on the lowest rack of your oven. When baked, turn the oven off and leave the cheesecakes to cool down inside the oven first, then at room temperature before putting in the fridge. This is to avoid a sudden change in temperature, which is why most baked cheesecakes sink.
- Wait for the cheesecakes to have completely cooled down and chilled in the fridge before removing the paper liners. If you try to remove these when the mini lemon cheesecakes are still slightly warm, they will stick to the liners.
Storing & Freezing
These mini lemon cheesecakes should be stored in the fridge and will last for up to 3 days. If making in advance, I recommend adding the Lemon Curd just before serving for the best texture.
These cheesecake can be frozen (although I highly recommend eating them fresh), but without the lemon curd topping that should be added fresh.

More Small Cakes Recipes
- Lemon Curd Tartlets
- Israeli Chocolate Rugelach
- Brioche Donuts
- Chocolate Cornflake Cakes
- Mini Lemon Meringue Tarts
- Financiers Cakes
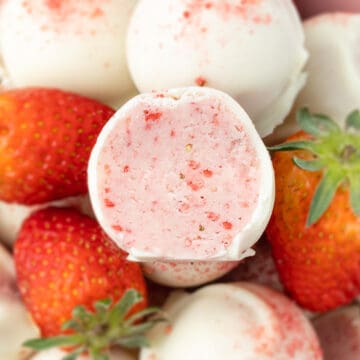
- Mini Strawberry Cheesecakes
- Mini Biscoff Cheesecakes
- Lemon Curd Cookies
Made this recipe?
Let us know if you liked it by leaving a comment below, and tag us on Instagram @a.baking.journey with a photo of your creation!
Recipe
Mini Lemon Cheesecakes
Ingredients
Biscuit Crust
- 75 gr (5 tablesp.) Unsalted Butter - melted
- 150 gr (1 1/2 cup crumbs) Digestive Biscuits - see note below
Lemon Cheesecake Batter
- 500 gr (16 oz) Cream Cheese - at room temperature
- 150 ml (1/2 cup + 2 tablesp.) Sour Cream - at room temperature
- 2 Lemons, juice & zest - 75ml / 5 tablesp. of juice
- 80 gr (1/3 cup) Caster Sugar - or fine white granulated sugar
- 2 Eggs - at room temperature
Lemon Curd Topping
- 2 Egg Yolks
- 80 gr (1/2 cup) Caster Sugar - or fine white granulated sugar
- 1 1/2 Lemons, juice & zest - 65ml / 4 tbsp + 1 teasp. of juice
- 40 gr (2 2/3 tablespoon) Unsalted Butter - at room temperature, cut into small cubes
Disclaimer
I highly recommend using the measurements in grams & ml (instead of cups & spoons) for more accuracy and better results.
Instructions
Biscuit Crust
- Melt the Butter in the microwave and set aside to cool down. Place the Biscuits/Cookies in your mixer or food processor and blend to get very small crumbs. Add the Melted Butter and mix to combine.
- Place paper liners in your Muffin Pan. Scoop a little bit of the biscuit crumbs at the bottom of each liner and press down until flat and tightly packed. Place in the fridge to set.
Lemon Cheesecake Batter
- Preheat your oven on 140°C/285°F and place the oven rack on its lowest position.
- Place the Cream Cheese, Sour Cream, Lemon Juice and Zest in the bowl of your Mixer (or a large mixing bowl if using a hand mixer) and mix with the paddle attachment until combined and smooth (see note 1).
- Mix in the Sugar, then the Eggs one at the time on the slowest speed (see note 2). Stop as soon as combined to avoid adding too much air into the batter.
- Pour the Lemon Cheesecake Batter over the chilled Biscuit Crust. They will slightly rise in the oven so don't over fill them. Gently tap the muffin pan over a hard surface to pop any air bubbles.
- Bake for 20 to 25 minutes (see note 3), then turn off the oven and leave to cool down inside the oven for 30 minutes. Take out of the oven and leave to cool down completely at room temperature before placing in the fridge to fully set.
Lemon Curd Topping
- Whisk together the Lemon Juice and Zest, Egg Yolks and Sugar in a small Pot then turn on low heat. Whisk until the sugar has dissolved and the liquid has started to very slightly thicken.
- Add the cubed Butter a little bit at the time, whisking until fully melted before adding more. Continue to whisk on low heat for 5 to 15 minutes until the curd has started to thicken and is fully cooked (see note 4). Taste and adjust the level of sweeteness if needed.
- Pour through a thin mesh sieve to remove any bits of cooked eggs and get a very smooth curd.
- Leave to cool down for a few minutes then pour about 1 tablespoon of curd over each chilled cheesecake (remove the liners first), spreading it with the back of a spoon if needed. Place back in the fridge to set for at least 1 hour.
- Optionally, finish with a little bit of Lemon Zest just before serving.
Tried this recipe? Make sure to leave a comment and star rating below!
Notes
- Digestive Biscuits: I used about 10 Digestive Biscuits for the crust, or 150 grams. If you don't have (or can't find) digestive biscuits, you can use Graham Crackers or any of your favourite biscuit/cookies, really. If you don't have a scale, it should equal about 1 1/2 cups of biscuit crumbs.
- Cream Cheese/Sour Cream/Eggs: it is very important for all those ingredients to be at room temperature to easily combine and avoid getting large lumps.
- Lemon Juice: the size of lemons can highly vary, so I recommend using the juice measurement in ml / spoons rather than the number of lemons. The number of lemons is mainly noted to know how many lemons you need to zest.
- Sugar: this recipe is definitely more on the tangy rather than sweet side. If you are after a sweeter dessert, you can increase the quantity of sugar in the lemon curd and/or cheesecake batter to suit your taste.
- It is really important for all the ingredients to be at room temperature to easily combine. Otherwise, you might end up with large lumps of un-mixed ingredients and/or an over-whipped batter.
- You can pre-whisk the eggs in a separate bowl to help it combine with the rest of the ingredients more easily. It is important not to over-mix the batter at this point as large air bubbles could make the cheesecakes crack in the oven or sink when cooled down.
- To know the cheesecakes are baked, gently move the muffin pan and see if the centre of the cheesecakes is wobbly. If not, they are ready. If they wobble, leave for another 3 to 5 minutes in the oven.
- Make sure it never boils or you will get bits of cooked eggs in your curd. The time it takes for the curd to cook might vary based on the temperature of your stove. To know the curd is cooked, dip the back of a spoon in and draw a line with your finger. If the line stays clear, it is ready. If the liquid drips over the line, it needs to cook for longer. If you have a food thermometer, the curd is ready when it reaches about 82°C/180°F.