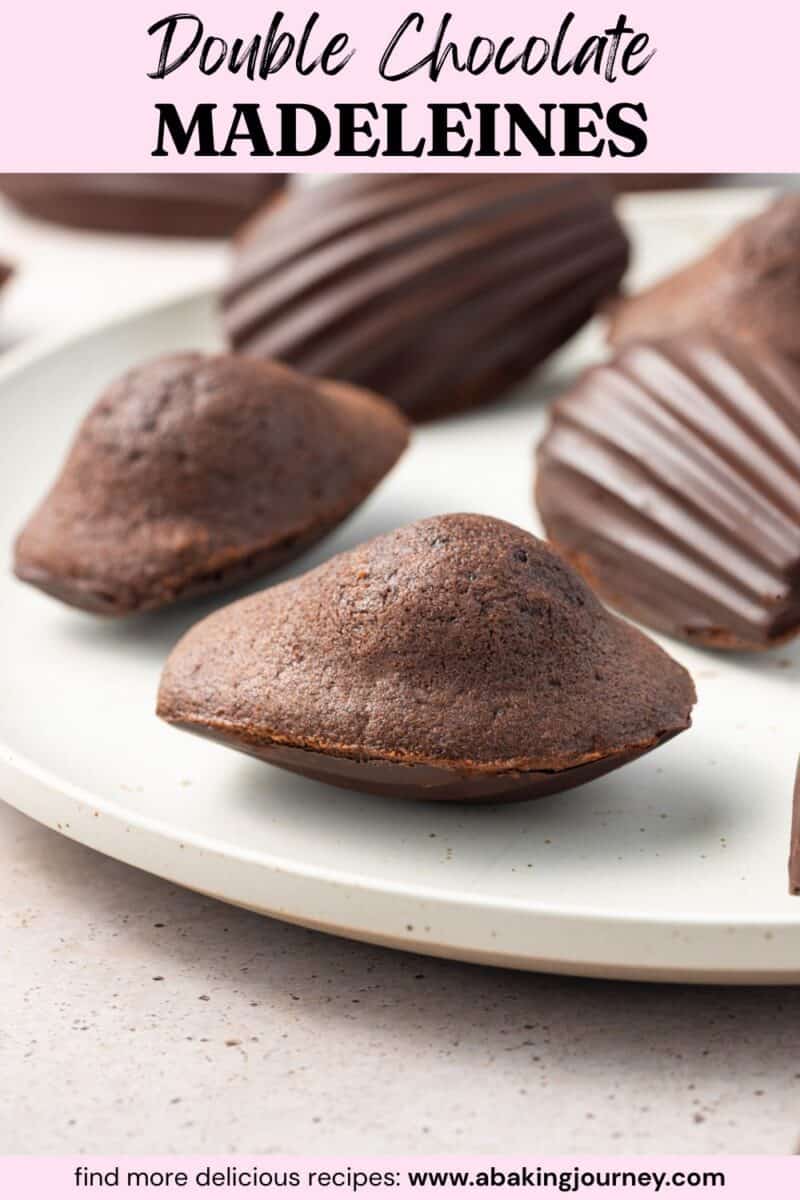
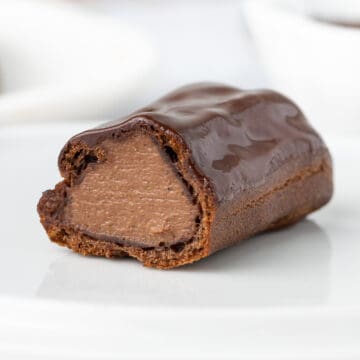
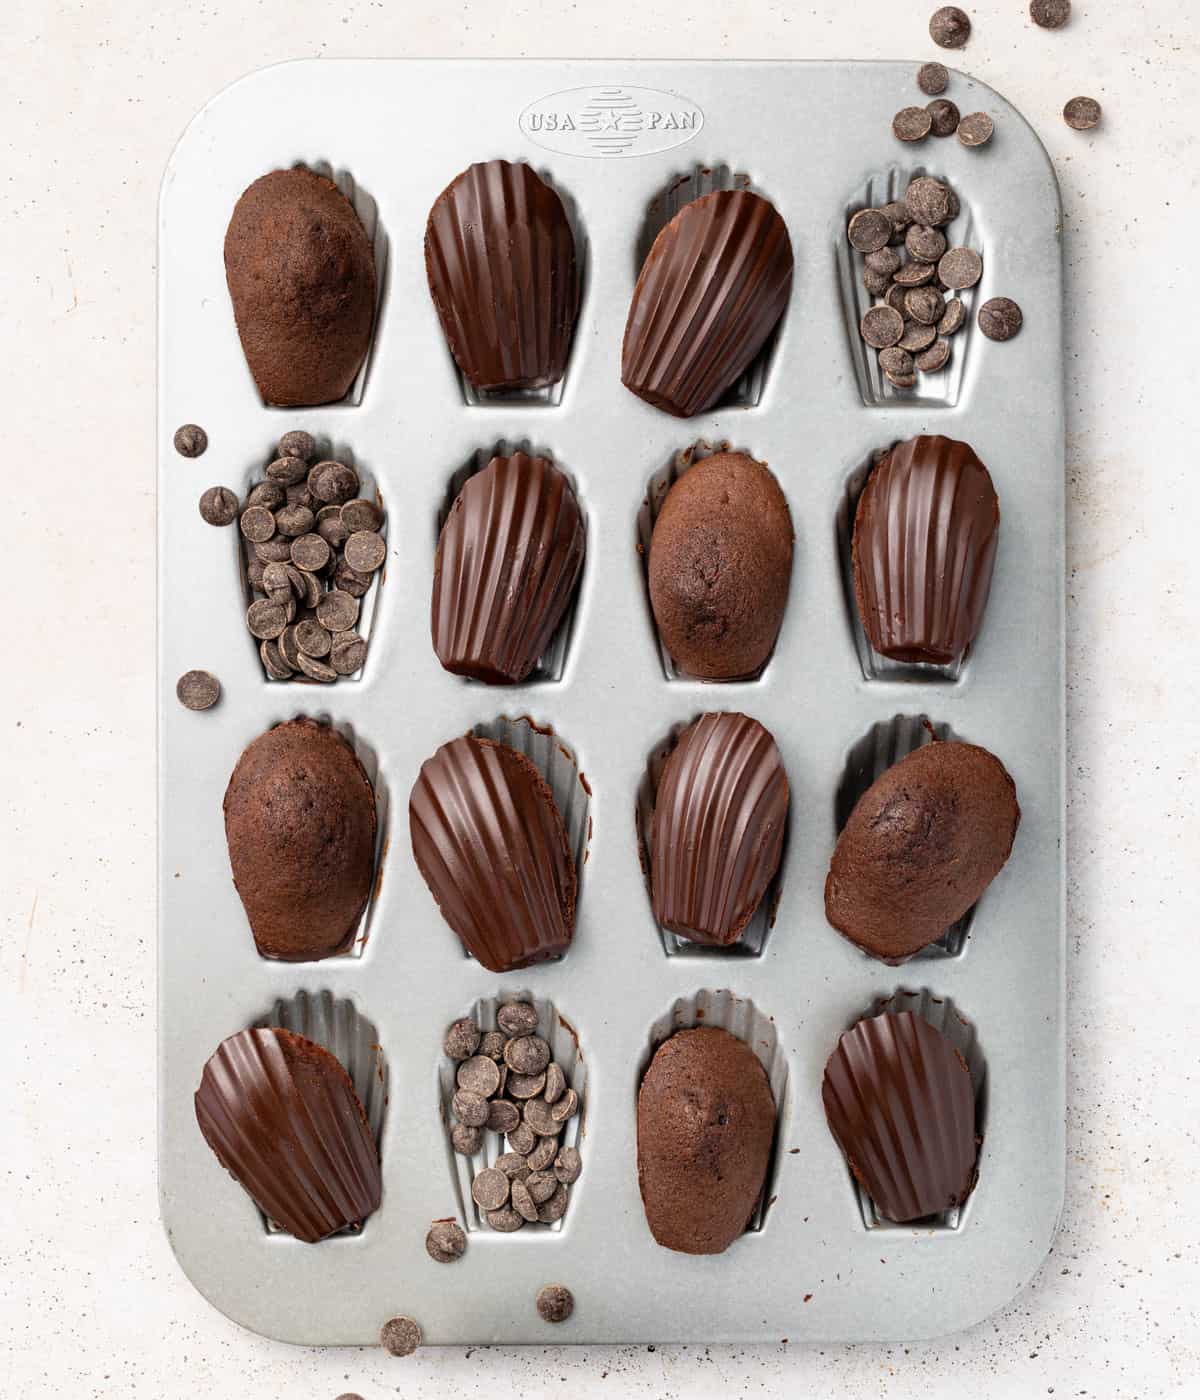
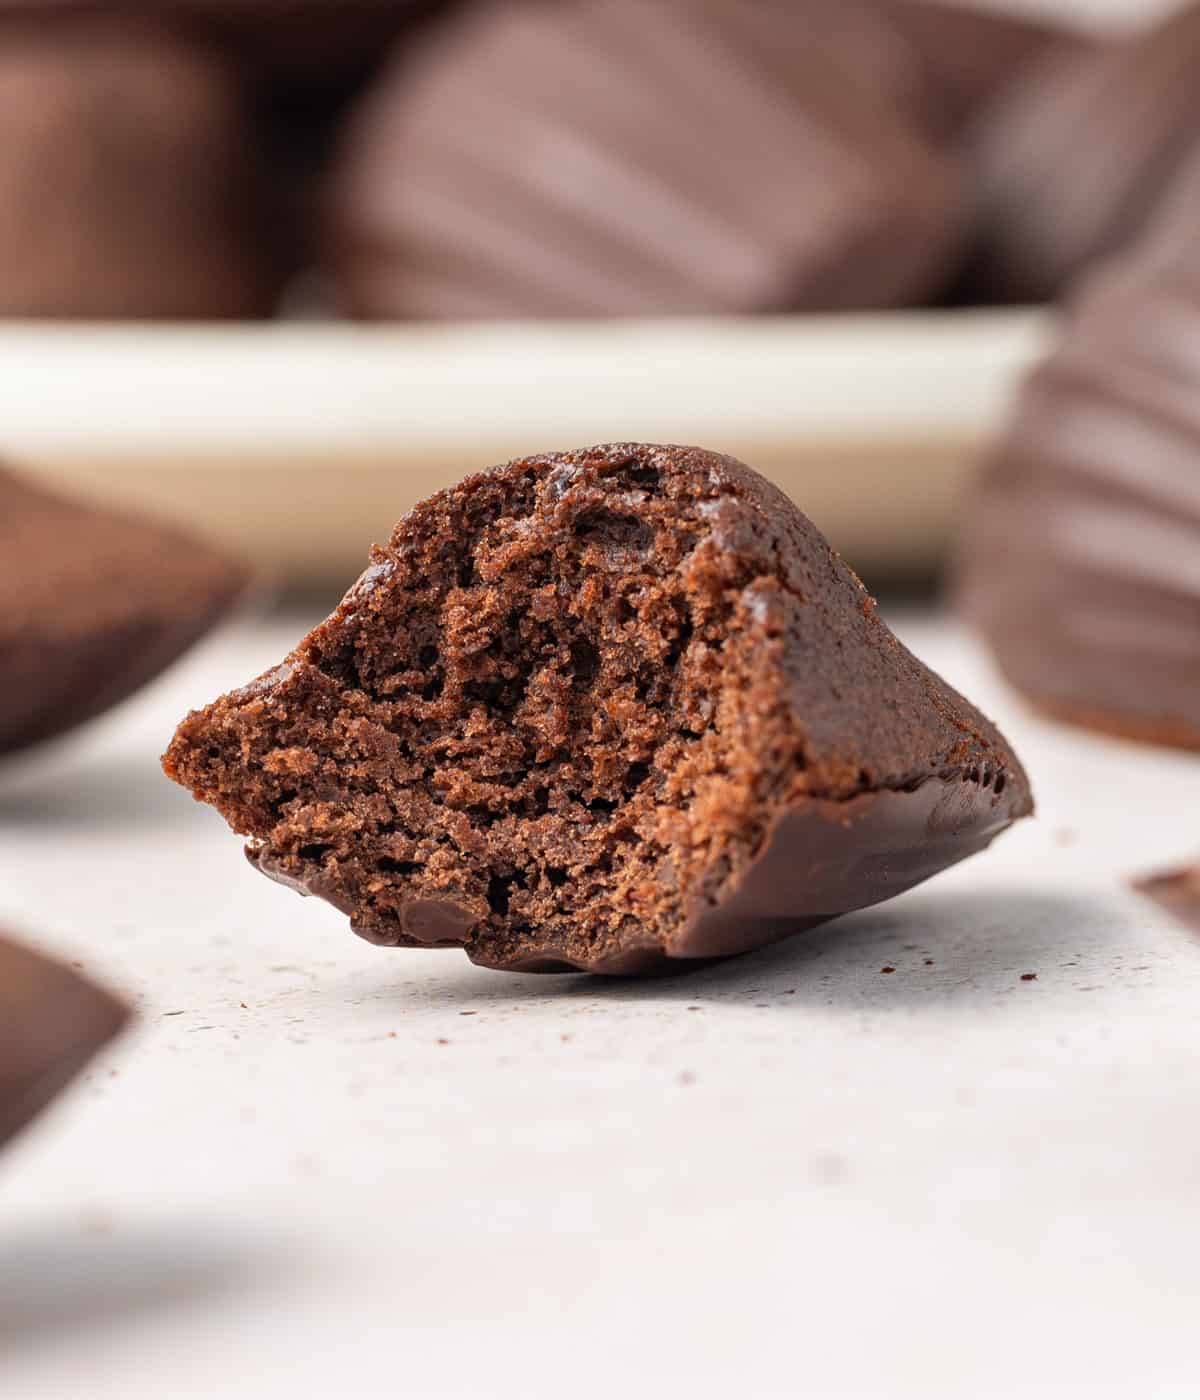
These chocolate madeleines with dark chocolate shell are incredibly easy to make and are the most delicious afternoon tea treat or dessert. The light and fluffy crumb is perfectly complimented by the intense crunchy chocolate shell.

Jump to:
Why we love this recipe
Madeleines have a special place in my heart, as they were one of the first French pastries I learned how to bake. I love how easy the instructions are and how versatile they are when it comes to flavours.
These chocolate dipped madeleines are one of the most decadent - and most delicious - flavour of madeleines, ever! The light and fluffy chocolate madeleines and dipped in intense dark chocolate to create a thin, crispy shell.
They look so impressive yet are so easy to make. They look amazing on a dessert table or for a fancy afternoon tea party. A must make for every chocolate lover!
Try more madeleines flavours: Almond Madeleines with Raspberry Glaze.
What are Madeleines
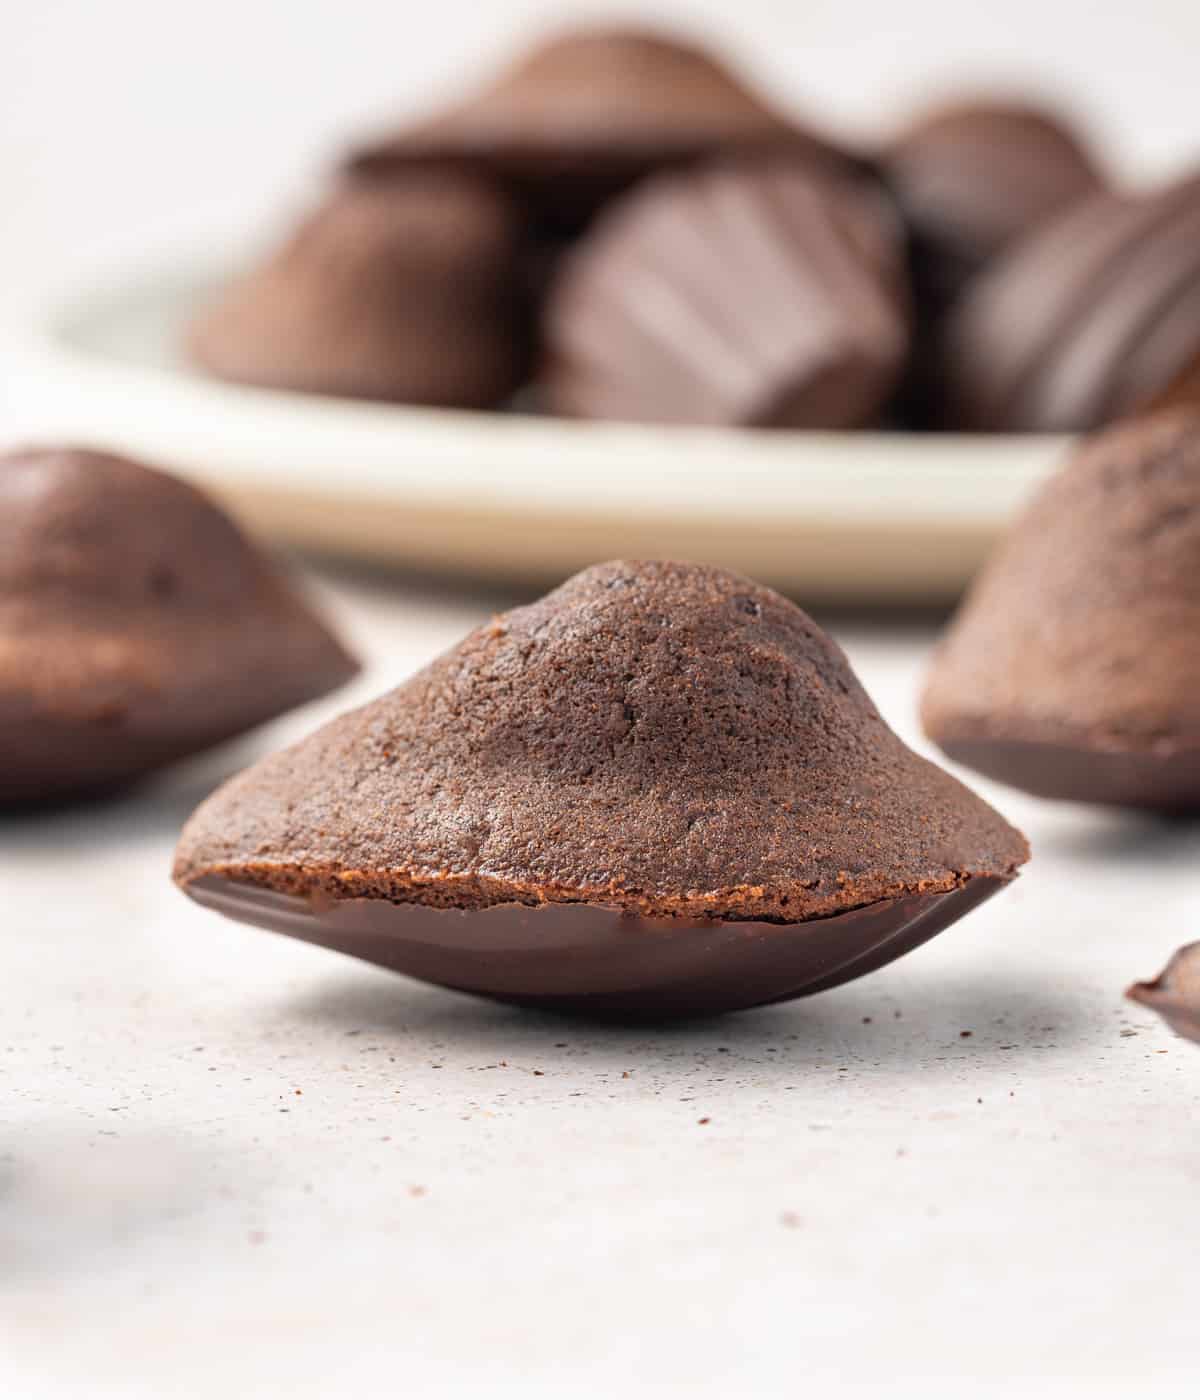
Madeleines are a traditional French sweet treat that are usually served for afternoon tea or as a snack. Their singular scalloped, shell-like shape topped with a recognisable hump is achieved by baking them in a special madeleine pan. They are often referred to as a mix between a small cake and a cookie.
Madeleines are made from a specific mixture called a "génoise", a type of cake leavened primarily through the air beaten into the egg. It gives them a super light and fluffy texture.
Ingredients
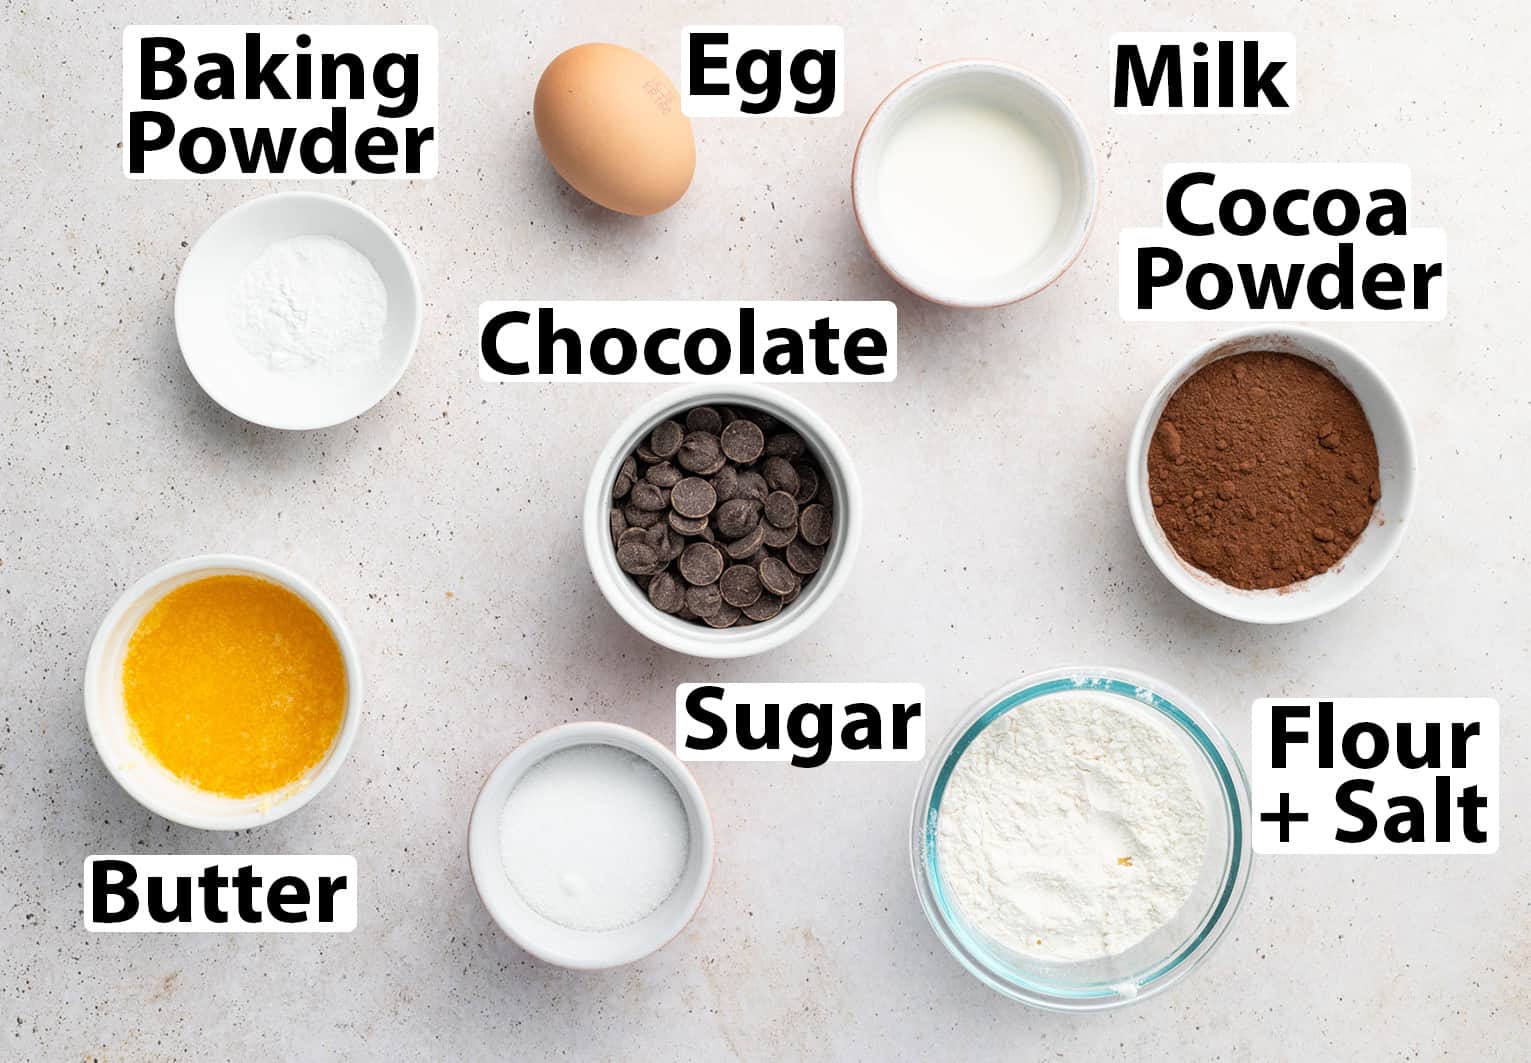
Scroll down to recipe card below for all quantities
Dry Ingredients:
- Flour: I simply use Plain / All-Purpose Flour but you could also use cake flour / pastry flour here.
- Cocoa Powder: use natural, unsweetened cocoa powder.
- Baking Powder: although a lot of the leavening of the batter happens through the whipping of the egg with the sugar, we are also using a little bit of baking powder for an extra lift.
Wet ingredients:
- Egg: large egg, at room temperature.
- Butter: unsalted butter, melted.
- Milk: use full cream / whole milk for the best flavour and texture.
Chocolate Shell:
Dark Cooking Chocolate or Couverture Chocolate. I used a 70% dark chocolate here for an intense chocolate taste but you can use something a bit lighter if preferred.
For a fun flavour variation, you could also use milk chocolate or white chocolate.
Note that different brands / types of chocolate have a different fluidity when melted. If the chocolate you use melts quite thick, you may have to add a drop of oil to make it more fluid.
How to make Chocolate Madeleines
Making the Madeleine Batter
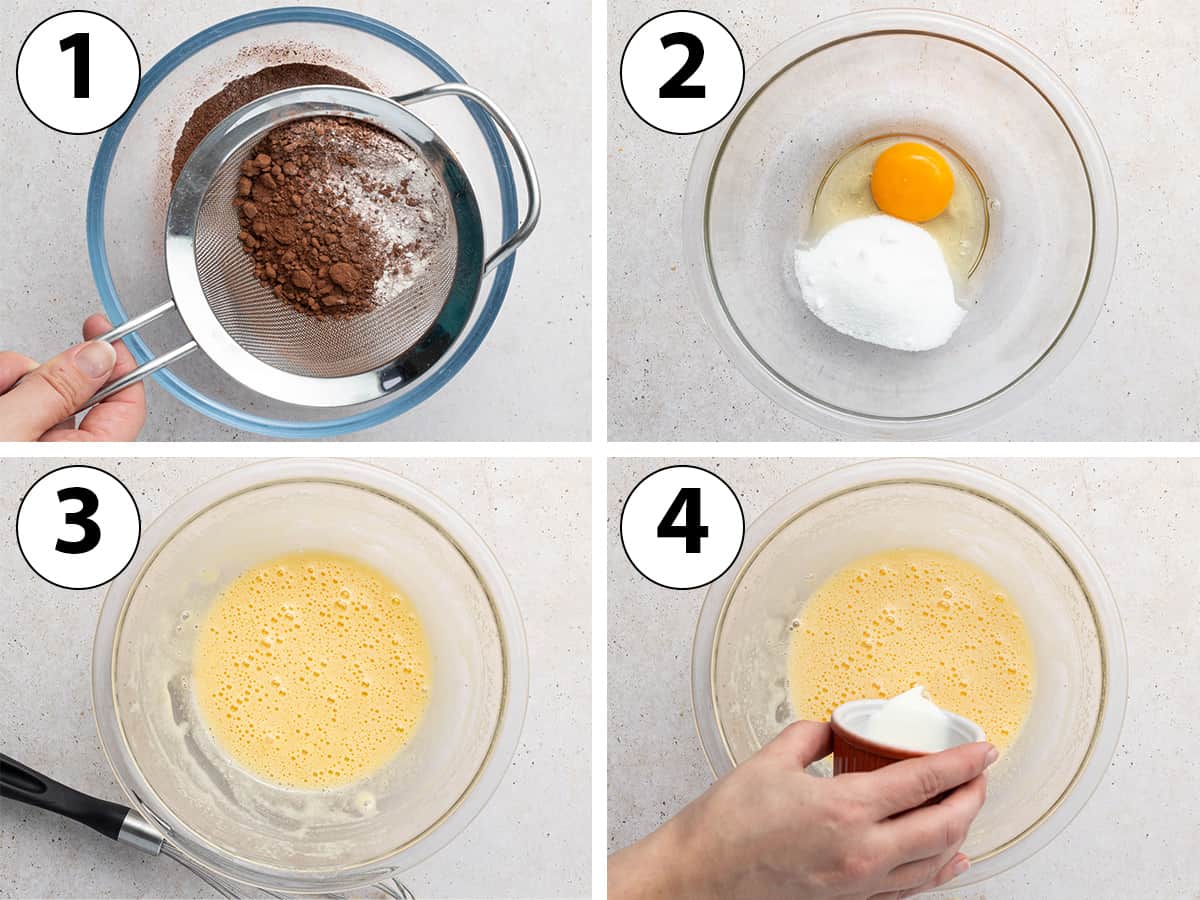
- Melt your butter in the microwave (in a heatproof / microwave-safe bowl) or in a saucepan on the stove. Set aside to cool down.
- Photo 1: in a large mixing bowl, sift together all the dry ingredients: flour, cocoa powder, baking powder and salt. Slightly mix to combine.
This step is optional but it insures there are no lumps in the dry ingredients and they are well combined within the mixture.
- Photo 2 & 3: In a large separate bowl, whisk together the egg and sugar for about 3 to 4 minutes. You want the mixture to have doubled in size, appear paler and have thickened.
The final texture of your chocolate madeleines really relies on this step. The more you whisk the egg and sugar, the more air bubbles you create and the lighter the madeleines will be.
I whisk the egg / sugar by hands with a whisk, but you can also use a hand mixer or make the batter straight into the bowl of a stand mixer fitted with the whisk attachment.
- Photo 4: Add the milk and whisk until just combined. You could also add a teaspoon vanilla extract at this point if you wanted.
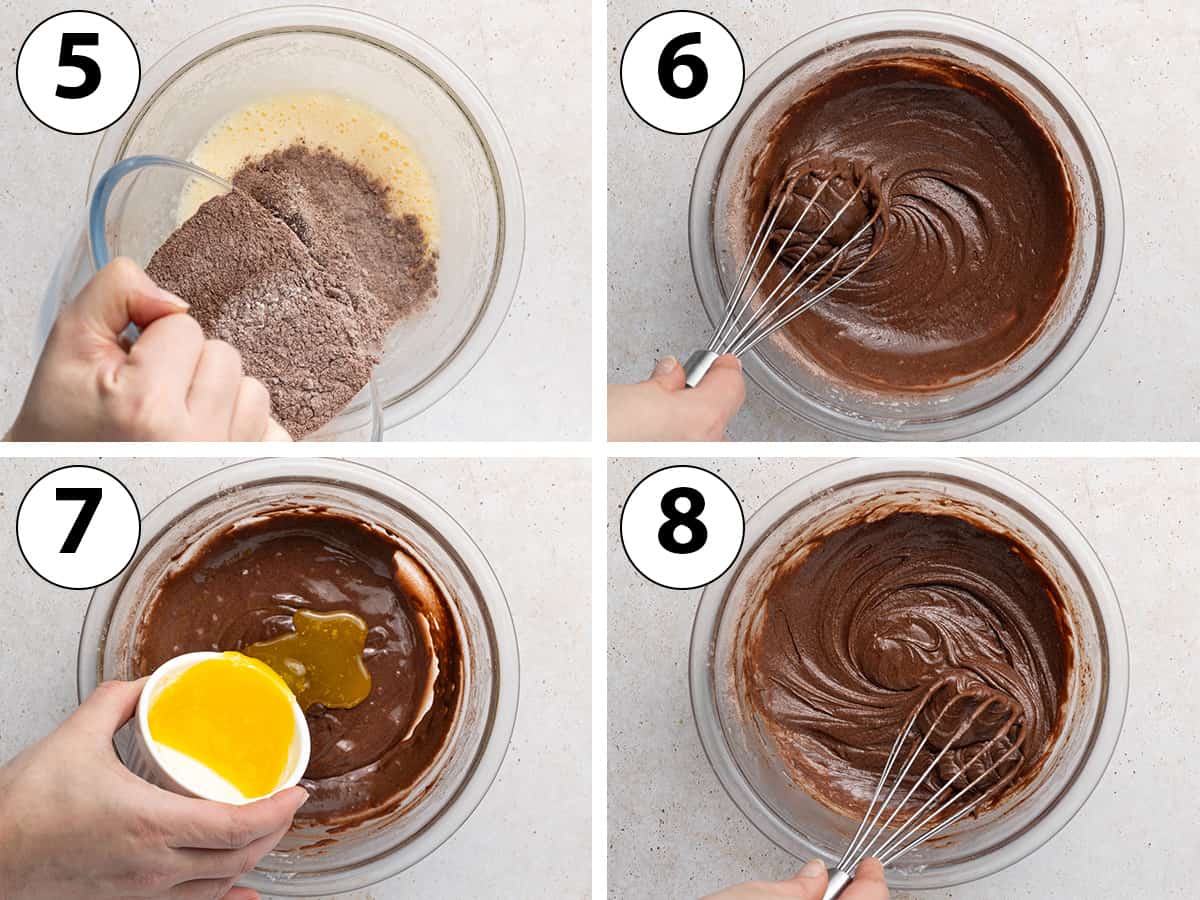
- Photo 5: Add the sifted and pre-mixed dry ingredients to the egg mixture. You could sift them again first to insure no lumps remain at all.
- Photo 6: Whisk until you get a thick but smooth batter. Avoid over-mixing the batter or you might get a chewier, less fluffy madeleine.
If you are making the chocolate madeleines in a stand mixer, you will want to switch the whisk attachment to your paddle attachment to mix in the dry ingredients.
- Photo 7: Pour in the cooled melted butter.
- Photo 8: Whisk until you get a thick, smooth batter.
- Cover the bowl with plastic wrap and gently press it down so that the wrap touches the surface of the batter. Alternatively, transfer the batter into a smaller airtight container or bowl first.
- Place in the fridge to chill for at least 3 hours, preferably overnight.
It is tempting to want to bake the madeleines straight away but the chilling process is essential but for texture and flavour, but also to get the nice hump shape.
Baking the madeleines
- Preheat your oven on 200 degrees Celsius / 390 degrees Fahrenheit. Generously grease a metal madeleine mold or pan with soft butter. You can use oil if preferred but I find that you will get the best results with butter.
- Transfer the chilled batter into a piping bag and cut out the tip to get an opening of about 1cm (1/2-inch).
This is optional and you could scoop the batter into the pan instead if you don't want to use a piping bag. Using a piping bag simply makes it easier to get an even amount of batter into each mold.
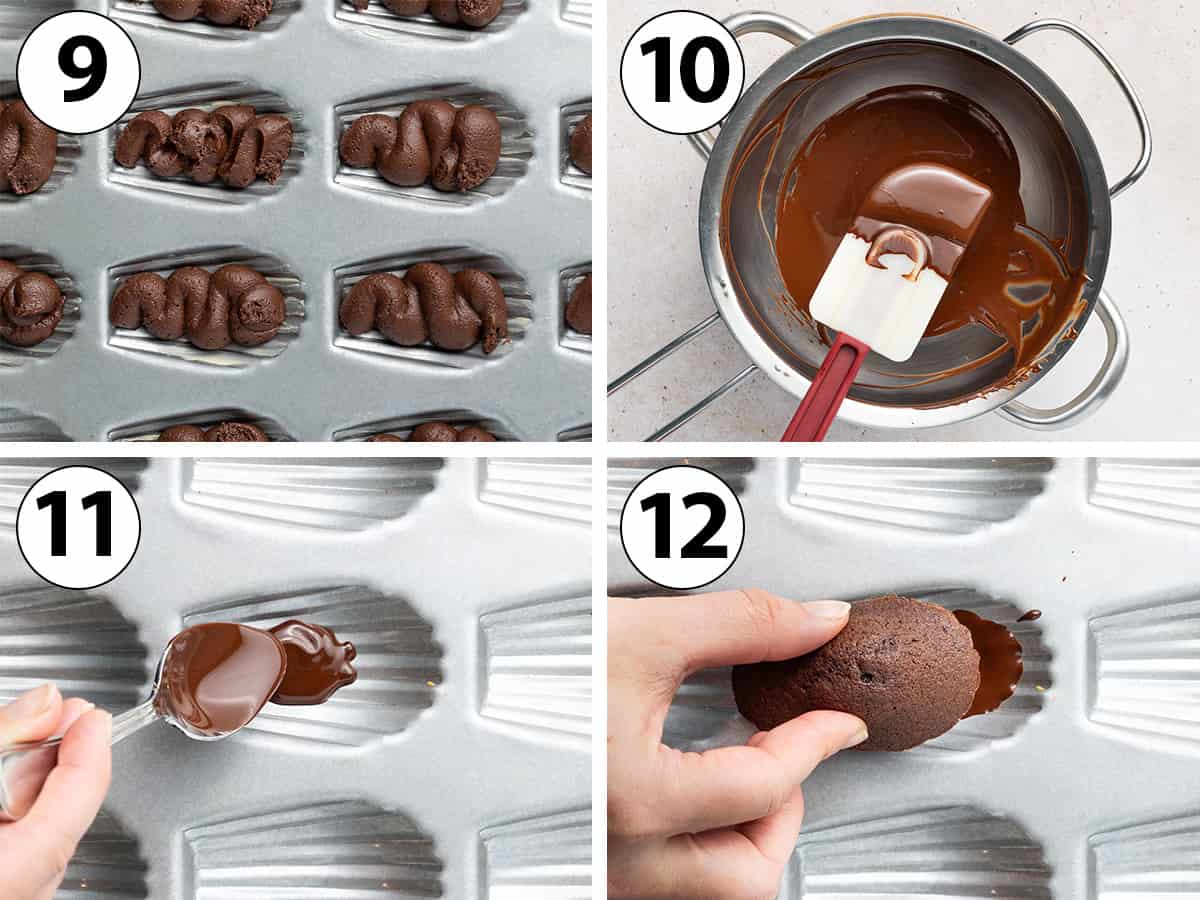
- Photo 9: Pipe the batter into the prepared pan, filling each cavity about halfway up. It is really important not to overfill the mold as the madeleines will rise a lot in the oven.
It is one of the secret to get a great hump on your chocolate madeleine: if you add too much batter in the pan, the madeleines won't rise as nicely.
- Place the pan in the oven. Bake for 3 minutes, then lower the temperature to 180 degrees Celsius / 350 degrees Fahrenheit and bake for an additional 4 to 5 minutes. The madeleines should have risen nicely.
- Place on a wire rack and leave to cool down for 10 to 15 minutes before gently lifting out the cocoa madeleines. Let the madeleines cool down completely.
Making the Chocolate Shell
- Thoroughly clean your madeleine pan and dry it completely.
- Photo 10: Completely melt the chocolate, either in a heat-proof safe bowl in the microwave in 30 seconds increments or over a double-boiler. Make sure the chocolate if really smooth and fluid.
If using a chocolate bar, I recommend finely chopping it first to help it melt faster and avoid burning it.
If you find that the chocolate you are using is quite thick once melted (this could happen based on the chocolate brand and type), you might want to add a drop of neutral oil to make it more fluid.
- Photo 11: Using a teaspoon, pour some of the melted chocolate inside the madeleine pan cavity. Use the back of the spoon to spread it around almost all the way to the top of the cavity.
- Photo 12: Gently press a cooled madeleine over the chocolate and slightly wiggle it around to make the melted chocolate rise up and insure the bottom is fully coated.
Alternatively, you could simply use the dipping method by dipping the bottom of the madeleine into the melted chocolate and let it set upside down.
- When all the madeleine have been coated, place the madeleine pan in the fridge for 30 minutes then in the freezer for 15. When the shells have completely set, the madeleines should easily pop out of the mold.
If the madeleines don't easily come out of the mold, use a small blunt knife to gently lift them out.
Recipe FAQs
It is the temperature shock that make the madeleines rise more in its centre than sides.
The really cold batter goes into a very hot oven and the part of the batter that touches the pan starts to bake and set before the heat reaches its centre, making it rise more.
Unfortunately, madeleines can only be made in a proper madeleine pan to get their singular shapes. Madeleines pan come in a few different shapes and sizes though so you can choose the one you prefer!
Note that if you are using a mini madeleine pan, you will need to adjust the baking time to suit.
I always only recommend using a metal madeleine pan to get the best results. Silicone doesn't convey heat the way metal does so madeleines tend to not rise as much in a silicone pan. I use this Aluminised Steel Madeleine pan.
That being said, when you make madeleines with a chocolate shell like here, it is the only instance where you could use a silicone mold as it will be easier to pop the madeleines out once the shell has set.
Tips & Tricks
- The light and fluffy texture is mostly created through whisking the egg and sugar together for a long time. This step creates lots of tiny air bubbles in the batter that will make the madeleine rise and have a light texture. If you skip this step, your madeleines with be a bit more heavy and dense.
- Make sure to chill the batter for at least 3 to 4 hours, but preferably overnight before baking the chocolate madeleines. This will not only help develop the chocolate flavor more but also give you a better overall texture in the cakes.
- To get the perfect madeleine hump, make sure the batter is very cold when it gets transferred in the oven and the oven is well pre-heated on a higher than usual temperature. Once the humps have appeared, you can drop the temperature to finish baking the madeleines.
- Melted chocolate can be more or less fluid, depending on the brand and type of chocolate used. If the chocolate you use for the shell is quite thick when melted, you may have to add a drop of oil to make it more fluid.
Storing & Freezing
The chocolate coated madeleines are best eaten within a day for texture but will last for up to 3 days. You can keep them at room temperature for a couple of days or in the fridge for longer. If it is hot where you live, you might want to keep them in the fridge so that the chocolate shell doesn't melt.
If kept at room temperature, I don't recommend storing them in a closed air-tight container or the madeleines will tend to become sticky as they absorb the moisture in the air.
Madeleines freeze really well, but I recommend freezing these ones without the chocolate shell. You can freeze them for up to a month, then once thawed (at room temperature for a few hours), you can coat them with the chocolate shell.
Made this recipe?
Let us know if you liked it by leaving a comment below, and tag us on Instagram @a.baking.journey with a photo of your creation!
Recipe
Chocolate Madeleines
Ingredients
- 50 gr Unsalted Butter
- 65 gr Plain / All-Purpose Flour
- 15 gr Unsweetened Cocoa Powder
- 1 teaspoon Baking Powder
- 1 pinch Fine Table Salt
- 1 large Egg - at room temperature
- 50 gr Caster Sugar
- 40 ml Full Cream / Whole Milk
- 75 gr Dark Cooking Chocolate - for the shell
Disclaimer
I highly recommend using the measurements in grams & ml (instead of cups & spoons) for more accuracy and better results.
Instructions
Chocolate Madeleines
- Melt the butter in the microwave (in a heatproof / microwave-safe bowl) or in a saucepan on the stove and set aside to cool down.
- In a large mixing bowl, sift together the flour, cocoa powder, baking powder and salt. Slightly mix to combine.
- In a separate large bowl, whisk together the egg and sugar for about 3 to 4 minutes or until the mixture has doubled in size, appears paler and has thickened (see note 1). Mix in the milk.
- Add the sifted dry ingredients mix and whisk until just combined. Pour in the cooled melted butter and whisk until you get a thick but smooth batter.
- Cover with plastic wrap touching the surface of the batter (see note 2). Place in the fridge and refrigerate for at least 3 hours - preferably overnight.
- Preheat your oven on 200 degrees Celsius / 390 degrees Fahrenheit. Generously grease a metal madeleine pan with soft butter.
- Transfer the chilled batter into a piping bag and cut out the tip to get an opening of about 1cm (1/2-inch) (see note 3). Pipe the batter into the prepared pan, filling each cavity about halfway up. It is really important not to overfill the mold as the madeleines will rise a lot in the oven.
- Place in the oven for 3 minutes then lower the temperature to 180 degrees Celsius / 350 degrees Fahrenheit and bake for an additional 4 to 5 minutes.
- Place on a wire rack and leave to cool down for 10 to 15 minutes before gently lifting out the cocoa madeleines. Let the madeleines cool down completely.
Chocolate Shell
- If using a chocolate bar, finely chop it first. Place in a heat-proof bowl and melt until very smooth and fluid, either in the microwave in 30 seconds increments or over a double-boiler (see note 4).
- Using a teaspoon, pour the melted chocolate inside the madeleine pan cavity (about 1 teaspoon of chocolate per cavity; more or less depending the size of your pan). Spread the chocolate around almost all the way to the top of the cavity using the back of the spoon.
- Gently press a madeleine over the chocolate and slightly wiggle it around to make the melted chocolate rise up and insure its bottom is fully coated.
- When all the madeleine have been coated, place the madeleine pan in the fridge for 30 minutes then in the freezer for 15. When the shells have completely set, the madeleines should easily pop out of the mold (see note 5)
Tried this recipe? Make sure to leave a comment and star rating below!
Notes
- I whisk the egg / sugar by hands with a whisk, but you can also use a hand mixer or make the batter straight into the bowl of a stand mixer fitted with the whisk attachment. You will want to switch to the paddle attachment when you add the dry ingredients later on.
- Alternatively, transfer the batter into a smaller airtight container or smaller bowl first.
- This is optional and you could scoop the batter into the pan instead if you don't want to use a piping bag. Using a piping bag simply makes it easier to get an even amount of batter into each mold.
- If you find that the chocolate you are using is quite thick once melted (this could happen based on the chocolate brand and type), you might want to add a drop of neutral oil to make it more fluid.
- If the madeleines don't easily come out of the mold, use a small blunt knife to gently lift them out.

