
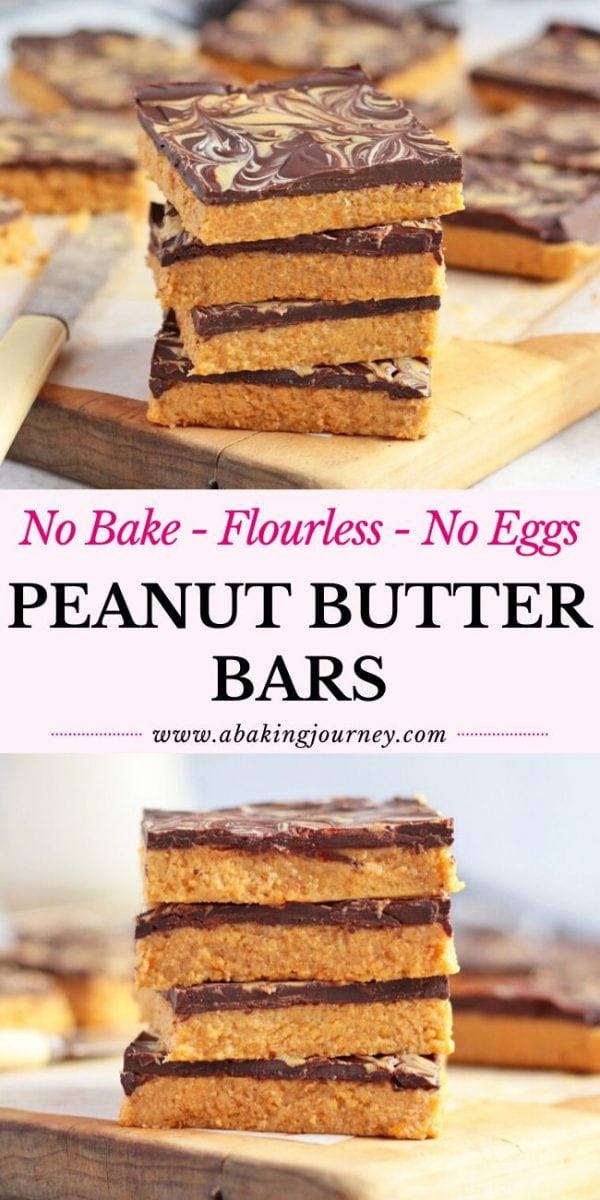
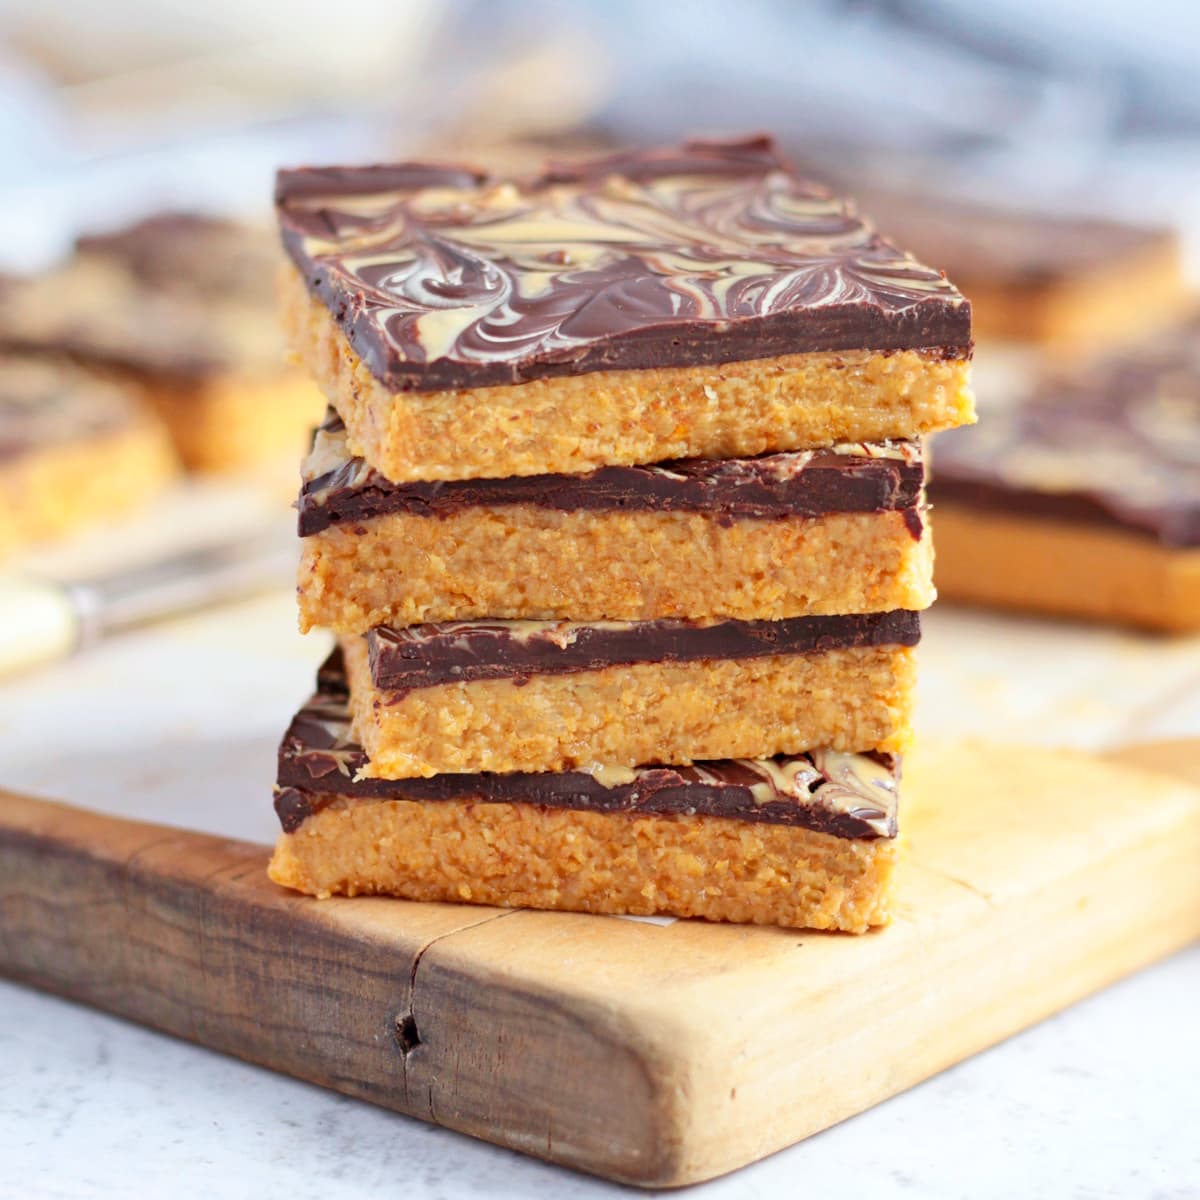
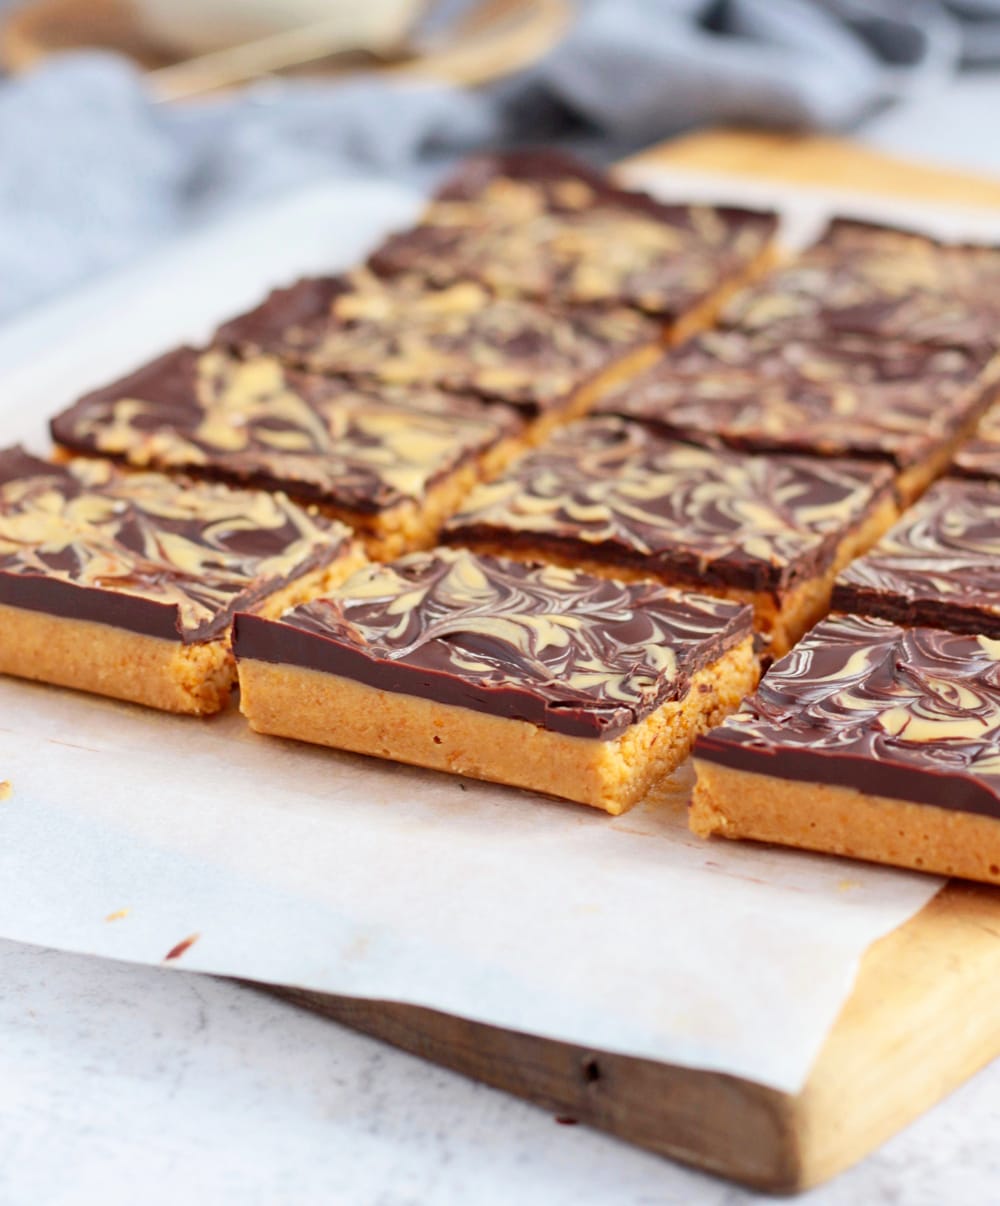
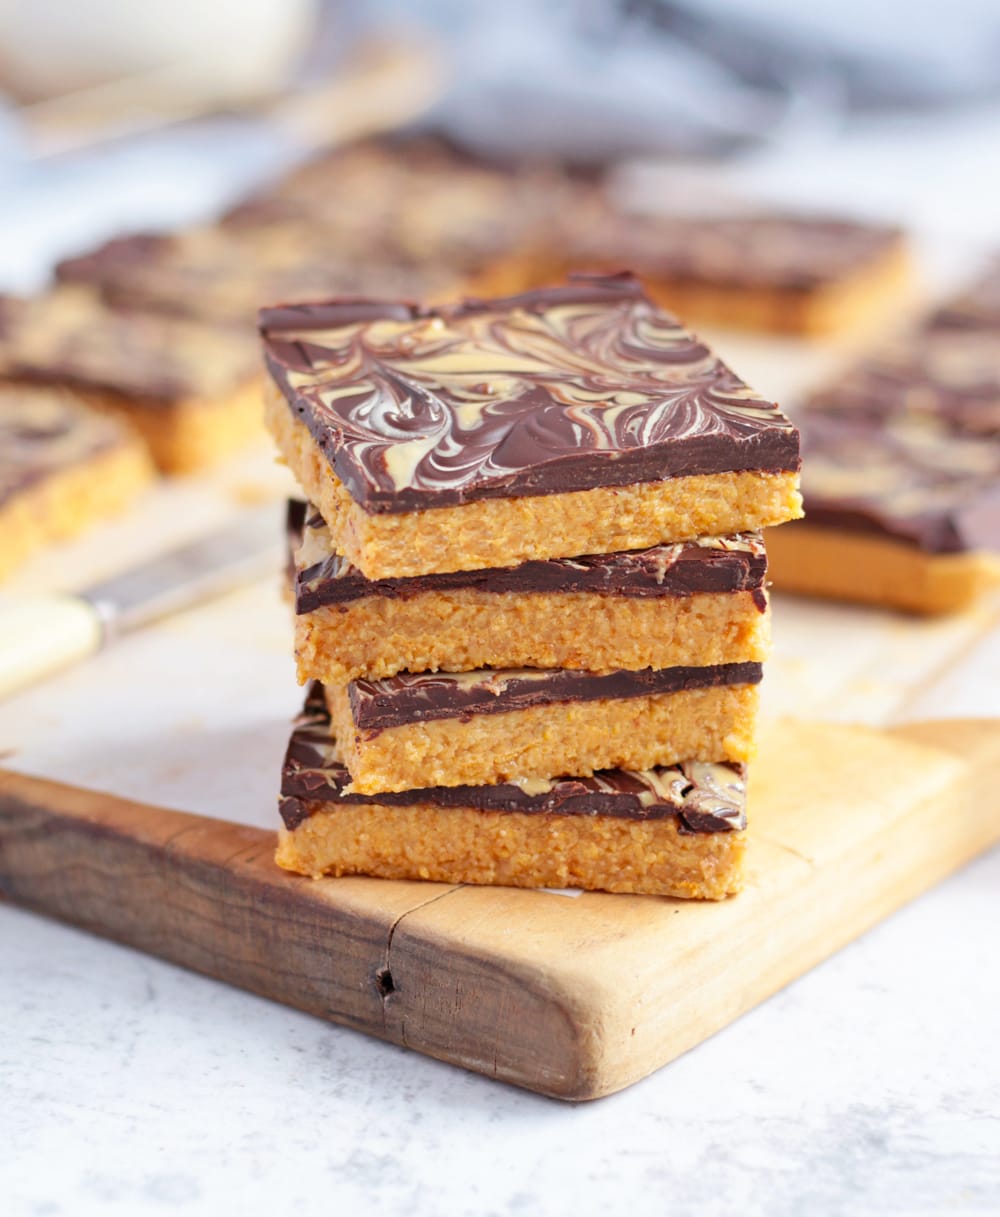
These No Bake Peanut Butter Bars with Chocolate Ganache and Peanut Butter Swirl are the ultimate sweet treats. Not only super simple and easy to make, they are also Flourless Candy Bars made with No Eggs, No Oven and 5 Ingredients only!!
Why we love this recipe
I just simply love a good No bake Peanut Butter Dessert or Sweet Treat: Peanut Butter Energy Balls, No Bake Peanut Butter Cookies, you name it - I'll eat it! Peanut Butter is probably one of the best ingredient to use to make No Bake Treats.
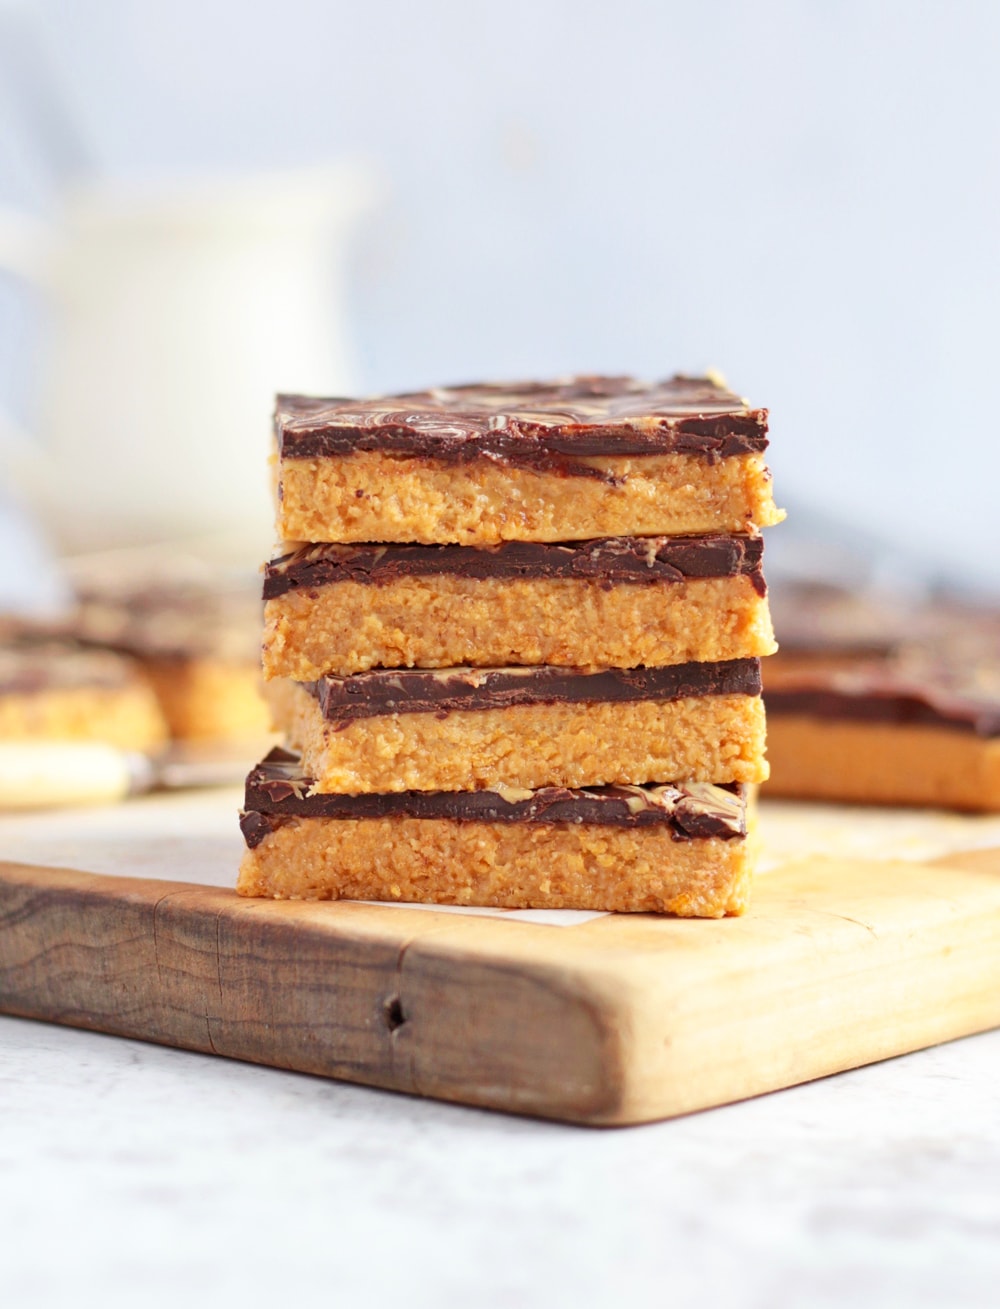
Now mix the Peanut Butter with Chocolate and you have a true winner, just like my Chocolate Peanut Butter Muffins. Add some crunchy cornflakes to it and you get the perfect mix of crunchy, soft, chewy and chocolaty! A combination that I love so much, I also turned these bars into decadent Chocolate Peanut Butter Balls!
This No Bake Cornflake Recipe with Peanut Butter and Chocolate makes a delicious morning and afternoon tea sweet treat or all-day sweet snack both kids and adults will love.
Ingredients
You know what I love the most about this Chocolate Peanut Butter Bars recipe? It only requires 5 ingredients, no flour and no eggs! With basic ingredients most of you will already have in their pantry/fridge, these bars are super easy to make.
For the Peanut Butter Slices
The base layer of the bars is the crunchy peanut butter layer. Most no bake peanut butter bars are made with Graham Crackers, but not these ones! Instead, they are made with Cornflakes - which brings a delicious crunch to the base layer of the bars.
To make the peanut butter layer, you will need (see all quantities below):
- Cornflakes - make sure they are Gluten-Free certified if required
- Unsalted Butter - or go for salted if you like the sweet/savoury flavour!
- Peanut Butter - I used a smooth one but you could also use a crunchy peanut butter for even more crunch
- Icing Sugar - or powdered sugar
For the Chocolate Layer
Only 2 ingredients are required to make the top layer:
- Dark Cooking Chocolate - I used a 70% Cooking Chocolate
- Peanut Butter - preferably smooth to create a clean swirl pattern
Ingredient Substitution
Another great thing about this recipe is that it is very forgiving. You can easily substitute ingredients and tools and end up with a delicious treat.
This recipe can also be very easily adapted to suit many dietary requirements, since it is already made without flour or eggs.
- Cornflakes - you could basically use any crushed/blended breakfast cereal flakes instead, although it could affect the crunchy texture of the bars. Alternatively, you could also use crushed biscuits or crackers.
- Butter - to make this recipe dairy-free and/or vegan, you could use a plant-based spread or Coconut Oil.
- Peanut Butter - want to try something a bit different? Simply use any nut butter instead! You could for example make these bars with Almond Butter, Cashew Butter or even Tahini!
- Icing Sugar - although some recipes use maple syrup or honey instead of icing sugar, I have not personally tested this recipe with a liquid sweetened. I don't recommend substituting this ingredient.
- Dark Chocolate - I personally love Dark Chocolate (70% preferably!) but you can absolutely use a not-so-dark cooking chocolate, or even go for Milk Chocolate if preferred. The bars are not very sweet so using a sweeter chocolate can be a good option if you are looking for a 'sweet' sweet treat.
If you love peanut butter and chocolate together, why not try my Chocolate Chip Peanut Butter Blondie Bars!
Would you like to save this recipe?
How to make Peanut Butter Bars without Graham Crackers
This recipe may not use Graham Crackers like many other peanut butter no bake bars recipes (you simply cannot find graham crackers in Australia!), but it is still made the exact same way.
The process can be summed up in 3 main steps:
- Crush the cornflakes, prepare the peanut butter layer and refrigerate until set
- Cover with melted chocolate
- Create the peanut butter swirl pattern.
Cornflakes Peanut Butter Layer
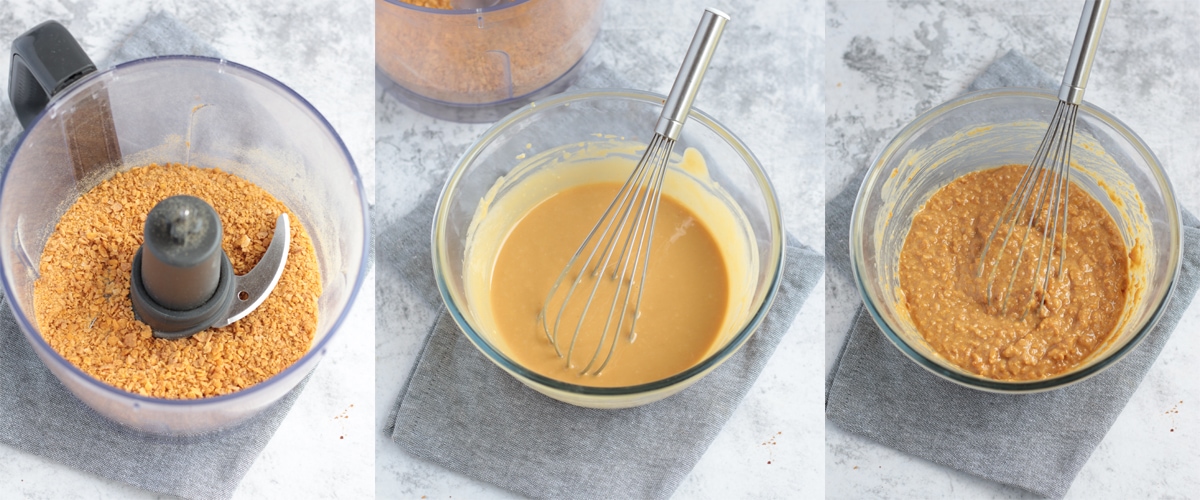
- Firstly, you will need to crush the Cornflakes. That can be done by hands (put them in a sealed bag and use a rolling pin to crush them), but I have found that the easiest and quickest way to crush them is with a food processor.
To get the right consistency, blend for 1 to 2 minutes or until you get small crumbs. Don't process too much or you will end up with a powder that will bring no crunch. Don't under-blend either, or the bars will be hard to slice.
- Secondly, melt the Butter and Peanut Butter together and mix until smooth, then whisk in the Icing Sugar.
- Lastly, add the crushed Cornflakes to the liquid batter and mix together.
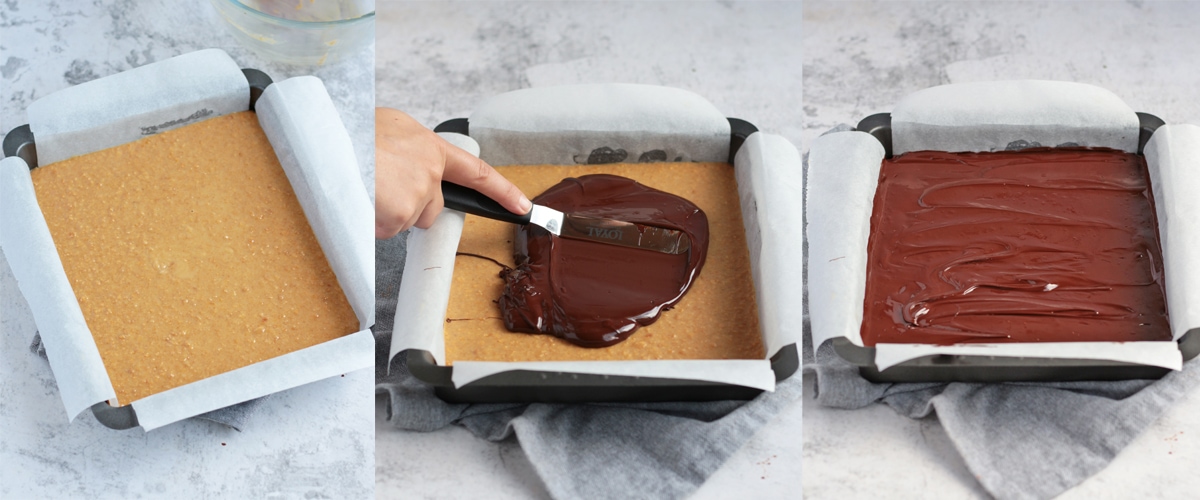
- Once your peanut butter batter is ready, simply pour it into a baking tray lined with baking paper - I used a 20x30cm (8x12inch) brownie pan but you could use a smaller pan for thicker layers.
- Tap the pan against a hard surface to remove any air bubbles, then place it in the fridge to set for 1 to 1,5 hours, or until hard.
Dark Chocolate Layer
The second main step is to melt the chocolate and pour it over the peanut butter layer. The best way to melt chocolate is over a double boiler (or 'bain-marie').
- To make a double boiler, bring a little bit of water to boil in a small pot. Chop the chocolate and put in in a heat-proof bowl. Place the bowl over the boiling water - but making sure the water does not touch the bottom of the bowl. Stir until the chocolate has melted.
- Alternatively, you can melt the chocolate in the microwave but be careful not to burn it. To avoid burning the chocolate, stop to stir every 30 seconds until almost fully melted. Then leave at room temperature - the residual heat will melt the rest of the chocolate.
Once your chocolate is liquid and smooth, pour it over the cool peanut butter layer. Use an offset spatula to spread it evenly over the peanut butter.
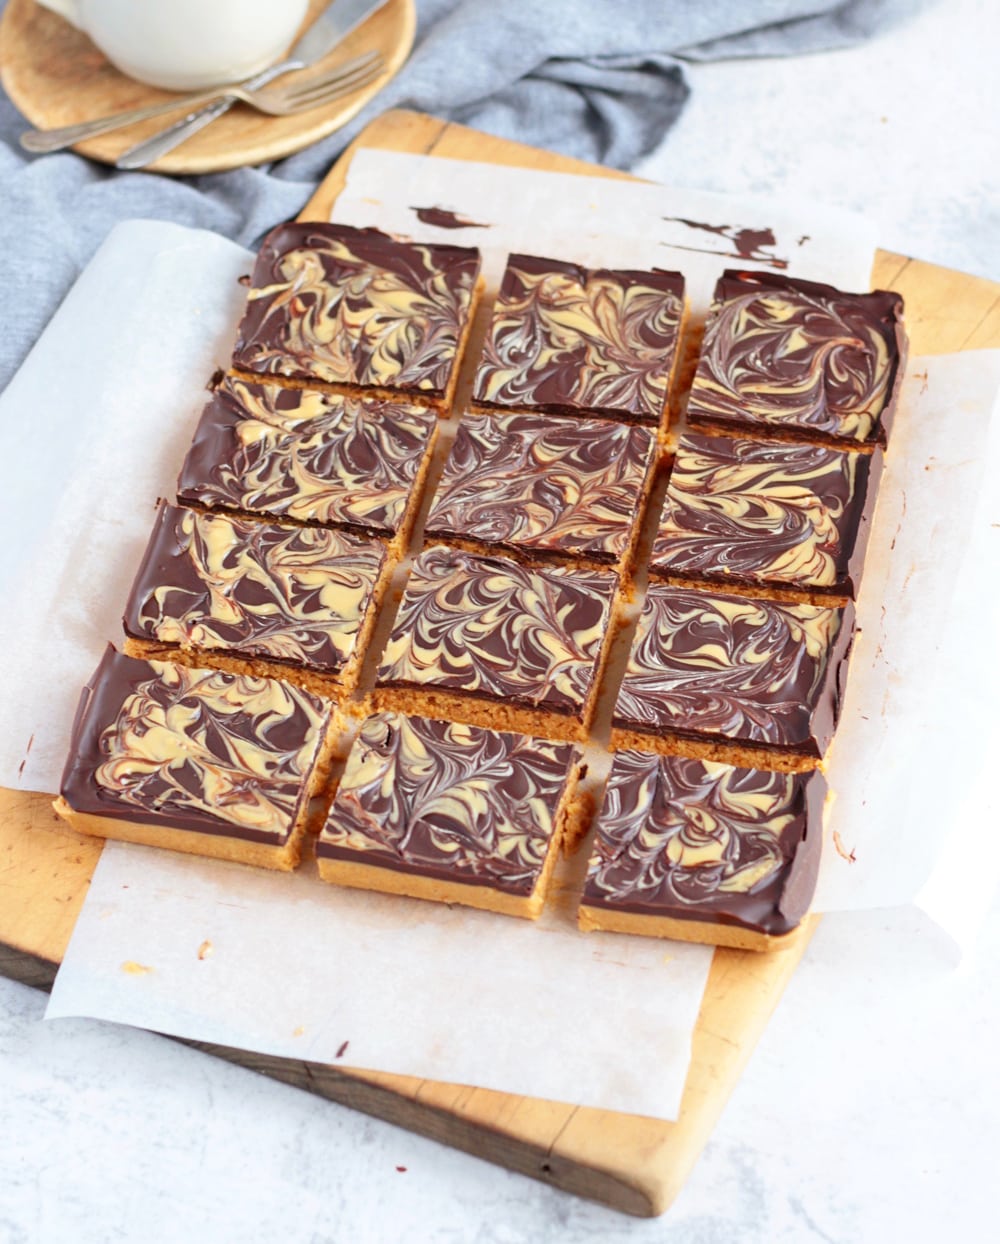
Peanut Butter Swirl
The last step is the Peanut Butter Swirl. This step is actually optional, and you could absolutely mix the peanut butter with the melted chocolate instead. Or omit the peanut butter altogether if you only want a chocolate topping.
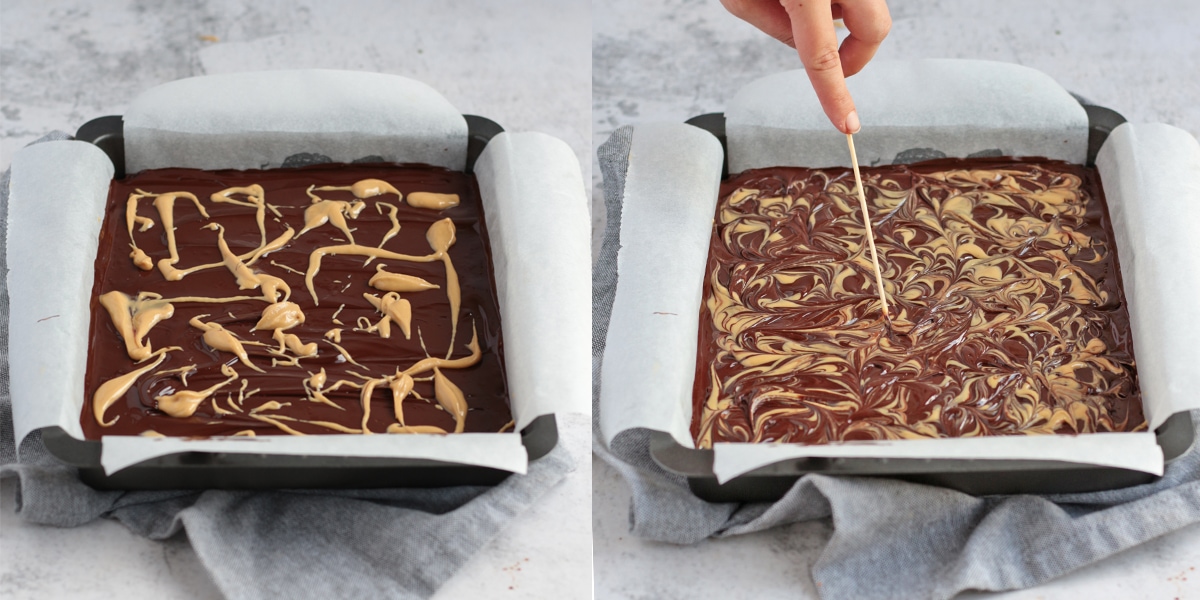
But I love how pretty swirls always look in chocolate, so let's make this peanut butter swirl! To create that pattern, drop small dollops of peanut butter over the chocolate while still warm and fluid.
Use a skewer or small knife to mix the chocolate and peanut butter and create the swirl pattern.
Lastly, place it all back in the fridge to set completely - about 1 to 1,5 hours depending on how thick the chocolate layer is.
Recipe FAQ
These no bake bars should be kept in the fridge as they will melt relatively quickly. The good news though is that they will keep in the fridge for 3 to 4 days, if not more!
To make sure they do not absorb any odour from the fridge, cover them with wrap or foil - or store them in an air-tight container.
I do not recommend freezing these bars, as they will loose their initial texture and become soggy.
More No Bake Peanut Butter Desserts:
- Salted Caramel Oat Squares from Tastes of Homemade
- Cranberry Oat No Bake Bars from Spabettie
- Vegan No Bake Mango Cheesecake
- Raw Crispy Chocolate Cups
- No Bake Blueberry Tartlets
- Raw Raspberry Cheesecake Cups
Made this recipe?
Let us know if you liked it by leaving a comment below, and tag us on Instagram @a.baking.journey with a photo of your creation!
Recipe

No Bake Peanut Butter Bars with Chocolate
Ingredients
Crunchy Peanut Butter Layer
- 150 gr (3 1/2 cups) Cornflakes
- 120 gr (1/2 cup) Unsalted Butter
- 240 gr (1 cup) Smooth Peanut Butter
- 50 gr (1/3 cup) Icing Sugar, or Powdered Sugar
Chocolate Layer
- 200 gr (7oz) Dark Cooking Chocolate
- 30 gr (2 tbsp) Smooth Peanut Butter, or to taste
Instructions
Crunchy Peanut Butter Layer
- Line a rectangular baking tray (1) with baking paper and set aside (2).
- Place the Cornflakes in your food processor and blend for 1 to 2 minutes to get small crumbs (3).
- In a separate bowl, melt together the Unsalted Butter and Peanut Butter. Whisk in the Icing Sugar, then add the Cornflakes. Stir until combined.
- Pour the mixture in the baking pan and evenly spread - it will be relatively liquid and should spread easily.
- Tap the bottom of the pan a few times against a hard surface to remove any air bubbles then Place in the fridge to set for 1 to 1,5 hours, or until hard.
Chocolate Layer
- When the peanut butter layer has set, start preparing the chocolate layer. Thinly chop the Cooking Chocolate and place in a heat-proof bowl. Melt on a double boiler until smooth (4).
- Pour the melted chocolate over the peanut butter layer and use an offset spatula to spread it evenly.
- Drop small dollops of peanut butter over the melted chocolate, then use a skewer (or knife) to mix the chocolate and peanut butter together and create a swirl pattern.
- Place back in the fridge to set for 1 to 1,5 hours, or until the chocolate has hardened. Keep refrigerated.
Would you like to save this recipe?
Notes
- I used a 20x30cm (8x12inch) brownie pan - you can use a square pan too, the layers will just have a different thickness.
- To make sure the baking paper does not move, grease the pan with some oil to use as a 'glue'. I also cut the baking paper into a cross shape to keep clean edges.
- Make sure you do not blend the cornflakes so much that it turns into a powder - you still want small crumbs to create a crunchy texture. If the cornflakes are not blended enough though, it will be hard to slice the bars.
- You can also melt the chocolate in the microwave, but be careful not to burn it. To do so, stop every 30 seconds to stir until a few unmelted bits are left. Leave the rest to melt at room temperature with the residual heat.


