
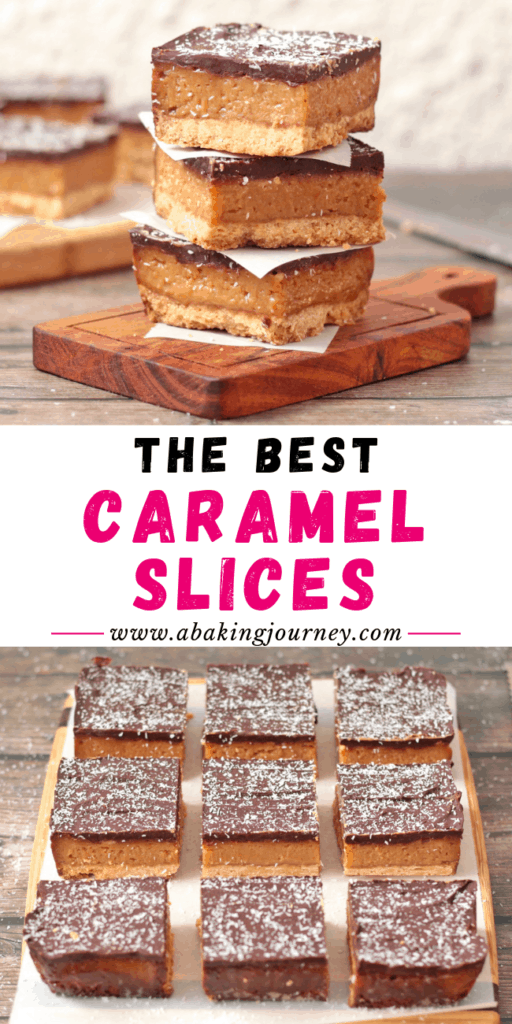
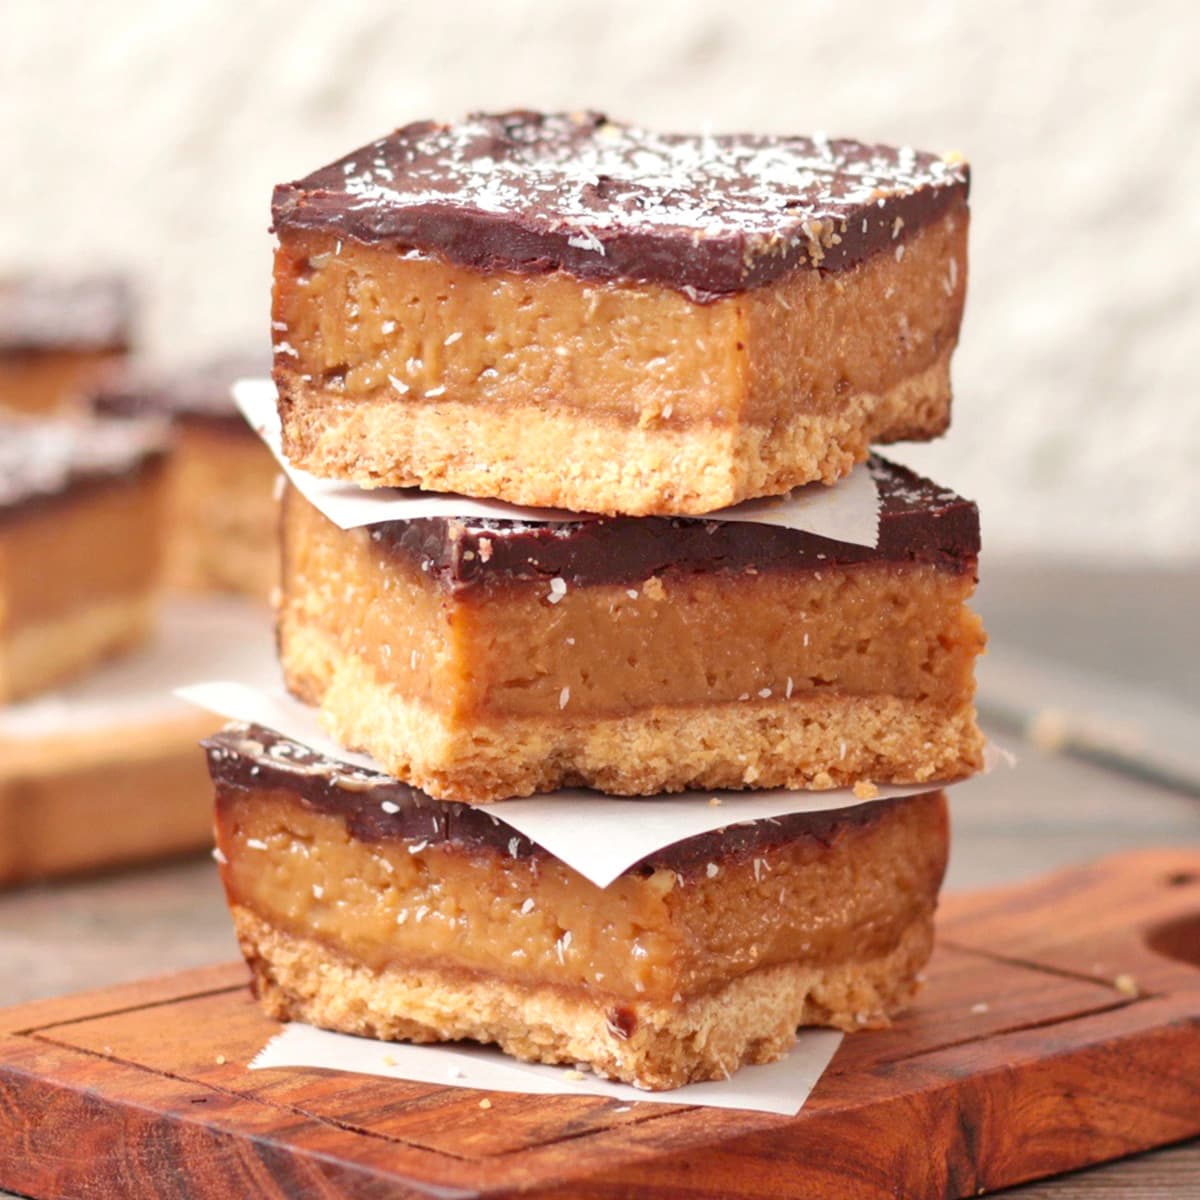
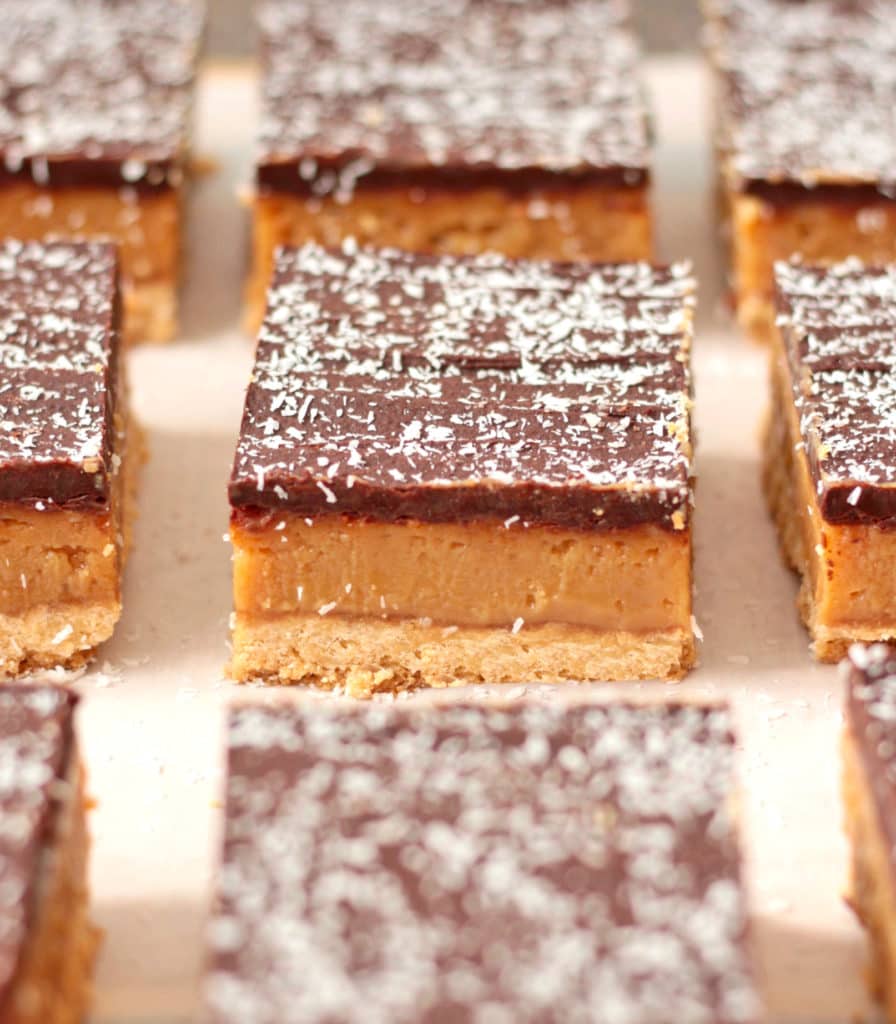
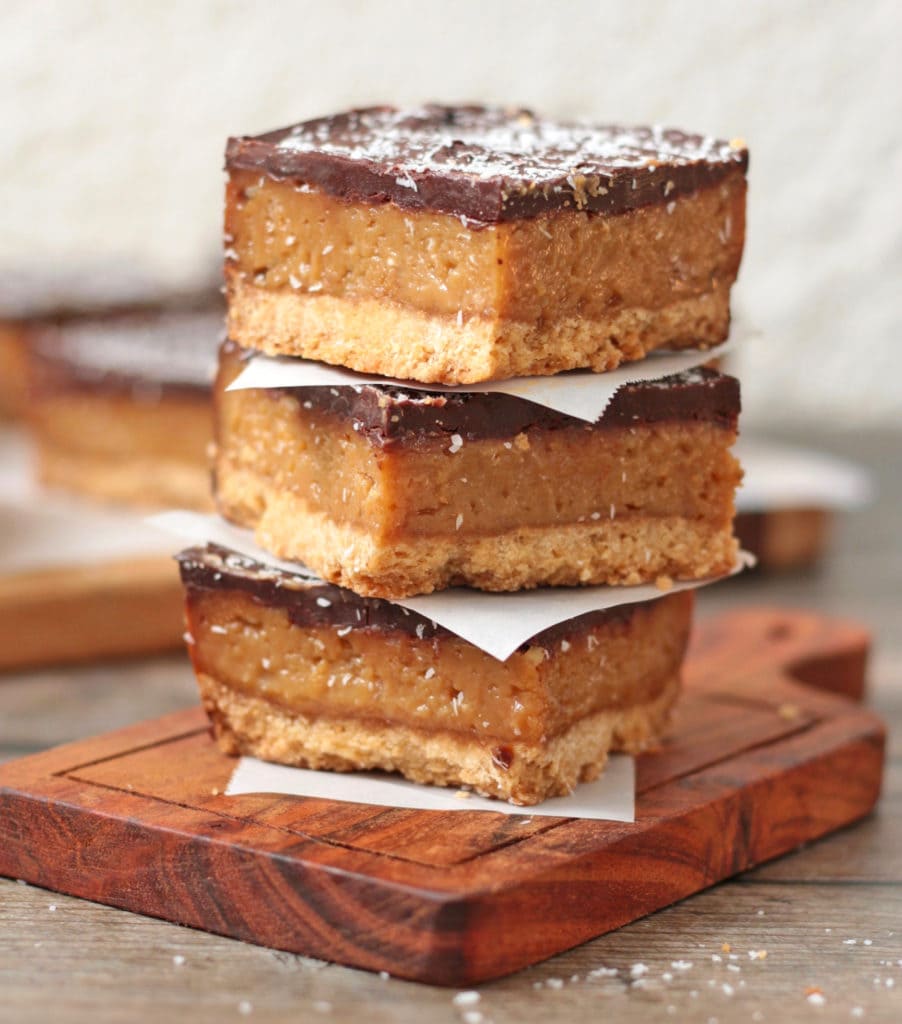
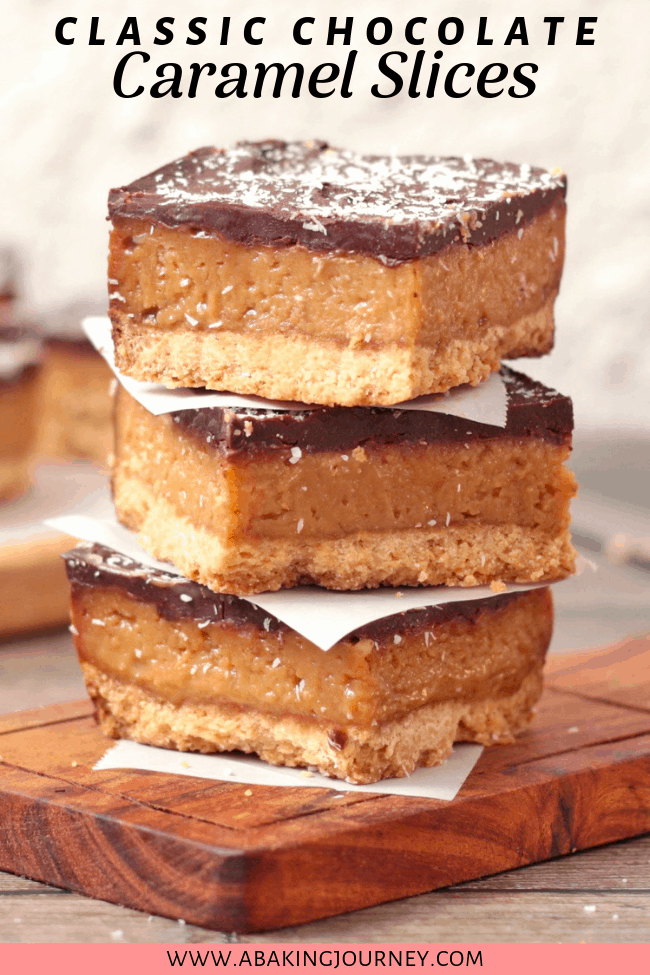
A crunchy biscuit base topped with a thick and chewy caramel layer and finished with a touch of dark chocolate: these Chocolate Caramel Slices - aka Millionaire's Shortbread - are the ultimate afternoon tea snack your kids (and you) will adore!
Why we love this recipe
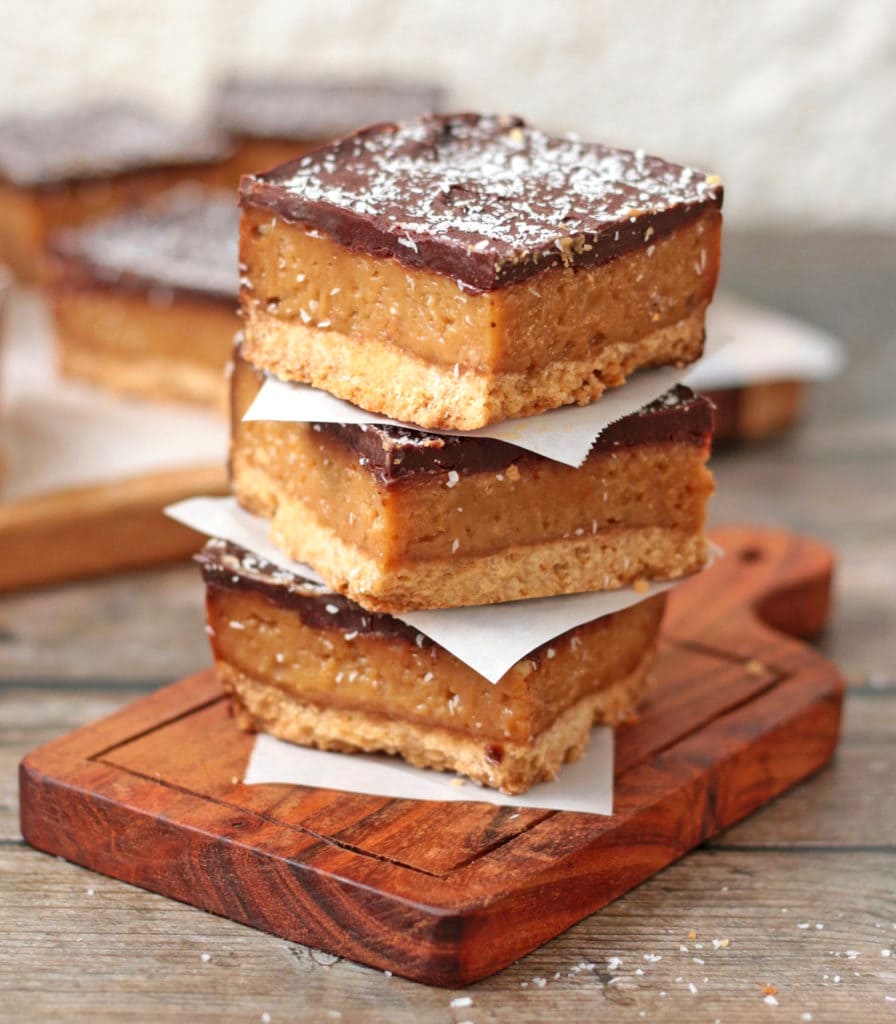
These Caramel Slices topped with a layer of Dark Chocolate are what sweet dreams are made of. They are the perfect combination of sweet, crunchy, gooey and chocolate-y - a seriously addictive mix of flavours!
There are three steps in making a Caramel Slice:
- the Biscuit Base
- a thick and gooey caramel layer made with Condensed Milk
- a layer of dark chocolate.
The first two elements needs to be baked then placed in the fridge to cool and set. Once the caramel layer has set, you can then pour the last layer of melted chocolate. After another 30 minutes or so in the fridge, the caramel slices are ready to be eaten!
Ingredients
Slice Biscuit Base:
- Plain Flour
- Brown Sugar
- Desiccated Coconut
- Melted Butter
Caramel Layer
- Sweetened Condensed Milk
- Brown Sugar
- Unsalted Butter
- Sea Salt (optional)
Many Caramel Slices recipes use a Golden Syrup as a sweetener for the caramel. But this is a recipe for Caramel Slice without Golden Syrup - the caramel is created with Brown Sugar instead.
Thick Chocolate layer
- Dark Cooking Chocolate
- Coconut Oil (or butter)
- Full Cream Milk
How to make Chocolate Caramel Slices
Caramel Slice Biscuit Base
Making the base for these slices is probably the easiest step. It really does not require any equipment of special technique at all!
To make the slices base, simply:
- Put the dry ingredients together in a heat proof bowl
- Melt the butter
- Pour the butter over the dry ingredients and gently stir with a spoon or a spatula until you get a homogeneous dough
Would you like to save this recipe?
Chewy Caramel Layer
The making of the chewy caramel layer is the trickiest part of the recipe, although it is still fairly simple. It requires to cook the three ingredients on the stove until they start to thicken.
- Place all the ingredients in a small pot on low heat until the butter has melted, then increase the heat to medium.
- Leave it to cool for 3 to 5 minutes, stirring occasionally until the preparation turns golden brown and starts to thicken.
Chocolate Topping
The last step is the dark chocolate layer that will finish the slices. To make it, you simply need to:
- Chop the Dark Cooking Chocolate into small pieces and place it in an heat-proof glass bowl with the rest of the ingredients
- Melt it in the microwave (or on a water bath), stopping every 30 seconds to stir until fully melted and glossy.
How to assemble the slices
Now that we know how to prepare all the different elements of these bars, let's see how to put them together.
First, prepare the Biscuit Base. When it is ready, place it in a square baking pan (9inch or 22cm) lined with baking paper. Pack it as firmly as possible at the bottom of the pan - you can use the bottom of a cup for example to firmly press the dough. Try to be as even as possible. Bake for about 12 minutes in the oven, then leave to cool slightly.
While the pre-baked base is cooling, prepare the caramel layer. When it is golden brown and thick, pour it over the pre-baked base and place it back in the oven for another 15 minutes.
If it still looks really liquid after that time, leave it for a little bit longer; it should be a little bit jiggly but mainly set and firm. Remove from the oven and leave to cool down on a cooling rack before placing in the fridge to set until completely cold (about 30 minutes to 1 hour).
Finally, when the caramel layer is cool (and more importantly, set), start making the chocolate layer. When the chocolate has completely melted, pour it over the caramel and use a silicone spatula to spread it evenly.
Optionally, you can sprinkle a little bit of desiccated coconut on top of the chocolate or even some Sea Salt. Lastly, place the slices back in the fridge for the chocolate layer to set - another 30 minutes or so.
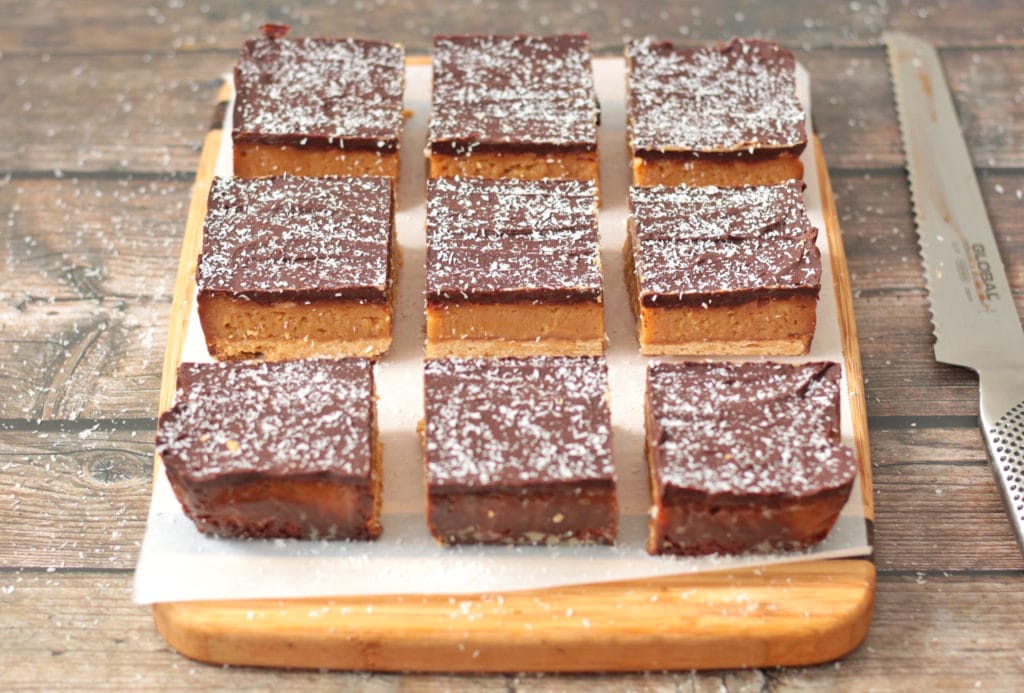
To cut the cake into slices, carefully place the whole preparation on a chopping board. Use a large knife (I have found that using a bread knife works best) to cut large bars, pouring hot water over the knife between each cut - that will help create cleaner slices.
Note that this recipe will make 9 large Slices, but feel free to cut them into smaller pieces.
More afternoon treat ideas:
- Double Chocolate Zucchini Muffins
- Lemon Blueberry Muffins
- Chocolate Raspberry Brownies
- Chocolate Brownie Bites
- Coffee Friands
- Jam Shortbreads from It's Not Complicated Recipes
- Easy Date Slices from Chef Not Required
- Dark Chocolate Florentine Cookies
- Dark Chocolate and Orange Brownies
Recipe
Chocolate Caramel Slices
Ingredients
Biscuit Base
- 150 gr (1 cup) Plain Flour
- 30 gr (2 1/2tbsp) Brown Sugar
- 50 gr (1/2 cup) Desiccated Coconut
- 120 gr (1/2 cup) Melted Butter
Caramel Layer
- 2 cans Sweetened Condensed Milk, (using 395gr / 14 oz cans)
- 50 gr (1/4cup) Brown Sugar
- 75 gr (1/3 cup) Unsalted Butter
- Sea Salt, to taste, optional
Dark Chocolate Layer
- 150 gr (5,5 oz) Dark Cooking Chocolate
- 15 ml (1 tbsp) Coconut Oil
- 30 ml (2 tbsp) Full Cream Milk
Instructions
Biscuit Base
- Preheat the oven on 180'C / 350'F. Line a Square 20x20cm / 8x8 inch pan with baking paper.
- Melt the butter in the microwave and set aside to cool down.
- In a bowl, mix the Plain Flour, Desiccated Coconut and Brown Sugar. Pour in the melted Butter and stir until combined.
- Put the biscuit base in the pan lined with baking paper and press to firmly pack the crust. You can use the bottom of a cup or a spatula to press the crust.
- Bake for 12 to 15 minutes then set aside to cool down.
Caramel Layer
- Pour the Sweetened Condensed Milk in a small saucepan with the Brown Sugar and Butter cut in small cubes. Leave on low heat until the butter has melted, then increase to a medium heat for about 3 to 5 minutes. Occasionally stir or whisk. When the caramel starts to get a golden colour and thickens, remove from the heat.
- Carefully pour the hot caramel sauce over the pre-baked base and place back in the oven for 12 to 15 minutes. The caramel should be a little bit jiggly but mainly firm.
- Remove from the oven and leave to cool for 15 to 20 minutes, then transfer into the fridge for another 30 minutes or until cold and set.
Chocolate Layer
- Finely chop the Dark Cooking Chocolate and place in a heat-proof bowl. Add the Milk and melt (see note 1). When fully melted, add the Coconut Oil and stir until combined.
- Pour the chocolate over the set Caramel Layer and place back in the fridge to finish setting for another 30 minutes.
- Optional: sprinkle some Desiccated Coconut or Sea Salt over the Chocolate Layer.
To finish the slices
- Remove the preparation from the baking pan and carefully place it on a chopping board. Dip a large knife in hot water and slice the cake into 9 larges pieces (or smaller ones if preferred). Keep in the fridge for up to 3 days.
Would you like to save this recipe?
Notes
- You can melt the chocolate on a " bain marie" or in the microwave.
- "Bain Marie": place the heat-proof bowl with the chocolate over a pot with a small quantity of simmering water. Stir until melted.
- In the microwave: melt in 30 seconds increments to make sure the chocolate does not burn, stirring well between each time.
Nutrition (per serving)

LaZiaRo says
these looks soooo yummy!!!! 😀 do you think it's possible to use something else instead of the condensed Milk? I'm not a fan of it...
A Baking Journey says
I have never tried to make it with something else than condensed milk so I can't really recommend anything to substitute it unfortunately! I read that you can make your own condensed milk from fresh milk if you would prefer to make yours instead of buy it though!
Ivana says
This looks delicious, thanks for sharing! I know few kids that will be happy to see me making it today 🙂
A Baking Journey says
I'm sure the kids will absolutely love them! Let me know how you go 🙂
Alexandra @ It's Not Complicated Recipes says
So truly delicious, Sylvie! I love caramel and chocolate - they're a match made in heaven! A great, classic recipe for all to enjoy.
A Baking Journey says
Thanks Alex, caramel and chocolate are such a perfect match!
Sally says
This is such a classic recipe! Takes me back to my childhood when everyone would gather together, all the mum's bringing a slice. Delicious!
A Baking Journey says
I love those recipes that bring up so many memories!
Kelly Anthony says
These chocolate caramel slices are simply stunning. These are sure to be a crowd favorite at my house.
A Baking Journey says
Thank you Kelly! It's one of those recipes that kids will love, and so will the parents 😉
Demeter says
I am loving all of those lovely layers! Not only a beautiful dessert but the best of all the flavors combined. Well done!
A Baking Journey says
Thanks Demeter, glad you liked the recipe!
Jess says
Anything with caramel and I'm hooked. Then you add a crunchy base! ..... I'm definitely trying!
A Baking Journey says
Caramel is so addictive, isn't it!?
Danielle Wolter says
I am drooling over there. They look so delicious - Millionaire shortbread is one of my favorite treats ever!
A Baking Journey says
Thanks Danielle - mine too!
Cat | Curly's Cooking says
These look so delicious. I love how thick your layer of caramel is. I could eat way too many of these! Thanks for sharing with #CookBlogShare.
A Baking Journey says
Thanks Cat! The thick layer of caramel is really what makes this recipe (and what makes it so addictive too hehe!)
Adrianne says
I want to eat it all Sylvie!! It looks soooooo good. Yum and great work.
A Baking Journey says
Thanks Adrianne, it's one of those recipe you simply cannot stop eating 😉