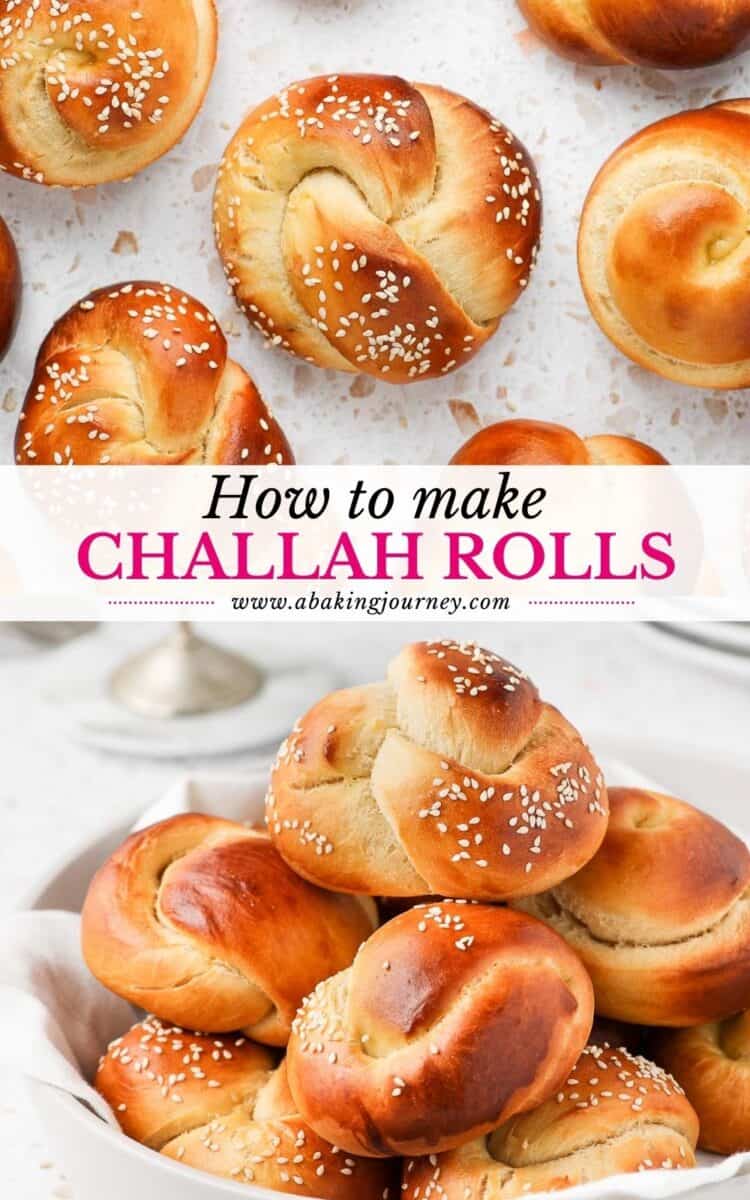
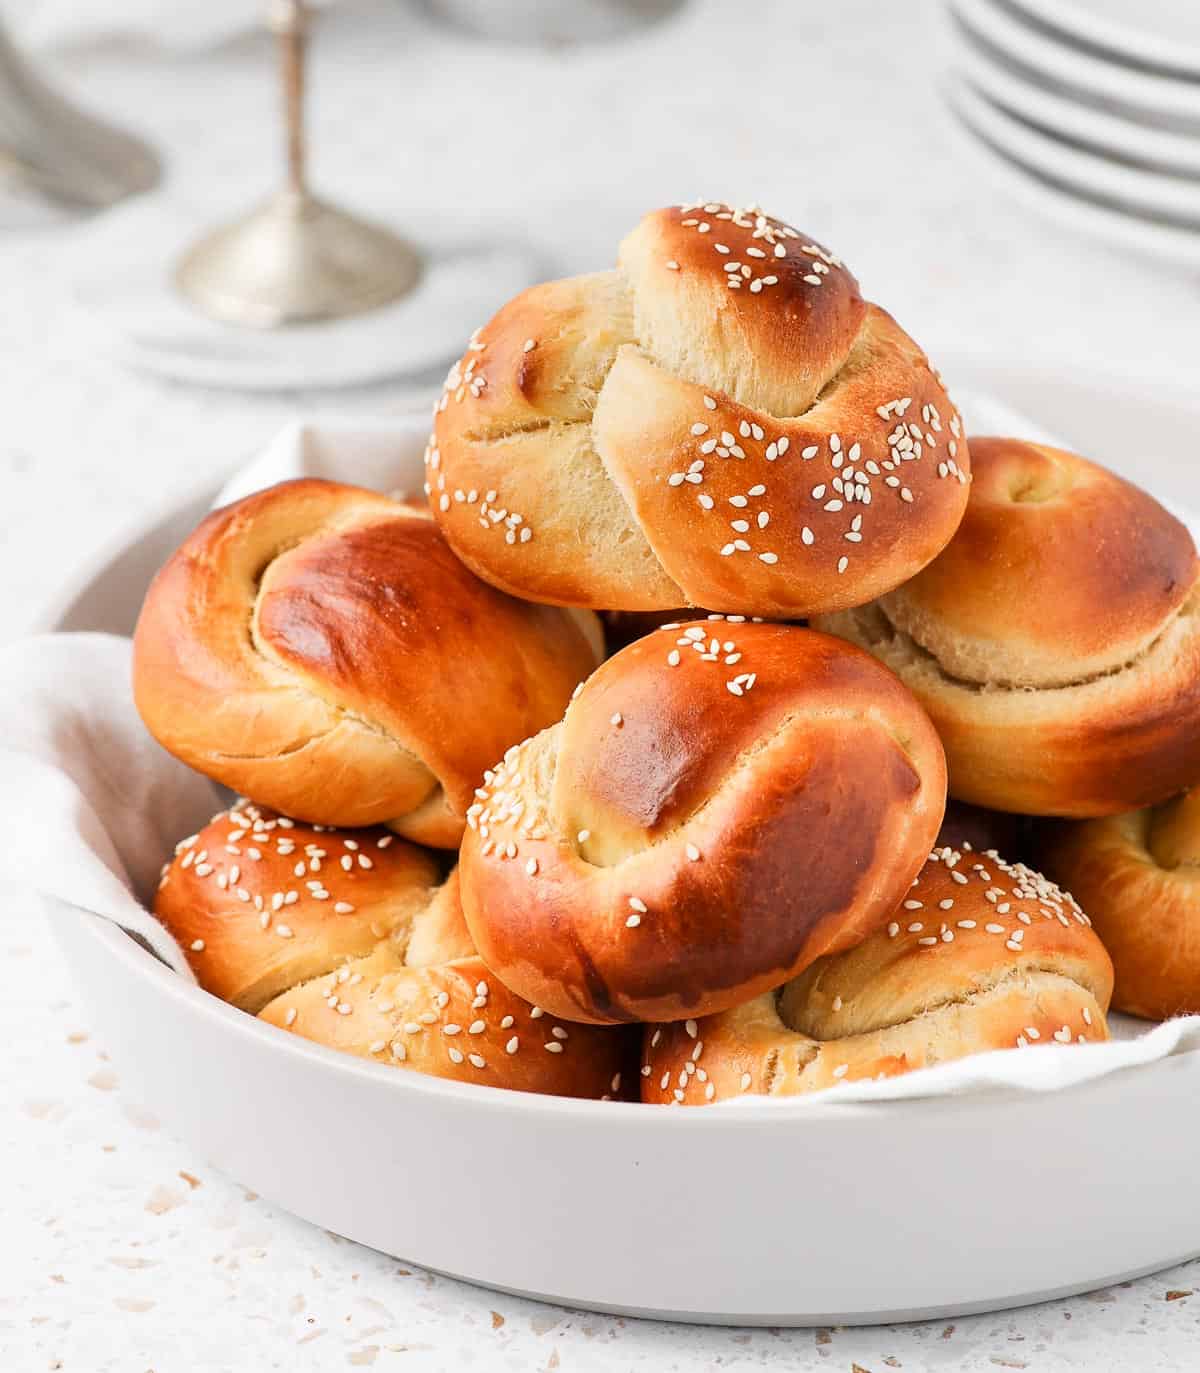
These Mini Challah Rolls are deliciously soft, fluffy and slightly sweet. They are perfect for Shabbat dinner, Holidays celebration or served as dinner rolls. This recipe will show you exactly how to make challah buns step-by-step, and four different techniques to shape them.
Jump to:
Why we love this recipe
Nothing says "quality family time" like Challah. Served every Friday nights for Shabbat at my house, this delicious sweet enriched bread tastes like family to me.
These challah rolls are a fun twist on the classic large braided braid served for Shabbat and the Jewish Holidays. Instead of sharing one large loaf, simply serve these individual challah buns to each of your guests!
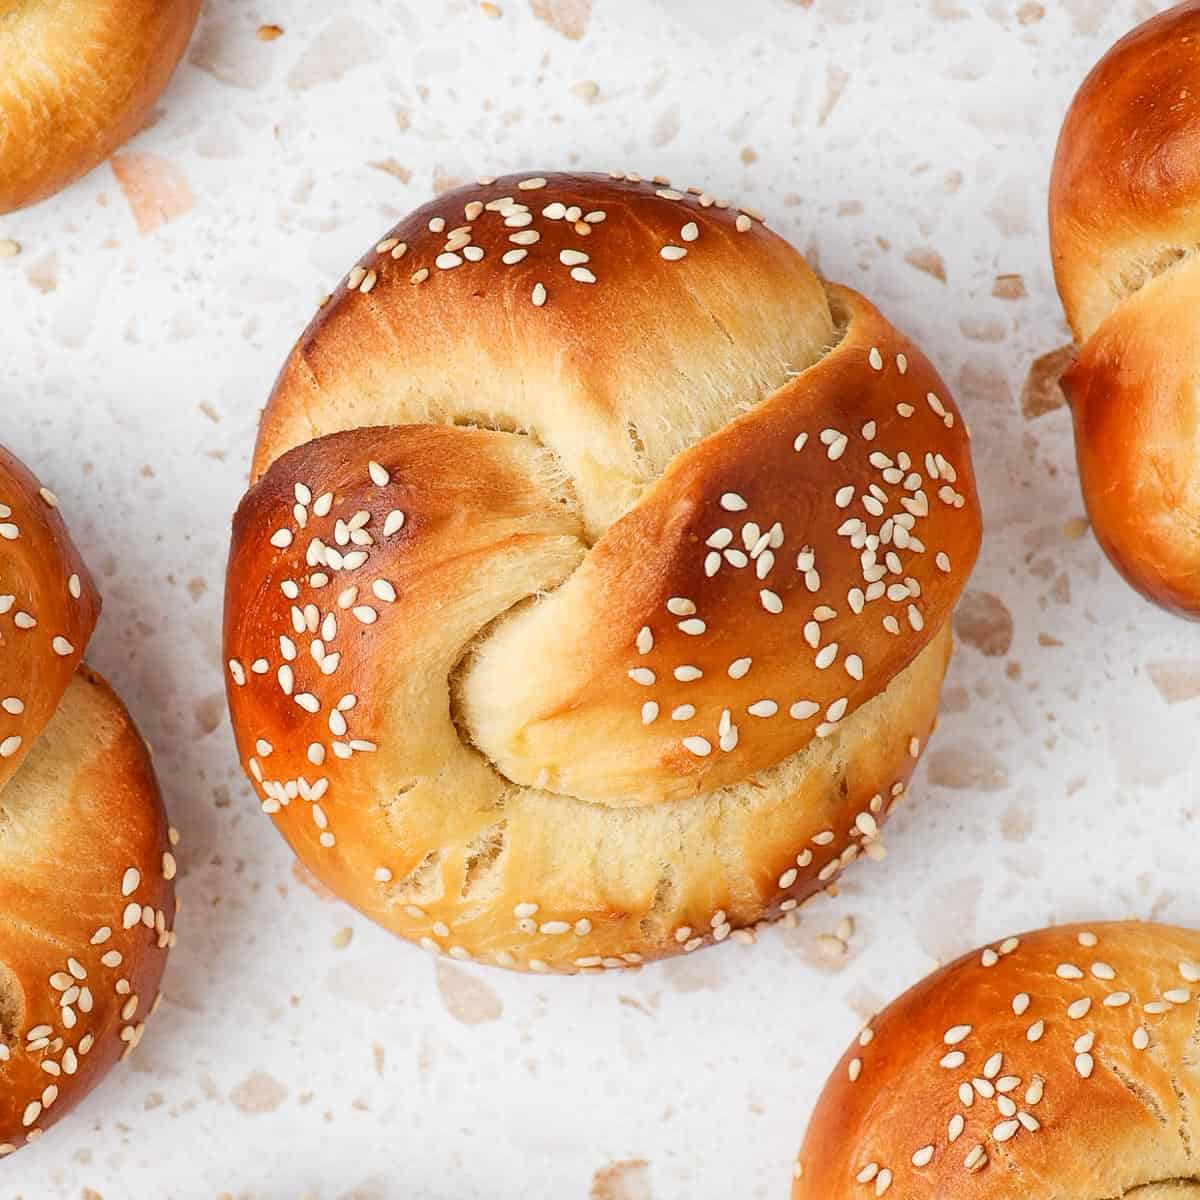
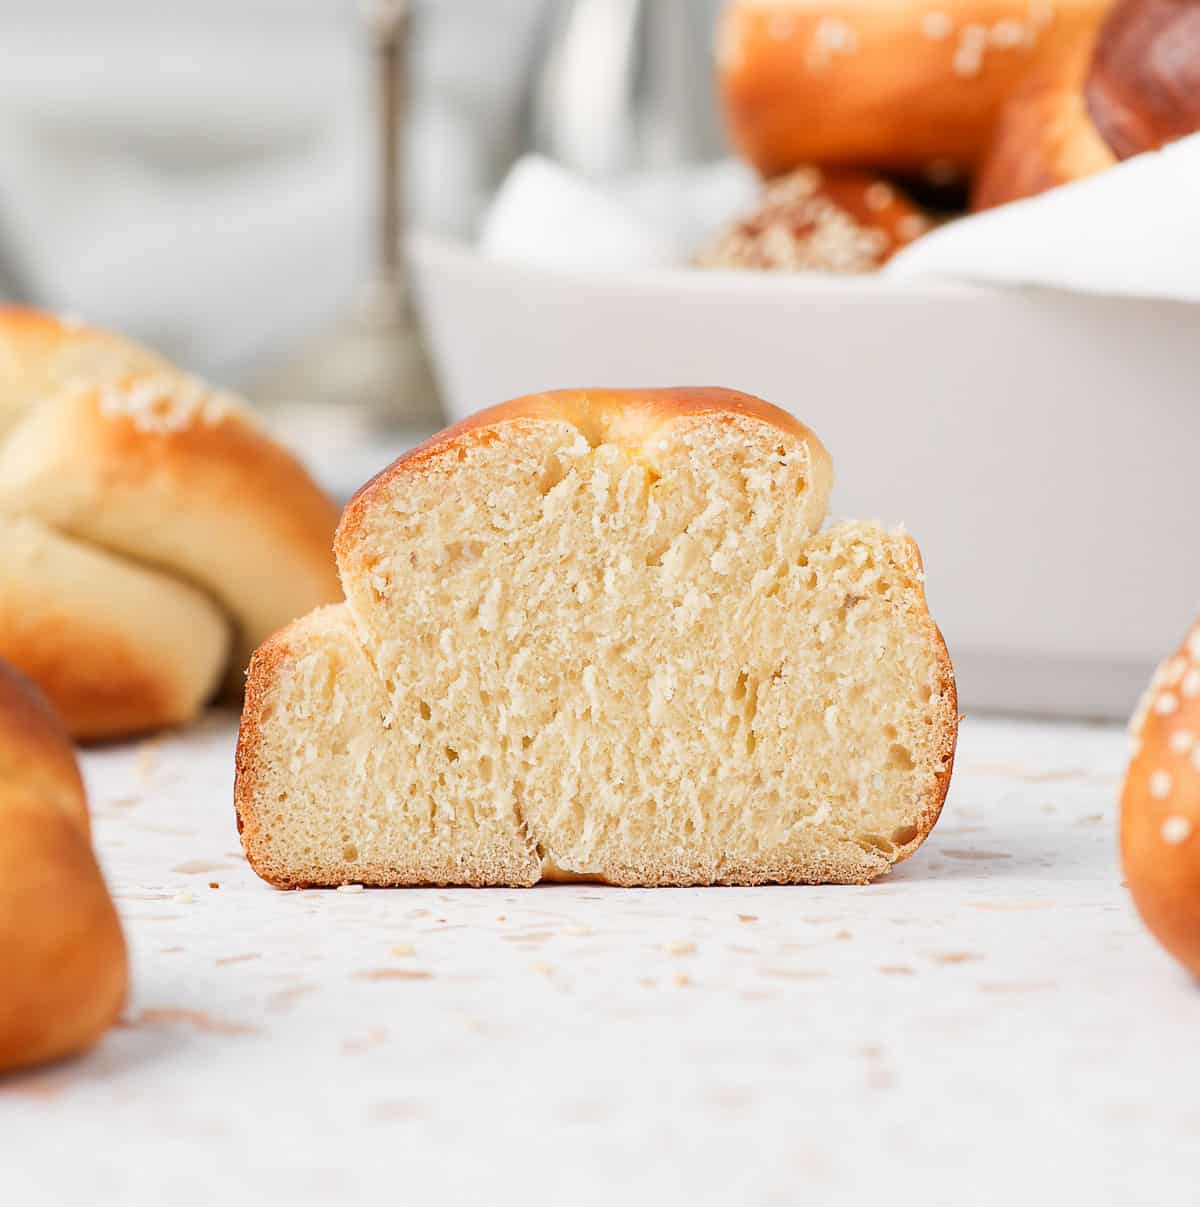
This mini Challah Rolls recipe gives you an incredibly light, fluffy and slightly sweet bread bun. The golden exterior has a great bite while the centre remains extremely soft. Top them with your favourite toppings like Sesame Seed or Poppy Seed for added crunch.
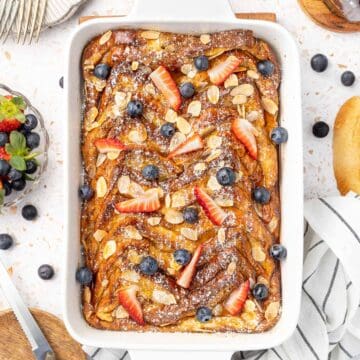
The rolls are great served on their own as dinner rolls but also make the most incredible French Toast the next morning. They can even be used as sliders or burger buns.
Ingredients
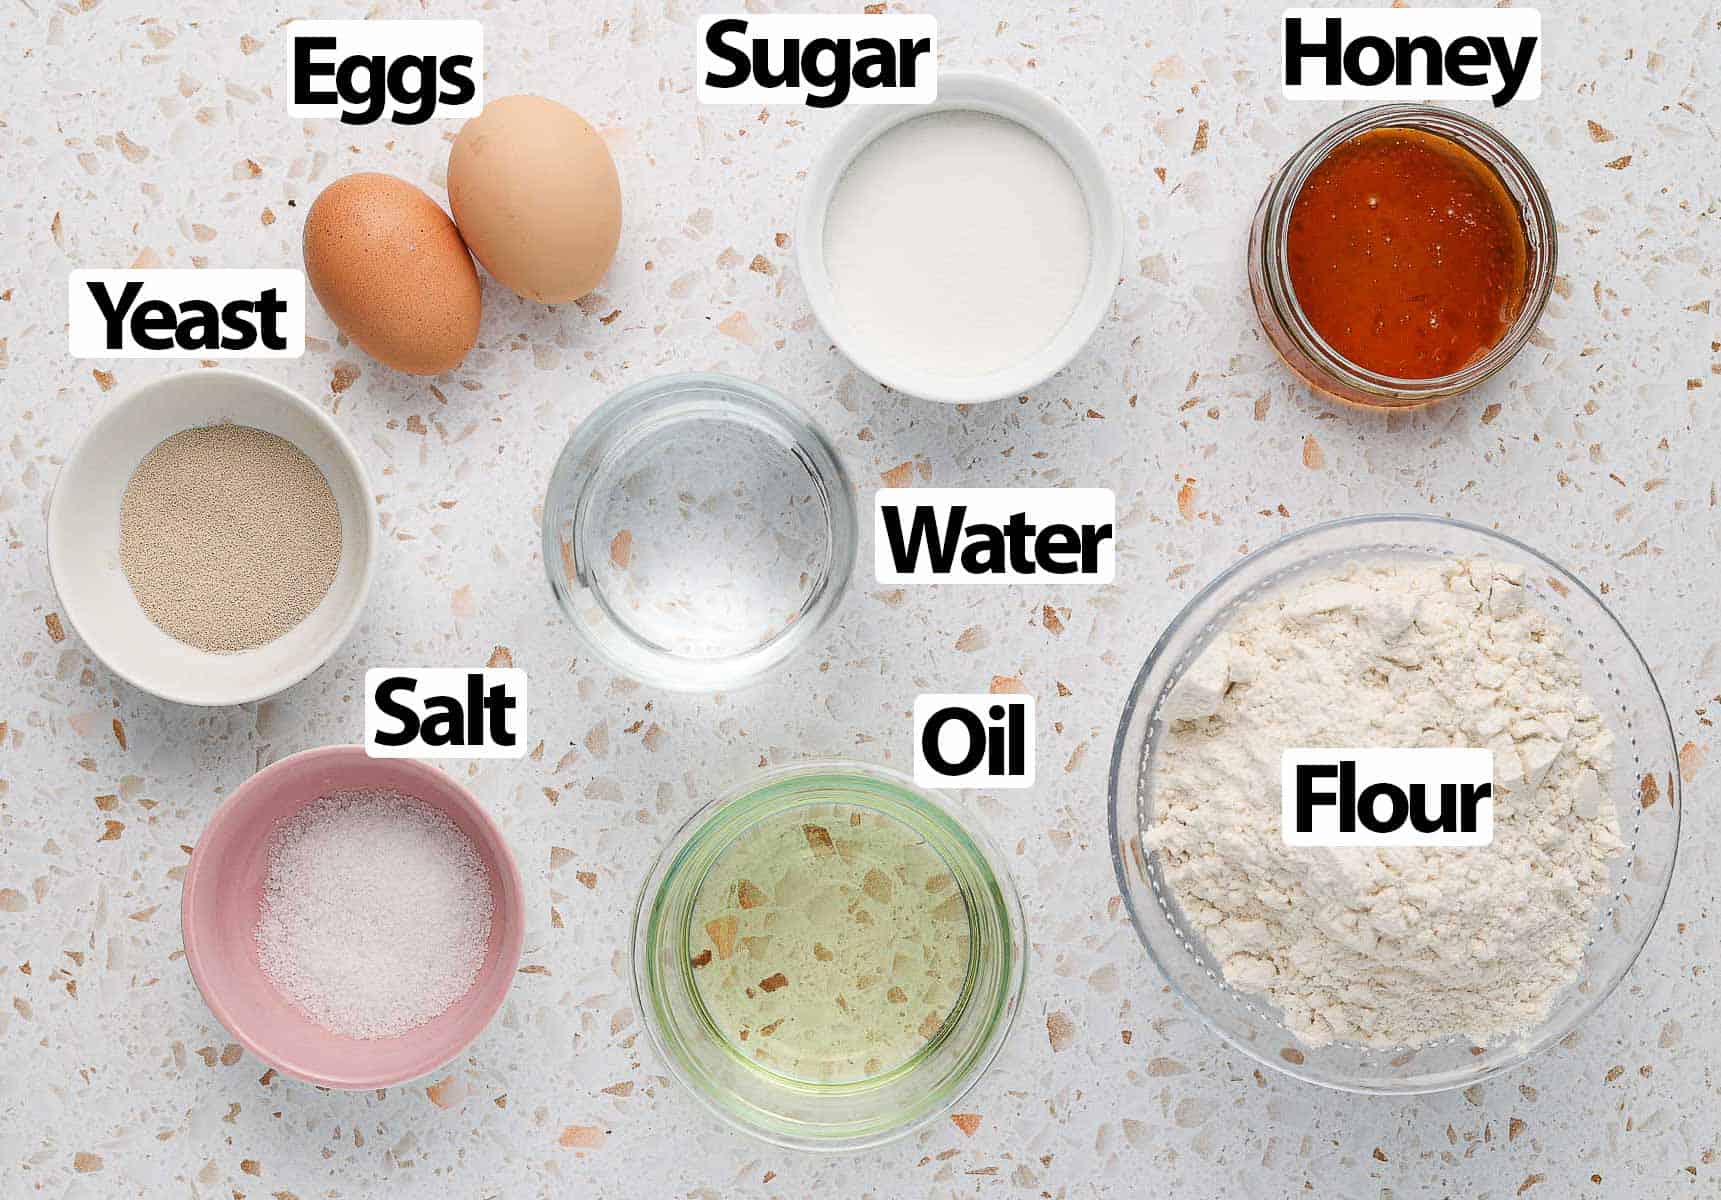
Challah dough is a type of enriched yeasted dough that is very similar to Brioche, except it is made with no dairy. Scroll down to the recipe card below for all quantities:
- Water: lukewarm, around 35 degree celsius (95'F). Make sure the water isn't too hot or it might kill the yeast.
- Yeast: I used Instant (dry) Yeast, but you can also use Active Dry Yeast. Simply make sure to make to properly bloom the active dry yeast in the water.
- Eggs: Medium size and at room temperature. I have not tried this recipe with an egg replacer but there are lot of vegan challah recipes around if preferred.
- Honey: what makes this recipe special is the use of Honey. It adds a delicious sweet, floral taste to the challah. It can be substituted with Maple Syrup if needed.
- Oil: I used Canola Oil, but any type neutral flavoured cooking oil will work as well.
- Flour: one of the particularity of this type of enriched bread is that it is made with Plain / All-Purpose Flour instead of bread flour. This gives you a lighter, softer crumb.
Optional Additions
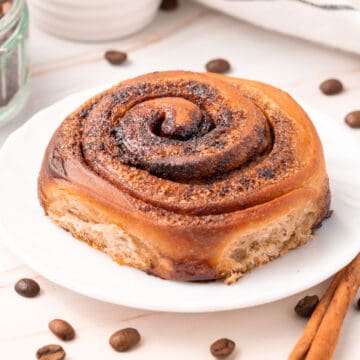
This basic challah bread recipe can be customised with the addition of your favourite ingredients. You can for example add a little of Cinnamon in the dough or some Raisins!
How to make Challah Rolls
Challah Bread Dough
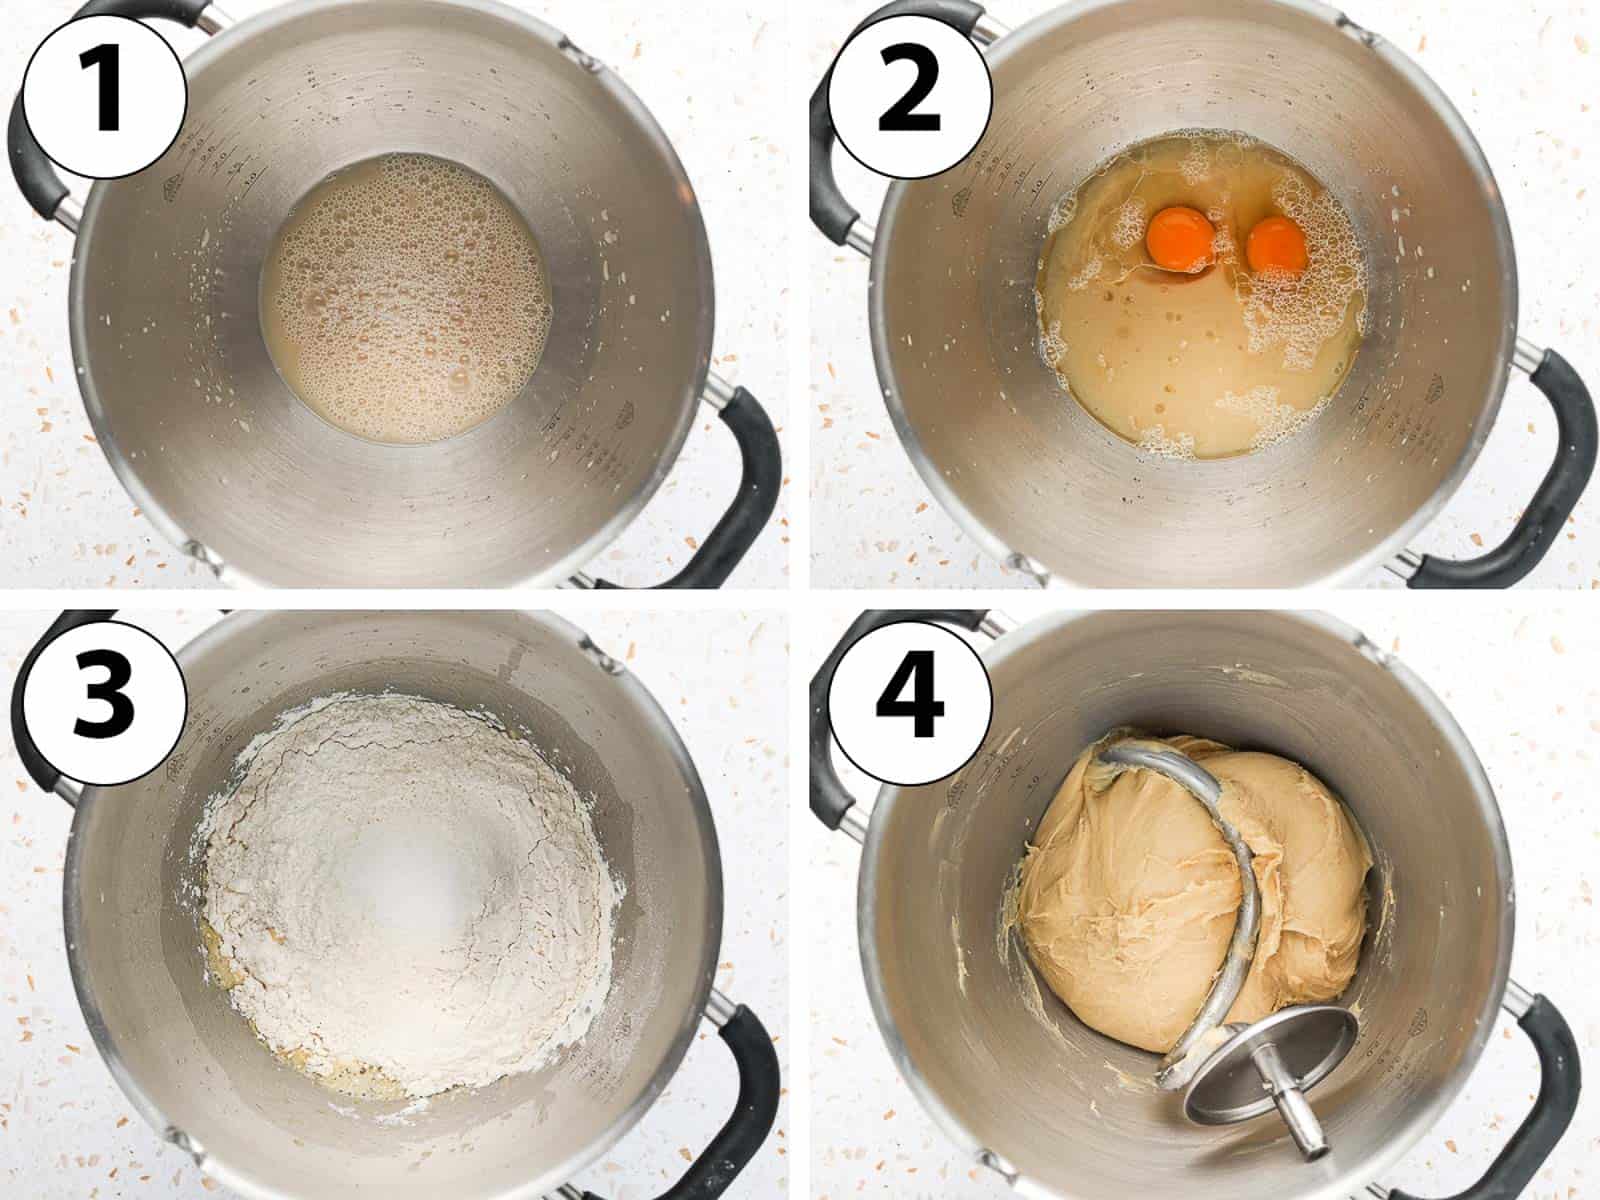
- Photo 1: Place the Warm Water (not too hot), Sugar and Yeast in the bowl of a stand mixer. Mix then set aside for about 10 minutes or until you can see small bubbles or froth appear on the surface.
If the liquid is too cold, it could take much longer to see any effect from the yeast. Although not necessary with Instant Yeast (but mandatory with Active Dry Yeast to active the yeast), I like to do this step to check if the yeast is alive before making the bread.
- Photo 2: Add all the other wet ingredients to the yeast mixture: Oil, Honey and Eggs. Whisk to combine.
- Photo 3: Top with the Flour and lastly the Salt. Optionally, roughly mix the dough with a spatula or hands. I like to do this to help the mixer start kneading the dough evenly.
- Photo 4: Attach the dough hook attachment to the stand mixer. Set it on medium to medium high speed and knead for a good 15 to 20 minutes.
Challah can be kneaded by hands in a large bowl or on a floured surface, but it is much harder to do. This type of enriched dough is not only quite soft and sticky, it also requires to be kneaded for quite a long time.
Kneading & Bulk Proofing
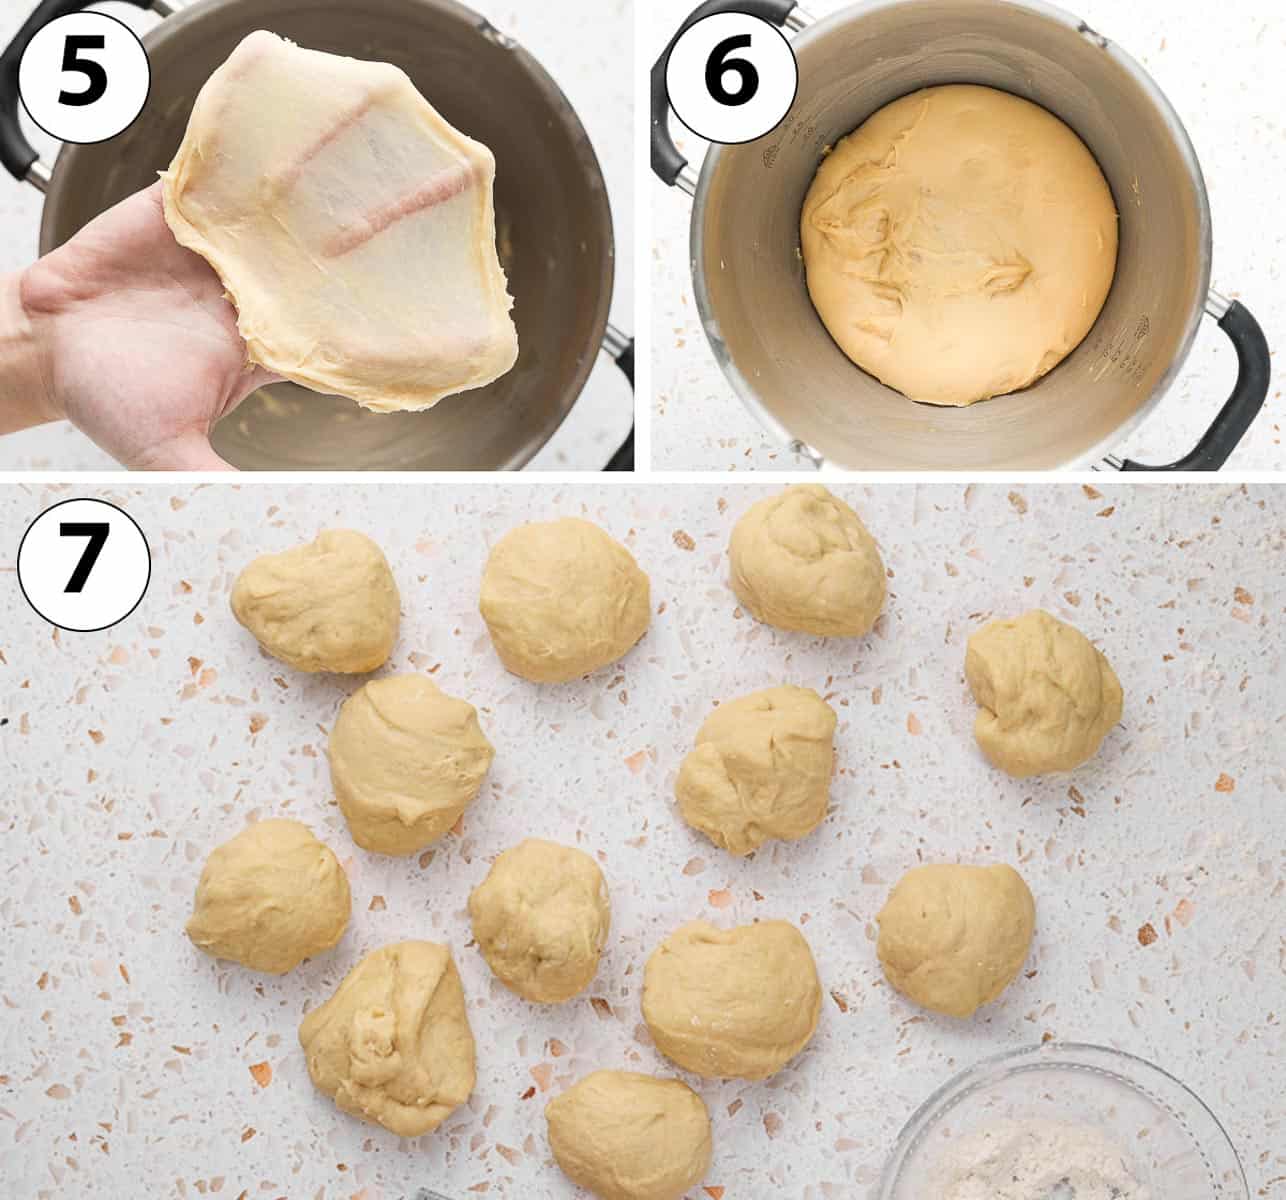
- Photo 5: Keep kneading until the dough passes the "window pane test".
Do the "windowpane test" by gently pulling and stretching a small piece of dough. If the dough breaks quickly, it needs to be kneaded for longer. If it stretches easily without breaking and you can see light coming through it, it has passed the windowpane test.
- Photo 6: Cover the bowl with a tea towel or plastic wrap and let the dough proof in a warm spot for about 1,5 hours, or until doubled in size.
Alternatively, you can proof the dough overnight in the fridge. It will give you more developed flavours. The dough will also be a bit less sticky and easier to work with when cold.
- Photo 7: Punch the dough to deflate it and transfer it over a very lightly floured surface. Cut the challah dough into 12 pieces, using a kitchen scale to get even sizes. Use a bench scraper to easily cut the dough.
Make sure not to use too much additional flour here. It is actually easier to shape the challah rolls when it sticks slightly to the working surface.
- Shape each piece of dough into a thin, long rope. Leave the divided dough on a lightly floured surface while you shape them.
To do so, gently flatten each piece with your finger to get a rectangular shape. Fold one of the longer edges towards the centre then roll it over the get a rope. Roll under your hands to stretch it into a long rope.
Shaping the Rolls
Would you like to save this recipe?
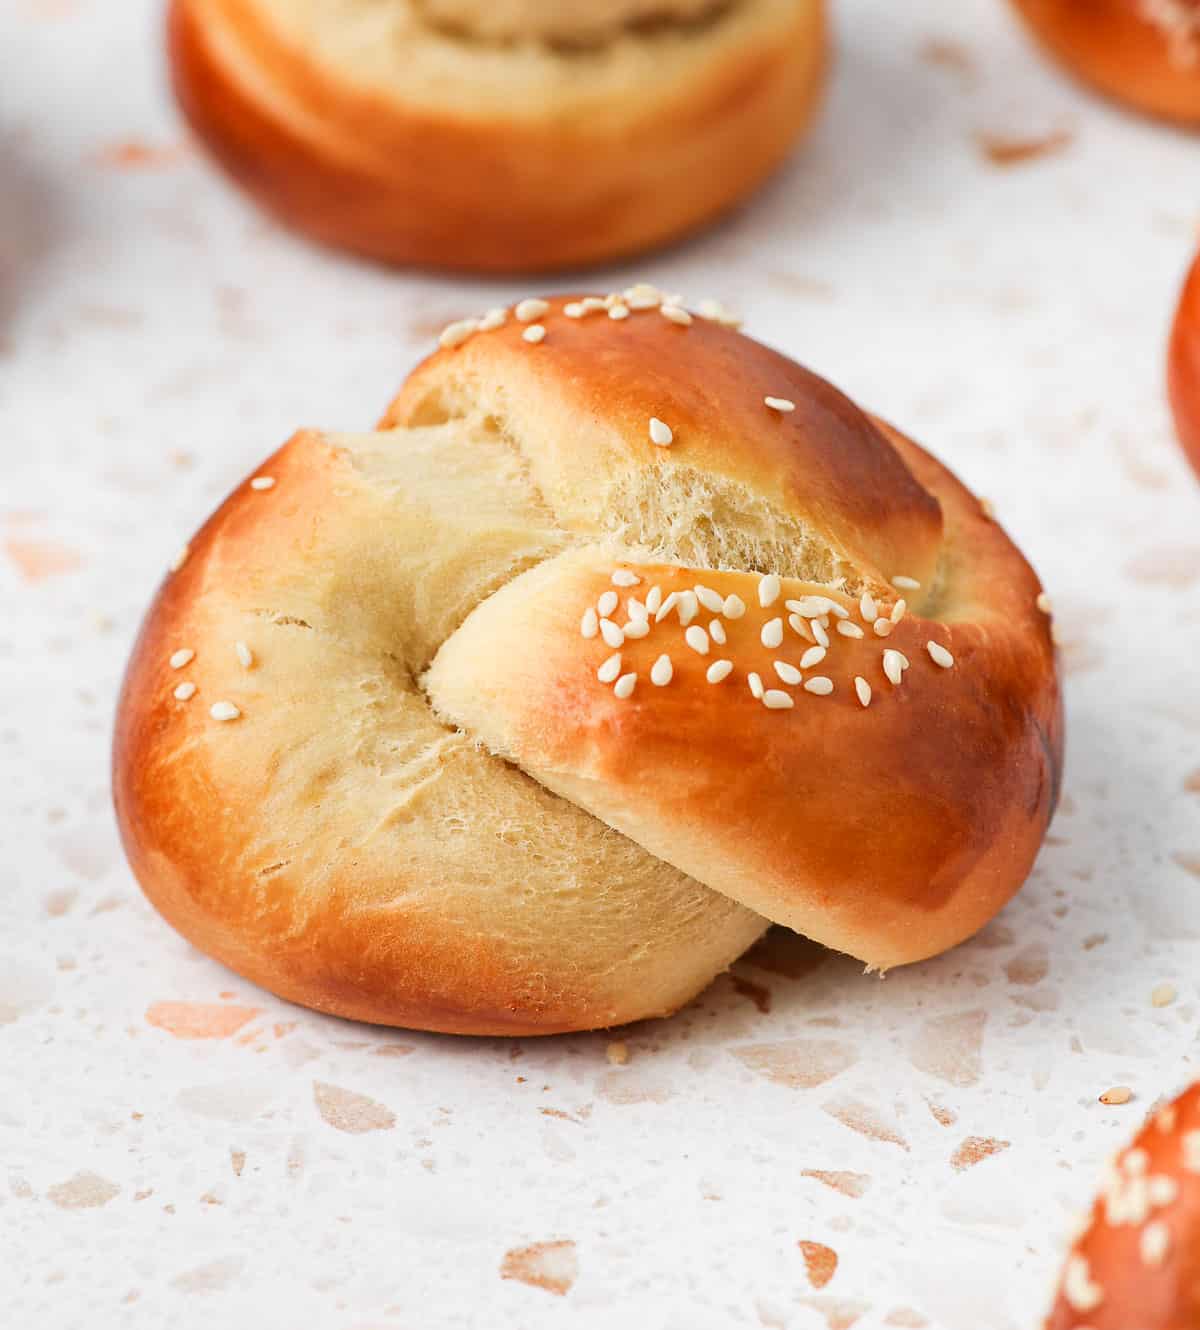
My favourite way to shape Challah Rolls is to do a technique called "the knot". See below for other ways to shape challah buns. You can see all the shaping techniques used here in the video below (under the ingredients list in the recipe card).
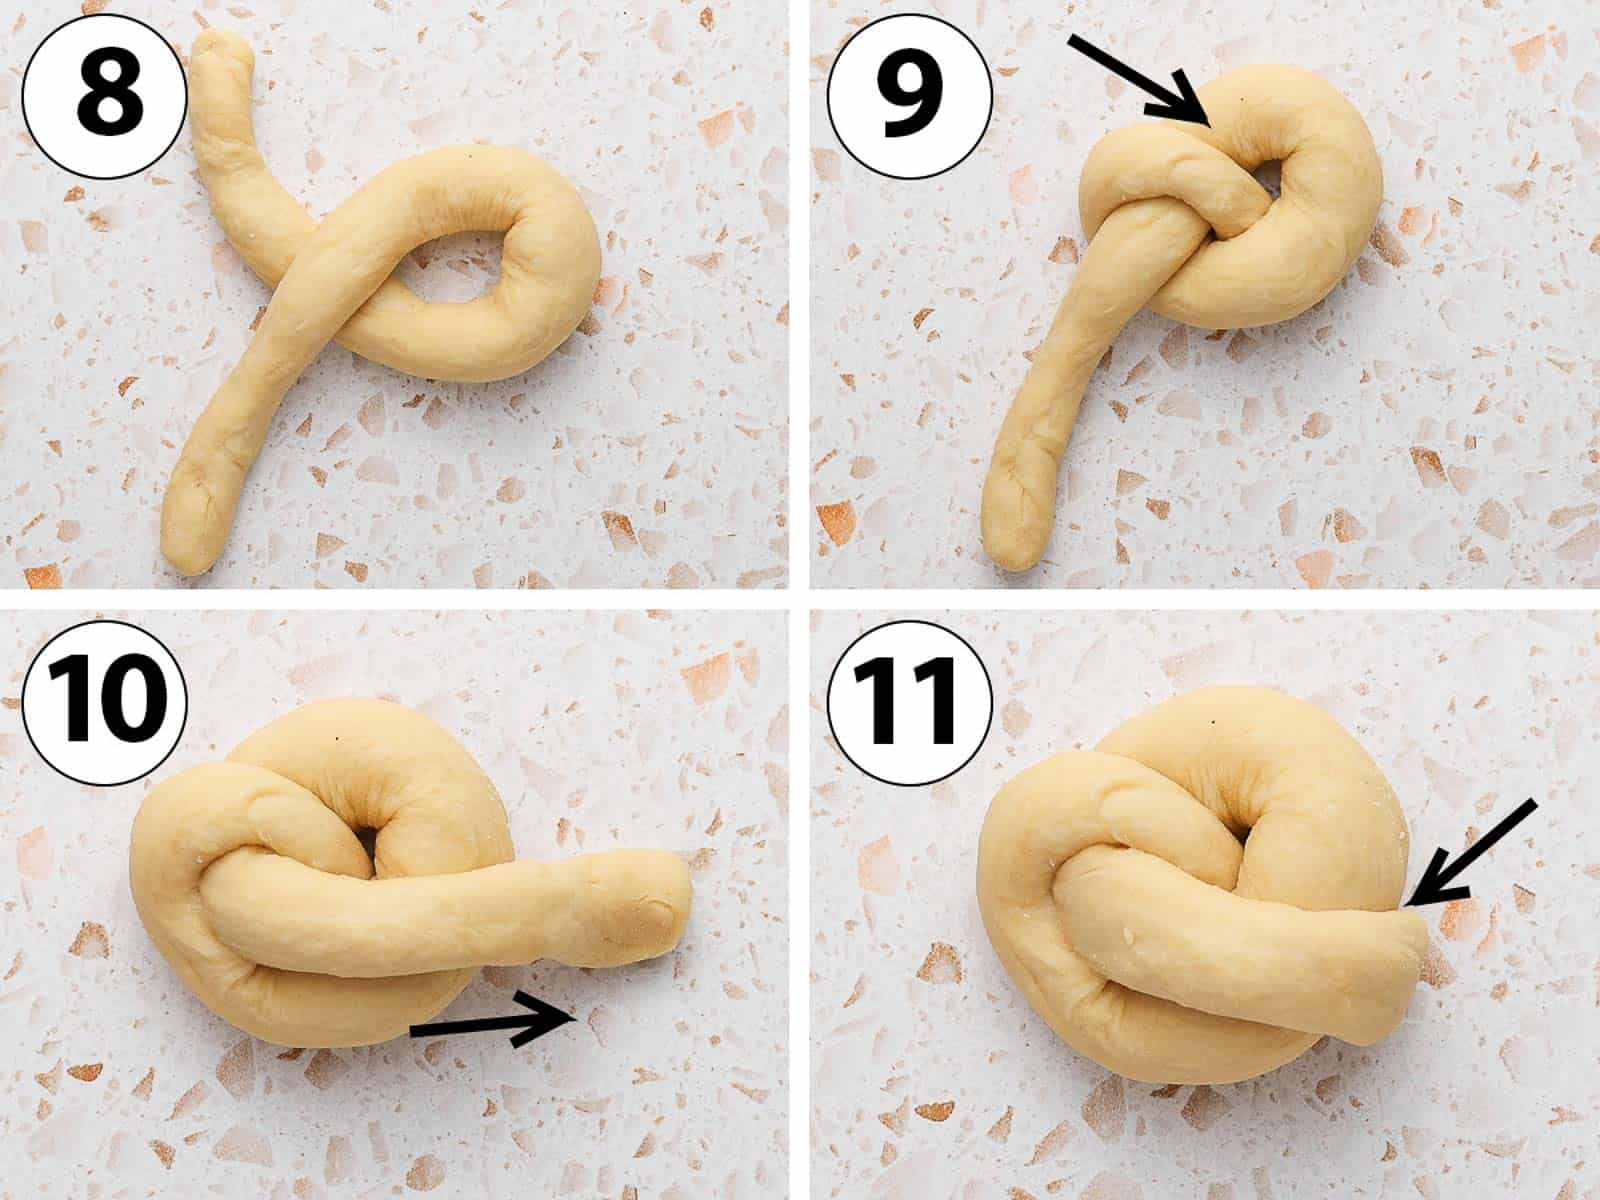
To make Mini Challah Knots:
- Photo 8: place the long rope in front of you. Lift the right side of the rope and create a hollow loop, leaving the two ends of the ropes on each sides.
- Photo 9: Pull the left wing towards the centre of the loop, then tuck it under the outside circle.
- Photo 10: Lift the right wing and pull it over the the hole and the outside of the circle.
- Photo 11: Tuck it under the bread roll to finish shaping the knot.
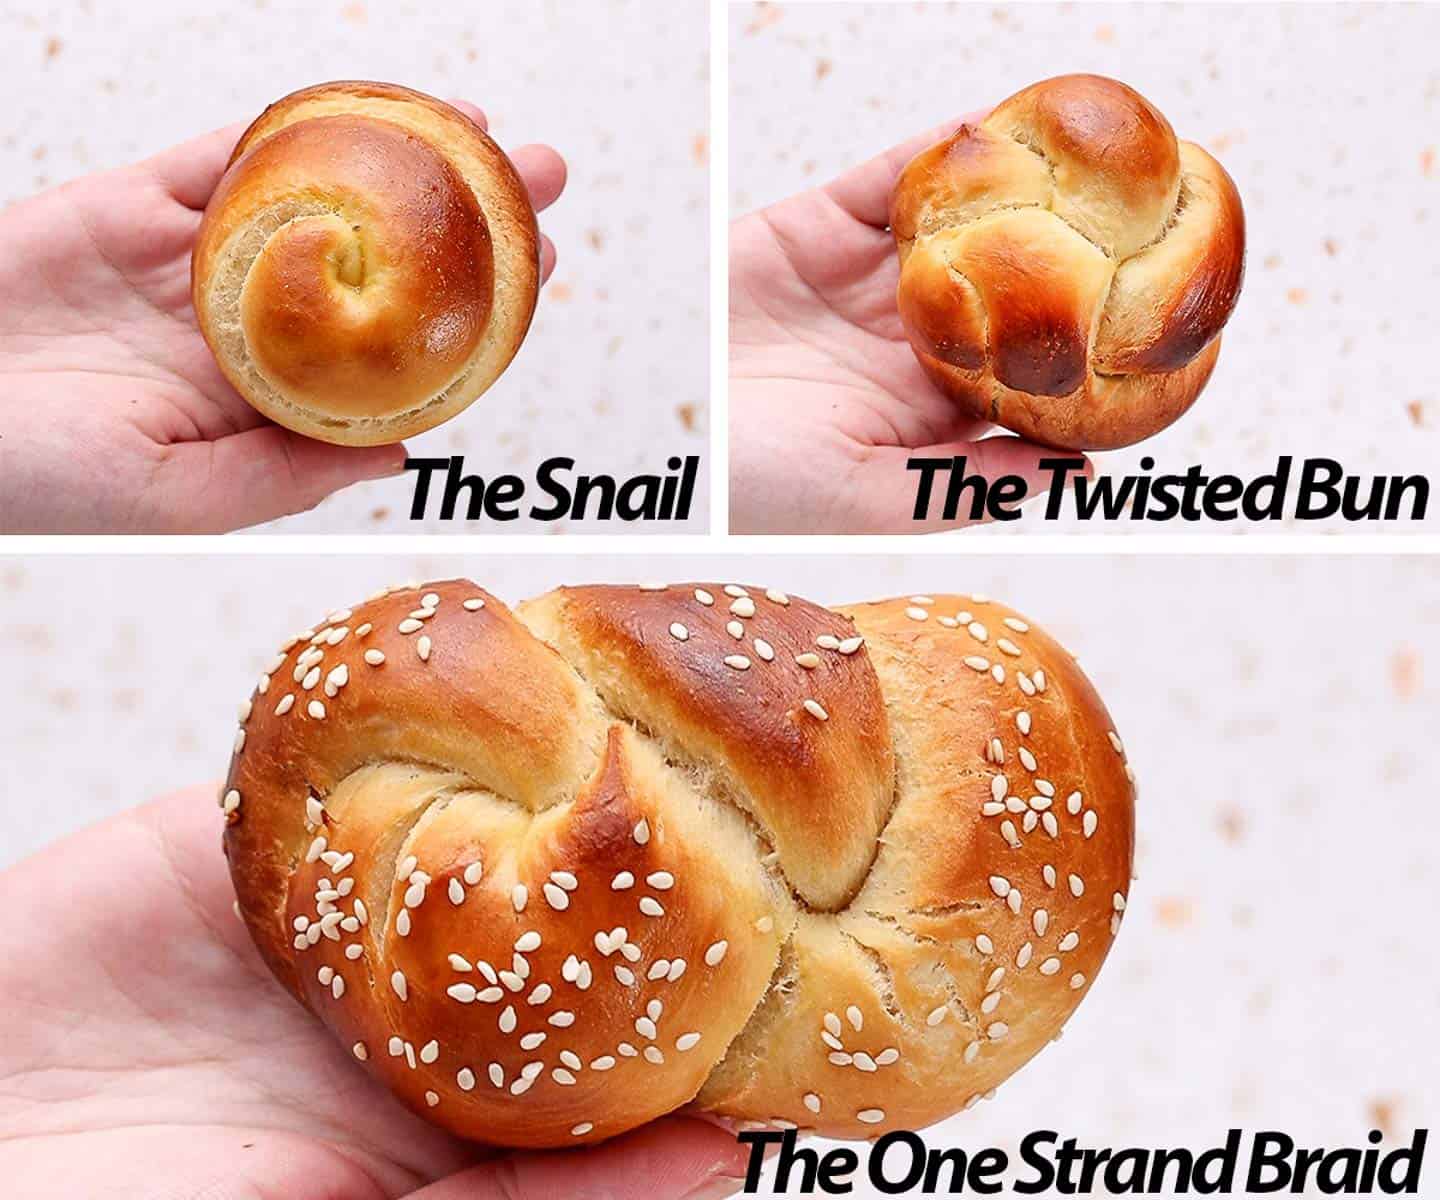
Other ways to shape bread rolls
All these techniques are demonstrated in the video found in the recipe card below.
- The snail: simply twist the rope around itself, starting from one edge and rolling it over itself.
- The twisted Bun: cut one of the 12 pieces of dough into two and shape them into ropes. Twist the two ropes around each other, then roll them like you would for the "snail" technique above.
- The One Strand Braid: the one rope is twisted to create a mini challah braid.
Second Proofing & Baking
- Place all your Challah Rolls on a baking tray lined with baking or parchment paper. If you have some, use a perforated baking tray and perforated baking sheet for a perfectly even baking.
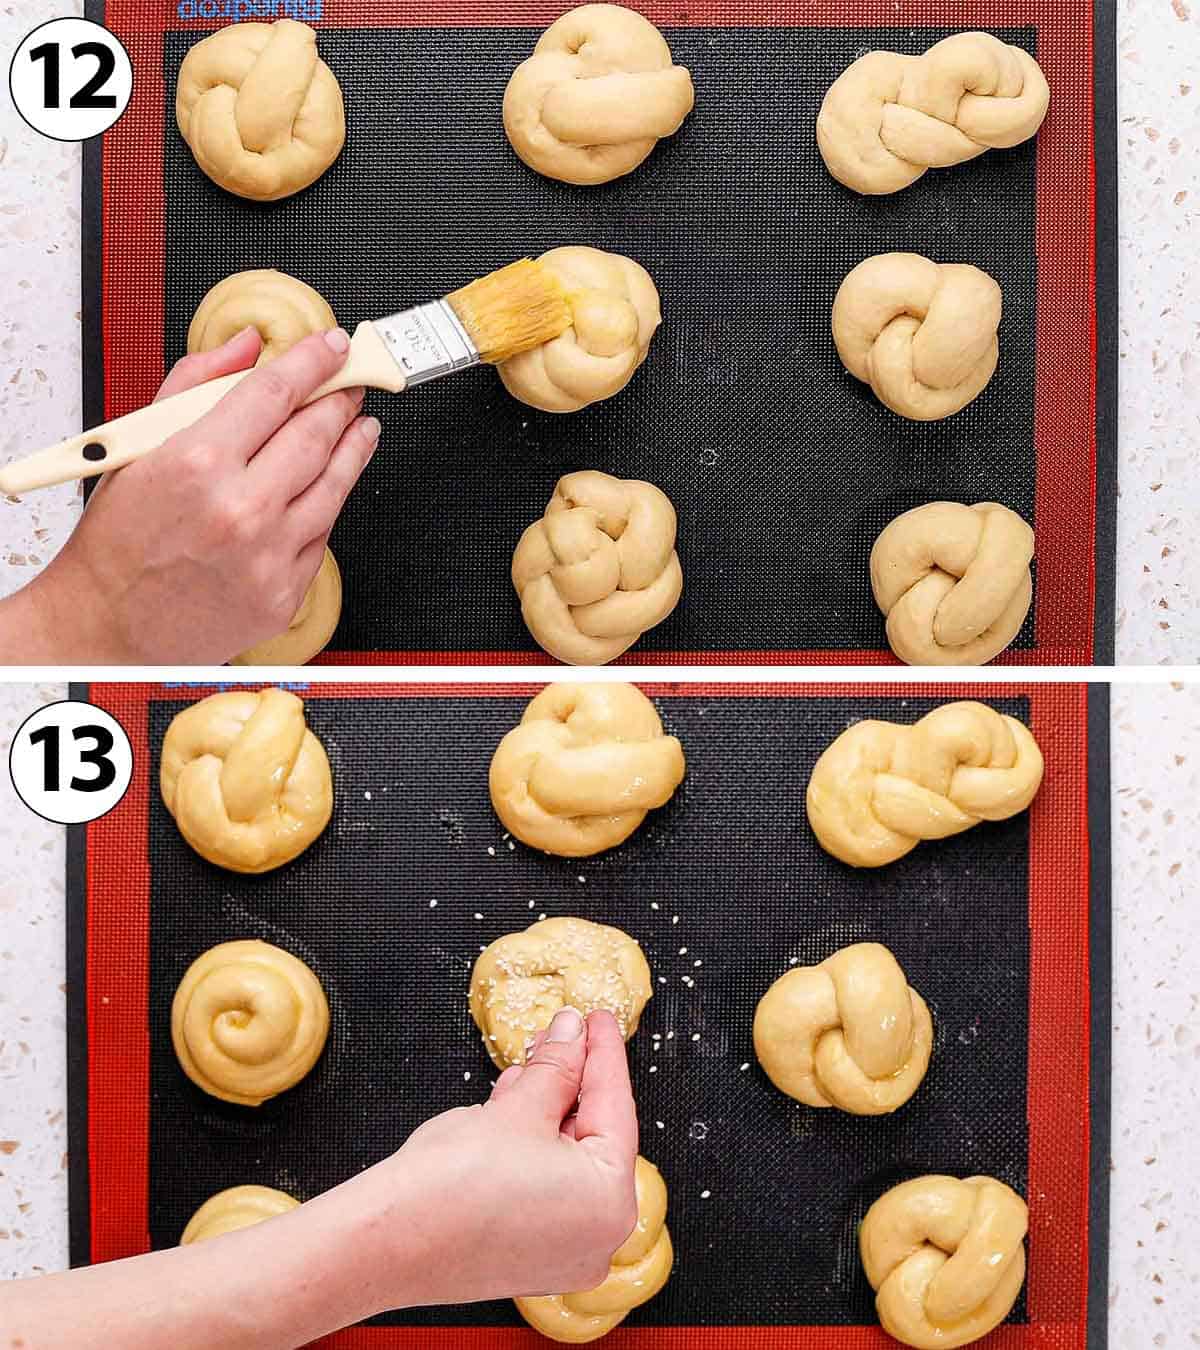
- Photo 12: Brush each challah roll with an egg wash (one egg slightly whisked in a bowl). For a deeper, more golden colour, you could use egg yolks only. For a lighter colour, dilute the egg with a little bit of water first.
- Photo 13: Optionally, sprinkle your favourite topping over each roll. I used Sesame Seeds here but you could also use Poppy Seeds or even an Everything Bagel Seasoning.
Depending on the size of your oven / tray, you might need to use two trays. I like to place the second tray in the fridge while the first batch is doing the second proofing and baking to avoid over-proofing the dough.
- Let the rolls proof for another 30 to 45 minutes and preheat your oven on 180'C / 350'F.
- Bake for 16 to 18 minutes. They should have risen and expanded a lot, and look golden.
If you are baking them in two batches, take the second batch out of the fridge when you place the first batch in the oven. Let them come back to room temperature before baking.
- Leave them to cool down completely before serving.
Recipe FAQs
Challah is a type of dairy-free enriched yeasted dough; a bread usually enriched with both a fat (oil here) and eggs. It is a traditional Jewish bread served every Friday for Shabbat and special Holidays. You can tell Challah apart by its recognisable braided shape.
Both Challah and Brioche are enriched bread doughs with a high percentage of fat in them. The main difference is that Challah is traditionally completely Dairy-Free. As opposed to Brioche that uses Milk and Butter, this recipe uses water and oil.
Yes, like most breads, proofing the dough in the fridge (called "cold proofing") helps to develop more flavour in the dough. It also gives you a challah dough that is easier to handle as it won't be as soft. This dough will need to proof in the fridge for 8 to 12 hours, or until doubled in size.
You can leave the Challah rolls plain (just golden with the egg wash) or finish it with your favourite ingredients. Traditional toppings include Sesame Seeds and Poppy Seeds or a sugar streusel topping for a sweeter version.
Traditionally, Challah is served plain for Shabbat or the Jewish Holidays. You can also use these Challah buns for burgers, Challah Dinner Rolls, Sandwiches or toast with butter and jam. Or even use leftovers to make delicious French Toast!
Tips and Troubleshooting
- The dough is too sticky: if under-kneaded, the dough can feel quite sticky. It is important to knead enriched dough for a long time as the high quantity of fat usually slows down the gluten development. Proofing the dough in the fridge will also make it more easy to handle.
- The dough did not rise: either the Yeast wasn't alive (which is why I like to bloom it in water first to insure it is active) or the dough has been proofing in a spot too cold / not for long enough.
- If you need to bake the challah rolls in two batches, shape all the rolls and place them on two trays. Brush with the egg wash and sprinkle with toppings. Leave the first tray to proof at room temperature then bake, and place the second tray in the fridge in the meantime to avoid over-proofing it.
- For an even baking and golden brown crust all around, use a perforated baking tray and perforated baking mat. This will allow for an even distribution of the heat all around the rolls!
Storing & Freezing
These bread rolls are best served when still fresh (within 24 hours). They will last for up to three days but won't be as soft as the days go by. You can keep them at room temperature in an air-tight container.
Challah bread does freeze really well too! Simply place the rolls on a lined flat tray then transfer into freezing bag or container once fully frozen. They can be thawed at room temperature or directly in the toaster.
Made this recipe?
Let us know if you liked it by leaving a comment below, and tag us on Instagram @a.baking.journey with a photo of your creation!
Recipe
Challah Rolls
Ingredients
- 240 ml Water
- 30 gr Caster Sugar
- 9 gr Instant Dry Yeast
- 60 ml Vegetable Oil, such as canola oil
- 60 gr Honey
- 2 large Eggs, at room temperature
- 600 gr Plain / All-Purpose Flour
- 10 gr Fine Table Salt
- 1 Egg, for Egg Wash
- Sesame Seeds or Poppy Seeds for topping, to taste, optional
Instructions
- Place the Warm Water (around 35'c / 95'f), Sugar and Yeast in the bowl of your stand mixer. Mix then set aside for about 10 minutes or until you can see small bubbles or froth appear on the surface (See note 1).
- Whisk in the Oil, Honey and Eggs. Add the Flour and the Salt. Attach the dough hook attachment to the stand mixer. Set it on medium to medium high speed and knead for 15 to 20 minutes or until very soft and stretchy (see note 2).
- Cover the bowl with a tea towel or plastic wrap and let the dough proof in a warm spot for about 1,5 hours, or until doubled in size (See note 3).
- Punch the dough to deflate it and transfer it over a very lightly floured surface. Cut the challah dough into 12 even pieces (see note 4).
- Shape each piece of dough into a thin, long rope and place them on a lightly floured surface.
- Shape or braid each rope your preferred way (see video for different shaping techniques) and place the challah rolls on a large baking tray lined with baking paper or mat (see note 5).
- Lightly whisk the Egg in a small bowl for the Egg Wash, and brush it over each challah roll. Optionally, sprinkle the rolls with your choice of topping.
- Leave to proof at room temperature for another 30 to 45 minutes.
- Preheat your oven on 180'C / 350'F. Bake the challah rolls for 16 to 18 minutes, or until golden. Leave to cool down completely.
- If baking in two batches, repeat with the second half of the rolls (refer to note 5).
Video
Would you like to save this recipe?
Notes
- If the liquid is too cold, it could take much longer to see any effect from the yeast. Although not necessary with Instant Yeast (but mandatory with Active Dry Yeast to active the yeast), I like to do this step to check if the yeast is alive before making the bread.
- To know you have kneaded the dough enough, do the "windowpane test": gently pull and stretch a small piece of dough. If the dough breaks quickly, it needs to be kneaded for longer. If it stretches easily without breaking and you can see light coming through it, it has passed the windowpane test.
- Alternatively, you can proof the dough overnight in the fridge. It will give you more developed flavours. The dough will also be a bit less sticky and easier to work with when cold.
- To get even sizes, use a kitchen scale. Weight the entire dough, divide that into 12 and cut the dough into small pieces of that weight.
- If you have some, use a perforated baking tray and perforated baking sheet for a perfectly even baking. Depending on the size of your oven / tray, you might need to use two trays. Place the second tray in the fridge once the rolls are shaped to avoid overproofing them. Take them out of the fridge when you place the first batch in the oven.