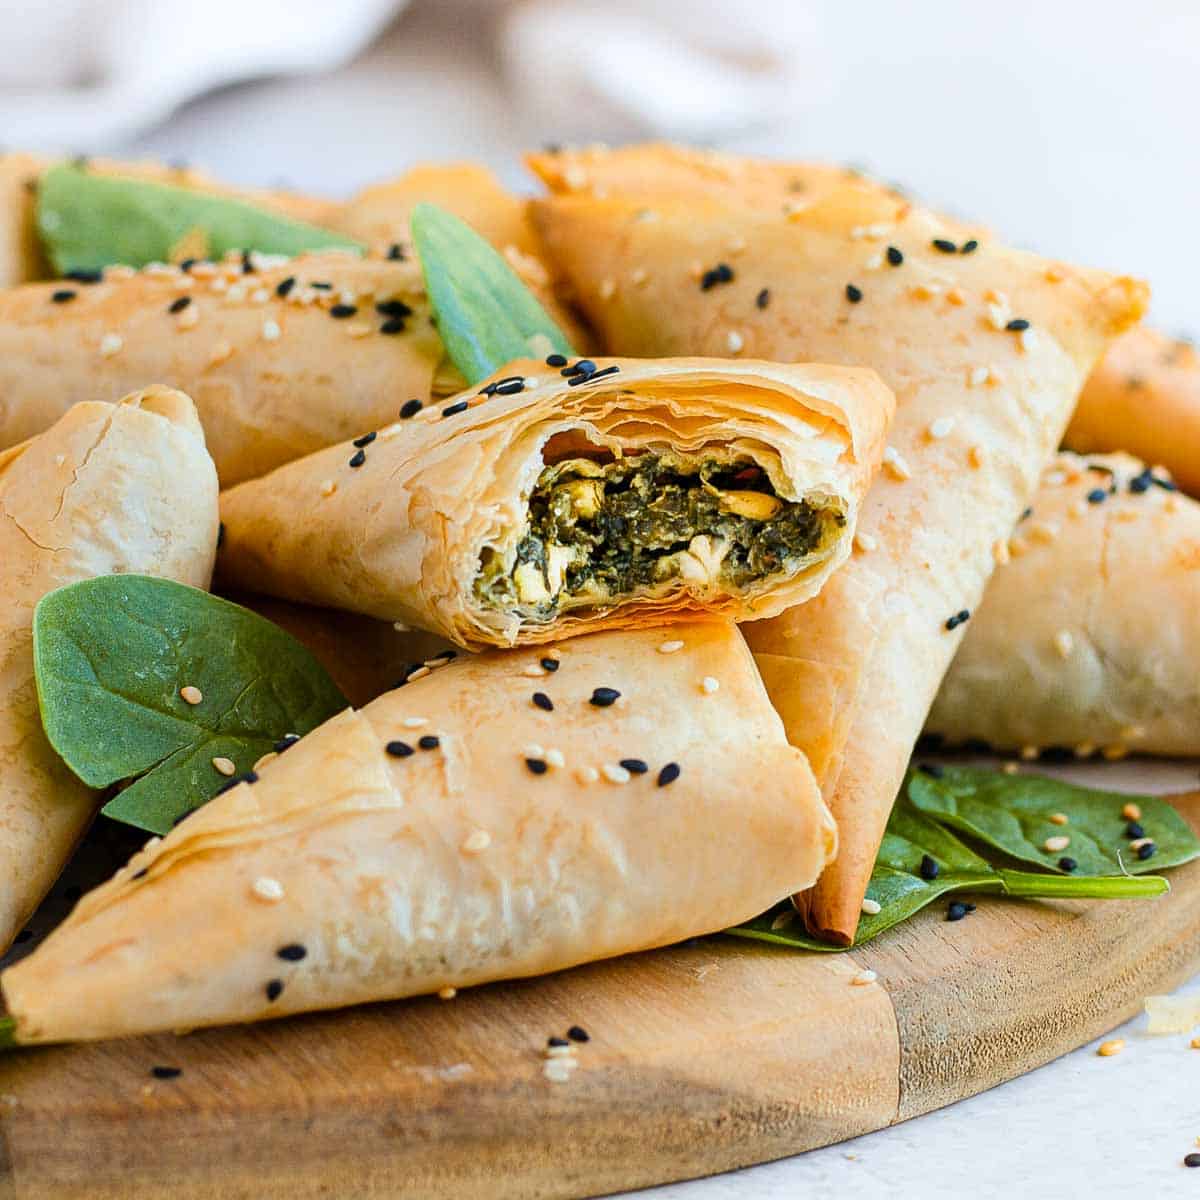
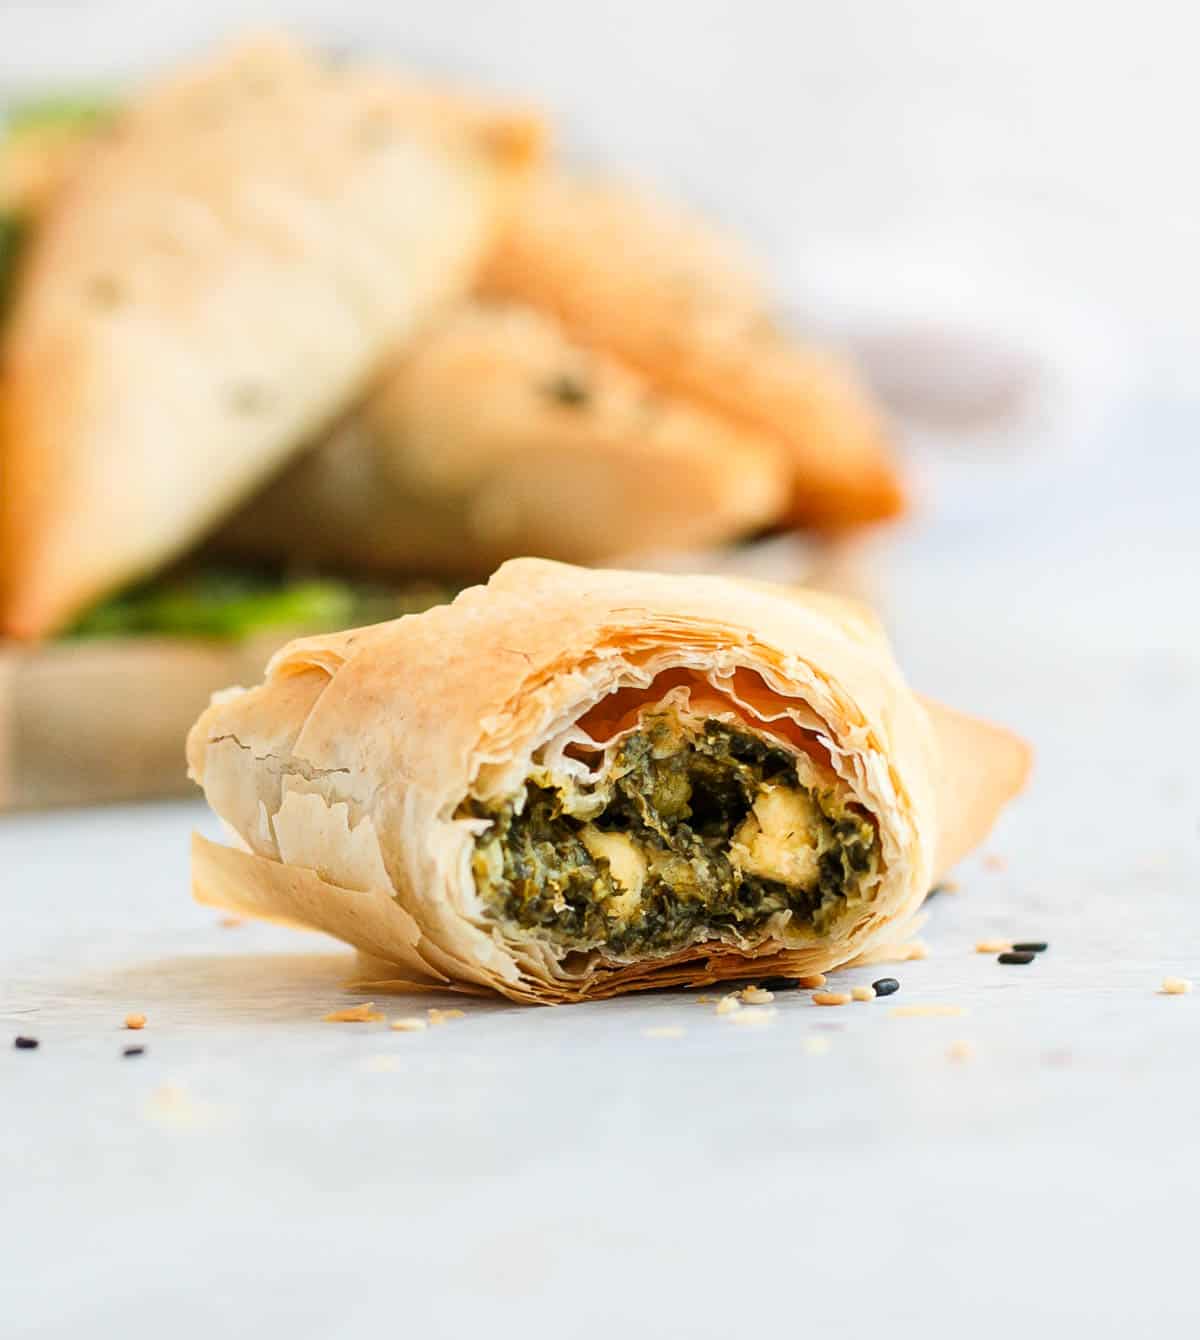
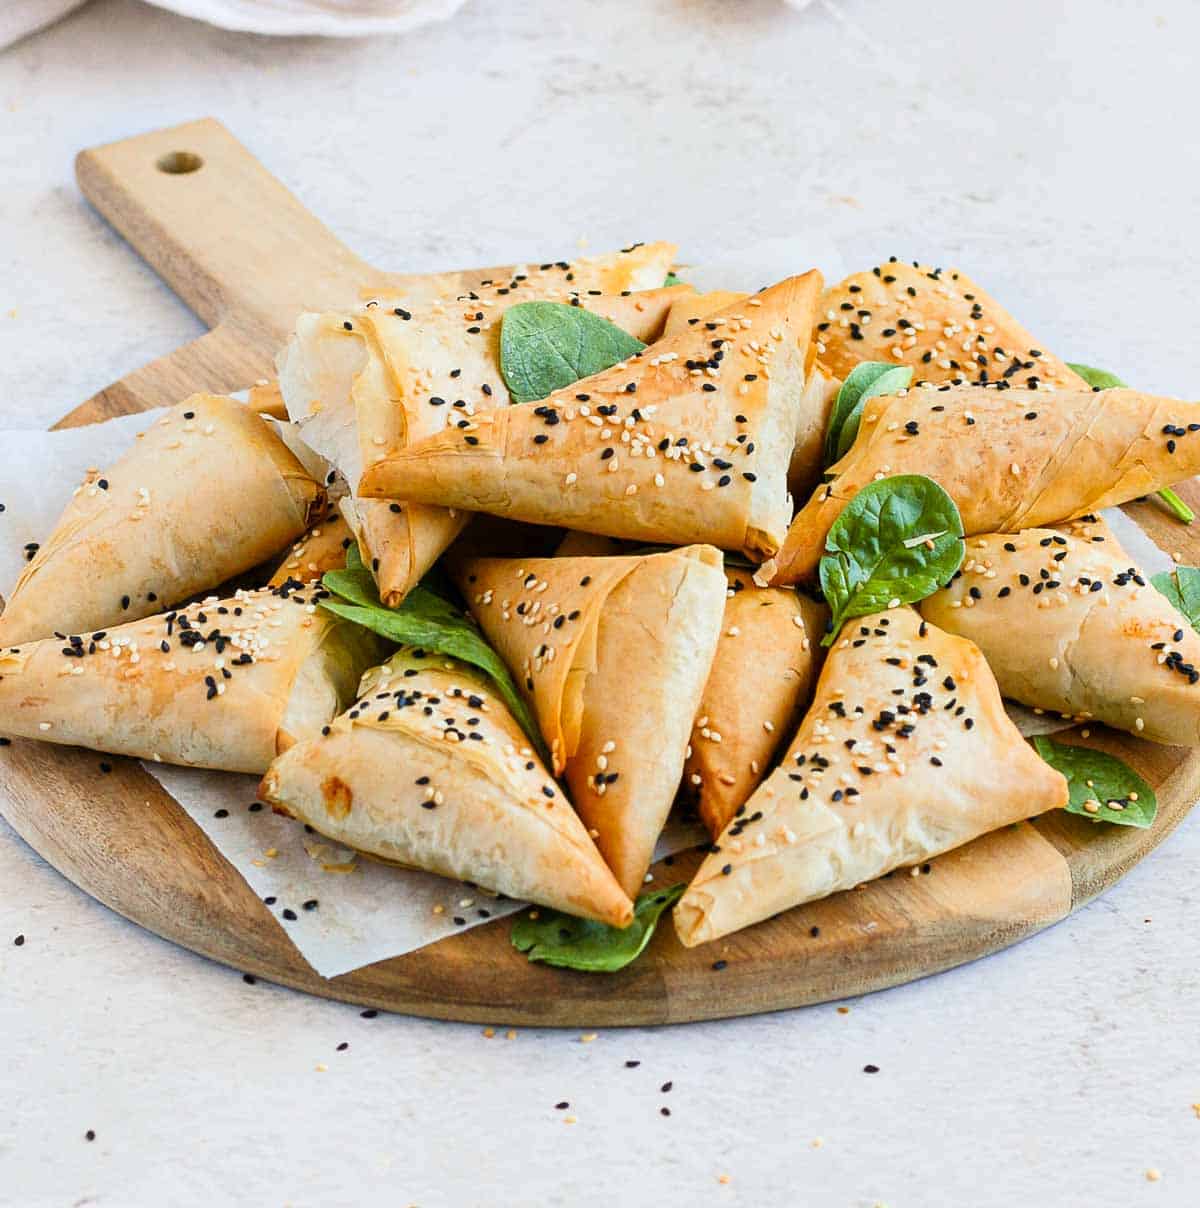
These Greek Spanakopita Triangles make a great vegetarian appetiser, finger food, savoury snack or even light lunch. The super flaky and crunchy Phyllo Pastry layers are filled with Spinach and Feta then folded into a delicious bite-size triangle.
Jump to:
Why we love this recipe
Spinach and Feta is one of my favourite flavour combo - ever. Just like in my Spinach and Feta Quiche, the combination of the earthy spinach and salty, tangy feta simply works every time.
Add to the mix the buttery, flaky, crunchy Phyllo Pastry (or Filo/Fillo Pastry) and you've got yourself an incredible mix of flavour and texture!
These Greek Spanakopita Triangles are awesome as an appetiser for your next party, for the Holidays or just as a snack. I personally love them for lunch too! They can be made ahead and even frozen.
What is Spanakopita
A spanakopita is a traditional Greek vegetarian pie made from Cheese (usually Feta but sometimes Ricotta too), Spinach and Pastry. It can be made as a large pie cut into slices, baked in a rectangular dish and sliced into squares or as individual triangles like here.
This recipe was inspired by the Spanakopita recipe found in the cookbook "Food from Many Greek Kitchens" by Tessa Kiros.
Ingredients

The list of ingredients is rather long, but the great thing about this recipe is that many ingredients can be discarded or substituted if preferred. All you really need to make these Spinach and Feta Filo Pastries are the obvious Cheese, Spinach and the Filo (phyllo) Pastry!
- Spinach: I used Fresh Spinach leaves as I find them to taste so much nicer and fresher than frozen spinach. If you don't have fresh baby spinach, frozen will work too.
- Feta: use Greek-style Feta when you can! You will need to cut it into small cubes or crumb it.
- Phyllo Pastry (Fillo Pastry): this type of pastry is quite fragile and dries out quickly. Make sure to use some that is as fresh as possible. I buy fresh phyllo from the fridge section of my supermarket, but you could use frozen phyllo too.
- Brown Onion & Spring Onion (Green Onion/Scallion): you could use just the Spring Onion if preferred, but I love the additional flavour of the brown onion. Use both the white and green part of the spring onion.
- Parsley: could be substituted with Dill or any of your preferred fresh herbs. Alternatively, you could use dried herbs.
- Olive Oil: can be substituted with Melted Butter or your preferred Oil.
- Seasoning: I used Salt, Pepper, Garlic Paste (or crushed minced garlic) and a little bit of Nutmeg. Again, you could really use any of your favourite seasoning and spice here!
- Egg: optional. I have tried this recipe with and without the egg and found the filling to be much smoother and richer with the egg. It really helps to bind all the ingredients together!

How to make Spinach and Feta Triangles
This recipe can be divided into 3 steps: make the filling, prepare the phyllo pastry then fold them into triangles.
Cheese and Spinach Filling
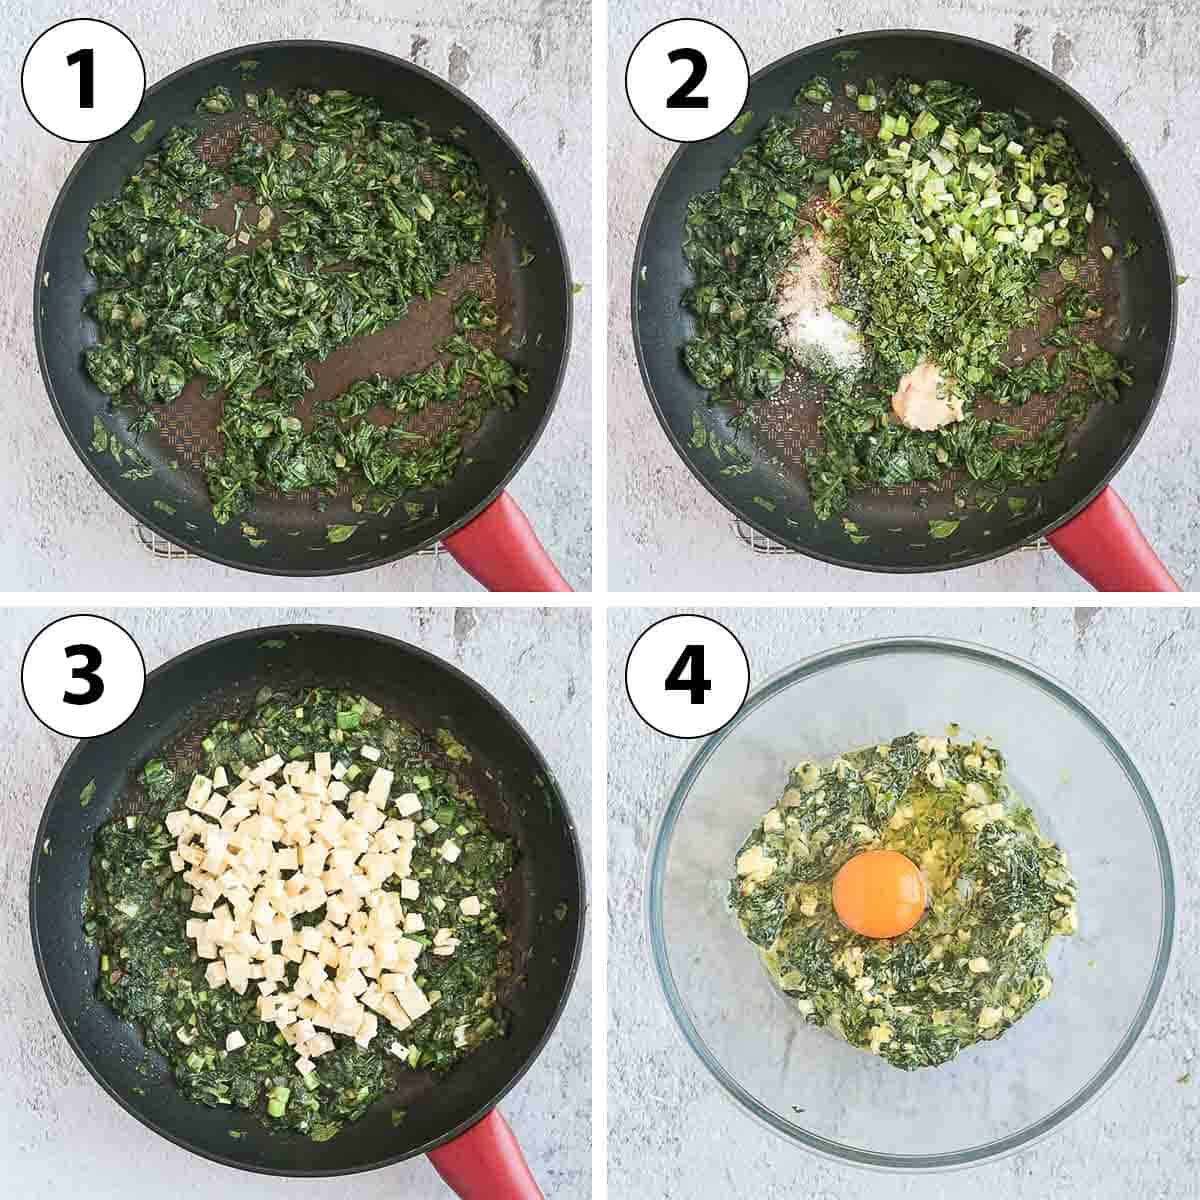
I highly recommend prepping all of your ingredients before starting this recipe so that they are all ready to be used. That includes dicing the onion, roughly chopping the spinach, thinly slicing the Spring Onion and Parsley and cutting the Feta into small cubes.
- Photo 1: Place the diced Brown Onion and Olive Oil in a large saucepan and cook on a medium heat until translucent. Add the chopped Spinach and leave to cook for 3 to 5 minutes or until reduced and soft.
- Photo 2: Add the chopped Spring Onion, Parsley, Salt, Pepper, Garlic and Nutmeg. Stir to combine and leave to cook for a couple of minutes.
- Photo 3: Add the cubed Feta, mix and leave to cook for a minute or two, or until the cheese has slightly softened.
- Photo 4: Transfer into a large mixing bowl and set aside to cool down. Mix in the Egg. Make sure the filling is not too hot before you add the egg as you don't want to cook it.
Preparing the Fillo Pastry
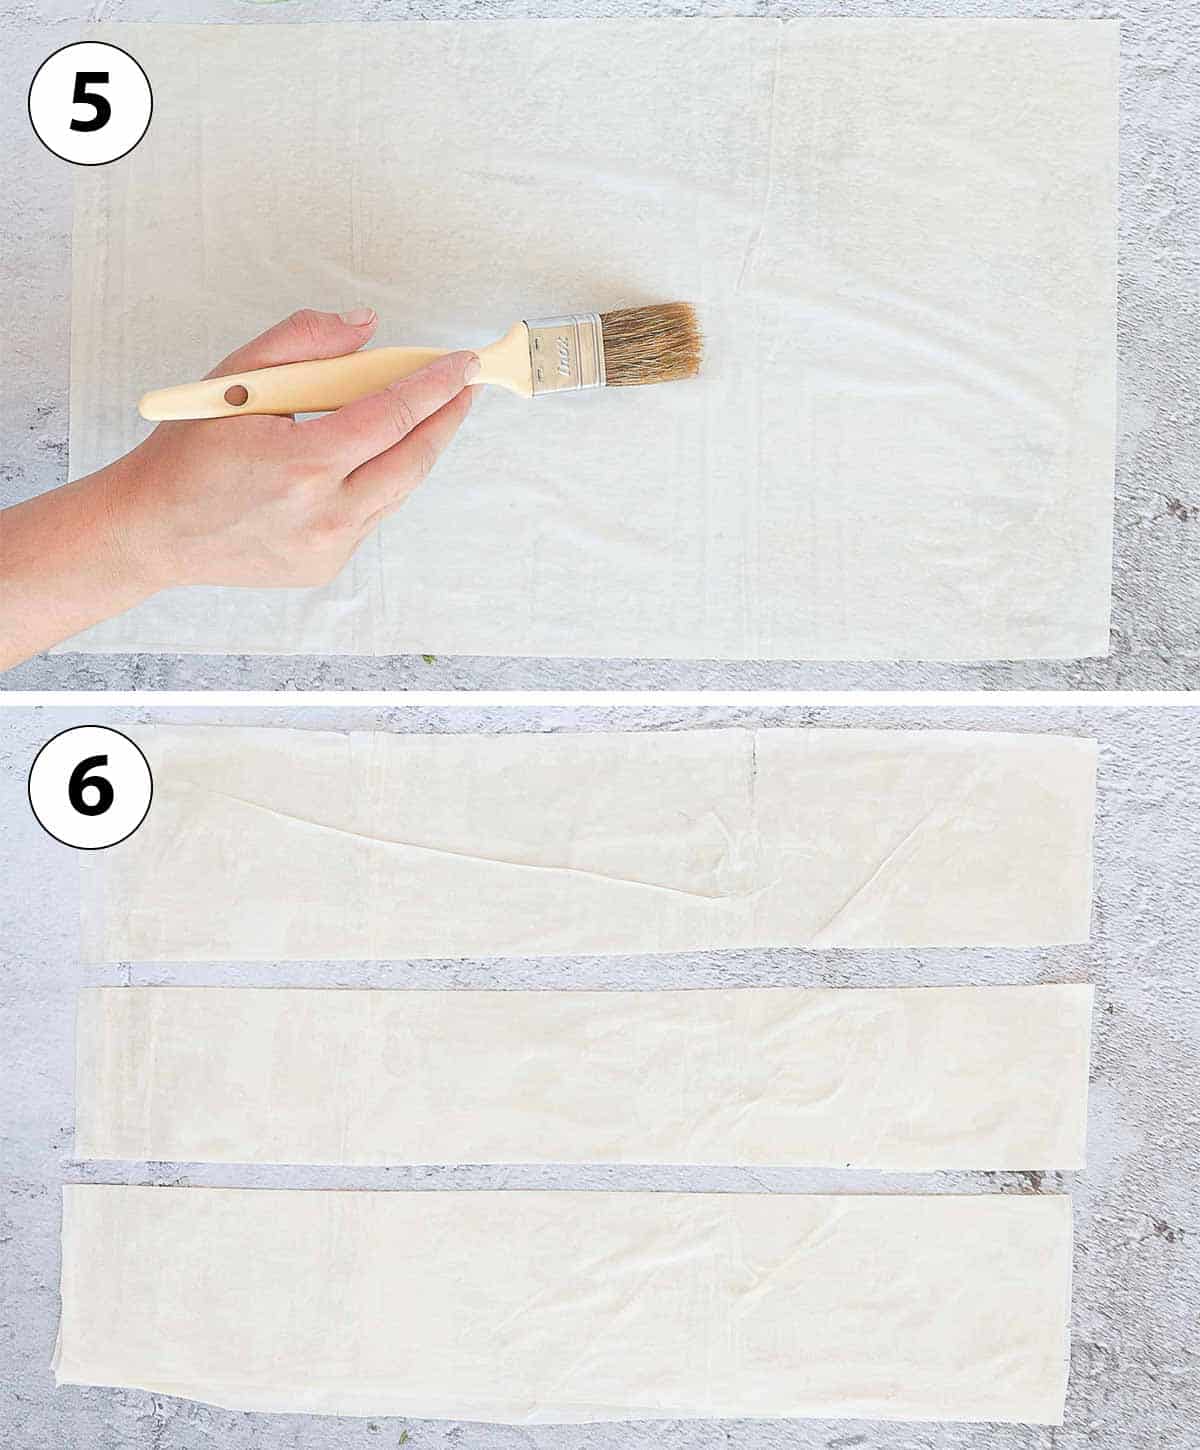
- Photo 5: Place one sheet of Phyllo Pastry on a clean, dry surface and brush with a little bit of Olive Oil. Cover with a second sheet of pastry, brush again with oil and top with a third layer of Phyllo. You could use more or less sheets of pastry, depending on how flakey you want the spanakopita triangles to be.
- Photo 6: cut into three long strips. Again, you could cut the pastry into more or less strips, depending on the final size you want the triangles to be.
Phyllo Pastry tends to dry out very quickly, so either fill the 3 rectangles straight away before cutting more, or cover with a very slightly humid towel.
I used 30x45cm / 12x18inch sheets of phyllo cut into 3. If you wanted to make smaller (or larger triangles), you could cut the layers of phyllo pastry into 2 or 4 if preferred.
The longer the sheets of pastry, the more crispy layers you will get in your triangles. For less crispy pastries (and a higher ration of filling to pastry), you could cut each strip in half.
Folding the Triangles
The trickiest part of this recipe is how to fold spanakopita triangles.
- Preheat your oven on 180'C/350'F and line a large baking tray with baking paper or a baking mat.
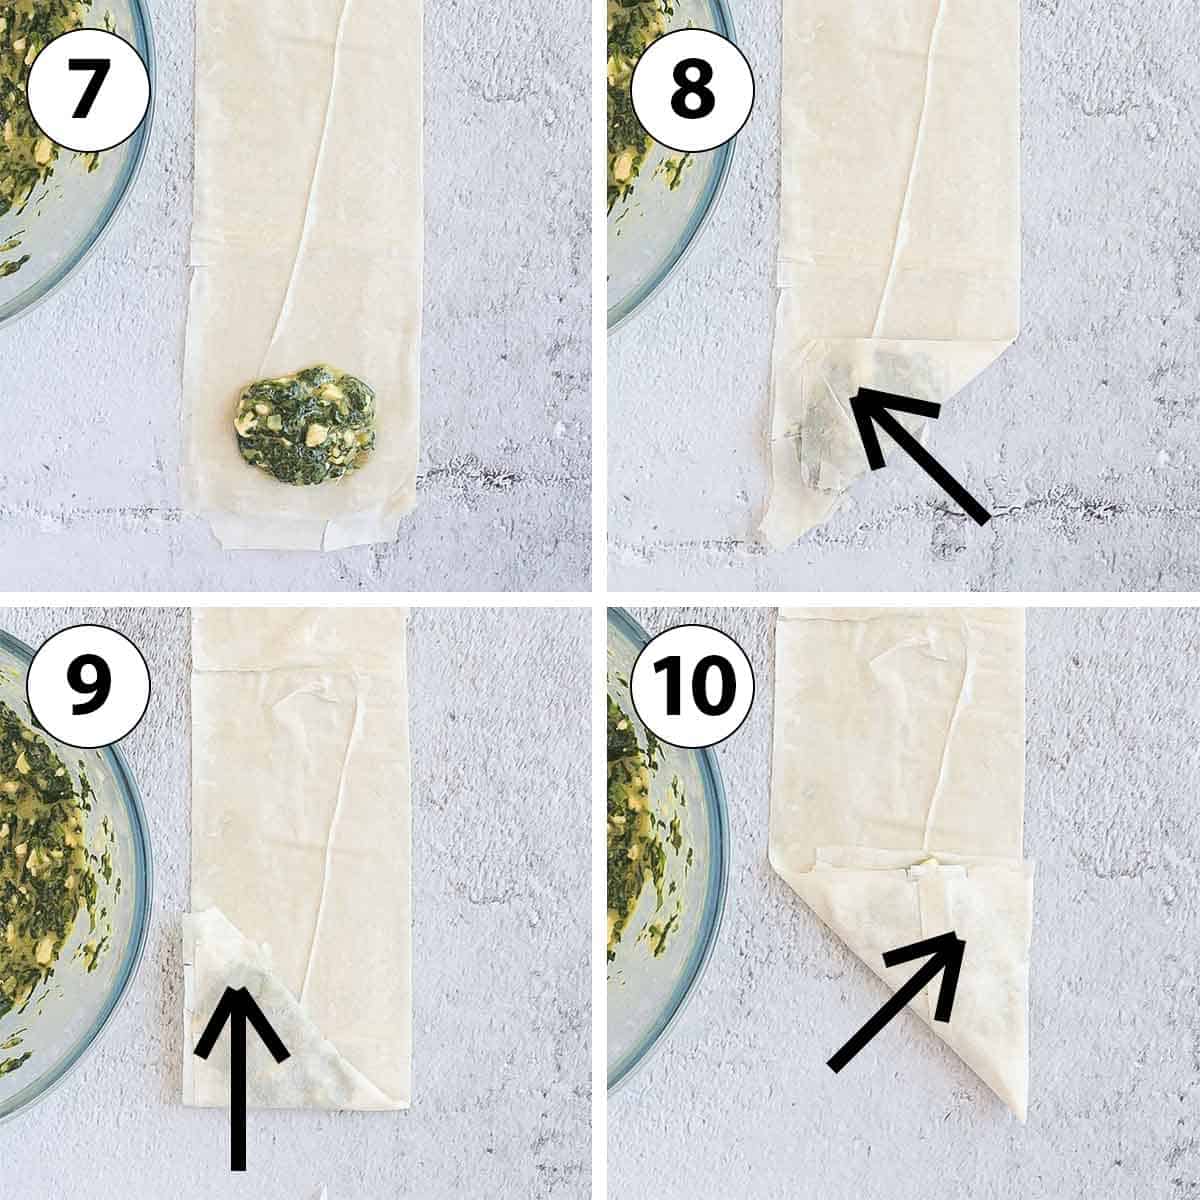
- Photo 7: place a little bit of the filling at the bottom of pastry rectangle. Try not to overfill them or you might struggle to fold them. I like to brush a little bit of olive oil on the remaining pastry to help it stick when you fold.
- Photo 8: Take the bottom right corner of the pastry and fold it up towards the right side. You should get a triangular shape sitting over the strip of pastry.
- Photo 9: take the bottom left corner of the triangle and flip it up over the strip of pastry.
- Photo 10: fold the bottom left corner towards the right side.
- Continue to fold in the same way until you get to the end of the pastry. Use a little bit more olive oil to help the pastry to stick and stay sealed.
- Place each spanakopita triangle on the baking tray. Brush with a little bit more olive oil (so that they turn golden in the oven). Optionally, sprinkle with a little bit of Sesame Seeds. You could also brush a whisked Egg over the pastry if you wanted them to get very golden.
- Bake for 25 to 30 minutes, or until golden and crispy. You don't need to flip them. Serve straight away for the best texture.
Recipe FAQs
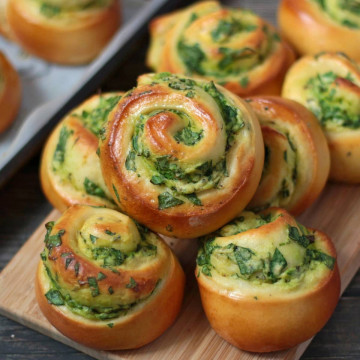
You can replace the Feta cheese with Ricotta Cheese, or do half-feta, half-ricotta. Ricotta and Spinach works great together as well, just like for these Spinach and Ricotta Rolls!
Yes, but make sure they are thawed and very well drained to avoid adding water to the filling. Alternatively, cook them for longer in the pan to remove any extra moisture.
I have used this spinach and feta filling with puff pastry and it is delicious as well (just less traditional than the Greek version).
Simply cut out squares of puff pastry, place the filling in the centre and fold in half. Seal by pressing on the edges with a fork.
These spanakopita triangles are delicious on their own, but also great served with dips like a traditional Greek Tzatziki, Hummus or a Greek Yogurt Dip.
Tips for Success
- If using Frozen Phyllo Pastry, let it thaw overnight in the fridge. Keep it sealed so that it does not dry out.
- If using Frozen Spinach, make sure it is very well drained after thawing (or cooked for longer on the stove) to avoid making the filling watery and soggy.
- The width / length of the phyllo pastry will affect how flakey the spanakopita triangles will be, and how large they will turn out. Use the full length of the phyllo sheet for a super crispy triangle (with more layers of pastry), or cut them in half for a thinner pastry. You can also play with how many sheets of pastry you use for each triangles. I used 3, but you could do only one or two.
- Be generous with the Olive Oil - that's what will make the pastry so crunchy and delicious! For even more flavour, substitute the olive oil with melted butter.
Storing & Freezing
I highly recommend serving these Spanakopita Triangles straight out of the oven when they are super crispy and flakey.
If made in advance and stored in the fridge, they will last for a couple of days but they will tend to become more soggy. I recommend re-heating them up in the oven instead of the microwave to get them crispy again.
You can also make a large batch of these spinach and feta triangles and freeze them! The best way to make sure they are as crispy as possible is to freeze them unbaked: place them on a flat tray (make sure they don't touch each other) and leave in the freezer until fully frozen. Transfer into a freezer-friendly container for up to 2 months.
When ready to serve, bake as recommended with an additional 5 to 10 minutes.
More Appetiser Ideas
- Cheese Gougères
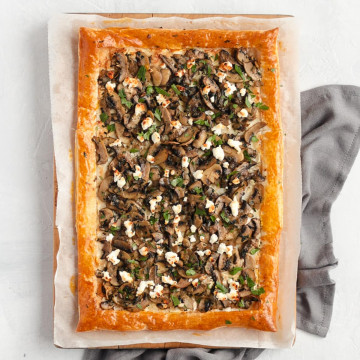
- Puff Pastry Mushroom Tart
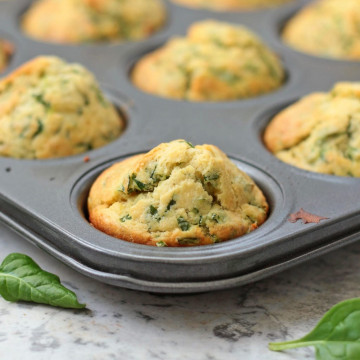
- Cheddar Spinach Muffins
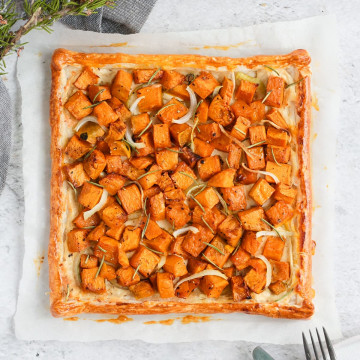
- Pumpkin Tart with Puff Pastry
- Goat's Cheese Zucchini Muffins
- Mini Tomato Galettes
- Focaccia Bread
Made this recipe?
Let us know if you liked it by leaving a comment below, and tag us on Instagram @a.baking.journey with a photo of your creation!
Recipe

Spanakopita Triangles (Spinach & Feta Triangles)
Ingredients
- 1/2 small Brown Onion
- 1 tablesp. Olive Oil - plus for brushing
- 250 gr (1/2 lbs) Fresh Spinach - or frozen, thawed and drained
- 2 Spring Onion (Scallion)
- 3 tablesp. Parsley - fresh or dried
- 1 teasp. Salt
- 1/2 teasp. Pepper
- 1/4 teasp. Nutmeg
- 1 teasp. Garlic Paste - or crushed garlic
- 150 gr (1/3 lbs) Feta Cheese
- 1 Egg
- 15 sheets Fillo Pastry - 30x45 cm (12x18inch) each
- Sesame Seeds to taste - optional
Disclaimer
I highly recommend using the measurements in grams & ml (instead of cups & spoons) for more accuracy and better results.
Instructions
Spinach & Feta Filling
- Prepare all the ingredients: finely dice the Brown Onion, roughly chop the Spinach, thinly slice the Spring Onion and Parsley. Cut the Feta in small cubes or crumb it.
- In a large saucepan, cook the Brown Onion with Olive Oil on medium heat for a few minutes, until they look translucent.
- Add the Spinach, Spring Onion (Scallion/Green Onion), Parsley, Salt, Pepper, Garlic and Nutmeg. Stir to combine and cook for a couple of minutes, or until all the ingredients are soft.
- Stir in the Feta cheese and cook for a minute or two, or until the cheese has slightly soften and started to melt.
- Transfer into a large mixing bowl and set aside to cool down (see note 1). Mix in the Egg then set aside.
Folding the Spanakopita
- Preheat your oven on 180'C/350'F. Line a large baking tray with baking paper or a baking mat.
- Place one sheet of Phyllo Pastry on a clean, dry surface. Brush it with a little bit of Olive Oil, cover with a second sheet, brush with more oil and top with a third sheet of pastry (see note 2). Cut into 3 long strips (see note 3).
- Add a little bit of filling at the bottom of the pastry strip and brush the rest of the pastry with a little bit of olive oil so that it sticks when you fold it.
- Take the bottom right corner and fold it up towards the right. You should get a triangular shape at the bottom of the strip. Take the bottom left corner of the triangle and flip it up over the strip of pastry. Fold the bottom left corner towards the right side. Continue to fold until you get to the end of the pastry (see note 4), using a little bit of olive oil to seal the end if needed. Place the triangle on the baking tray.
- Repeat until you have used all the filling.
- Brush each triangle with a little bit more Olive Oil and sprinkle with Sesame Seeds (optional).
- Bake for 25 to 30 minutes, or until lightly golden. Serve straight away.
Tried this recipe? Make sure to leave a comment and star rating below!
Notes
- Phyllo Pastry / Filo Pastry: I used 30x45cm / 12x18inch sheets of phyllo pastry
- Spinach: if using frozen spinach, make sure it is thawed and very well drained before adding it to the pan to avoid adding too much water into the filling.
- It is important for the filling not to be too hot when you add the eggs as you want to avoid cooking it.
- You could use only 1 or 2 sheets of phyllo pastry if preferred - I personally love to have more layers of pastry for a very crunchy, flaky spanakopita.
- You can cut them into larger or thinner strips to make smaller or larger triangles.
I recommend adding the filling and folding the pastry into triangles straight away before preparing more phyllo pastry as it tends to dry out very quickly. - See step-by-step photos in the post above to see how to fold the triangles.


